This can be successfully completed using either a digital pen and tablet or just a mouse, whichever you find most comfortable, I tend to switch between the two.
Some tips before we begin
- If you hold down the space bar the cursor with turn into a hand and allow you to move the screen across your work area.
- If you hold down the shift key while painting onto your layer mask the line you paint will be straight.
- If you accidentally paint out part of your element, just change over to white paint and use it to paint the area back in.
Okay let’s get cracking!
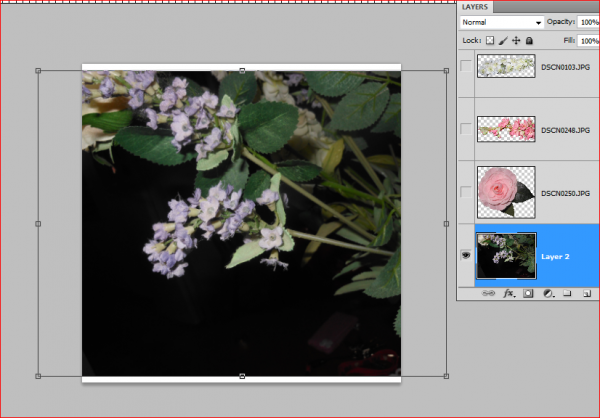
- Firstly you want to make sure you have a 300ppi document, make it large enough for your element then drag your photograph or scan onto the document. Only use sharp crisp images for extractions. Blurry or pixilated images are not recommended as they will not produce a good quality extraction. Start only with a high quality image. As you can see this one is big and sharp. My Document here is a full 12 inch page 3600px x 3600px and 300ppi.
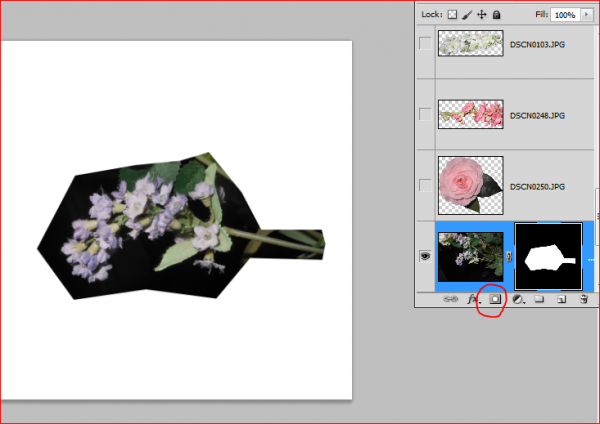
- Next apply a layer mask to your image layer. I only want the lower branch of this purple flower so I used my polygonal lasso tool to select it before I hit the layer mask icon (circled in red) at the bottom of the layers palette to apply the mask.
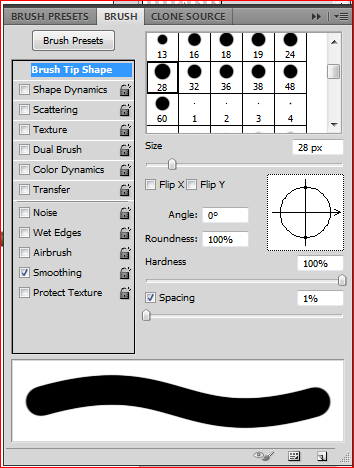
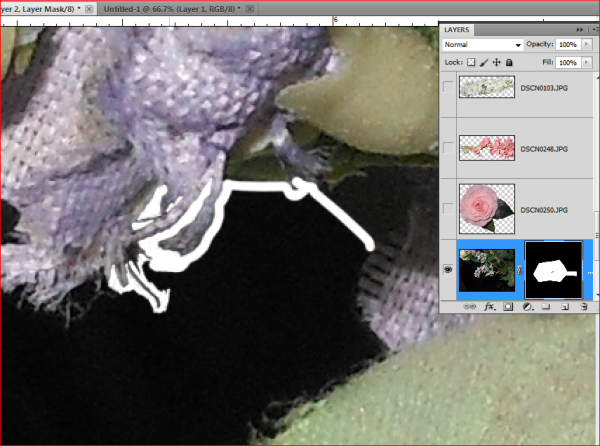
- Choose a small soft round brush and set your colors to black and white, with black being the color you are using (foreground color) Here I am using a brush around 30 pixels wide but I make it as small as 2 pixels wide to get into the tight corners as you will soon see. Now we will paint onto the layer mask to erase the background, be sure you have the spacing set as low as possible to avoid jittery edges.
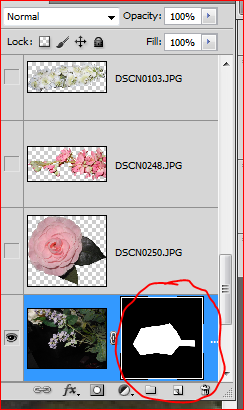
- Zoom in close to the edge of your image and then click on the mask thumbnail in your layers palette.
- Now proceed to paint around the edge of the item you are extracting changing the size of your brush as you need to when you come across tighter sections. Don’t worry about the larger areas of background, just paint out the edges first. Take your time and move in small movements to keep your extraction smooth on the curved edges etc.
- Keep working your way around the edges till you have met up with where you started, then be sure to get all those little areas inside the element if it’s got any background showing.
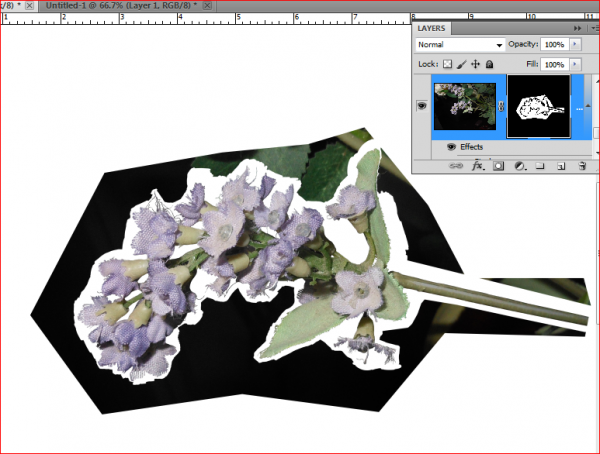
- Okay this is what you should have now. Next paint out the rest of the background, use a larger brushsize to do it quicker now that you aren’t painting near the edges.
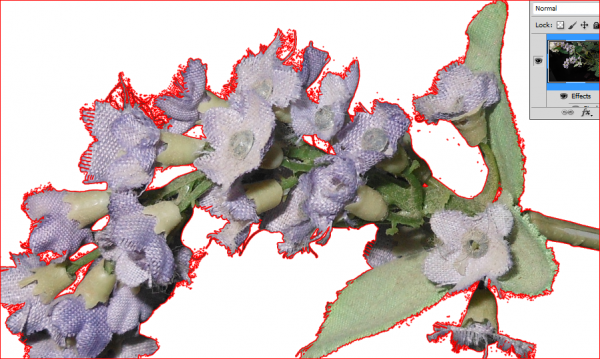
- Now we’ll do a check for strays. Apply a stroke layer style of 1 pixel to your layer and zoom right in to paint out all of those pesky stray pixels you can see. Wow I have lots!!!
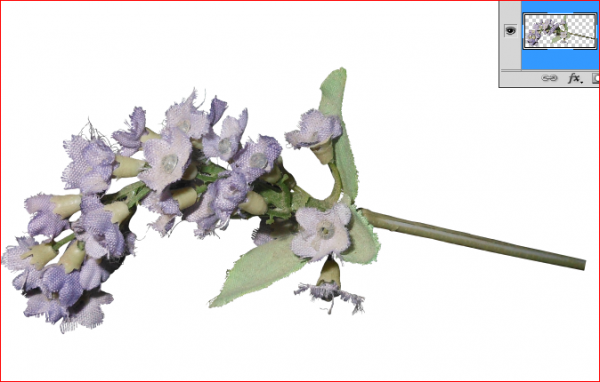
- Once you have erased all the stray pixels, remove the layer style and right click on the layer mask thumbnail to select apply mask, now you should have a lovely perfect extraction like this.
- Now all you need to do is crop the page closer to your element and then save it to your hard drive. I hope this is helpful to those of you looking for a different way to extract.
This element is available as part of my Fabric Flowers 02 CU set.




[…] Extracting Elements with a Mask and Pen Tablet – 1 freebie(s)? […]
[…] theory can pretty much be used in other graphics software. The tutorial on extraction called “Extracting Elements with a Mask and Pen Tablet” by Ambowife Designs is great. This one is for Photoshop CS and while she focuses on using a […]
[…] theory can pretty much be used in other graphics software. The tutorial on extraction called “Extracting Elements with a Mask and Pen Tablet” by Ambowife Designs is great. This one is for Photoshop CS and while she focuses on using a […]