I often get asked how my photos turn out so wonderfully. It is a true combination of ingredients; a good camera (Canon Rebel); photoshop; luck; 1,000 different shots; amazing actions. I’m especially a huge fan of Jodi Friedman’s actions over at MCP Actions.
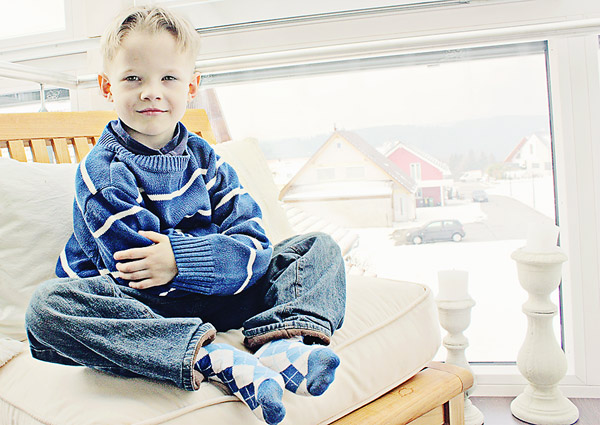
This photo appears in Wednesdays Studio Newsletter, under Personal Notes. I’m going to do a quick walk-through of my steps to get from A-to-Z, using Jodi’s actions. I am using both her free MCP Mini Fusion™ Free Photoshop Action and her MCP Summer Solstice™ Photoshop Actions (on sale for $50).
I also used my Rebel, my trigger-happy left finger, and Photoshop CS5. NOTE: Jodi’s actions are also available for Photoshop Elements. Simply click on the action you want to buy; the product page will list an option for Photoshop or Elements.
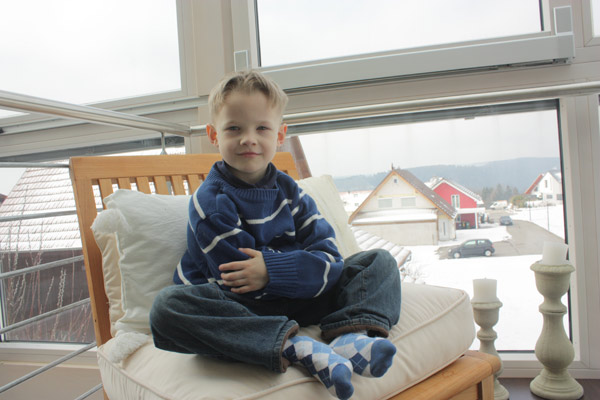
Here is my original SOTC (straight out of the camera) shot:
I almost always run Jodi’s MCP Mini Fusion™ Free Photoshop Action first. I’ve found it works best on summer, natural light photo’s. It is not quite as magic on indoor or gloomy outdoor pics. That said, my pictures with the most love are the ones using this action & only this action. Best part? It’s free!
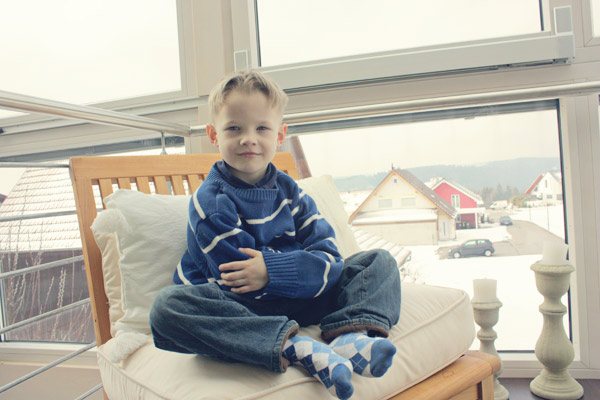
I did increase the Hazy layer as well activating (click the eye symbol to turn on, or show) the Pink Cadillac & Cool Blue Sea tone layers. I find using these layers, that her actions create, helps brighten my photo’s and bring to life bits of photo hidden in the shadows.
It being winter & gloomy, I need more to brighten my photo. I duplicated (available in Jodi’s MCP Summer Solstice™ Photoshop Actions as an MCP Season Extra: Seeing Double) and then clicked Pancake to quickly flatten my image. The MCP Season extra’s are workflow tools that help you work smarter & faster in photoshop. A must when you edit a lot of images!
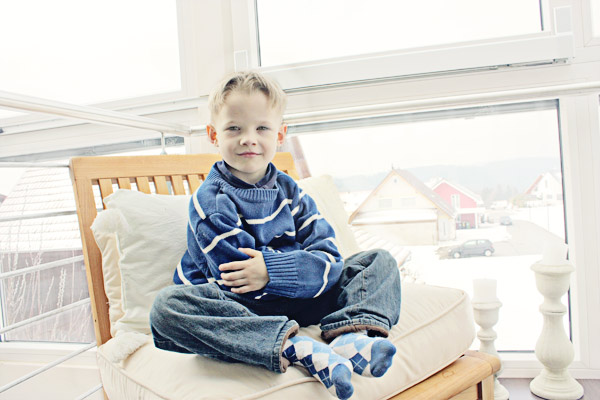
Once I had a new copy of my image, I ran my favorite enhancement actions (again from Jodi’s MCP Summer Solstice™ Photoshop Actions): Ellie’s Magic Trick (my absolute favorite action for pulling out details); Splash of Light; Hemispheres (Contrasts); Fill Flash (also helps lighten the photo);Clarif-Eye (critical to bring out eyes).
Most of these create layers & all I have to do is adjust the Opacity to create the look I want. Occasionally an action creates a mask that I can “paint” on using a soft, white brush so that it only affects a portion of my photo. In this case, I painted around Dane’s eyes on the mask created by Clarif-Eye to bring his eyes out of the shadows.
I again ran Seeing Double; and Pancake. This time I made minor adjustments by running Auto Enhance to adjust my curves & levels. As well as Clearly to add a little clarity just to the Dane part of the photo. I want him front & center of the photo. Finally I ran Illuminate to brighten the background. I did this by erasing only the background on the mask.
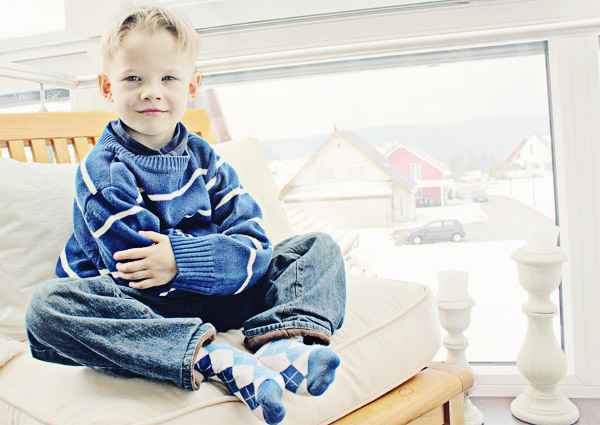
I again ran Seeing Double; and Pancake. This time I cropped Dane so he’s on the left third of the photo and more the star. I also ran Fill Flash to even out my shadows more. Finally I ran Ups and Downs to paint on contrast on only the Dane portion of the photo. I really want him to stand out more than the background. Sometimes, with how blond & pale Dane is, he really blends in with the background.
On my final steps I again run Seeing Double; and Pancake. Jodi includes a section called Finishing Effects and I use this to finalize the photo. I run Tiny Sharp to resize for the web (I use this for blogging, facebook & the newsletter) and sharpen my photo just a touch by adjusting the Opacity on the mask Jodi’s action creates. This is the final step Dane needed to come alive.





[…] Journey of a Photo Edit – 1 freebie(s)? […]
[…] Journey of a Photo Edit By Toiny […]