Who is willing to admit – in public – that they are still unzipping, filing, and organizing the iNSD purchases they made in May?
I don’t like to admit it to myself, much less to anyone else; but it’s true. I still have zipped files in my “To-Be-Unzipped” folder, just waiting for me to tend to them.
It’s not like I haven’t been busy. It’s not like I have forgotten them. It’s just that I get so easily distracted.
I unzip a folder, get excited about what is inside, and want to play with it. Before I know it, an hour has gone by, and it’s time to stop playing and get some work done. I carefully file the contents of my ONE unzipped product, silently acknowledging that, yet again, the rest of the files will have to wait for another day.
However, there IS one thing I do faithfully when I unzip a product, and that is give a cursory look at the images to be sure they have been properly trimmed of transparent pixels. Transparency utilizes a LOT of space on our hard drives. I jealously guard my hard drive space, wanting to use it in only the most efficient ways.
Back in February 2012, Manda (Nibbles Skribbles) taught us how to save space by using TIFF file formats as often as we can. If you missed that great article, you can read it here: Layered files: PSD vs. TIFF. Today I want to demonstrate that transparency DOES affect the space on our hard drives, and what we can do to circumvent that problem.
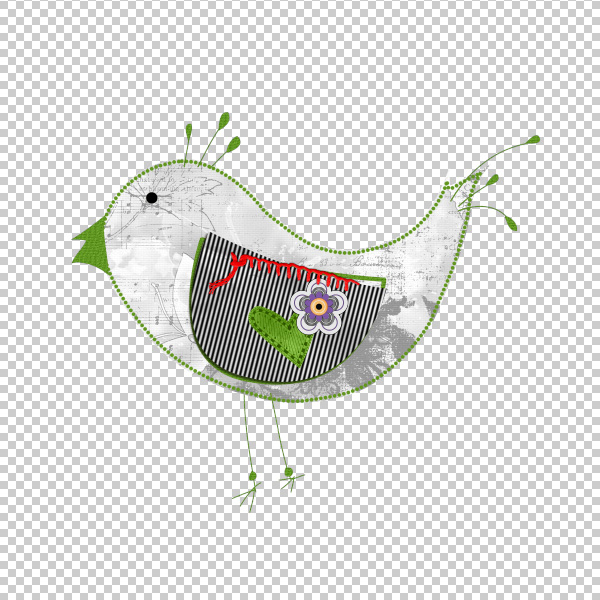
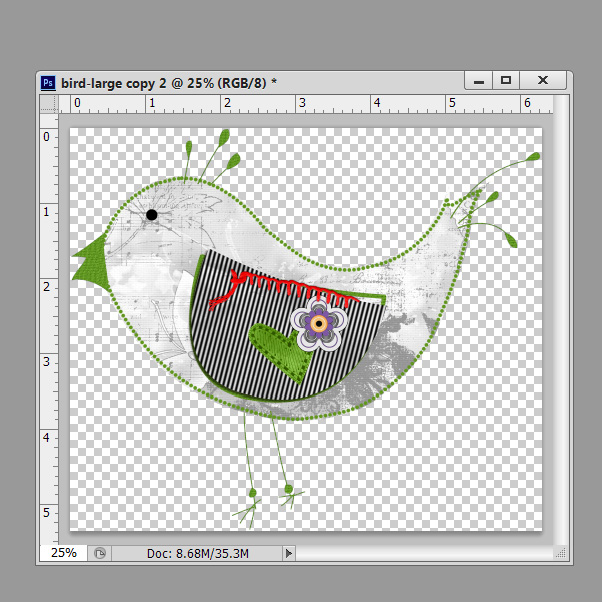
Here is a screenshot of a bird I was working on for my collaboration with Jilbert’s Bits of Bytes, “Uniquely You.” When I was finished with him, I flattened the image. Without thinking, I clicked on Save before my final “trim.” The resulting file was 540.4 Kilobytes in size.
I immediately realized what I had done, opened the file, and trimmed the transparent pixels. The resulting file was 435.0 Kikobytes.
There was a difference of 105.4 KB between the untrimmed and the trimmed versions. Not much difference, right? But this was on just one file.
How many elements are in a digital scrapbook kit? Let’s assume an average of 50 elements per kit. And let’s just make the assumption that every image is not properly trimmed, resulting in 105.4 extra Kilobytes per image.
50 elements X 105.4 Kilobytes (transparent pixels trimmed) is equal to 5270.00 Kilobytes, and that equals 5.14 Megabytes of unnecessary transparency.
Let’s take it a step further…How many kits do you have? Multiply the number of kits you have by the 5.14 Megabytes of space savings by trimming transparency. That is a LOT of extra space you have to use for other things now!
Now, I know that I took this example to ridiculous proportions to illustrate my point. I know not every kit has 50 untrimmed elements in it. Some (most?) kits don’t have any! But what made me ponder this whole transparency issue is the fact that I DID open one kit recently that had a lot of transparency on each elements, and I did save 2.3 Megabytes simply by trimming away the transparent pixels myself before filing the kit.
I am proud to work with designers here at theStudio who understand how important it is to properly trim images. And if something slips by us, we have the most awesome Quality Control Team here to catch those things for us. As a result, with your purchases from theStudio, in all probability you will never come across this issue. But I still think it’s a good thing to be aware of. If only for the sake of knowledge.
So what if you have an element with transparent pixels you want to trim? How do you do it?
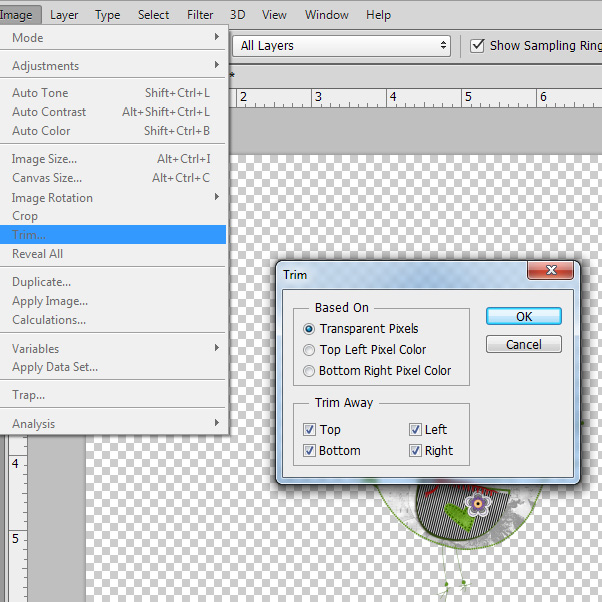
In Photoshop you can use the Image > Trim option. However, sometimes this tool will cut a little too close to the image, most notably when a style has been applied to the image. If you use this tool, just be sure to double-check your final Trim.
In Photoshop Elements, you can use the Image > Crop option; then adjust the cropping lines accordingly. This is also an option with Photoshop too, of course.
There are also Photoshop Actions that will quickly and easily Trim for you. Boop Designs, Moon Designs, and Skrapper Digitals all have Actions that contain a Trim option. Just click the button, and you’re done!
The important thing is, no matter how you decide to get rid of those extra pixels, just do it! Your hard drive will love you!


[…] have a new tutorial on theStudio’s blog: “Transparency utilizes a lot of space!” Save space on your hard drive following this quick […]
Oh my goodness! i learned eons ago to save things in tiff if i have the remotest idea that i might want to make changes in a LO! i don’t jpeg them till i am sure. Yes, PSDs are byte hogs. i NEVER save things in PSDs, and when a designer sends me PSDs in a kit, i immediately pull it into PS and convert it to a TIFF! Thank you for calling attention to this space hog. Of course, i’ve been using PS for nearly 15 years, so i learned quickly how to economize with HD/EHD space! Thanks again!
I never realized that the transparency added to the space a file takes up. For those who PSP, I use the magic wand to select the transparent space then invert selection & expand by 5 px & crop to selection. Hope this helps the PSP users. Now I am going to check out the PSD v Tiff & I can see a lot of work ahead of me.
Thanks, Peggy! I rarely see anything on these tutorials for PSP users and this certainly helps. I usually have to google whatever it is I’m looking for when it comes to learning something new on PSP. Thanks so much for your post!
Glad I could help Linda. I agree that there isn’t nearly as much out there for PSP. I’ve been using it for almost 12 years & I am still learning new things about it.
[…] Transparency utilizes a lot of space! – 1 freebie(s)? […]