Last week we looked at a few features of the Marquee Tools. In case you missed “The Marquee Tools in Photoshop, Part 1,” you will find it HERE.
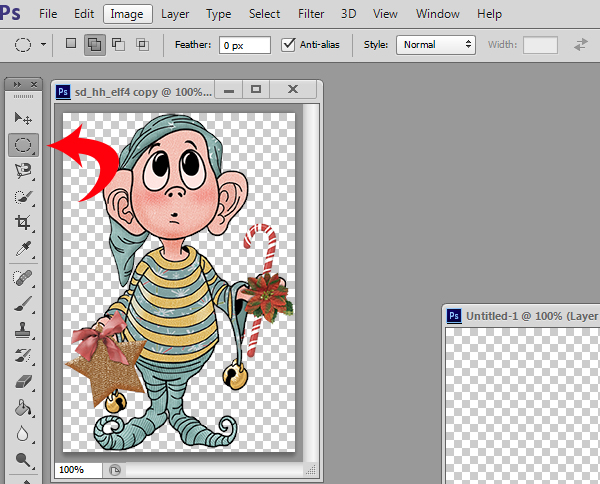
In the image below, I have the Elliptical Marquee Tool selected. Because I have a Marquee Tool selected, options associated with the Marquee Tools are now available for me in the top Tools Bar. Last week we looked at the 4 different Marquee Tools (Rectangular, Elliptical, Single Row, Single Column), and how to Add to, Subtract From, and Intersect with another Selection. Today let’s look at the other options that are available for us, starting with the Feather option.
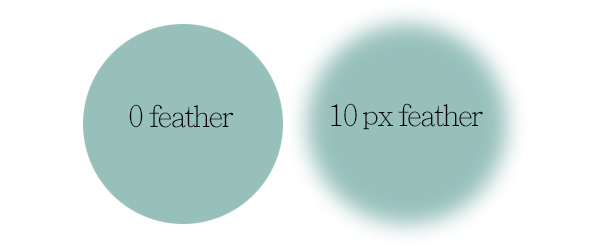
Choosing the Feather option will soften the edges of your selection, so that it blends nicely into the area outside your selection. The size of the Feather determines how much of the selection is feathered. The higher the value, the greater the feathering effect will be.
The next option we are offered is the”Anti-alias.” Since”Aliasing,” in computer graphics, refers to jagged or rough edges, “Anti-aliasing” is the reduction, or smoothing, of those (usually) unsightly edges. You must check the Anti-alias box prior to making a selection, since Anti-alias cannot be added to an existing selection. I just always leave my Anti-alias box checked, that way I don’t have to worry about it.
“Style” is the next option we have. I love this option! When we click on the down-pointing arrow next to “Style,” we are offered 3 choices: Normal, Fixed Ratio, and Fixed Size.
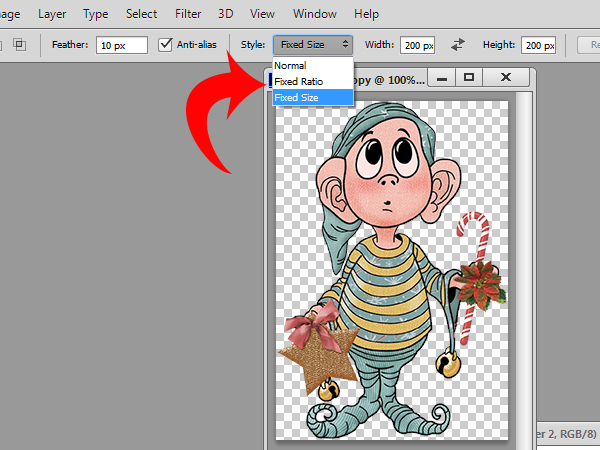
When we select “Normal,” we can drag out our section without any proportion restraints.
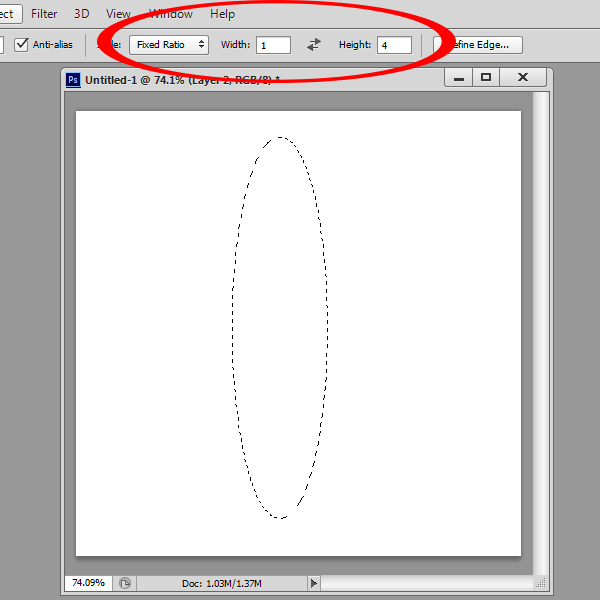
When we select “Fixed Ratio,” the Width and Height boxes become active. Here we can enter the ratio values of the selection we would like to make. I would like to draw a selection that is 4 times as high as it is wide, so I entered 4 in the Height box and 1 in the Width box. I can then go ahead and drag out my selection, and it will be created according to the ratio choice I made.
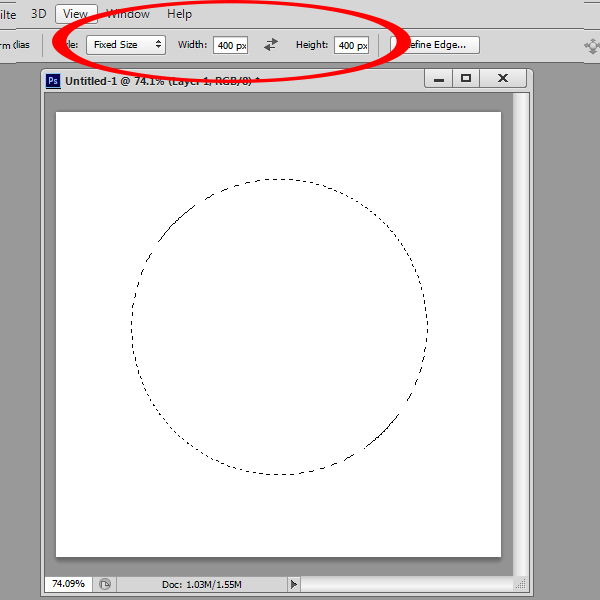
The third Style choice we have is “Fixed Size.” When we choose this option, we can determine the exact size of our selection by entering pixel dimensions. I love this option because I can get exactly what I want so easily!
I wanted to create a 400 pixel X 400 pixel circle, so entered 400 in both the Width and Height boxes, then clicked on my blank document. The selection was automatically made for me.
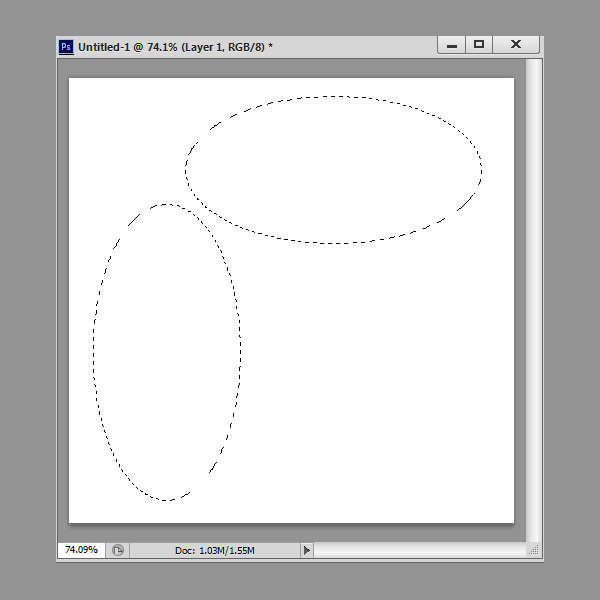
If I wanted 2 elliptical shapes, for example, I could enter 200 x 400 in the Width and Height boxes, create one shape, then click on the double arrows that are in between the Width and Height boxes. This will switch the dimensions so that I can then create an elliptical shape that is 400 X 200. (The option to interchange selection sizes by clicking on the double arrows is available with the Fixed Ratio option also.)
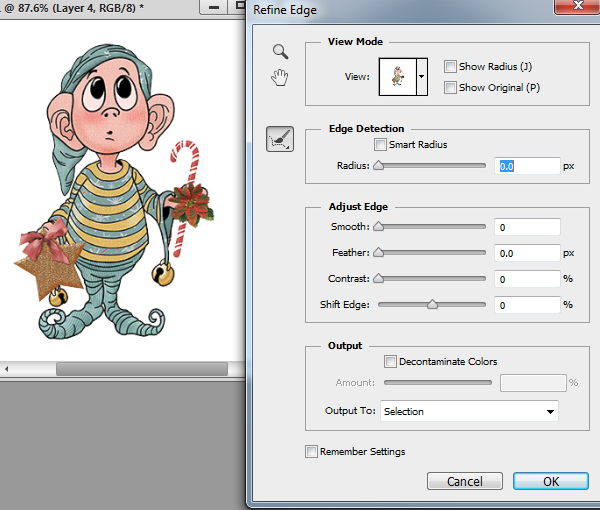
The final option that we have is “Refine Edge.” This option does exactly what it says it will do, and refines the edges of our selections.
In the image below, I selected this cute little elf (by holding down the Control key and clicking on the thumbnail image of the elf in the Layers Panel). When I click on the Refine Edge button, a new dialogue box opens. I can make further adjustments to my selection here. I talked about the Refine Edge tool in a previous tutorial, “
Using Layer Masks to Create Transparency.” Rather than repeat myself here, I encourage you to hop over to that tutorial to read more about this tool.
After last week and this week’s tutorial on the Marquee Tools, I hope you have learned something new, or remembered something you had forgotten, in order to make your digital scrapbooking go easier and faster for you!
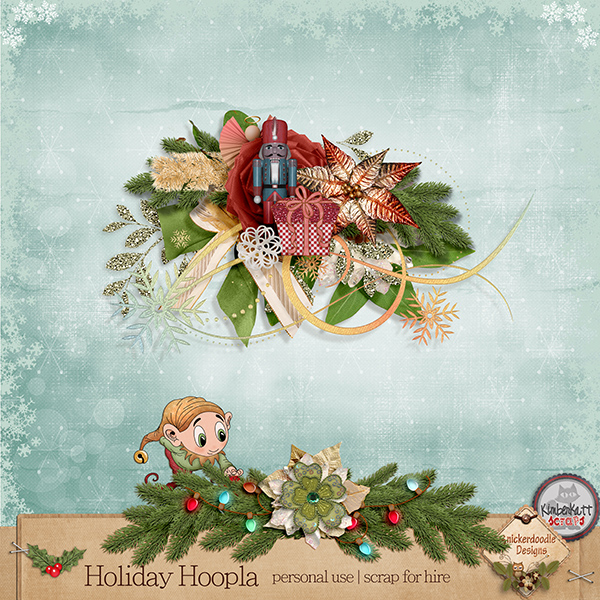
Credit: The elves shown in last week and this week’s tutorial are from
Holiday Hoopla, a collaboration between Kimberkatt Scraps and
SnickerdoodleDesigns. Visit theStudio’s
Christmas in July category to pick up this and other Christmas kits at a savings of 50% thru July 31st! And visit our
Facebook Page to download our Facebook Fan Exclusive Freebie – this Holiday Hoopla cluster that Renee, a member of my Creative Team, designed for you! Not a Fan yet? Become one by clicking on the “Like” button. It’s as easy as that!


[…] The Marquee Tools in Photoshop, Part 2 – 1 freebie(s)? […]
I wondered what those double arrows were for! LOL Thank you, m’dear!
Su
I thought I knew how to use these tools, but you always manage to teach me something. Thanks again!
Sharron