With the holidays fast approaching, it’s time to start thinking about seasonal photos. Do you prefer posed photographs or spontaneous ones? Do you like to creatively edit your photographs with filters, actions, or adjustments? Today let’s take a look at a simple way to create some dynamic black and white images.
For the purposes of this tutorial, I am working in Photoshop CS6. I will also note the options available for this technique in Photoshop Elements 12. Please check your own software version to see how this tutorial will work for you.
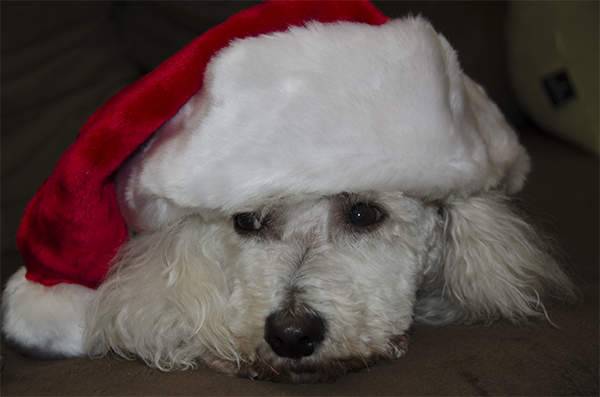
This is a picture of my dog, Riley. I love the splash of color his Santa hat gives the photo, but let’s see what a black and white photo would look like.
To add a Black and White Layer Adjustment we can:
- Go to the top Menu Bar: Image > Adjustments > Black & White
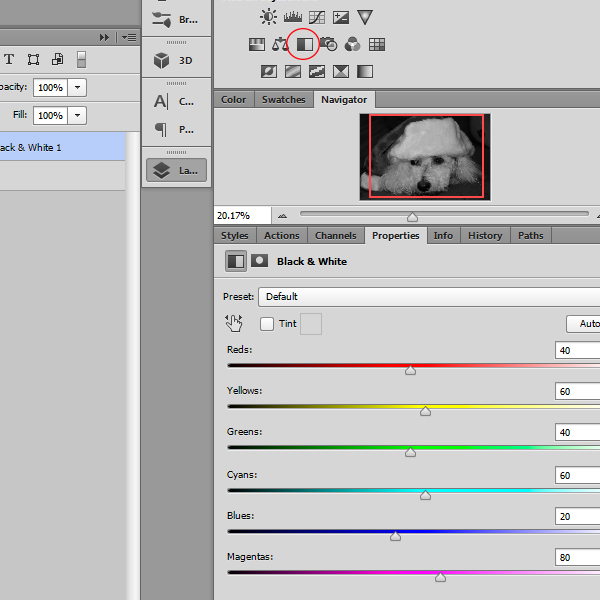
- OR, go to our Layers Panel, and click on the 4th icon from the left (the circle that is half black and half white)
- OR, go to the Adjustment Panel and click on the rectangle (2nd row, 3rd from left) that is half black and half white)
Once the Adjustment is applied, we might find ourselves absolutely happy with the image. If that is the case, we can just save the image as we normally would and be done! But Photoshop gives us creative control in the Black and White Adjustment Panel, if we would like to make further adjustments.
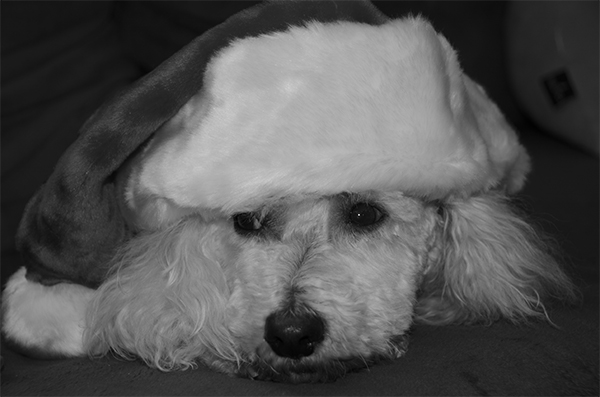
This is the result I received from applying just the Black and White Adjustment. It’s not bad, but I would like to see the Santa hat be a little more prominent, not fading into the background as much as it does.
Photoshop offers use some Presets to experiment with, and here is where the fun begins.
- Try ticking the “Auto” button first to see if you like those results. You might find exactly what you are looking for!
- Experiment with any of the Presets in drop-down box. Tip: Use the down-pointing arrow on your keyboard to quickly cycle thru the Presets.
- If you find a Preset that you like, but the effect is too strong for you, experiment with blending modes on the adjustment layer.
- Experiment with the color sliders for a fully customizable effect.
- Remember you can combine adjustment layers too. (For example, I also added a Levels Adjustment to the image below.)
Here is the end result I was happiest with:
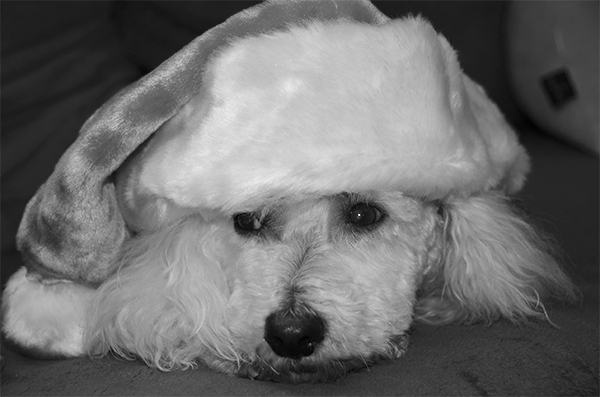
(Black and White Adjustment Layer; Custom Slider Adjustments; Levels Adjustment)
There is no formula for getting the “right” look for every picture. Each picture will be different. Experiment with all of the available options to see what works best for your photograph. If you don’t like the results are you getting, just go back to the Preset drop-down arrow, click on “Default,” and start all over again!
Photoshop Elements Users: The path you will follow is: (Top Menu Bar) Enhance > Convert to Black and White. You will find “presents,” which Elements refers to as “styles” on the left of the options window, and Color Adjustment Sliders on the right. Use the Undo or Reset buttons to undo any changes.
It’s fast. It’s easy. It’s fun! And that’s all there is to it!
Download the PDF of this tutorial here, and watch the video on YouTube by clicking here or on the image below.


I love this technique! I am thinking I am going to go and convert several photos using this method. What fun – thank you so much.
This is a great tutorial – I have a few pictures that would be perfect for this. Thanks Karen 🙂
Another EXCELLENT video Karen. Thank you!!
Thank you! I appreciate that you take the time to comment, and I’m really glad you found the tutorial (and video) helpful!