Blend Modes in Photoshop change the way in which layers interact with one another.
“(The Blending Mode) Screen brightens by lightning the lower layer based on the lightness of the upper layer. The result is always lighter, and makes it a good mode for correcting exposure in photos that are too dark.” -Sara Froehlich
Let’s look at two practical ways to use the Screen Blend Mode!
Photo Editing:
I took this photo of my grandson, Tyler, and his face was shadowed.

There are various different ways to fix photos like this, but I like to start with the easiest way to see what kind of result I can get. I followed this process:
1. Duplicate the original photo.
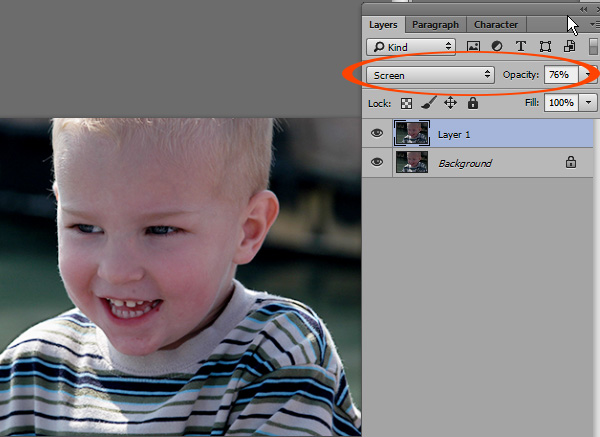
2. Change the blend mode of the duplicated photo to Screen.
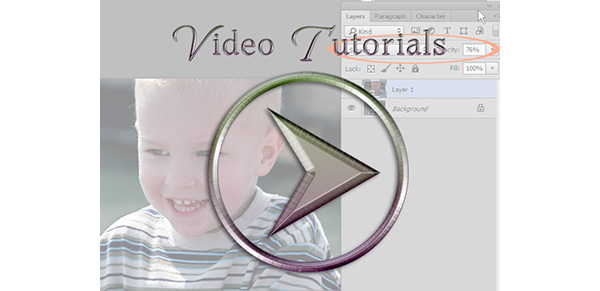
3. The result was good, but a little too strong for my taste. I reduced the Opacity of the Screen Mode to 76% and was happy.
Designer Tip:
I find myself using Screen in my design work too.
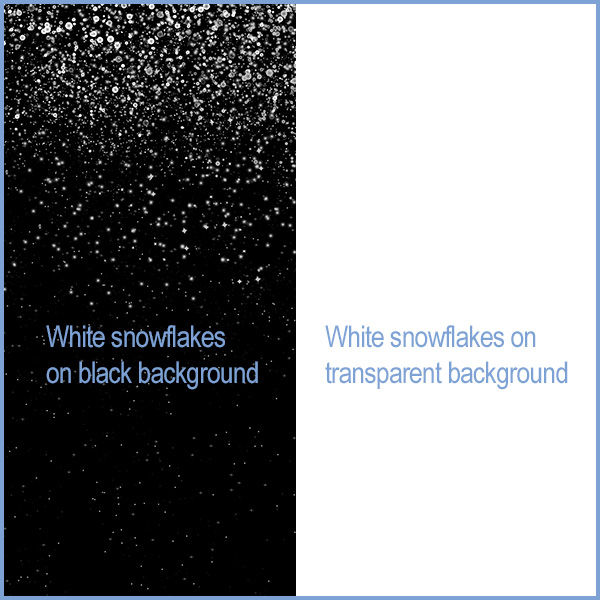
When I was creating the Woodland Winter Snow Overlays, I found it very difficult to work with small white snow flakes on a transparent background. I placed a layer of black underneath my working layer so I could see what I was doing.
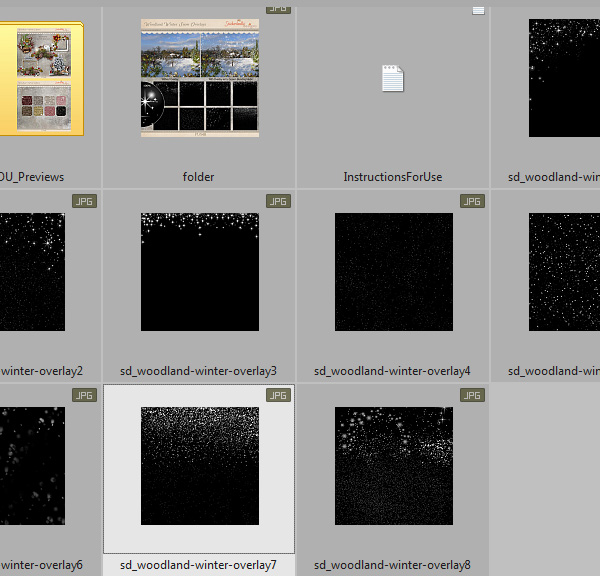
When I was finished with the design and saved the files in png format, to preserve the transparency, I realized how difficult it was to view the files in my software program. I did not want to have to open every overlay and place it on my document to see what it looked like; but even more importantly, I didn’t want you to have to do that.
The solution? Save the white overlays with a black background so they would be easy to view. All the user would have to do is change the blend mode of the overlay to “Screen”
Do you see anything different about the 2 photos below?
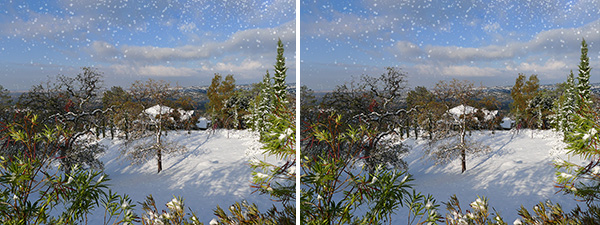
Left photo: I placed one of my original files (white snow on transparent background) on a layer above the photo.
Right photo: I placed one of the Snow Overlays with the black background on a layer above the photo and changed its blend mode to Screen.
The end result is identical.
And I didn’t have to open every overlay to decide which one I wanted. I can easily see them in my software program.
Maybe you have some white patterns on transparent backgrounds in your digi-stash and wish they were easier to view? Just open them, one at a time, place a black background underneath the pattern, merge the documents, and save as a jpg (not a png). That’s all there is to it!
(Don’t forget, it’s always best to work with a duplicate of your original image.)
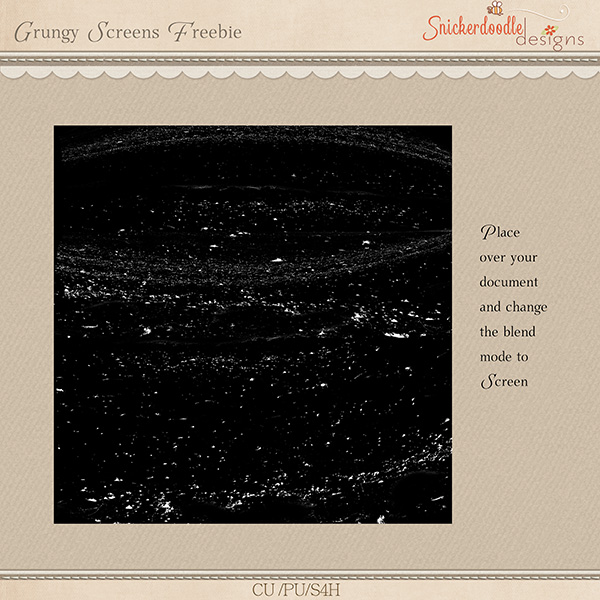
Perhaps you are interested in trying the Screen Blend Mode but don’t have the need for snow overlays? I just released 4 Sets of Grungy Screens which are perfect for adding texture to photographs, embellishments, word art graphics, and backgrounds. You can find them in my Commercial Use shop here at theStudio as individual sets, or as a value-priced Collection. Below the product preview is a sample for you to download and experiment with.
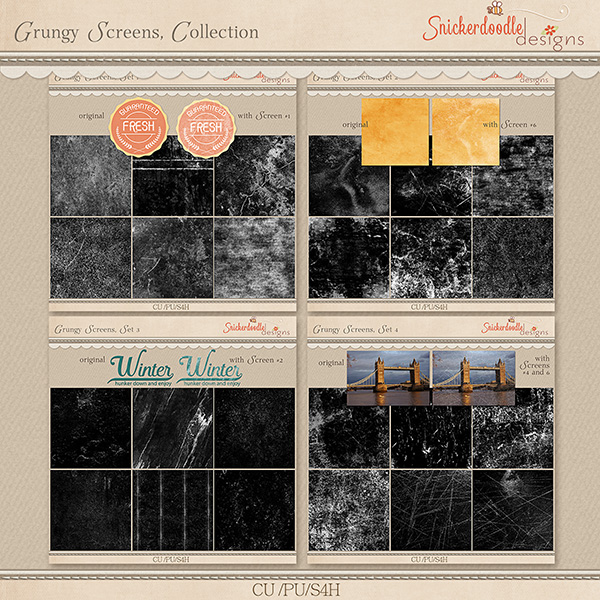
Click on the image to download this Grungy Screen to experiment with!
If you would like to keep this tutorial on your computer for easy reference, you may download a PDF here.
If you are a visual learner, you can view this tutorial on SnickerdoodleDesigns YouTube Channel and on theStudio’s YouTube Channel.
Please head over to You Tube and take a minute to Follow both channels. Each channel will have some exclusive videos, so by following both channels, you will be sure not to miss a thing! Thank you!!


ALWAYS so easy to understand, thank you and thank you for the freebie too.
What a great idea for the overlays …. thank you 🙂
I knew about this use of screen and use it often. It can do wonders! But your other tutorial about using overlays and putting a black background behind the white overlay, saving as jpg and then using screen was a complete revelation to me! It works perfectly, and is a much smaller file size to boot. Now I might actually use more of the overlays since I will be able to see them right away. Thank you so much for this info!
Thanks Karen. As always, a great tutorial!
Faith, Su, Peggy, Robyn… Thank you! 🙂
Another super tutorial Karen. Thanks so much.
Thank you for the great tip of putting a black background behind a white overlay! && thanks for the grungy overlay to play with. 🙂
Thanks, Elaina and Pam. I am glad you will find this useful!