I’ve been noticing some amazing layouts in the Gallery! Thank you for uploading your creations so we can all be inspired by them!
I was asked about photo clipping masks this week, and so I went to the gallery to snag a few examples for you. Here are just three.
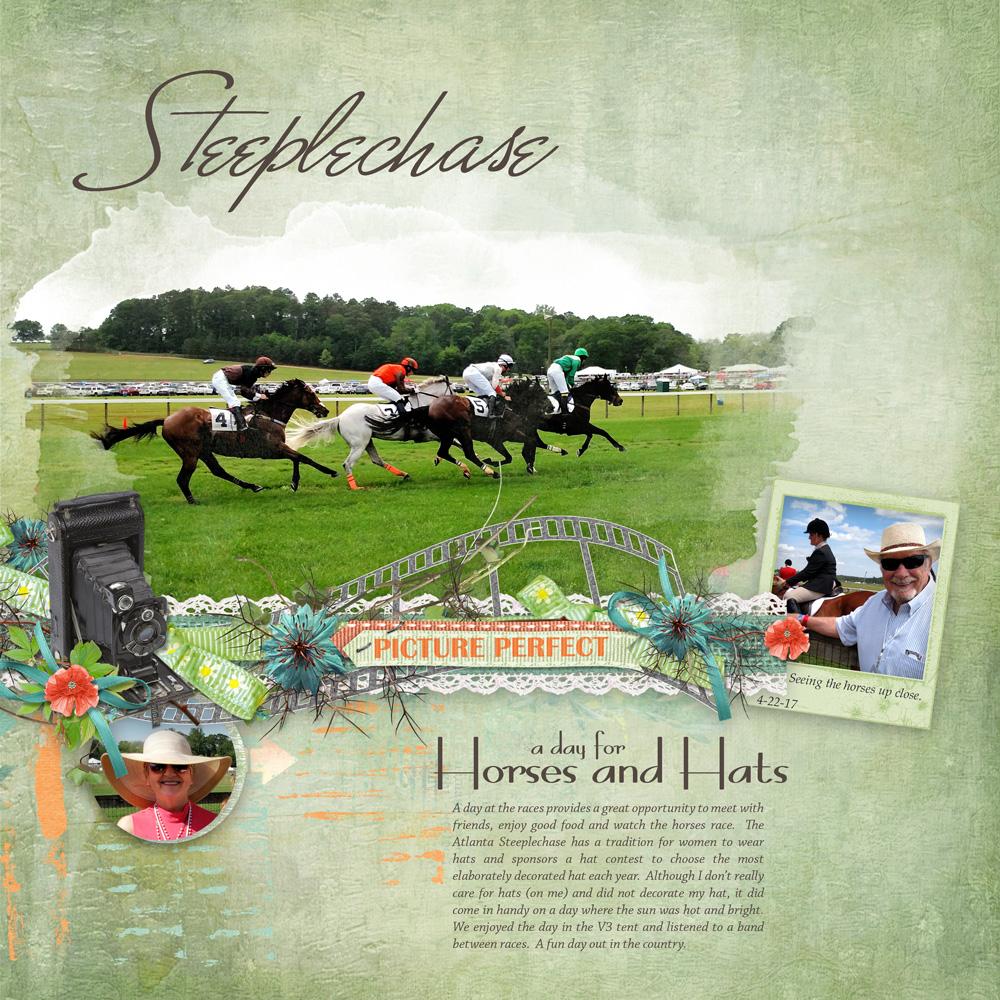
In this layout by Retired Lady, she used a clipping mask on her main photo. I love how this highlighted the photo, and how the soft edges of the mask help blend her photo perfectly into the paper.
Here is one by nightshadow. I love how she used the mask on her photo and has it spilling out of the frame!
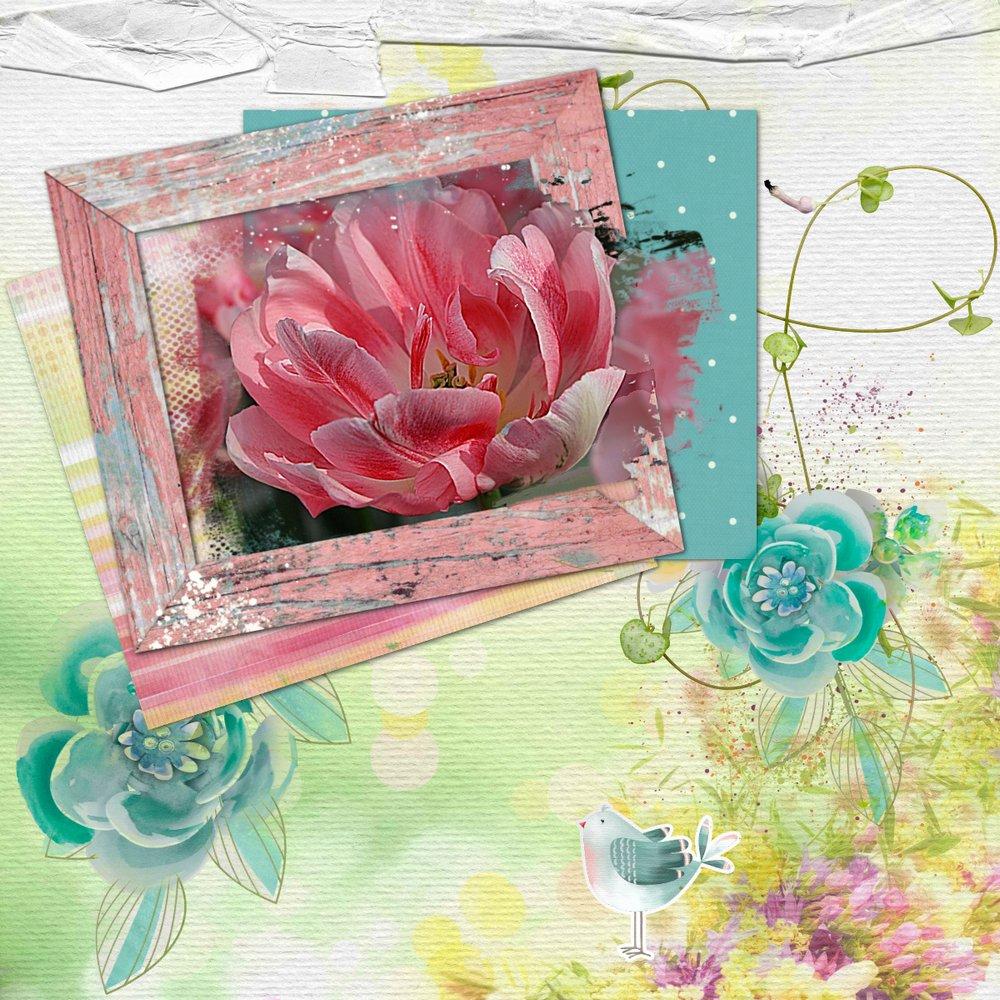
And one more example for you by LiMa Inspirations. Her use of a mask on her photo is the perfect touch for her gorgeous page.

So how do you use a clipping mask? I think you will be surprised at how simple it is!
I am using Photoshop CC2017 for this tutorial, however, this technique works the same way in Photoshop Elements.
What is a clipping mask: Simply defined, a clipping mask is a shape, which will define the edges of the item that is “clipped” to it.
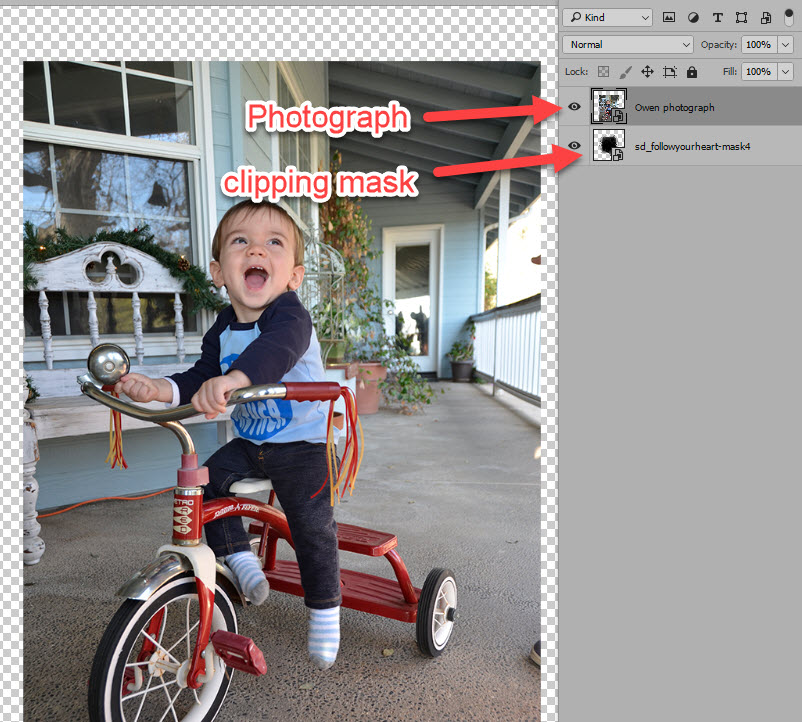
Pictured below is a clipping mask. It is on its own layer in Photoshop.
 Place the item (photo, paper, etc.) you would like to clip to the mask on the layer above the mask.
Next:
- Click on the top layer to select it.
- Hover your mouse in-between the 2 layers, while holding down the ALT key.
- Once you see the white square, with a down-pointing arrow, left click your mouse and left go.
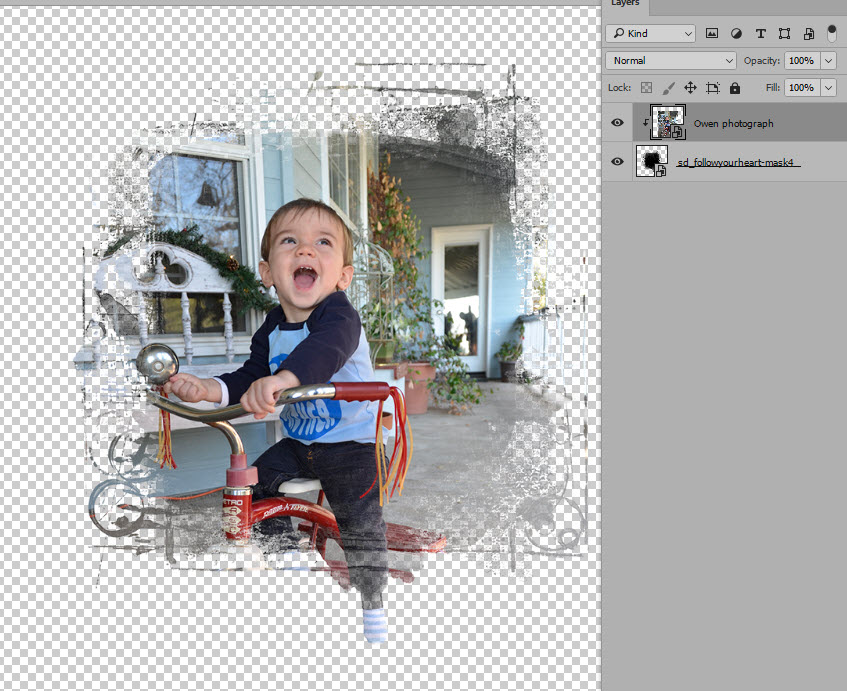
- Your photo or paper will take the shape of the mask.
- (Also note how, once clipped, the photograph will be indented with a down-pointing arrow to the left. This symbol indicates that the item is clipped to the layer below.)

And that’s it!
You can clip anything you like to a mask, and that is just part of what makes them so very versatile! Experiment with clipping papers to masks too. It’s super fun!

I hope you have found this helpful!


[…] How to use Photo Clipping Masks […]