Hidden inside this month’s Anthology, Shabby Romance by BenthaiCreations, is a little gem that I just recently discovered & absolutely fell in love with. I’m talking about two-tone masks. My new favorite element I suddenly have to use them on all the layouts. On all my photo’s!
I didn’t realize at first what a two-tone mask was. I certainly didn’t use it correctly. Luckily Ben is a sweetheart, and kind, and patient, and he explained it to me. OMG! How have I lived without these?!?!
A two-tone mask adds texture, lines and a vintage look to photo’s (papers, elements, etc.). But. It requires a different blend mode when used in Photoshop or Elements. It’s a very quick easy change, simple use it in the layer above your photo and set the blend mode to screen. Really, that’s it. And it’s awesome.
Ben is going to personally talk about the wonder that is his two-tone masks (and hand-out a freebie!) in his chat tomorrow, Saturday February 23 at 10:00 AM EST (UTC-5:00). Please join us in our chat room?
For those of you not able to attend, or interested in a step-by-step tutorial that you can come back to, here’s what I did with Ben’s Shabby Romance Two-Tone Mask 3.
I have no patience, I wanted to see the mask now. I grabbed one of my favorite Shabby Romance layouts and used it as a starting point:
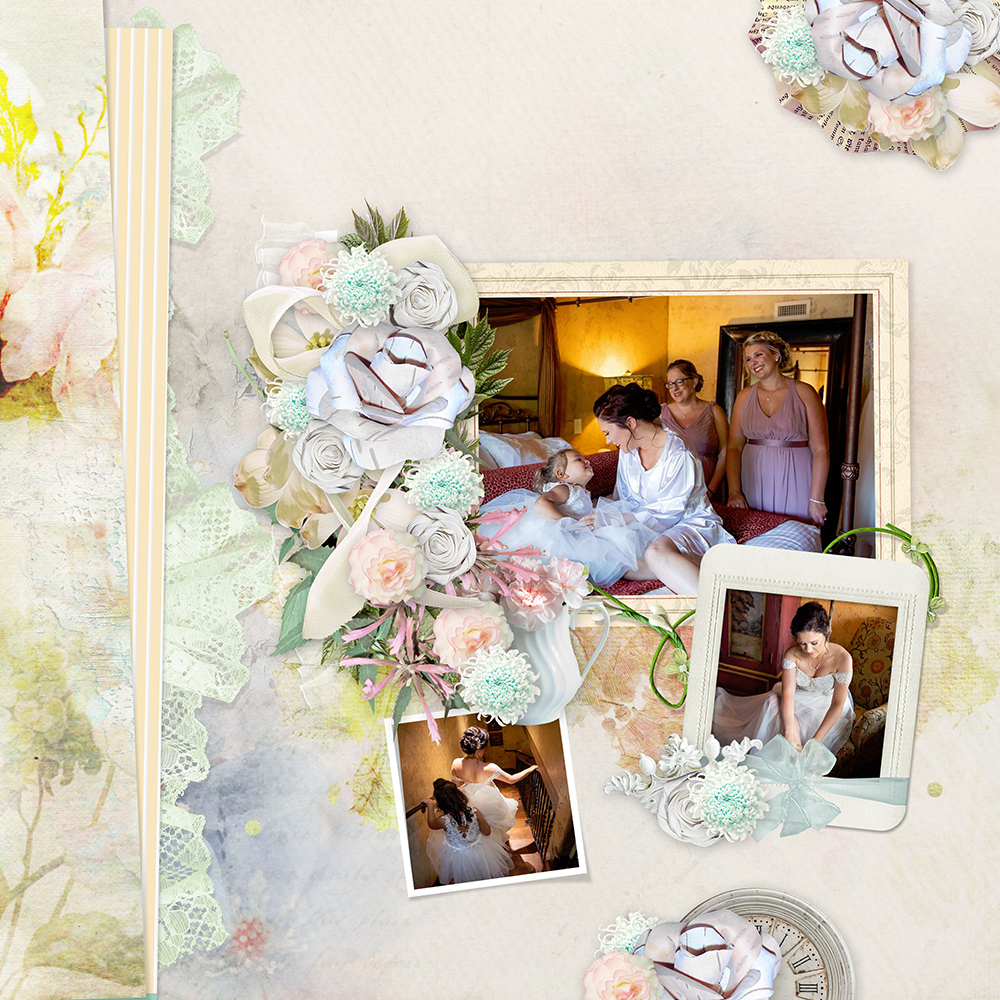
I removed the two extra photo’s. I wanted to focus on just one photo using the two-tone mask. I also removed the main photo, I had a different one in mind. My starting point is a completed layout, with all the layers, except the photo: 
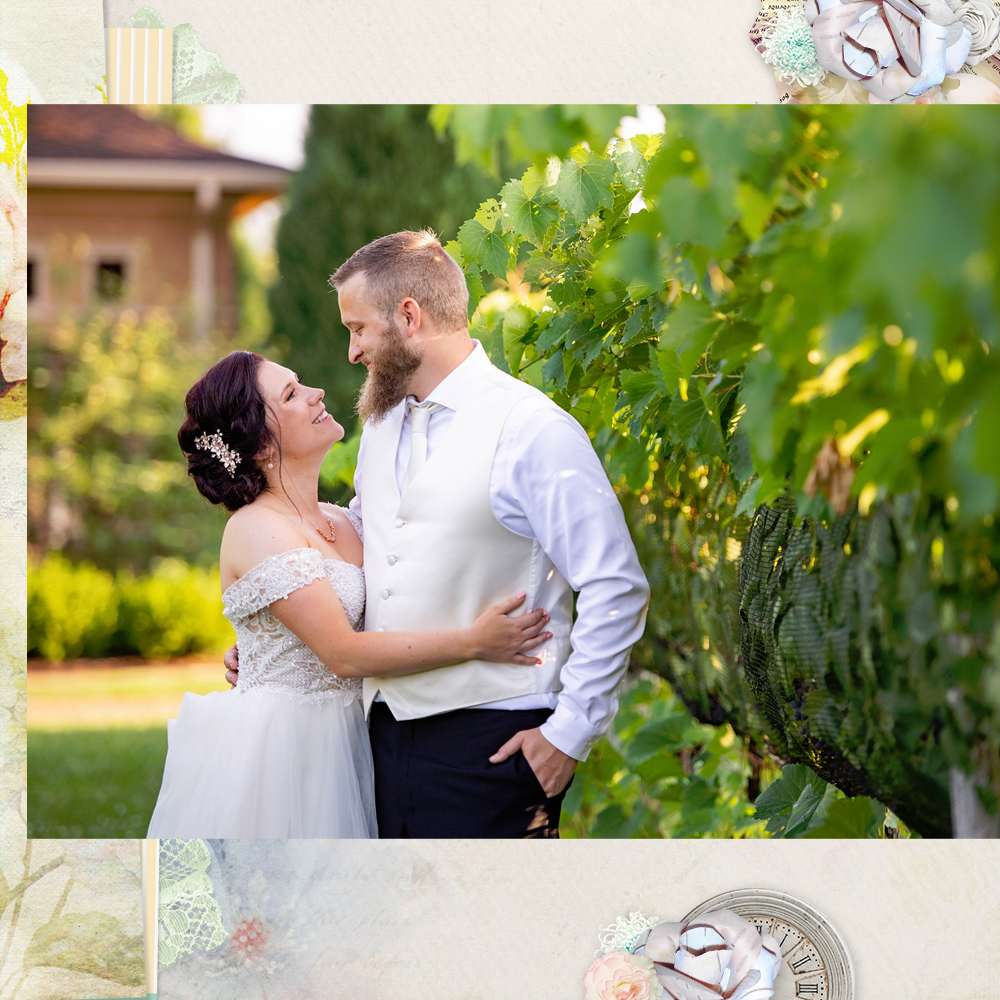
I dragged in one of my favorite photo’s of Soren & Lindsay after the wedding ceremony:
Then I dragged in Ben’s Shabby Romance Two-Tone Mask: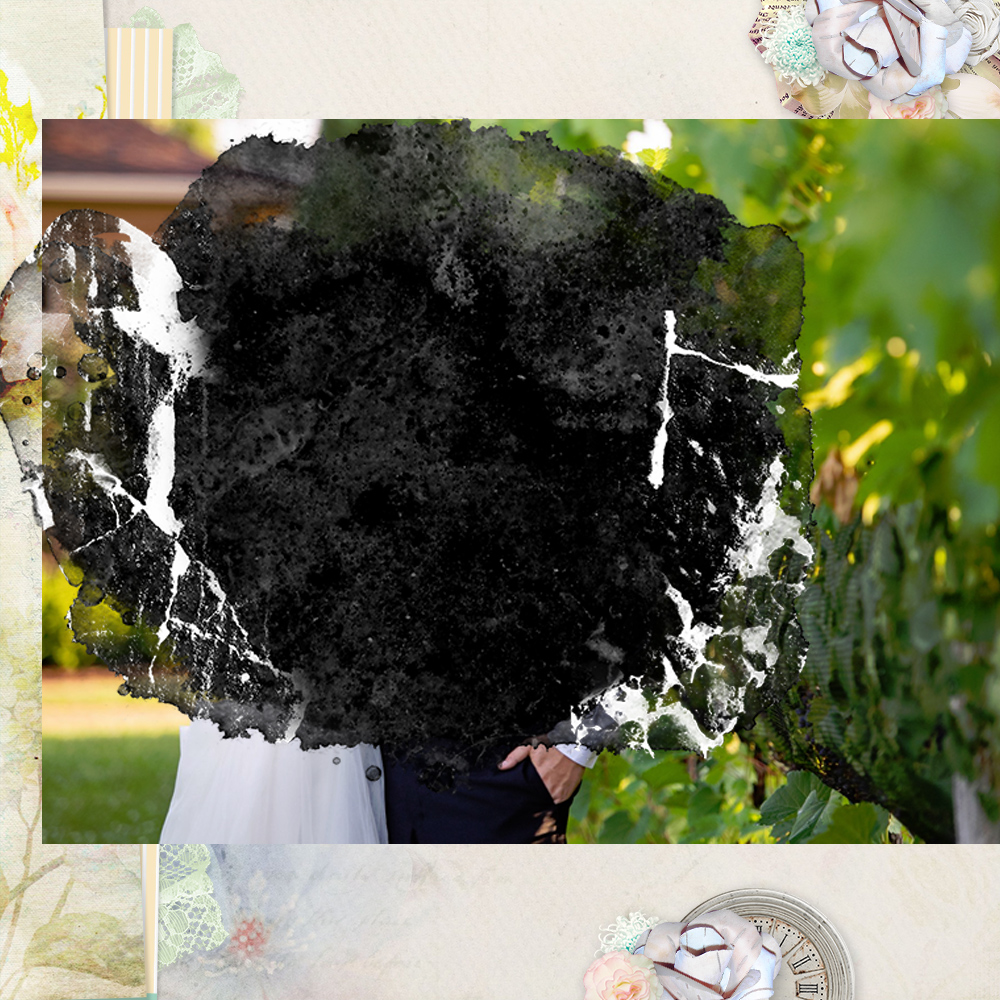
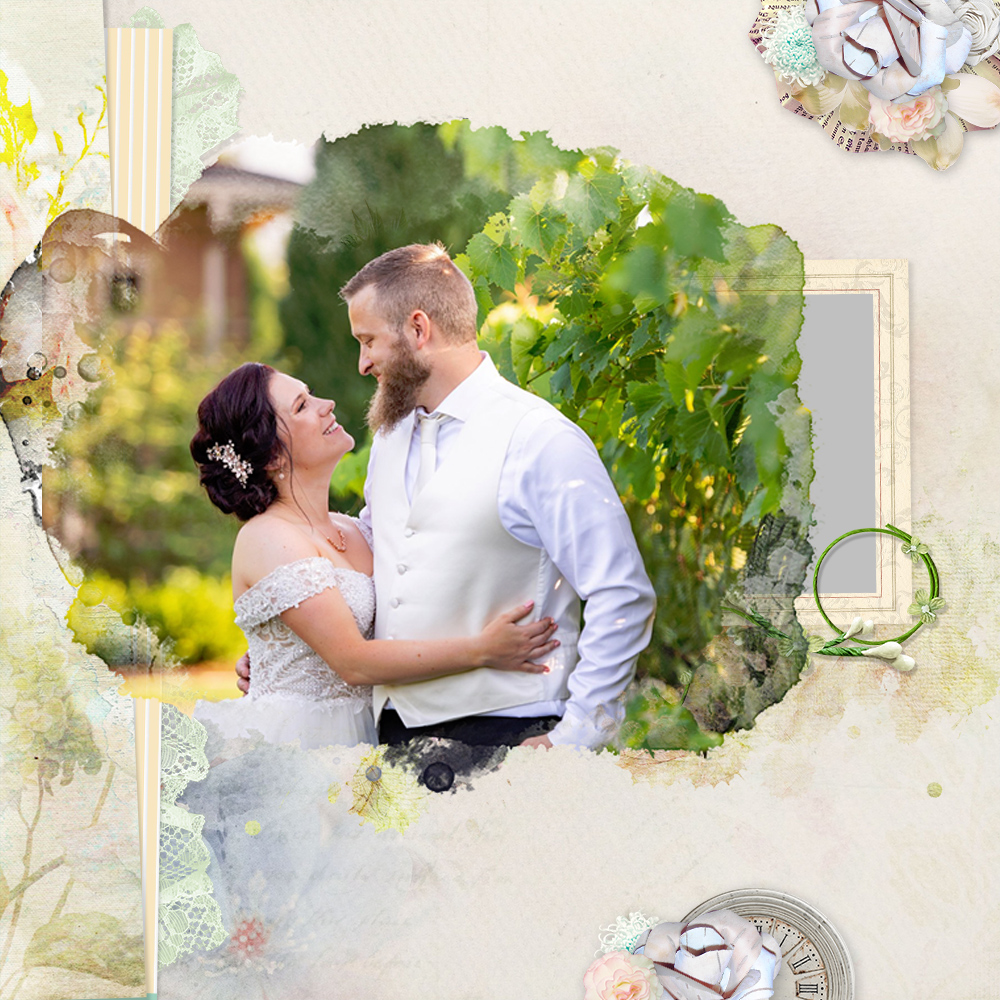
Normally I’d drag the mask underneath the photo & create a clipping mask:
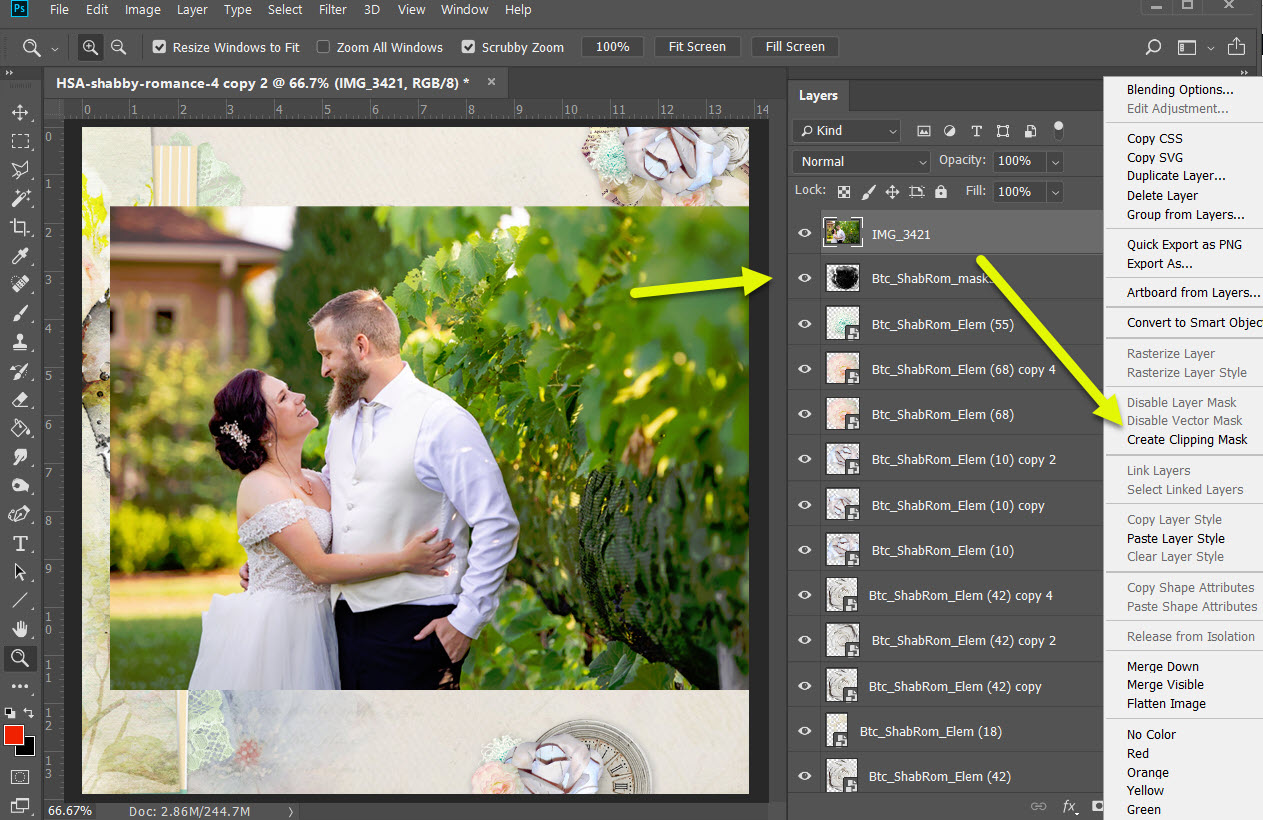
Even with a two-toned mask, this technique gives me a very cool result. But. We don’t see any of the white in the mask. We don’t get the full vintage effect I so love.
Instead, keep the mask in the layer above your photo. And change the Blend Mode from normal to Screen:
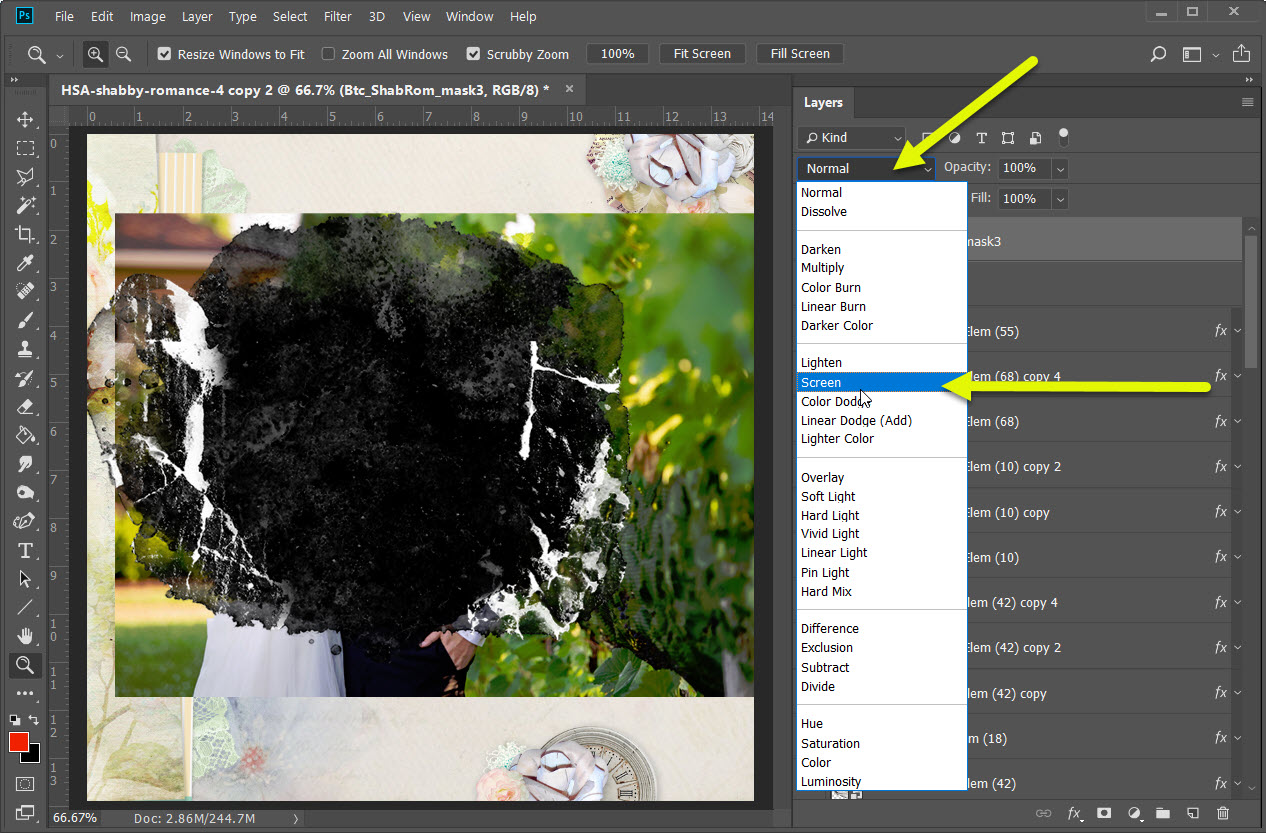
Now I have a very cool vintage effect on my photo!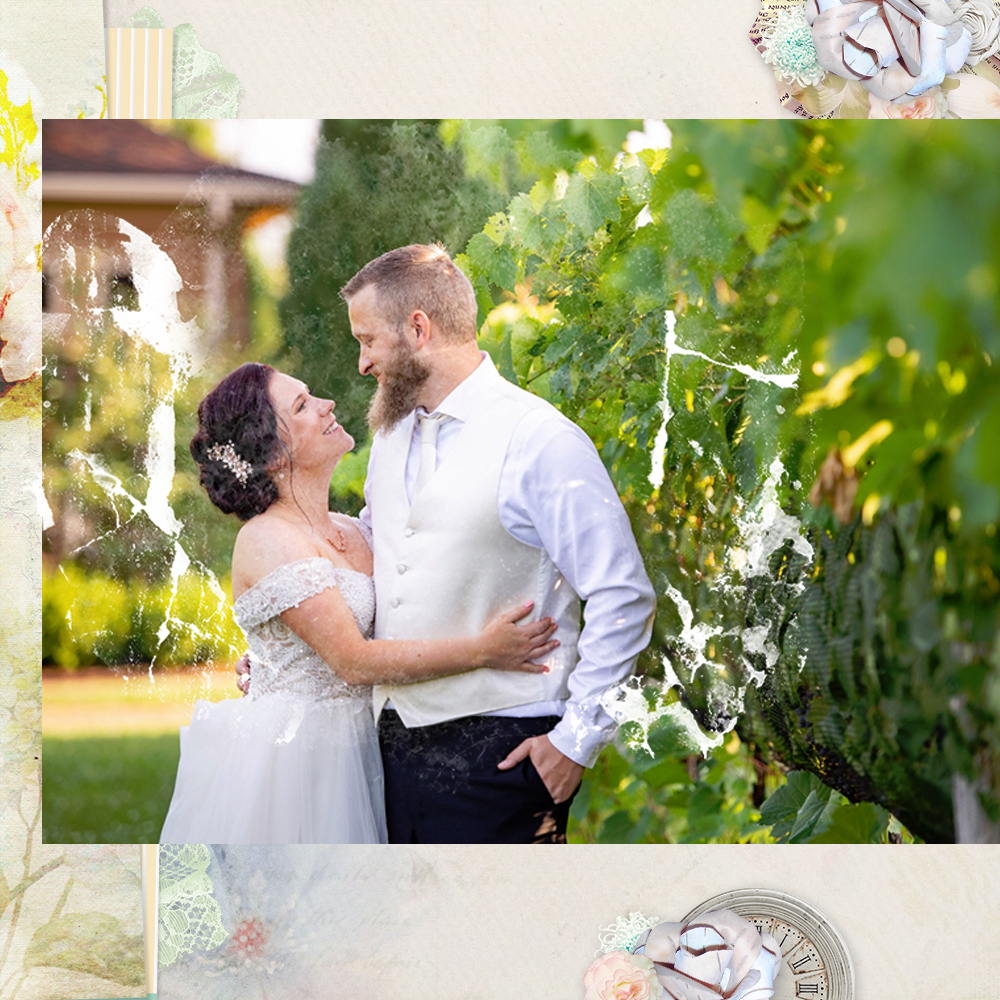
From here there are many things you can do. I decided I wanted my photo the exact shape of Ben’s mask. I accomplished this by making a copy of the Mask layer: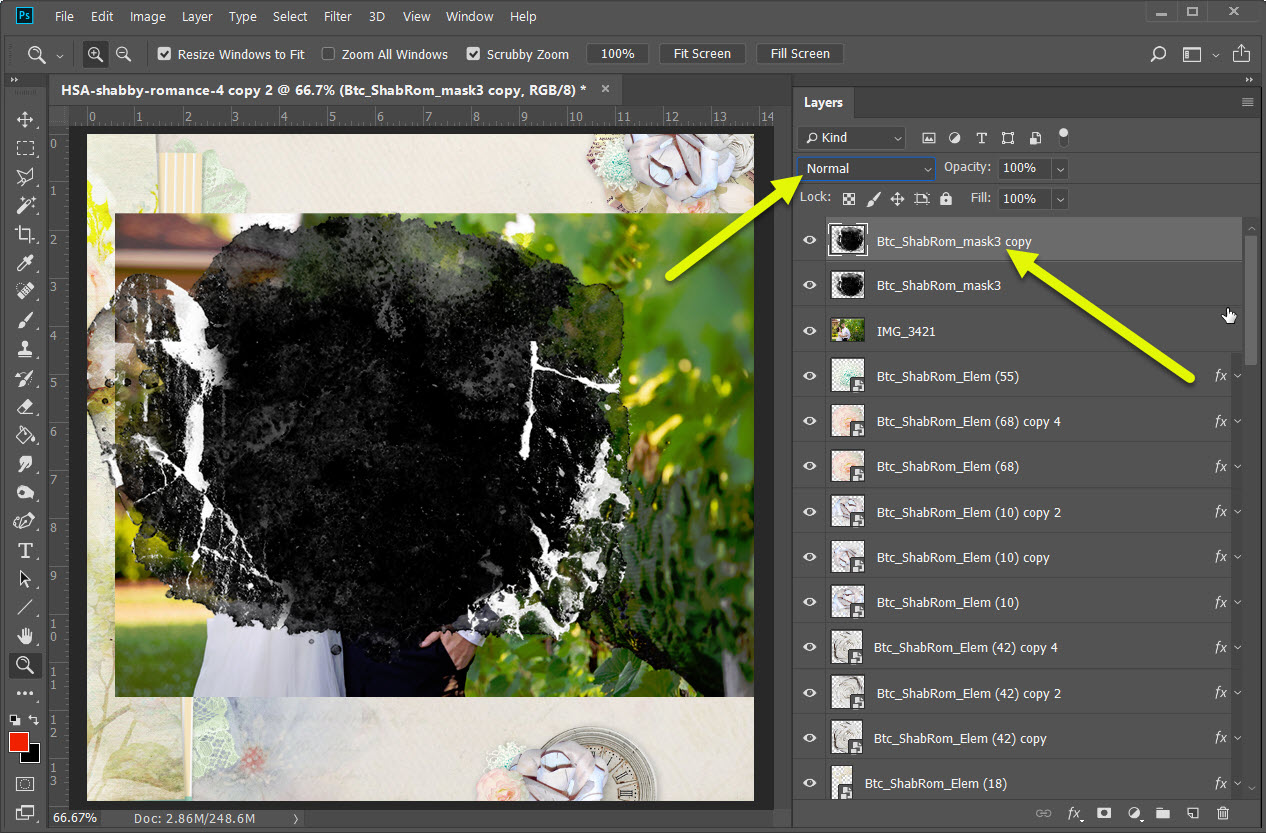
I then added a Color Overlay Layer Style:
After I clicked OK; I right-clicked and Rasterize Layer Style to create a simple mask-shape to clip my photo to: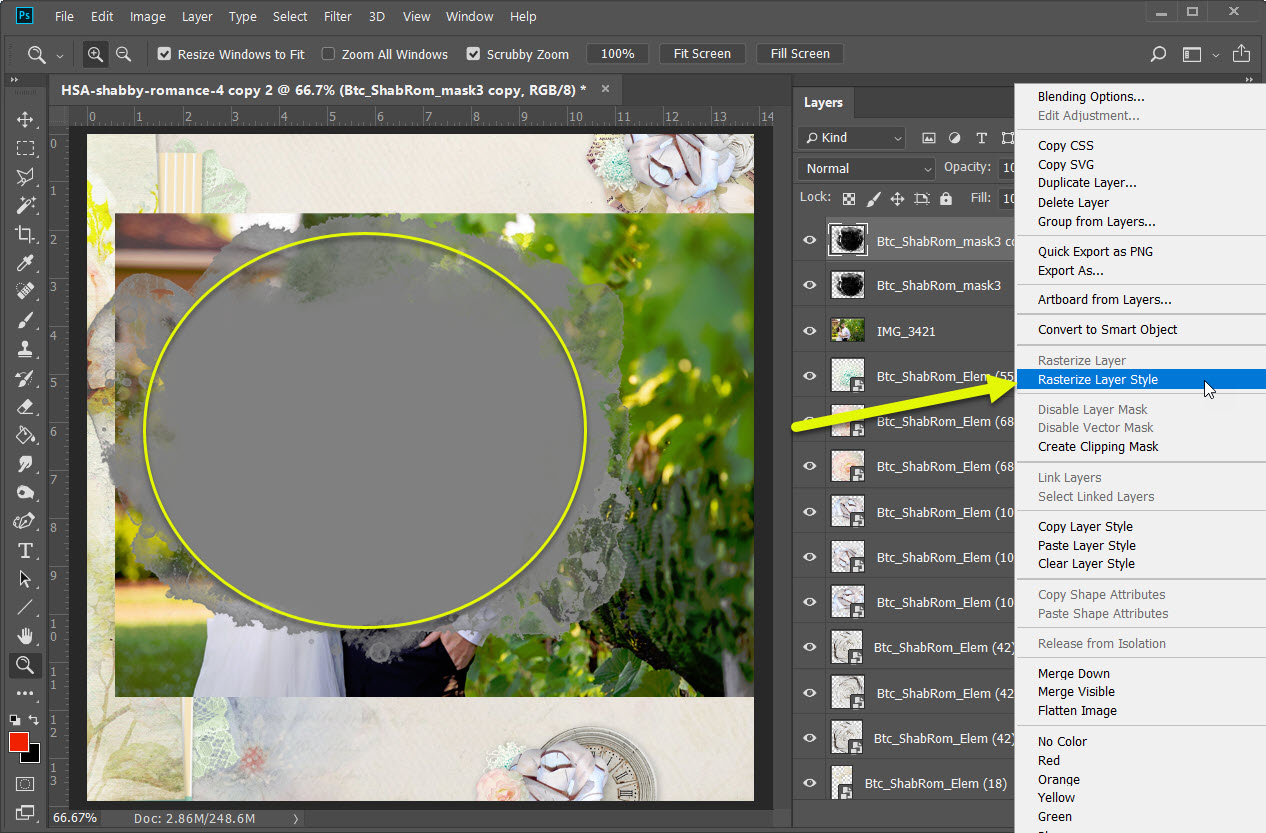 I dragged the Mask copy underneath my photo & created a clipping mask:
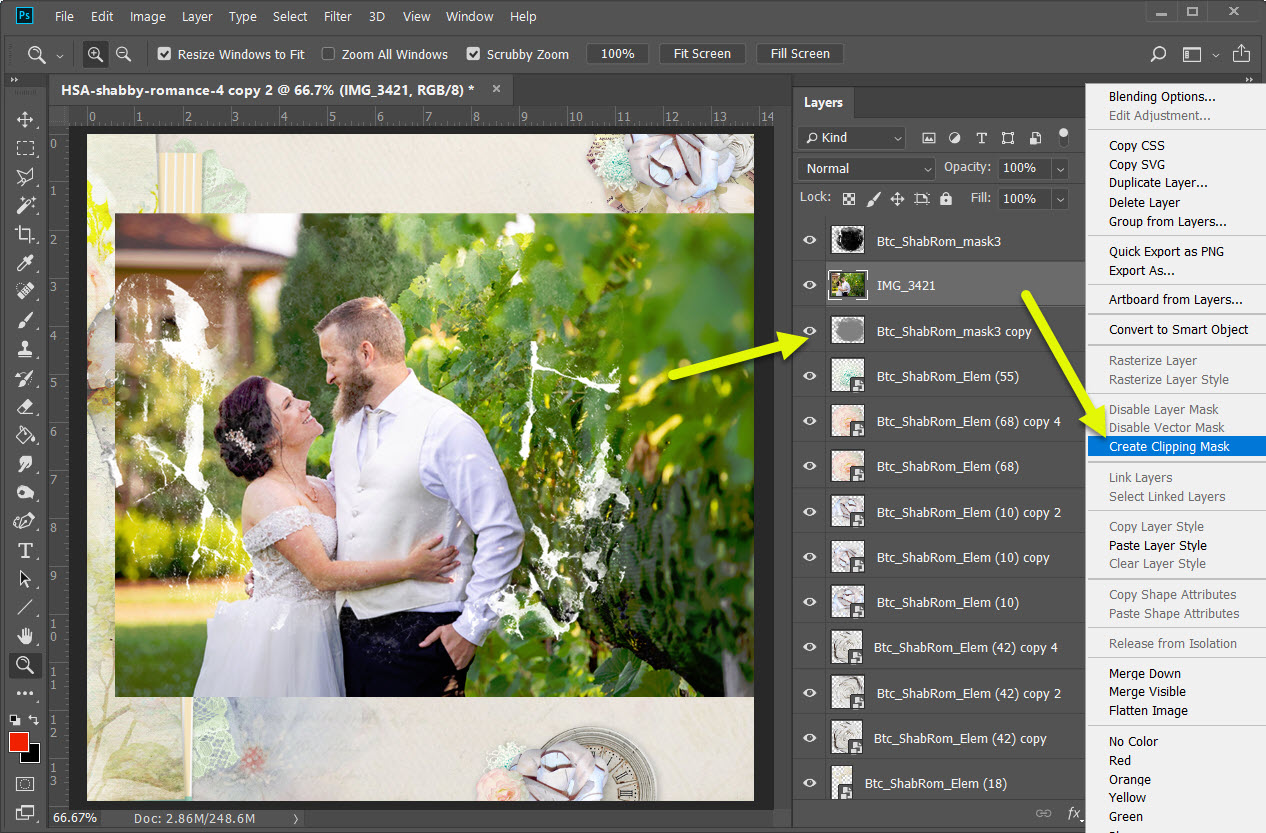
Now my photo was perfect! Vintage. Adorable. Textured.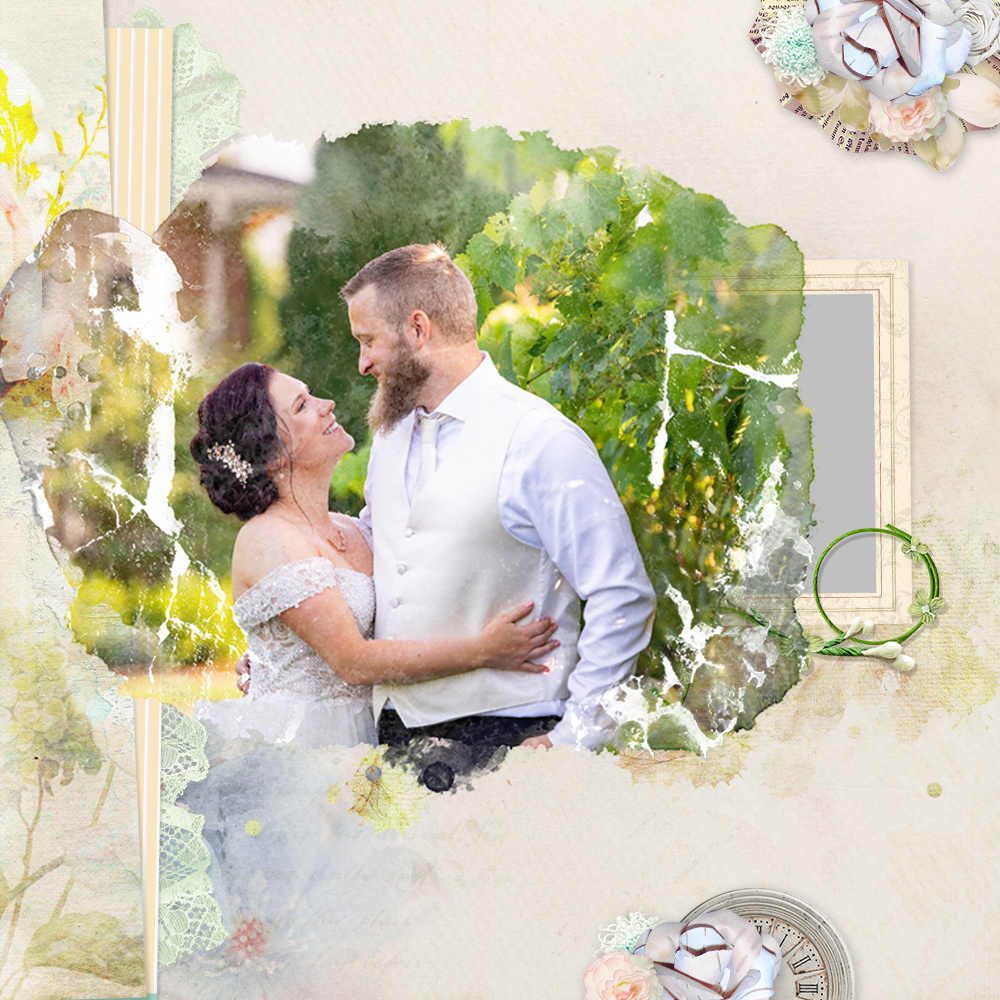
As a final step, I moved my photo & mask layers to just under the frame & resized it slightly. I love my final result & can’t wait to play more with Ben’s two-tone masks! 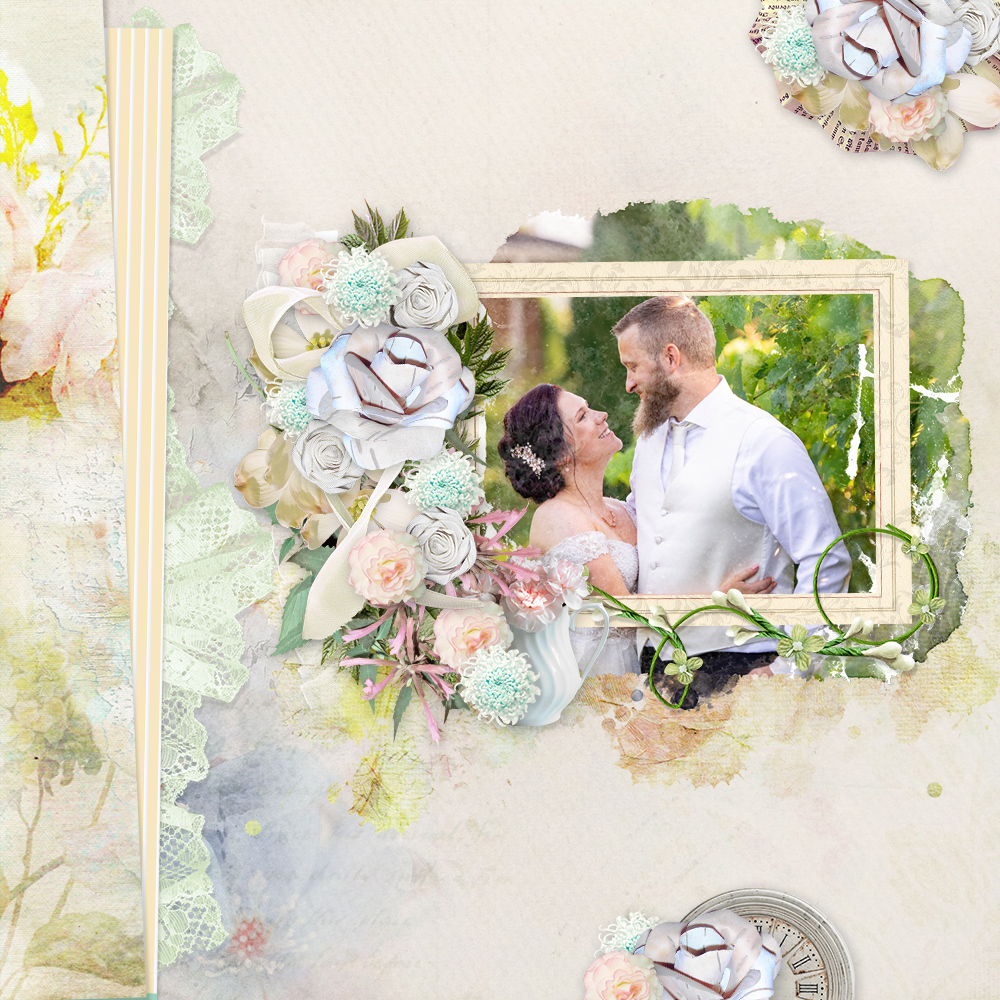


LOVE it !
Beautiful
Beautiful! I miss this chat. How do I do the two-ton mask?
I’m so sorry you missed the chat! I have detailed instructions in this post, perhaps that helps?
Wow! I had no idea that a) they are called two-tone and b) that’s the way to use them! And I’ve always wondered why designers make them like that, since the texture is gone when we clip a photo. Thank you for teaching me something new today. I can’t wait to try it