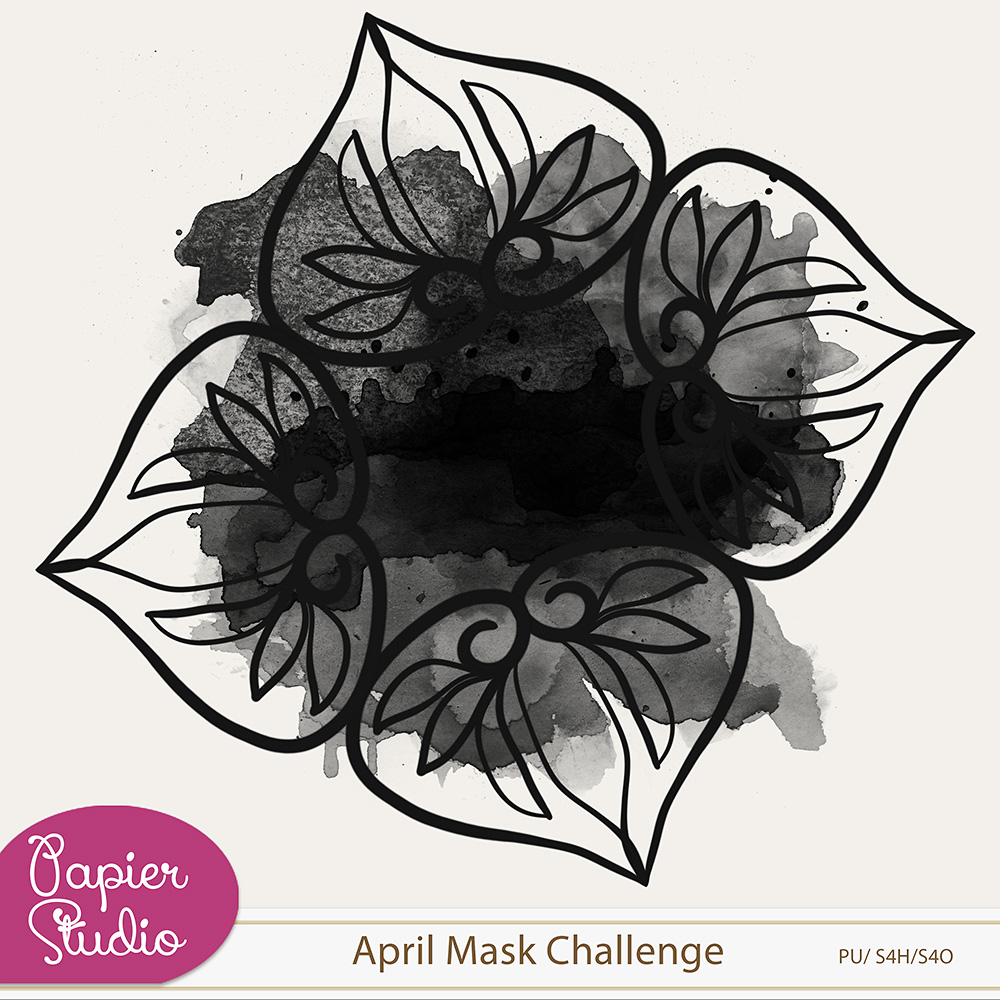
Sometimes you have a wonderful mask but your photo don’t fit the whole mask. Or you want to leave parts of the mask appearing behind the photo.
I use Photoshop CC. Following the steps below, you will see how easy it is to fit the photo and the mask using an additional paper:
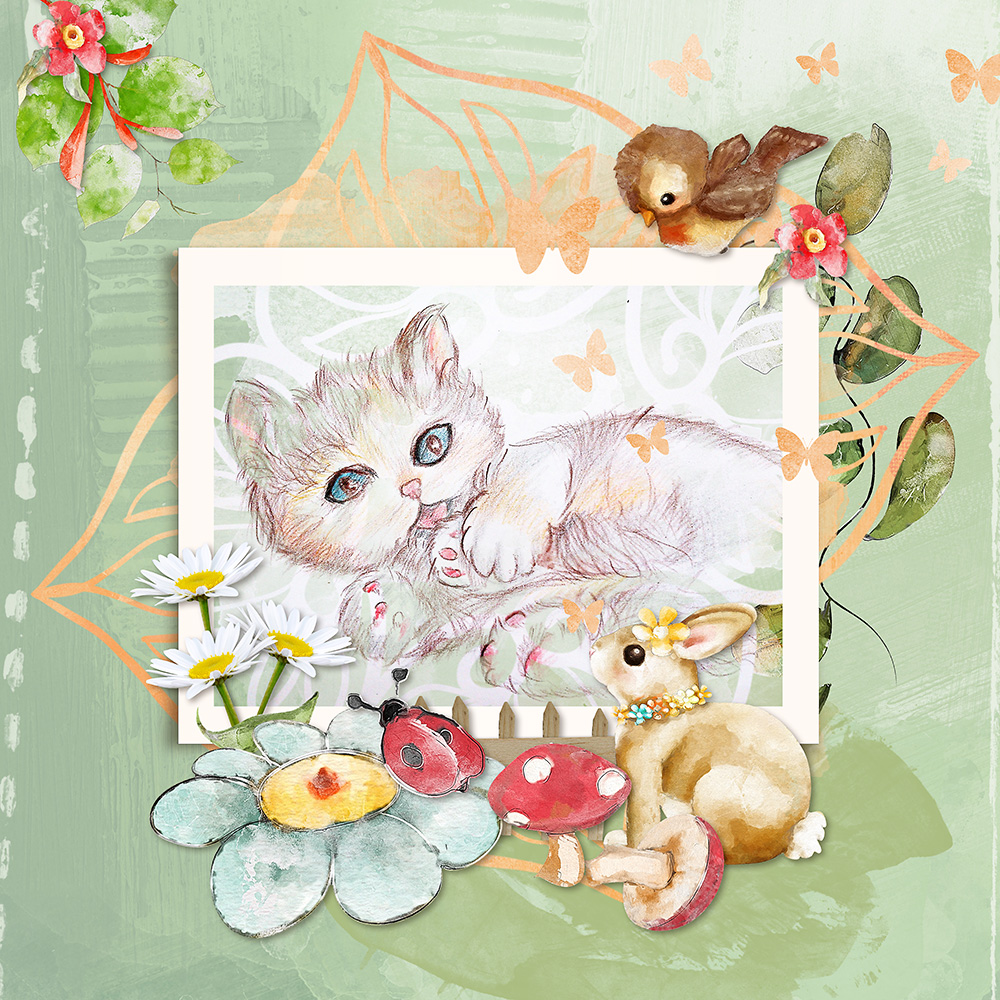
Kit I used: Bunny Bird kit.
PapierStudio Store here
Cat image by chun li (aka perfumecat) from Pixabay
Tutorial:
1- Open the mask and then put your paper and photo above the mask. Clip the paper to the mask.
(see below how-to)

2- Now clip the photo to the mask.
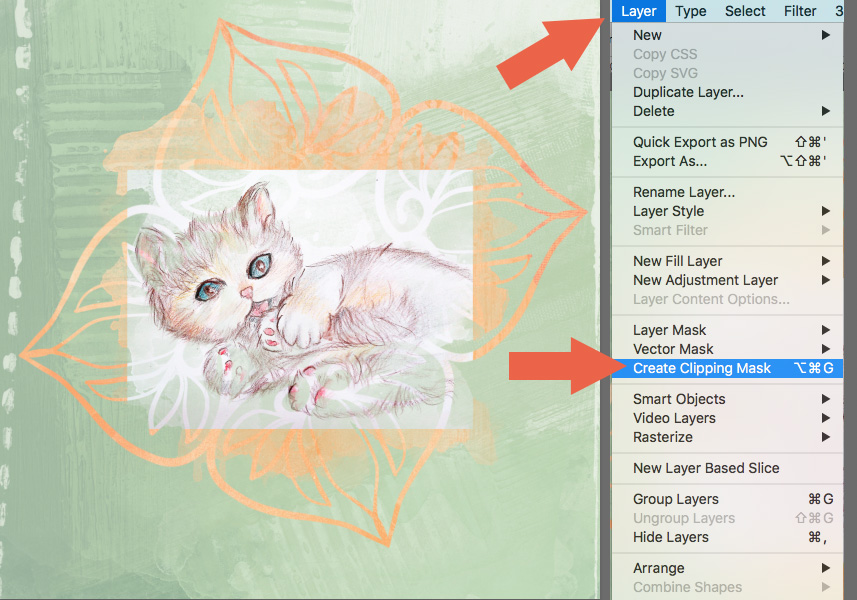
How to do a Clipping Mask: Select you paper layer, then go to menu and choose LAYER >Create Clipping Mask
Clip the paper to the mask and then again clip the photo to the mask.
Now the cat image layer and the paper layer are both clipped to the mask layer!
Add a background paper and your embellishments to finalize the layout!
Get the mask for free and join our Mask Challenge here in the forum to show your work!


Leave A Comment