Hi there, it’s Ann with a quick tip on making big letters with bold outlines, decorated with papers or photos.
First, I draw four individual huge letters on the page. The font I’m using is Candy Night. My font size was about 500 points.
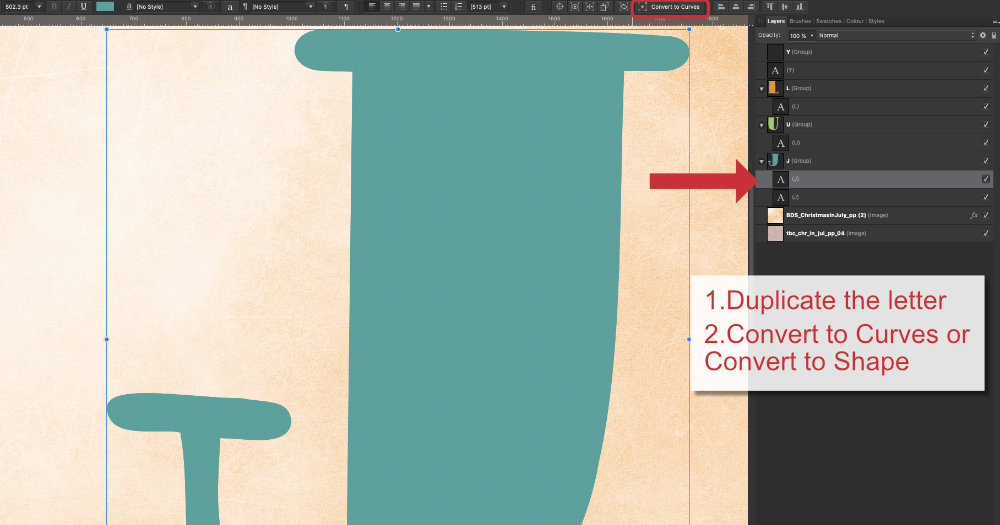
Duplicate each letter.
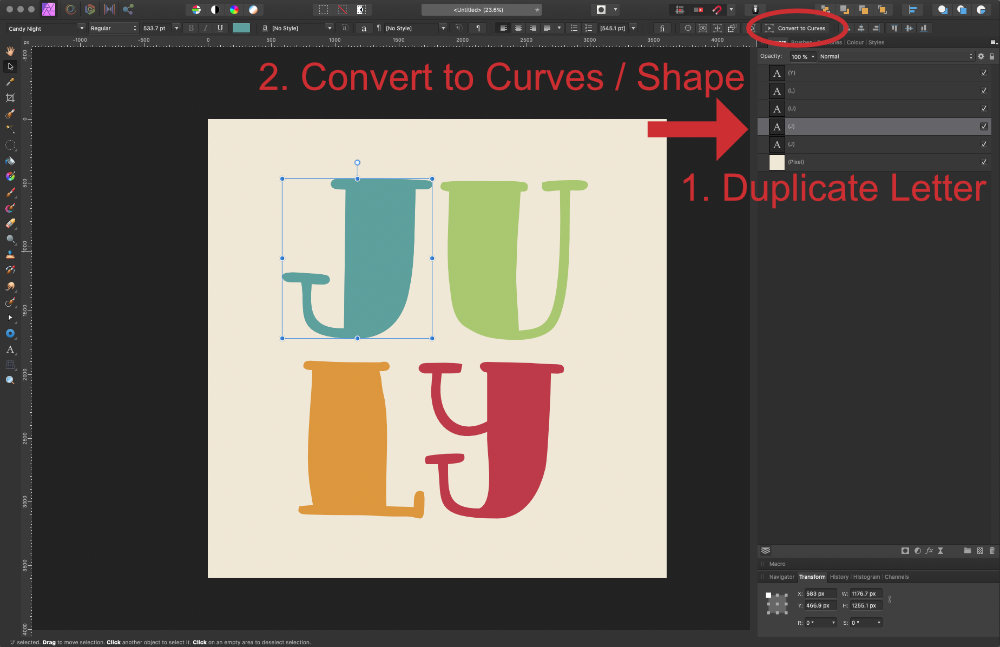
Select the Move tool (in my software, the next step is not available while the Text tool is selected), and on one letter, select Convert to Curves. In other programs like PS Elements, your option may be called Convert to Shape.
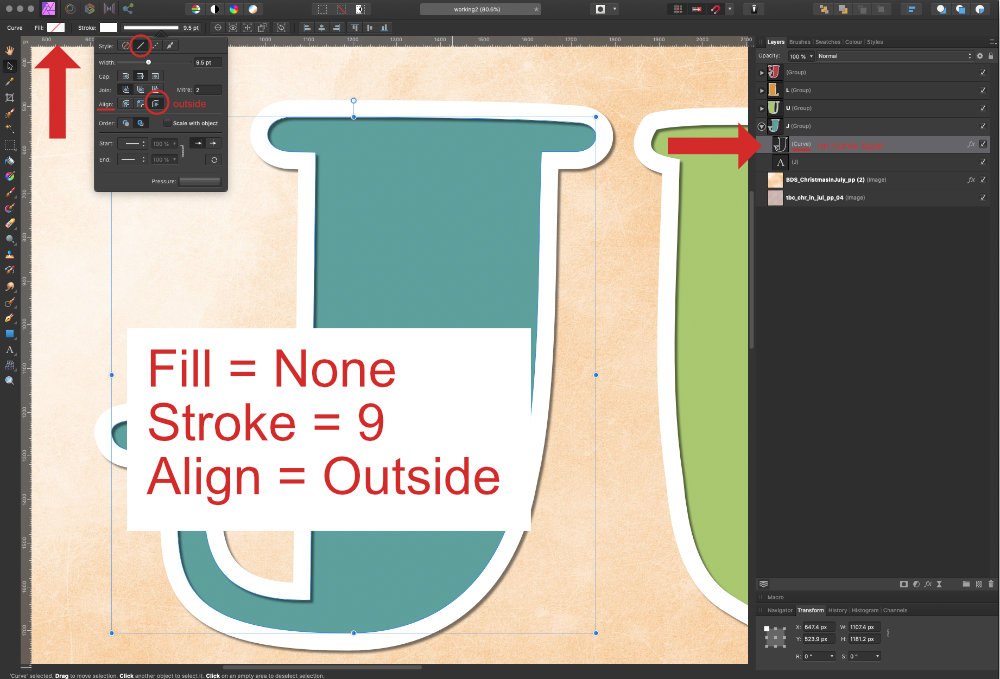
Next, I set the Fill of the duplicated layer to None, and the Stroke to a Solid Line style at about 9 points. Alignment is set to Outside. Your settings may look different. Play around with what looks right for your page.
Add a drop shadow to the stroke. Mine is set (roughly) to Radius 3, Offset 7. Again, adjust to how these settings work in your layout and with your software.
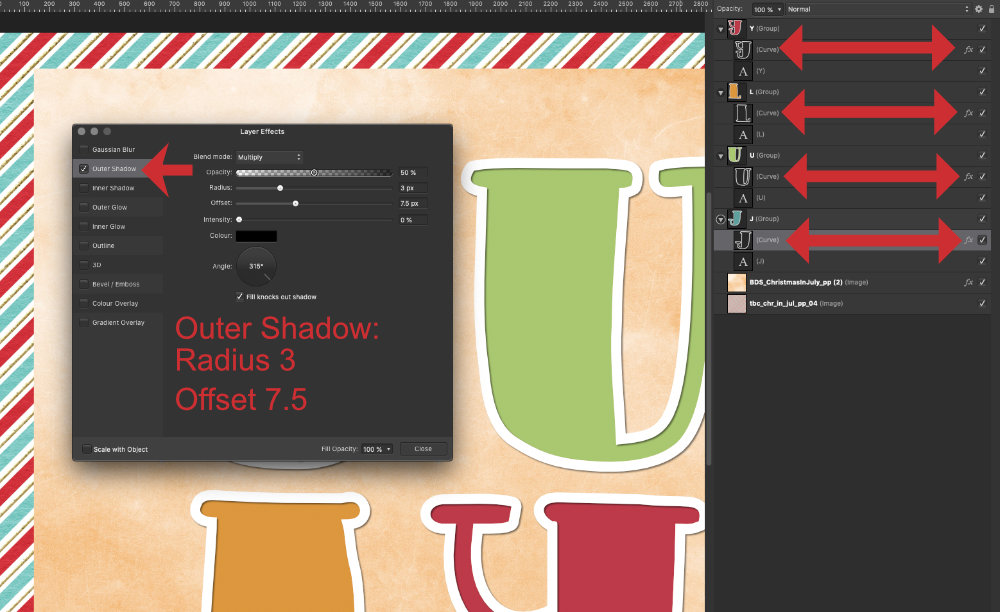
Now, copy the duplicated layer’s style, then select the other duplicate letters, and apply the same style to all of the duplicated layers at once.
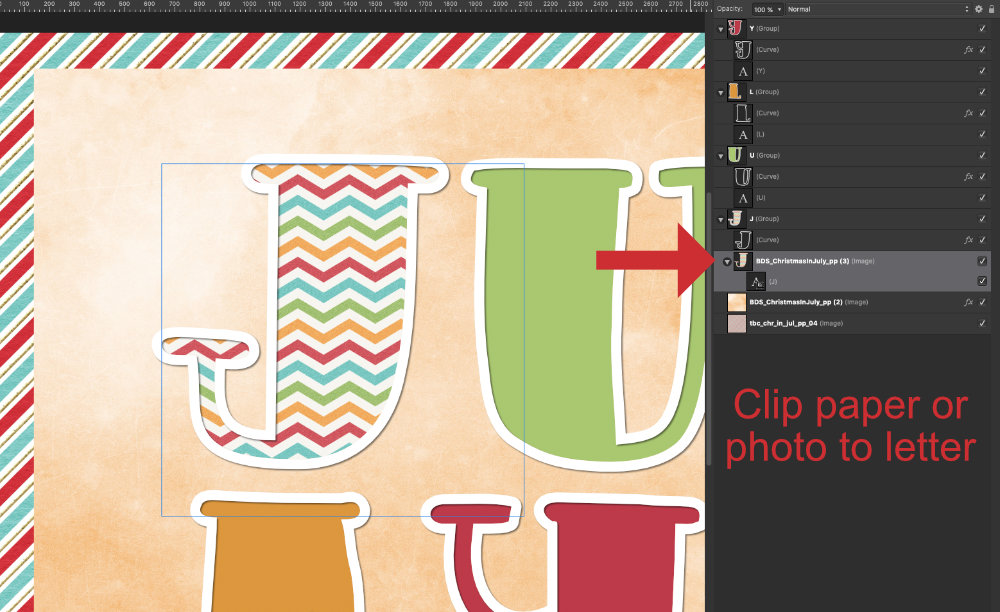
Finally, clip your papers or photos to each letter.
If your software does not convert text to curves, you can get a similar effect using another method. Clip your paper to the letter first, then add a stroke, outer shadow, and inner shadow. For this method, the settings that worked for me were:
Outer Shadow: Radius 1.5, Offset 43
Inner Shadow: Radius 33, Offset 40
Outline / Stroke: Radius 60, center aligned.
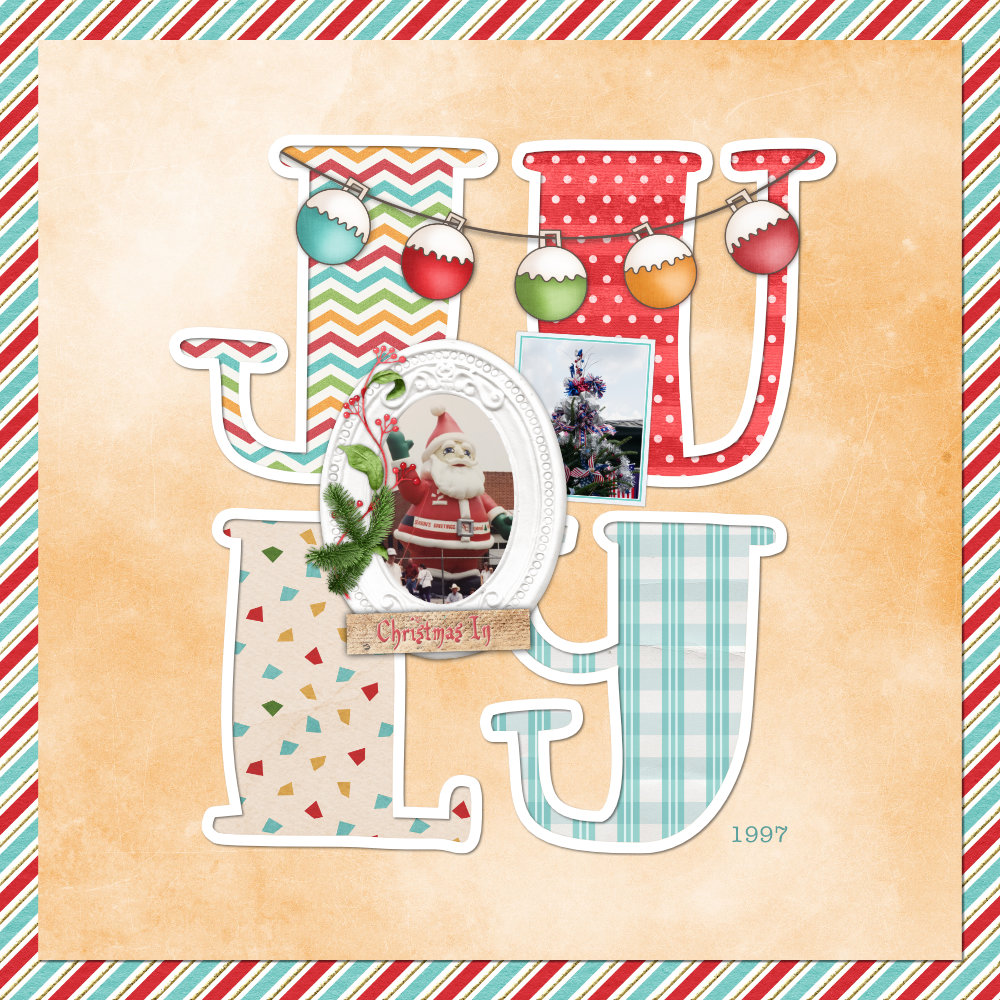
Hope this quick tip helps when you’re creating a layout with great big letters!


Awesome! Thanks.
Thanks. I got this to work on PS Elements 2020 just fine with some modifications in where to go for the effect.
[…] have a tutorial up at The Studio about how to make a layout with big, outlined letters in Affinity […]