We are having a lazy Sunday today. A crafting, boardgaming kind of day. While my people are still waking up, I decided to do some coloring. Digital coloring. Because I’m terrible at staying in the lines with the real stuff. I’ll be honest, I’m not that hot with the digital stuff either. However. I love the look of watercolor spilling out of the lines, so it’s all good. There is no wrong in art.
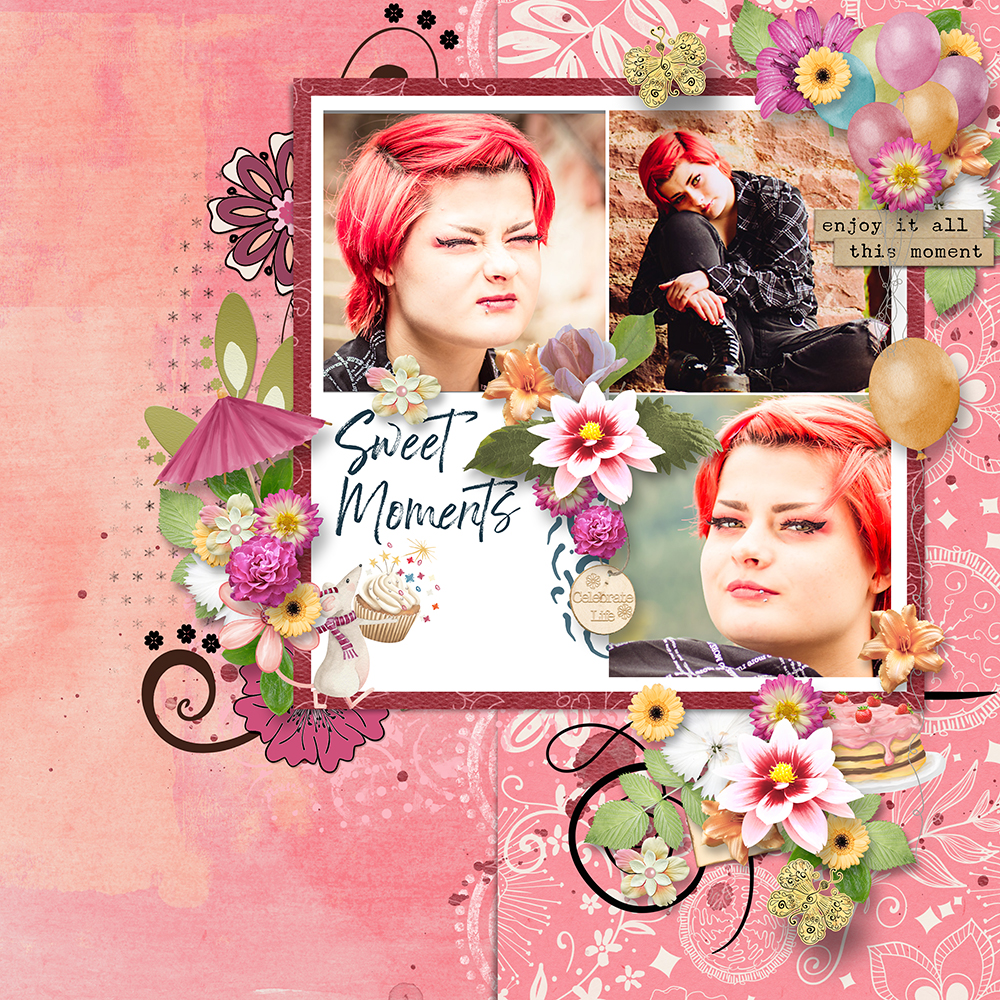
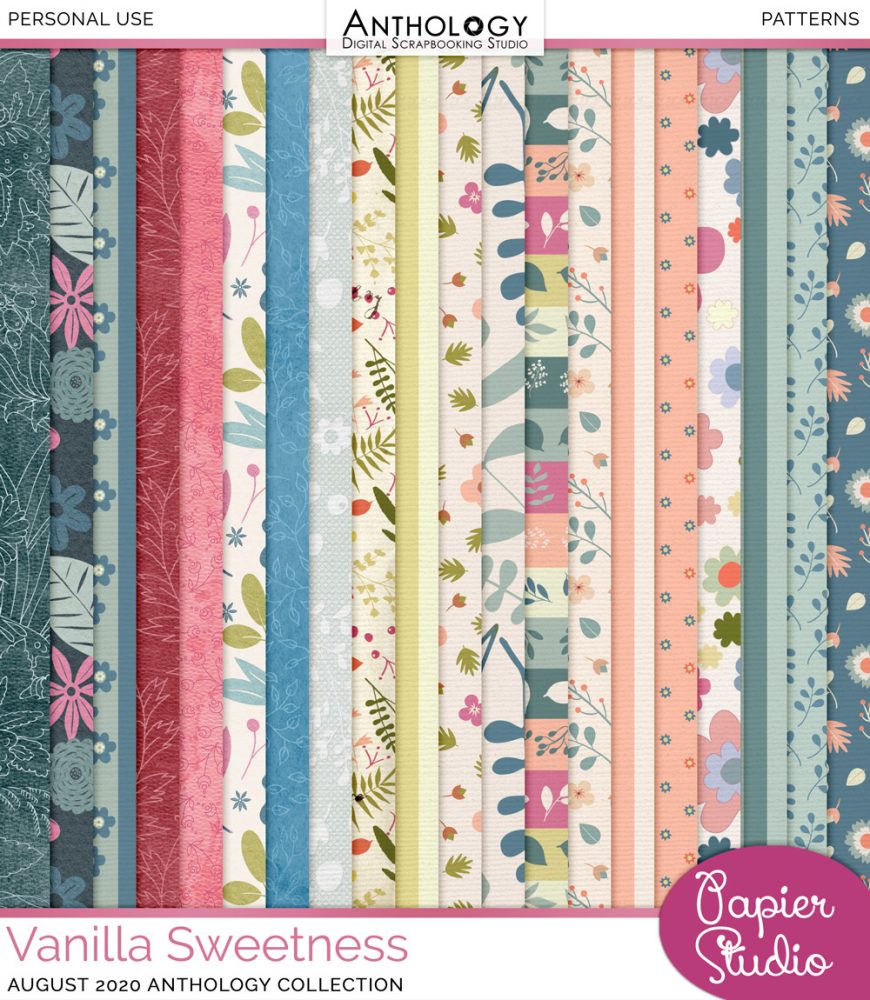
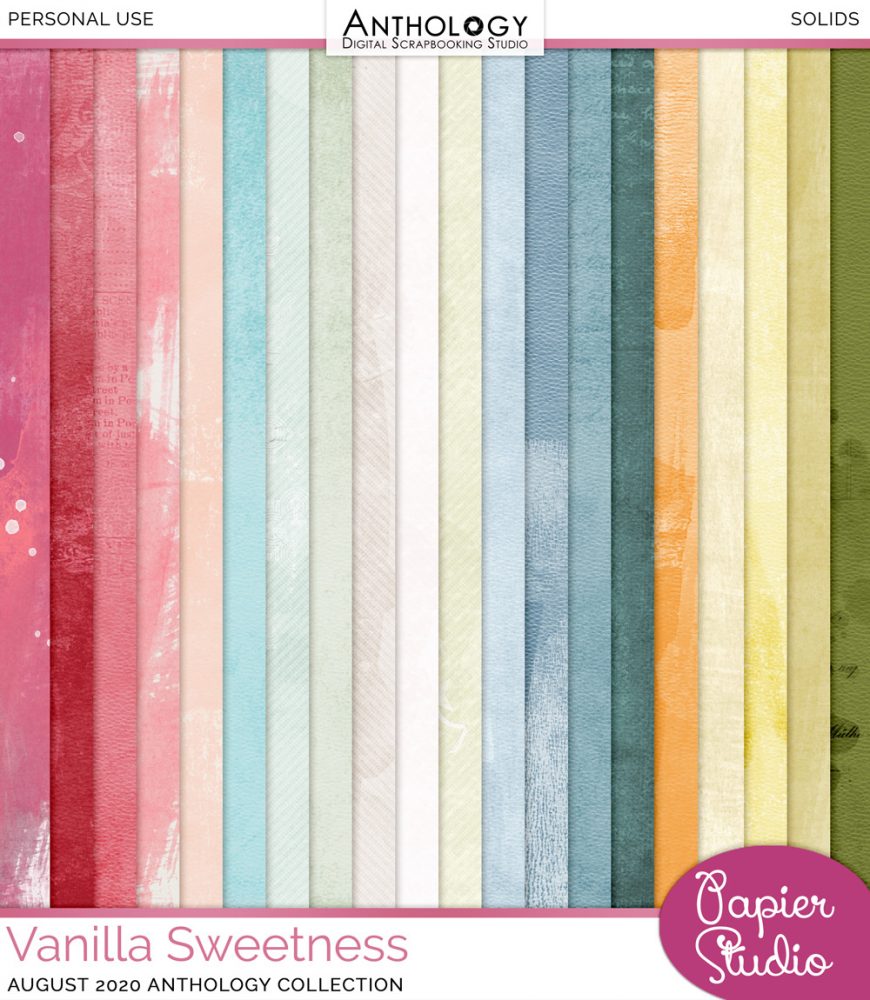
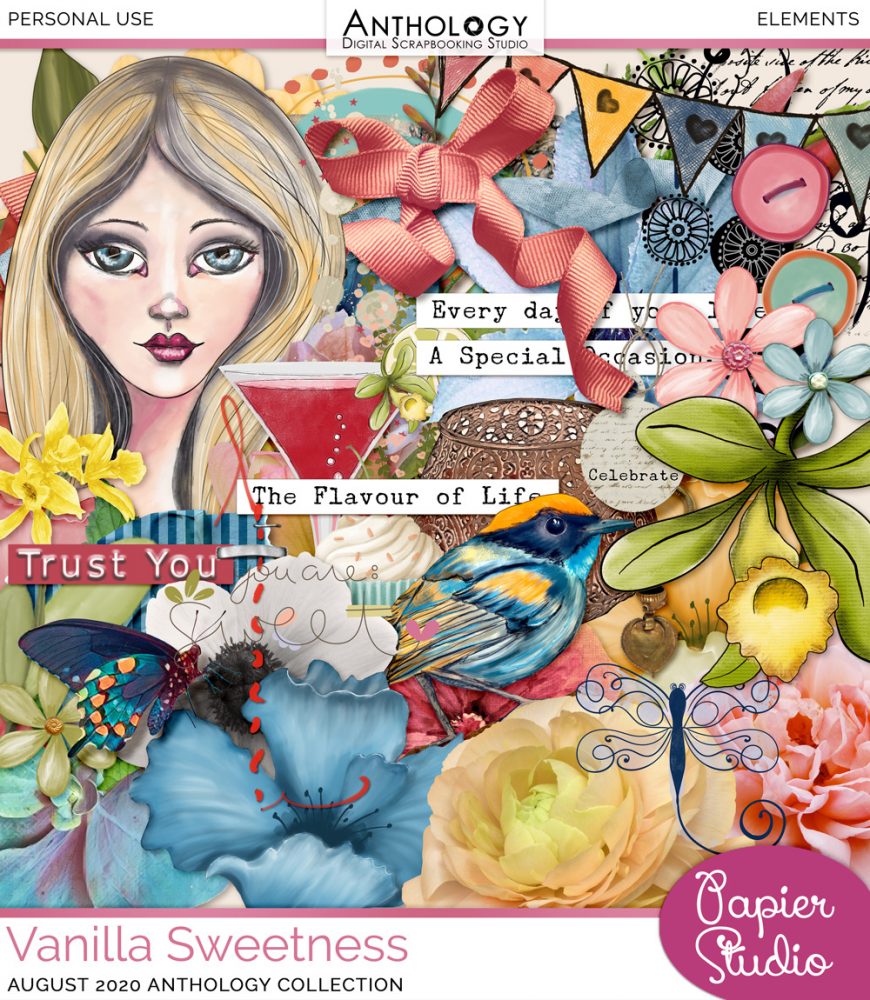
Last month, for work, I “had” to play with the new Anthology | Vanilla Sweetness by PapierStudio Silke. It’s part of my job to create layouts for the Free-With-Purchase bonuses that comes with every Anthology. It is my most favorite chore! Working with Vanilla Sweetness was an absolute dream. Layouts just flew together & I created two of my personal all-time favorites:
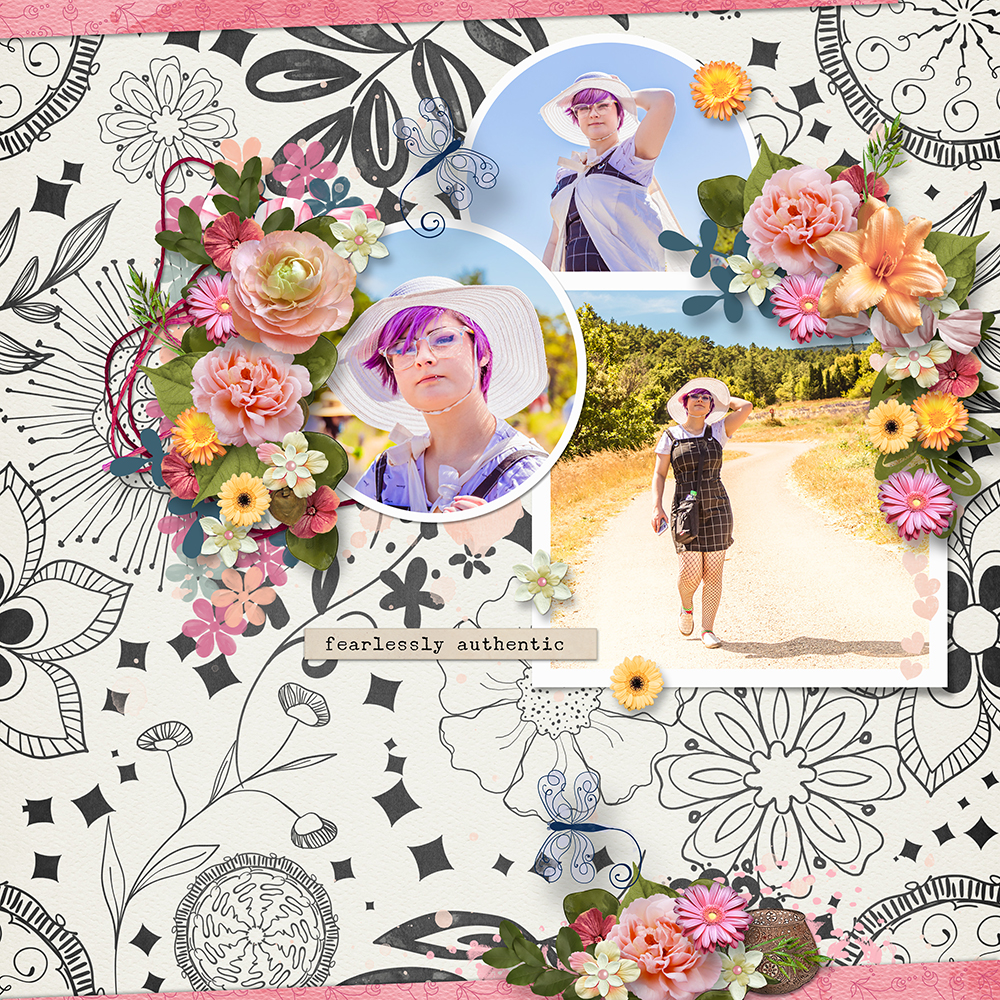
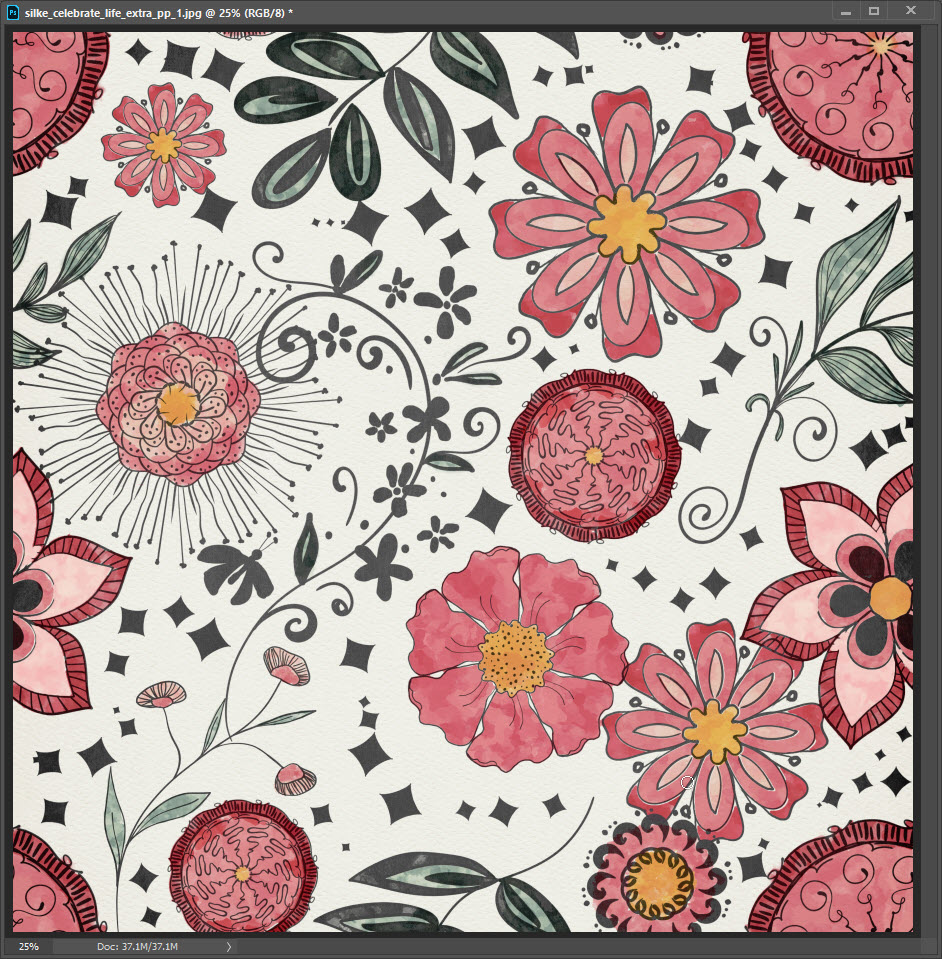
I also fell in love with Silke’s antiqued black & white papers. Ever since then, I’ve been wanting to digital recolor the flowers on my second page. Today I’ve done that! Let me give you a quick tip on how to do this too.
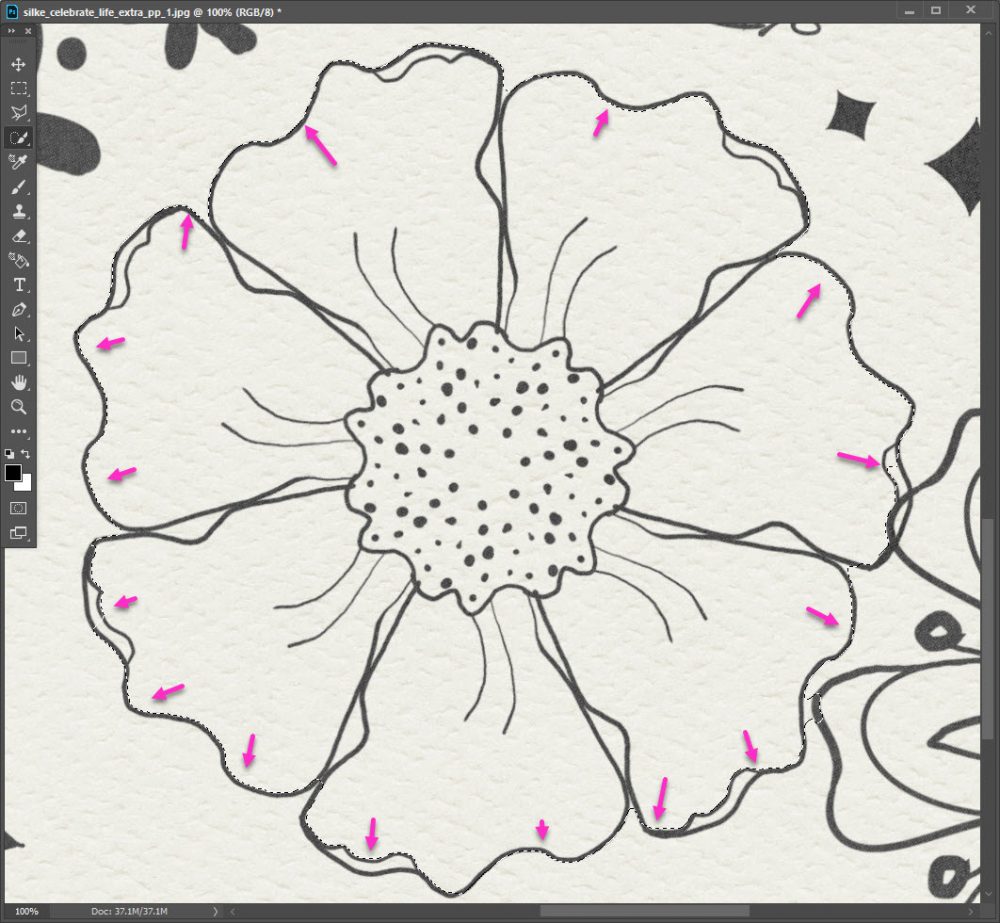
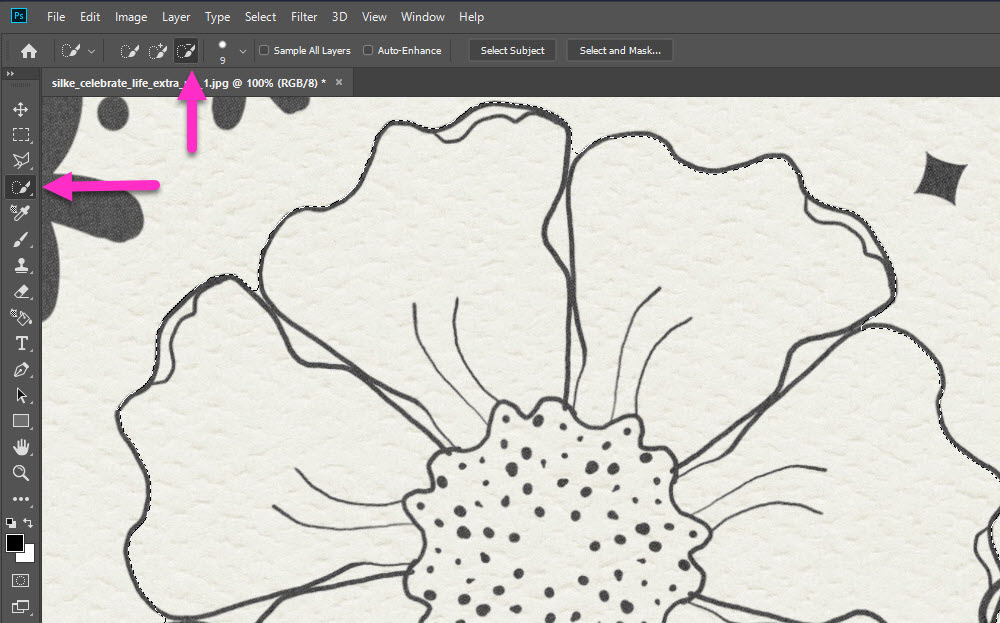
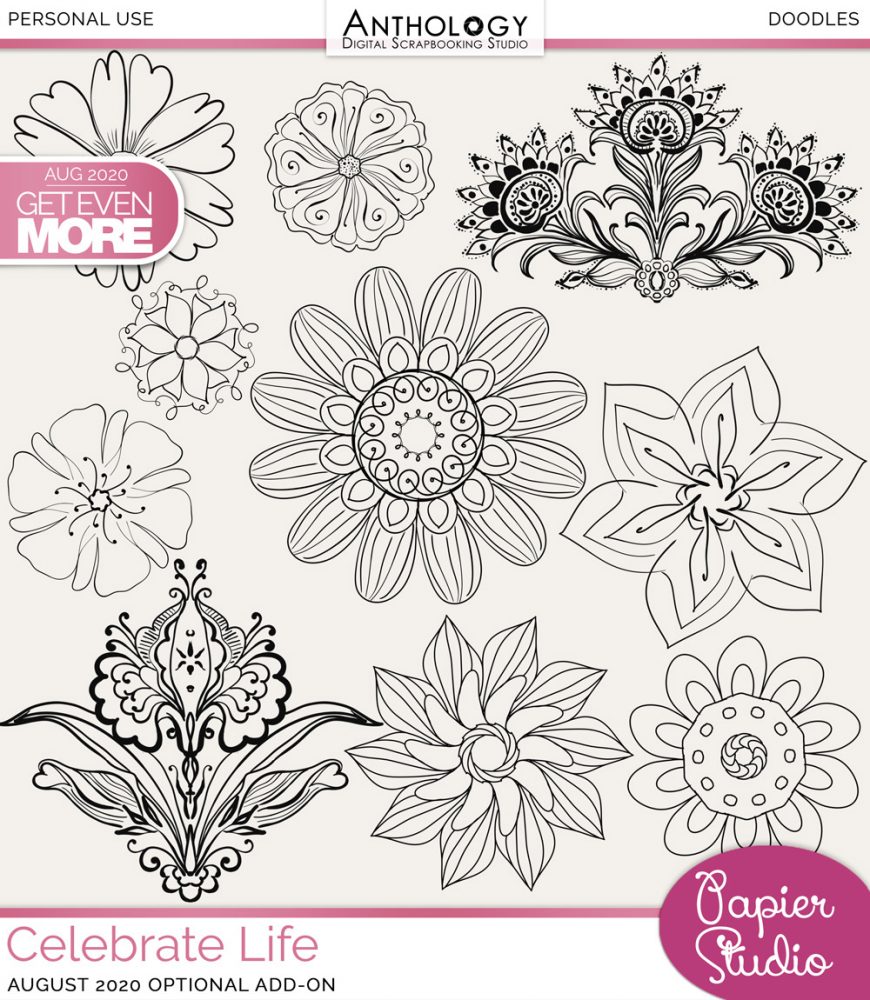
I’ve zoomed into 100% on Silke’s paper (these flowers also come as standalone doodles) and I’m using my Quick Selection tool to select all the flower petals:
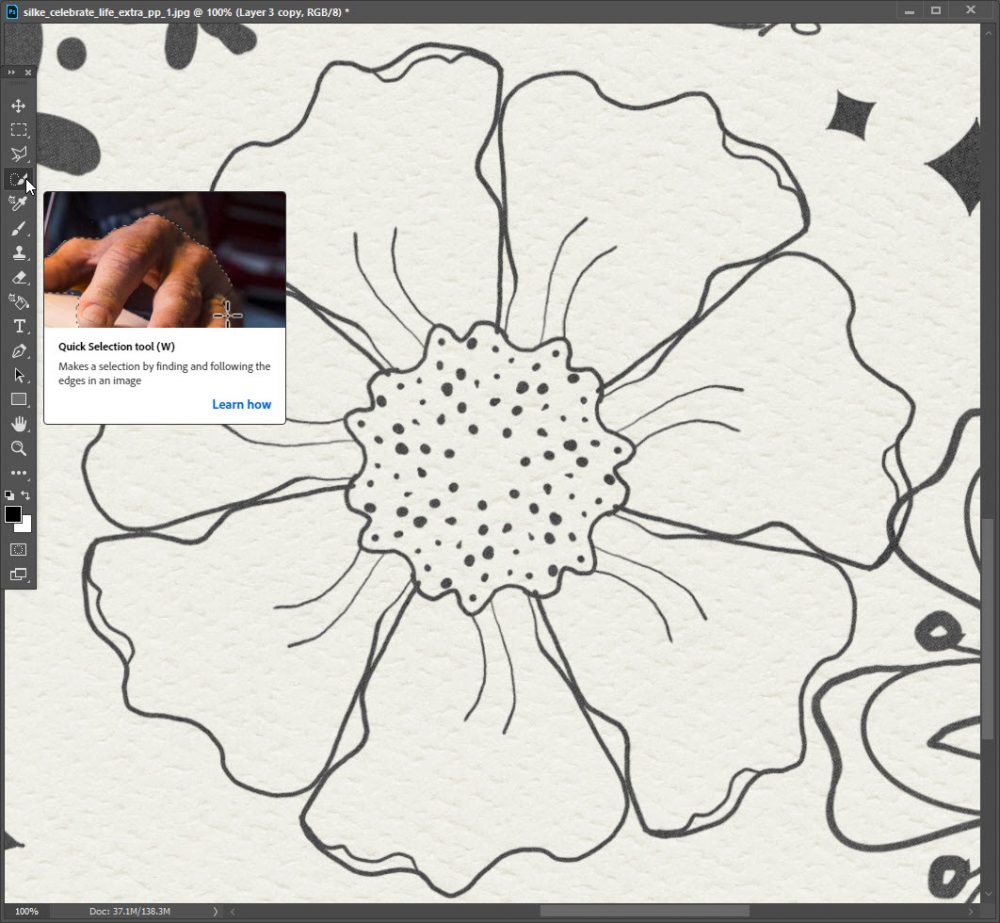
I used the Quick Selection tool at 93 px and while quick it’s, not perfect. My marching ants show I’ve missed parts and I’ve selected some parts I don’t want selected:
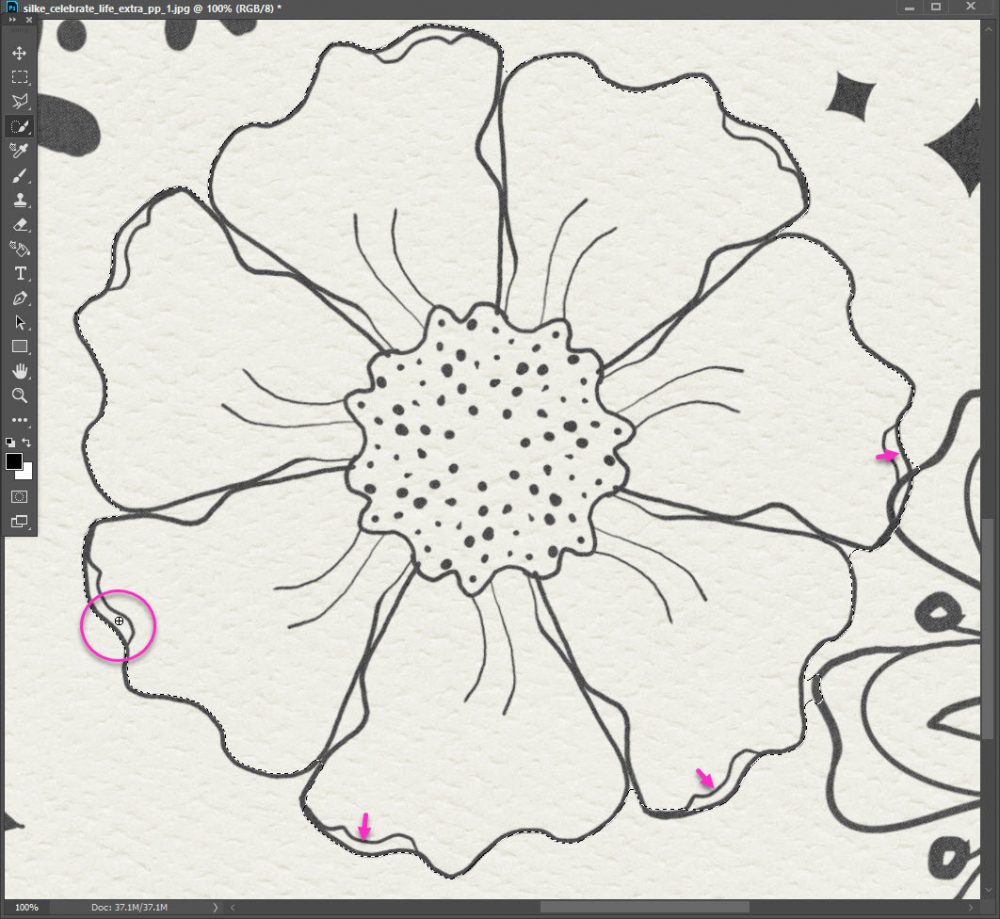
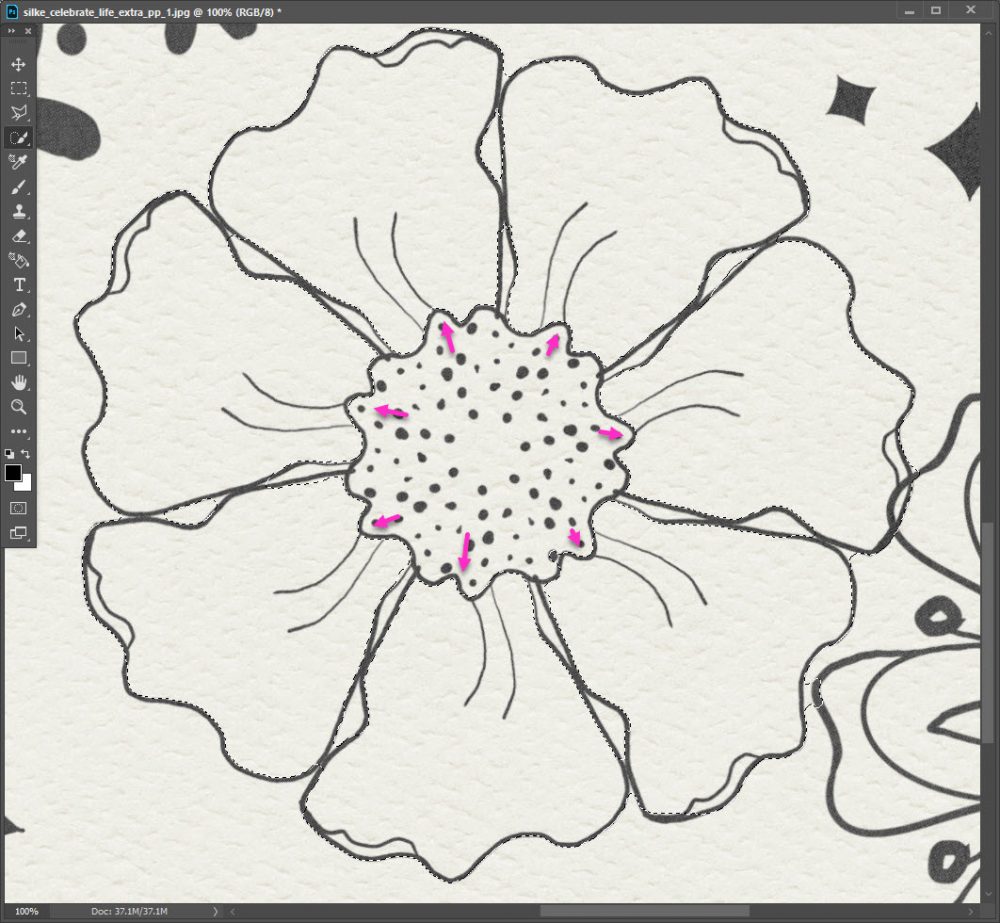
To fix my selection, I resize my Quick Selection tool to 9 px, I keep it on + to add to my selection:

You can see, if you squint, the tiny little crosshairs of my Quick Selection tool, I place it in each area I want to add & give it a little drag with my mouse. It’s quick & easy, and with three small strokes I’ve added the remaining flower petal bits to my selection:
Now I need to remove a little bit from my selection. I do this by going back into the Quick Selection tool menu on the top bar & switching to the – sign:
I’ve kept the size the same at 9 px, and now I simply do the same short click + drags in the parts of the flower I do not want selected. In this case, I don’t want the space between each petal selected:
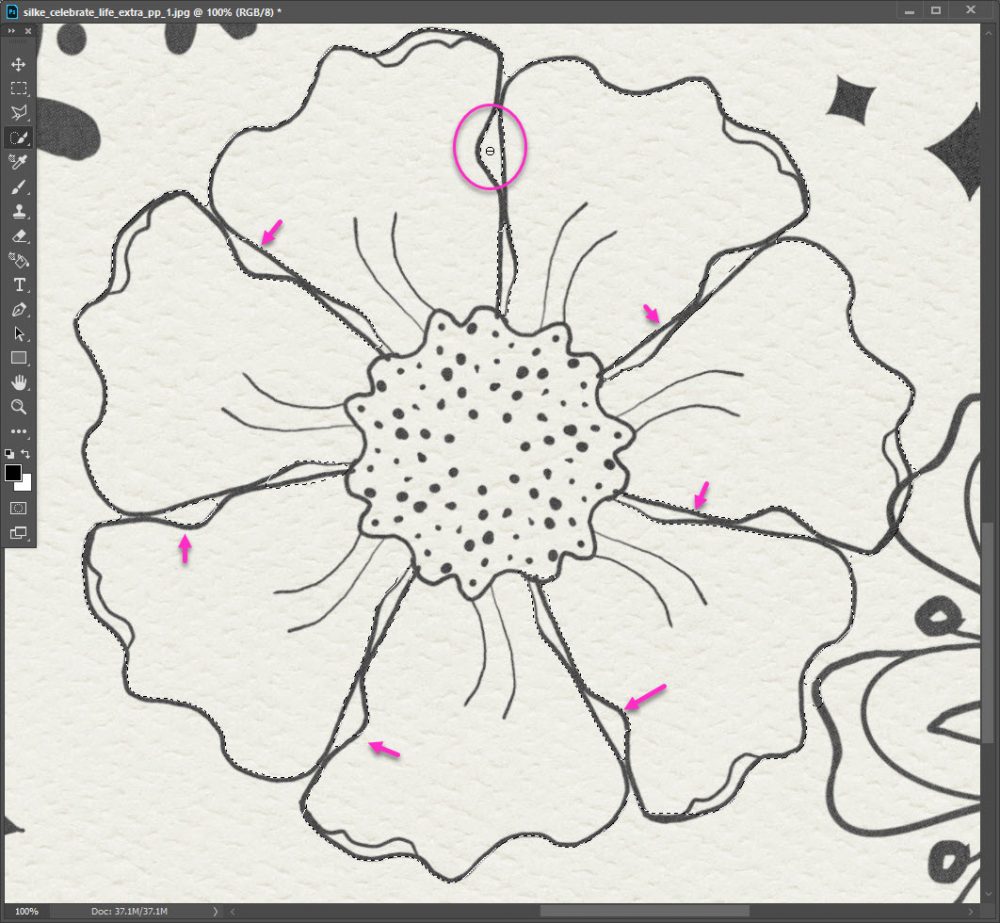
Finally, I deselect the center. I already know I’m going to want to color the center a different color than the petals.
I know this looks like a long process, but in reality it took me 10-15 seconds to select just the petals of this flower. Now it’s time to color!
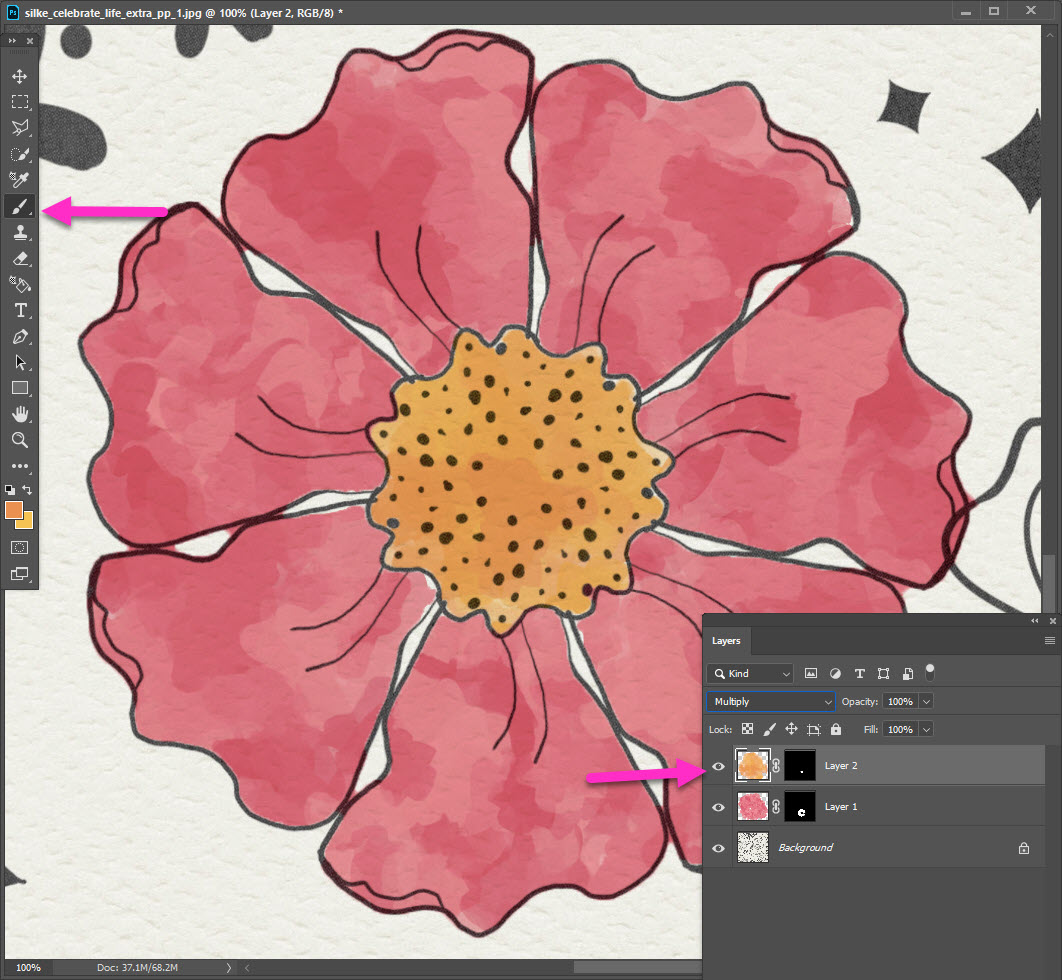
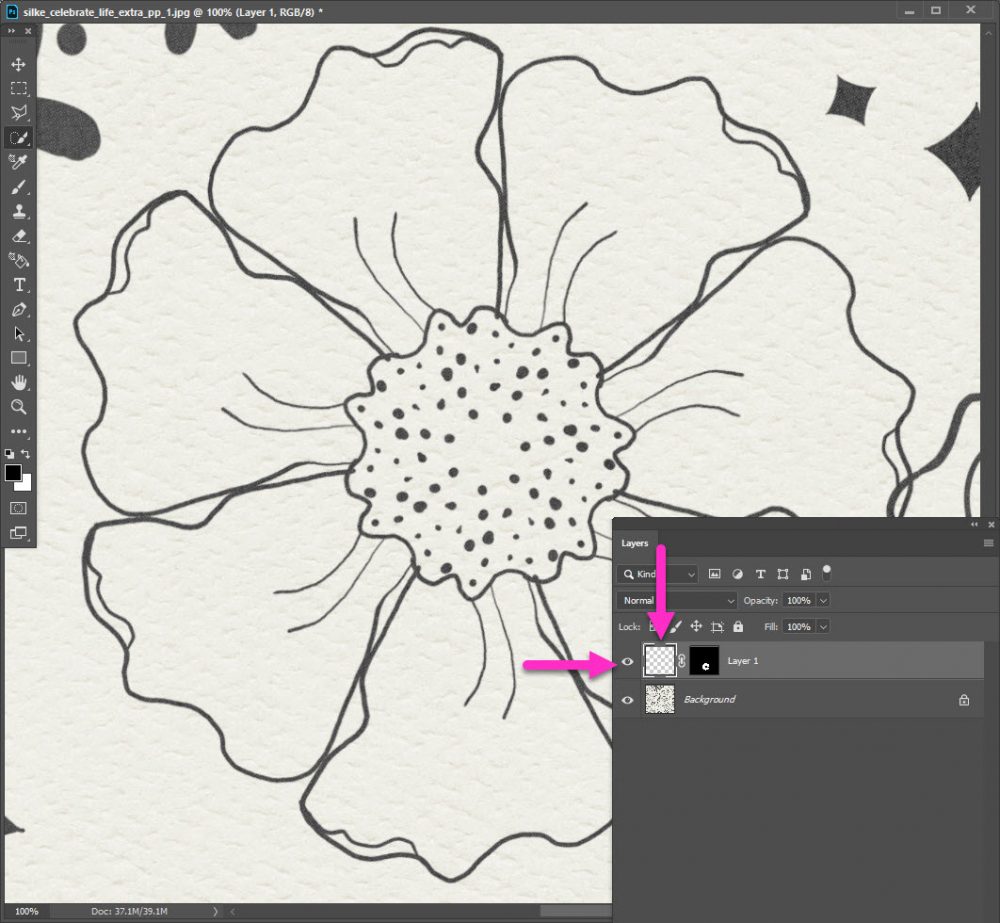
- Create a New Layer above the paper layer
- With the marching ants still selecting your petals;
- Click to create a mask
- Be sure you are on the New Layer box & not on the layer mask
note: you can tell by the subtle white lines around the active part of your layer:
Now you can color away! I’m using the I-can-not-say-enough-good-things-about-these amazing Paint It – Dynamic Brushes 7 by Jilbert’s bits of bytes. They are fantastic for giving a subtle blended, watercolor effect to your digital coloring. I loooooooooooove them!
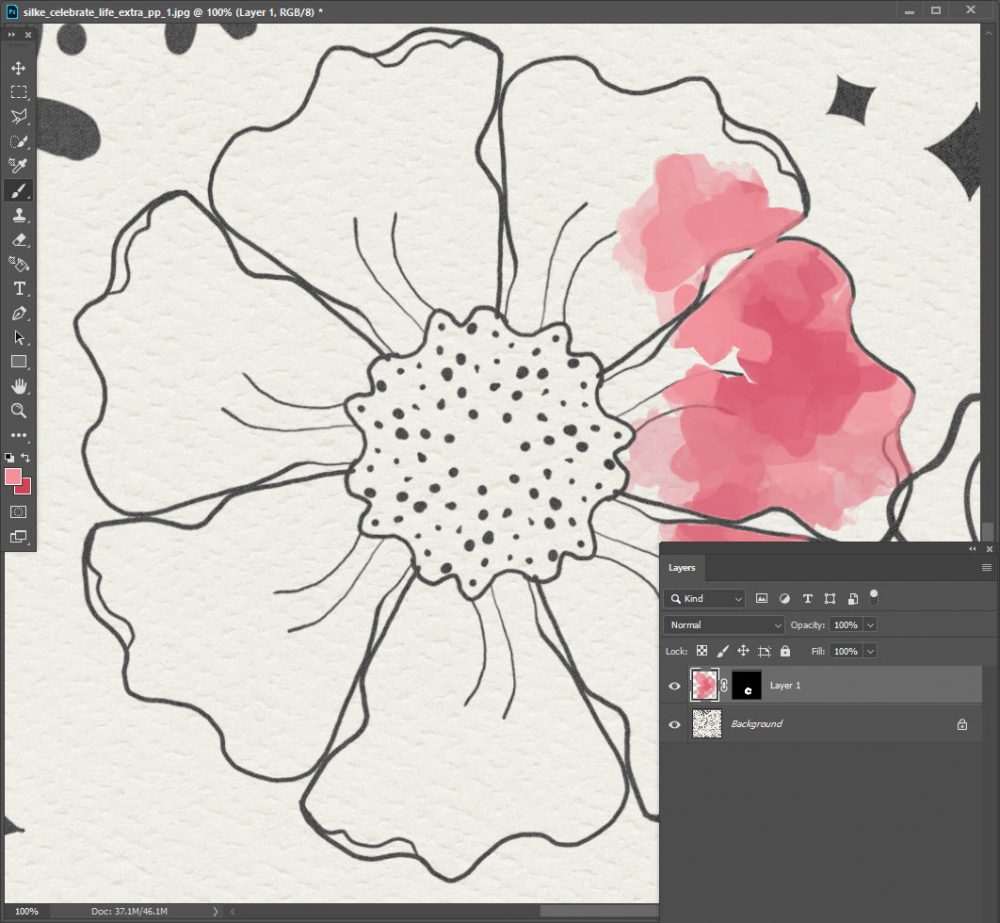
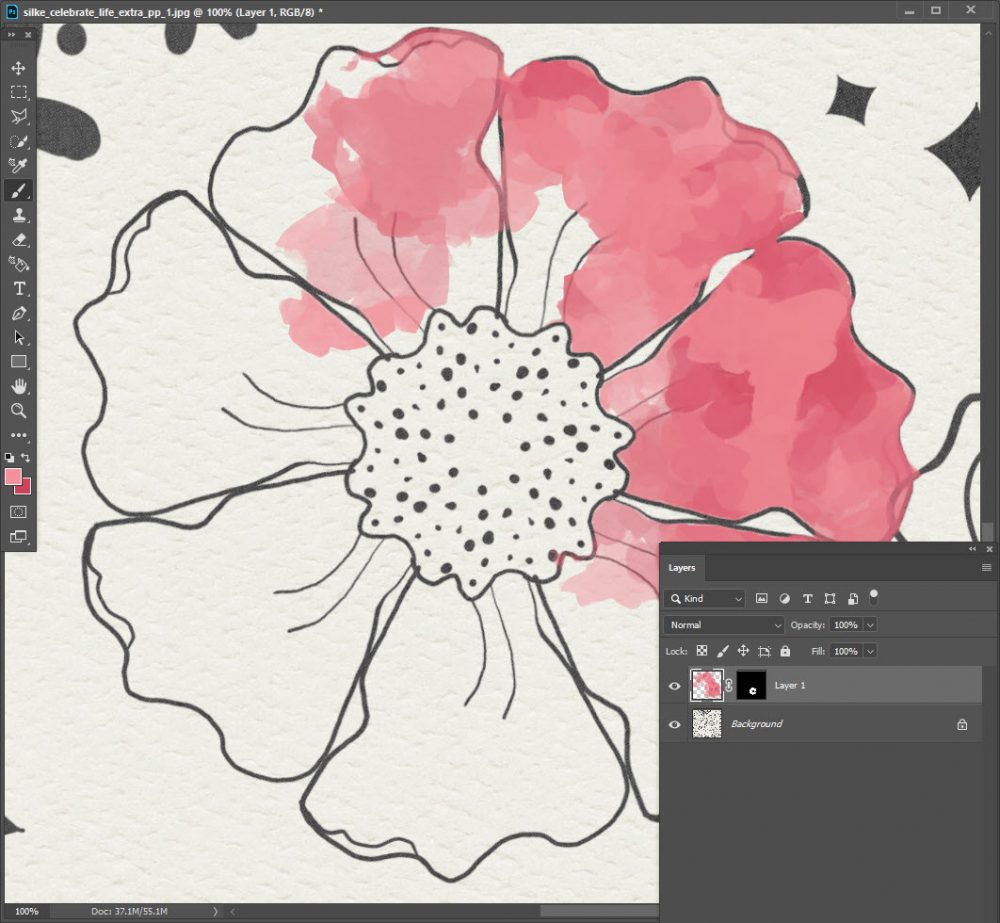
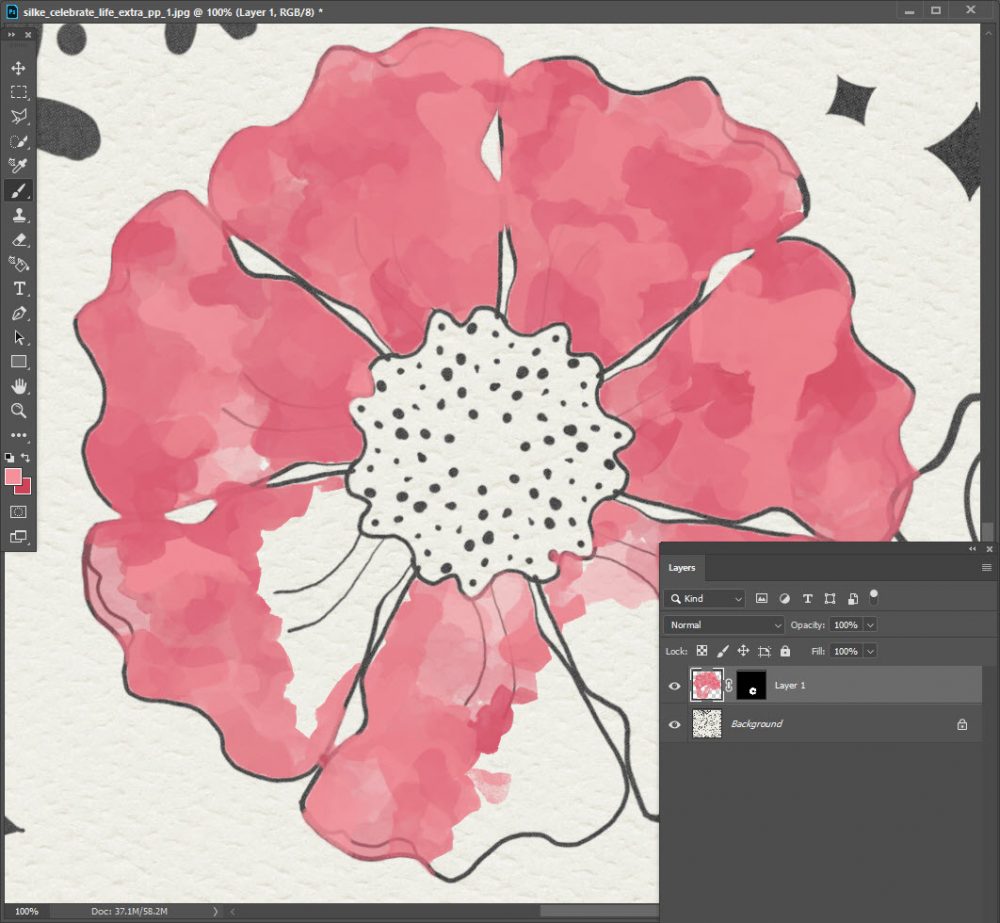
I know I’ve missed some parts, my selection wasn’t perfect but I like it this way! If you don’t, you can easily erase (or add) the stray bits.
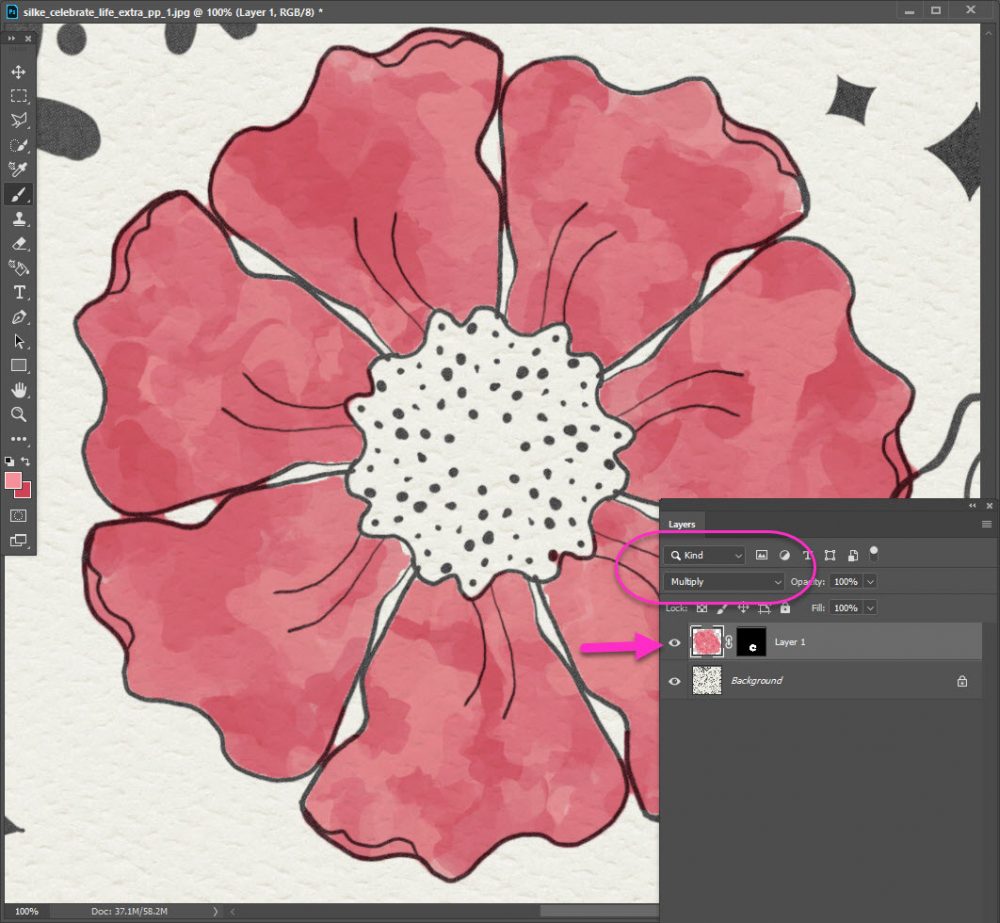
The only thing missing for me is the paper texture. That’s an easy fix by changing the blend mode. I picked Multiply, but play around & see what you like best.
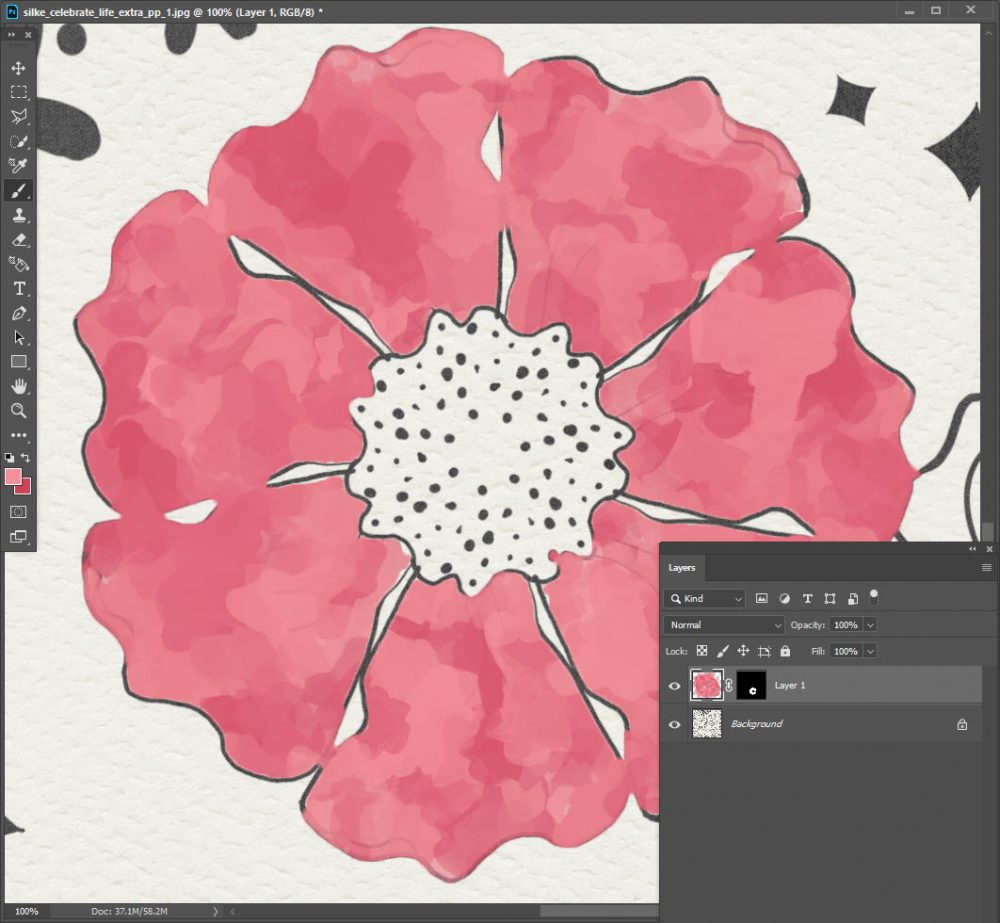
Now, let’s finish coloring the flower:
- repeat the Quick Selection steps to select only the center
- create a New Layer
- create a Mask
- choose a Brush
- set your Colors
- paint on the center

I spent the next 15 minutes happily recoloring the rest of my paper. The best part is, because of the masks, I can easily recolor the entire paper again & again!
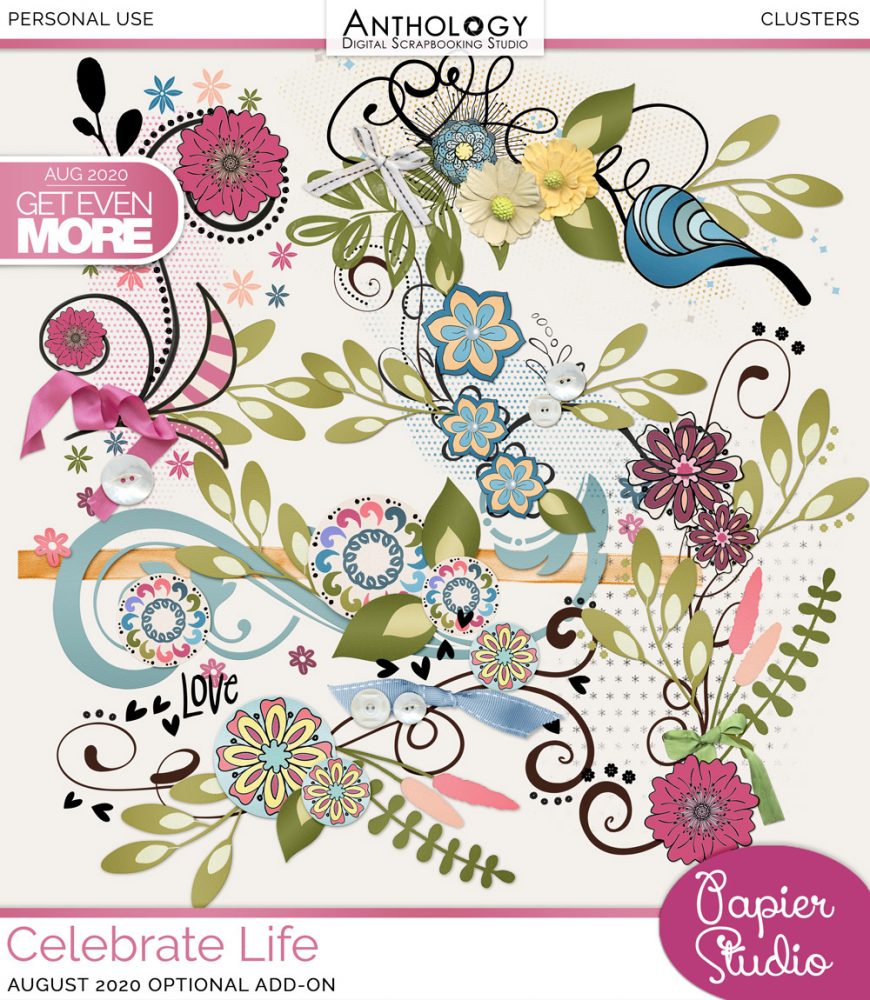
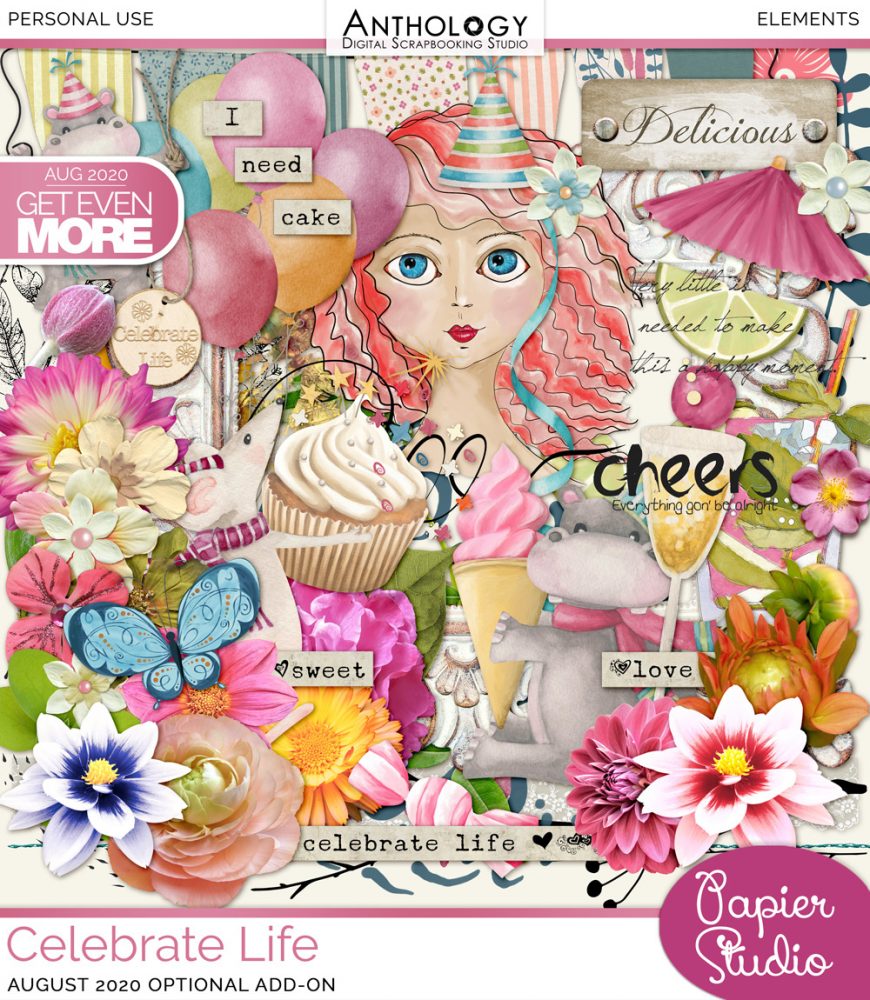
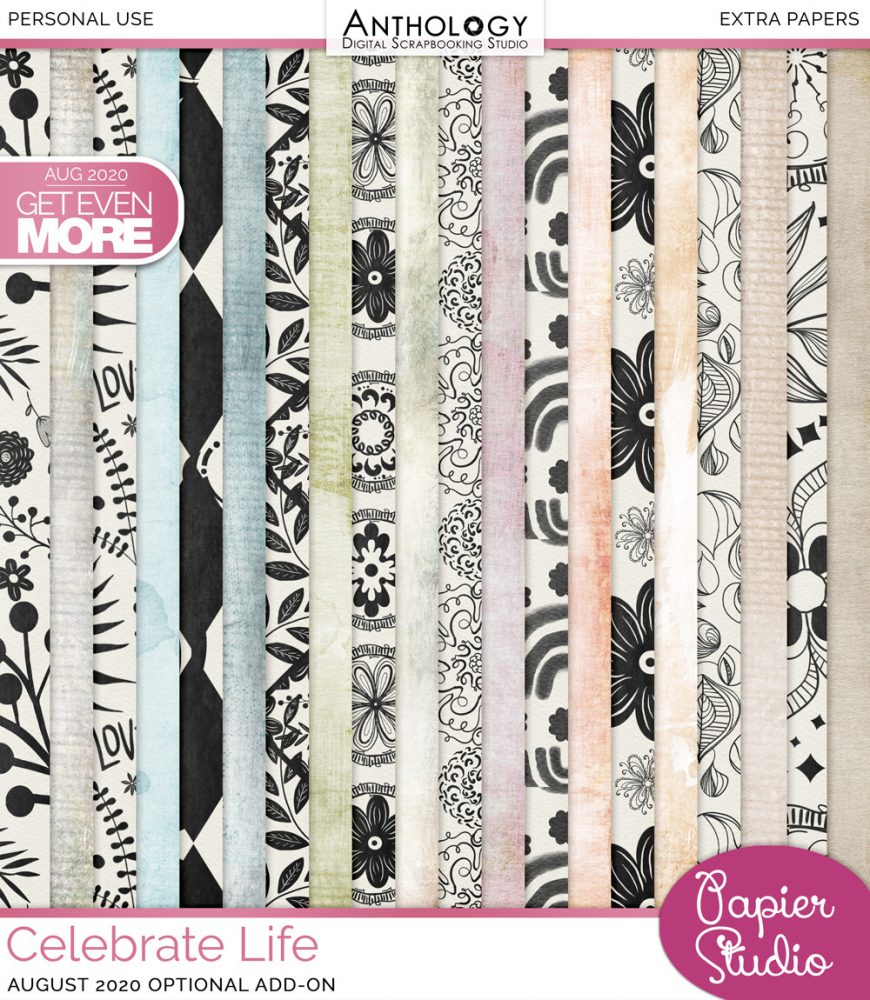
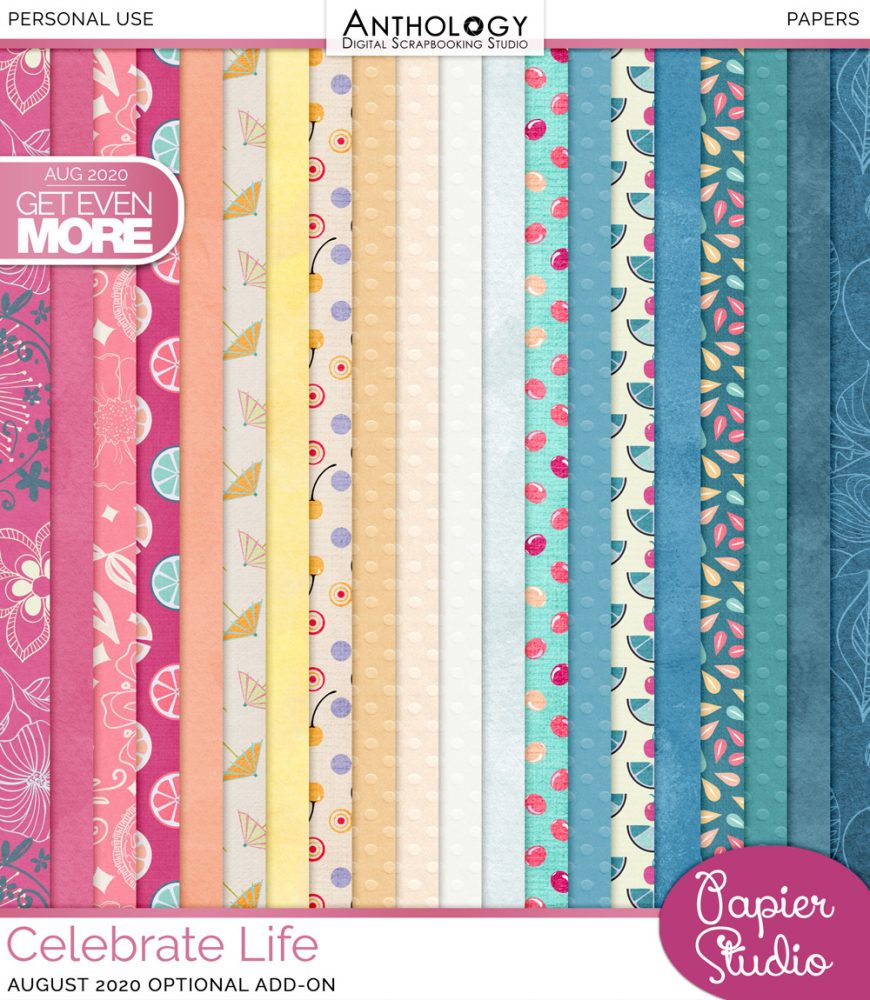
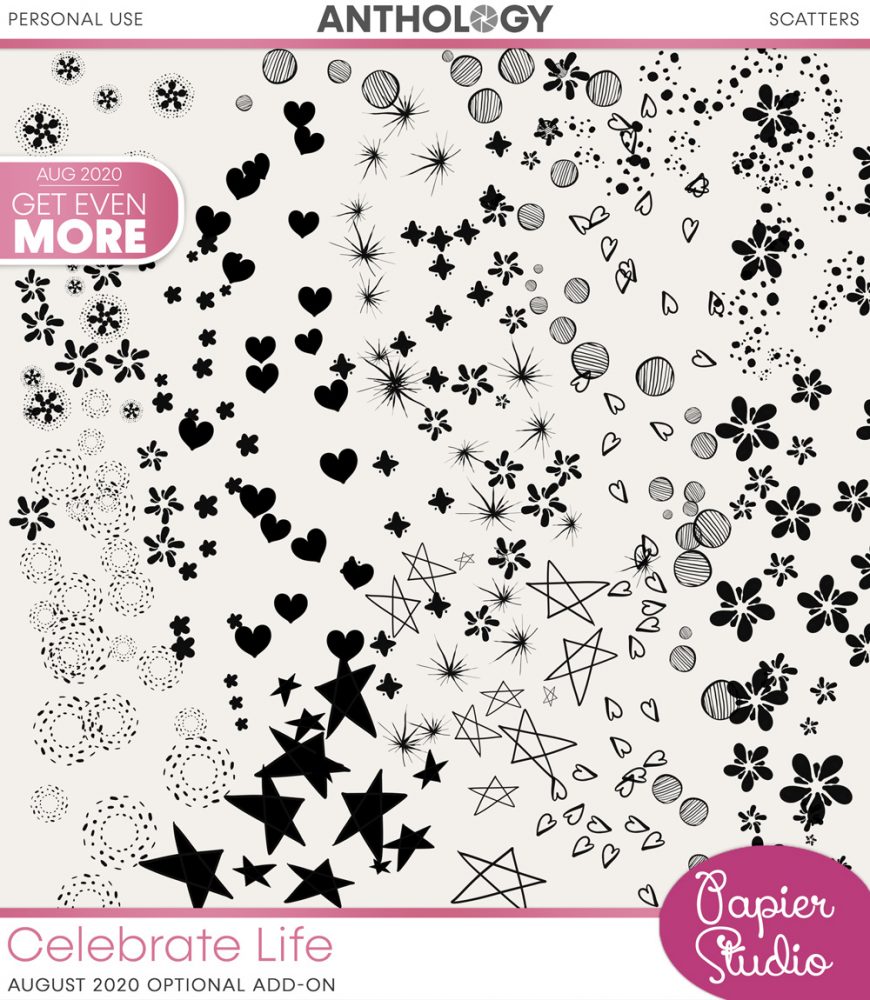
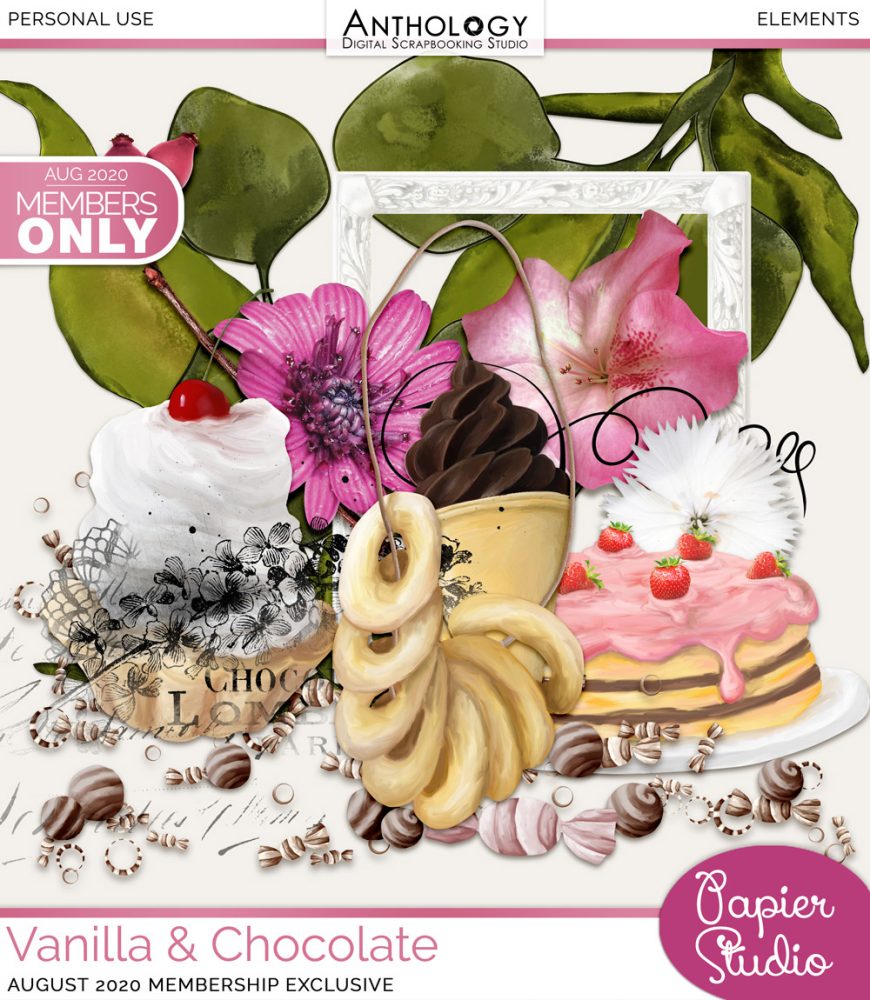
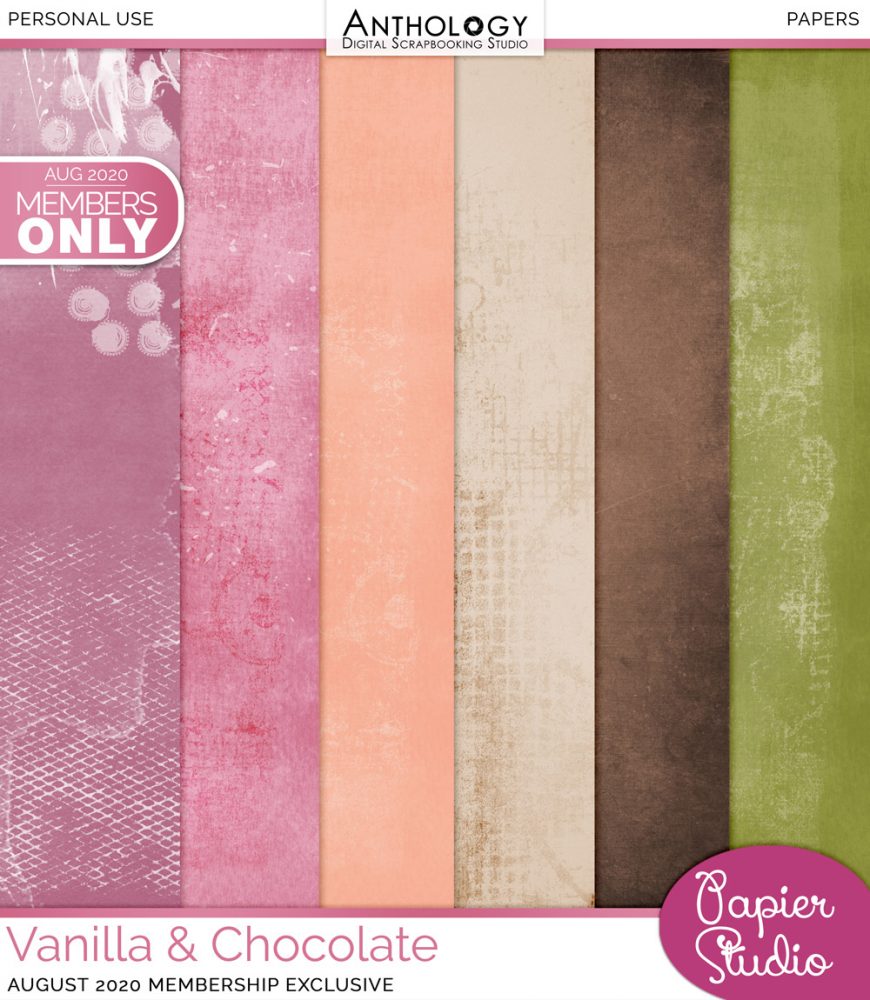
Vanilla Sweetness is available through August 28 at only $9.99. You get the exclusive add-on Vanilla & Chocolate FREE. And, with the subscription, you can buy the Celebrate Life add-on bundle for a 70% discount.


I LOVE how your painting turned out and that you used my Paint It Brushes to do it. BTW – Paint It 5-8 is on sale for 40% off if anyone else wants to try something like this … especially with the wonderful Anthology Collection that Silke created.
I Love this Toiny, thanks for the quick tip
Great tip, thank you for using my collection here! I just saw it!