
Easily add color or contrast to your images with the use of Blend Modes.
What do Blend Modes do?
In general, each Blend Mode in Photoshop changes the way a layer interacts with the layer beneath it.
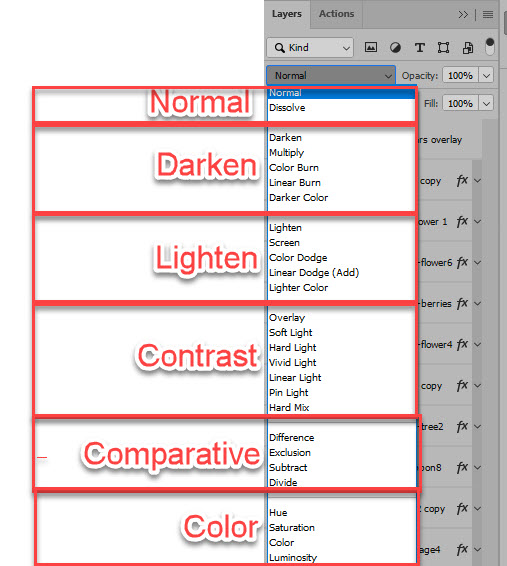
More specifically, there are 5 groups of Blend Modes. Each group is separated by a dark dividing line in the Blend Mode Drop-down menu.
- Group 1: No change / Dissolve
- Group 2: Affects the overall darkness of an image
- Group 3: Affects the overall lightness of an image
- Group 4: Affects both the lightness and darkness of an image
- Group 5: Creates inverted effects
- Group 6: Affects the colors of an image
Using Blend Modes can be an exercise in experimentation, but if you remember the main purpose for each Group of Blend Modes, you’ll have a good starting point.
Where are Blend Modes Located?
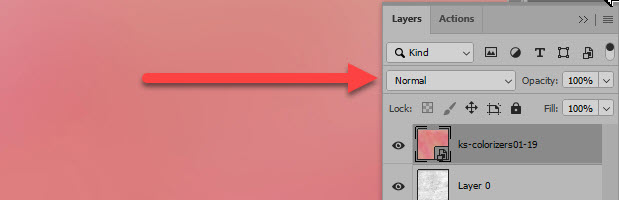
Blend Modes are located at the top of the Layers panel in both Photoshop and Photoshop Elements.
To access the various Blend Modes available, click on the down-pointing arrow to the right of “Normal.”
Why/When Would I Use a Blend Mode?
Use Blend Modes when you want to change the look of your image, by adding color or contrast. For example, you can use Blend Modes to lighten or darken images, to
View the Results of Each Blend Mode in One Example:
In the image below, you will see that there are 3 layers in the Layers panel:
- a cluster
- a patterned paper
- a solid red paper
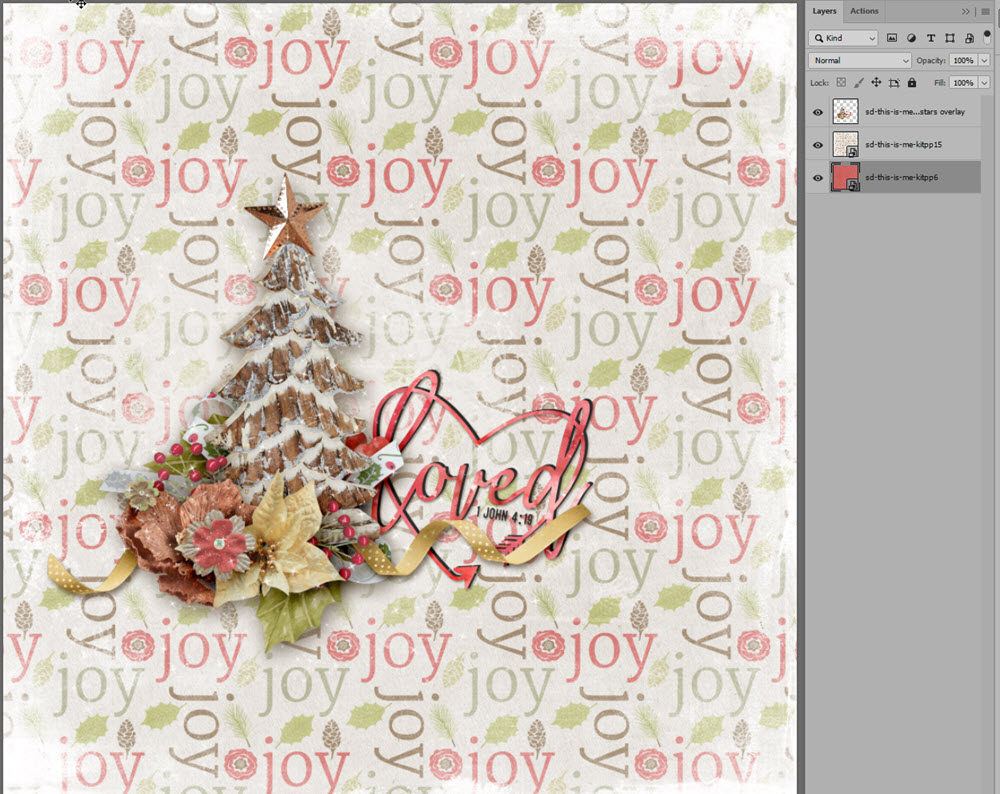
I have changed the Blend Mode of the pattern paper, experimenting with every Blend Mode (except Dissolve). Pictured below is the result of each Blend Mode, in the order that they are listed in the Blend Mode drop-down list in Photoshop. Some results are great, some no-so-much. Some look very similar to others, while others are quite opposite and dramatic.
The results you get when using Blend Modes will depend upon the 2 images that you are working with. For example, we would have seen entirely different results if we had been experimenting with a solid paper of a different color. But this example will give you an idea of what to expect when you experiment on your own.

Practical Example #1: Using Blend Modes with Grayscale Textures
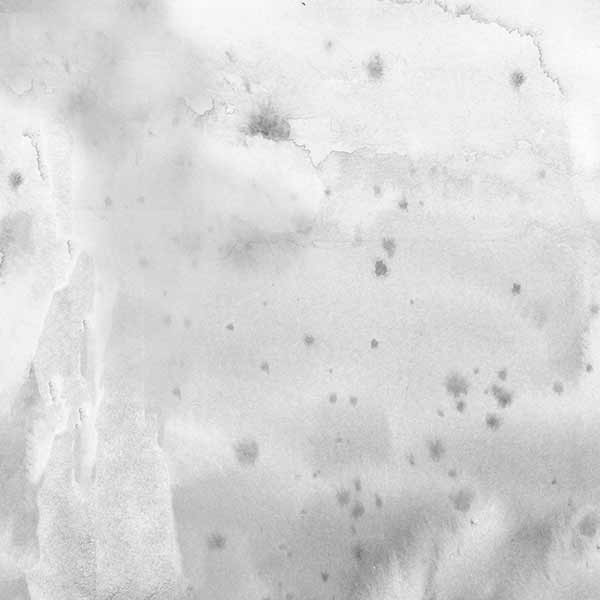
Blend Modes are often used when applying color to gray-scale textures..
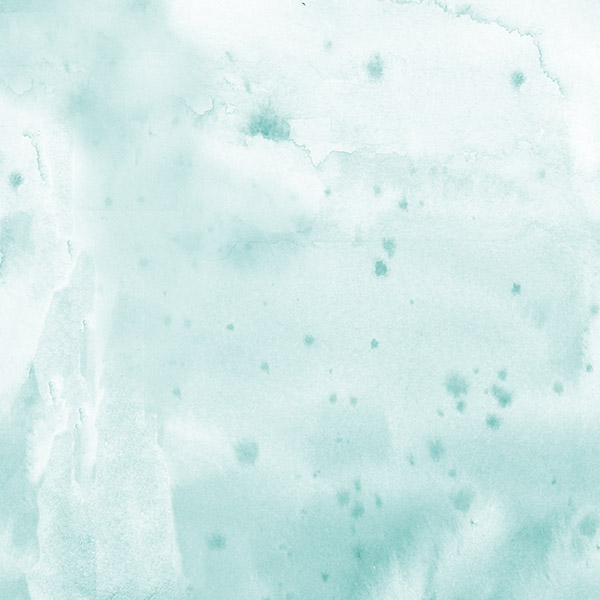
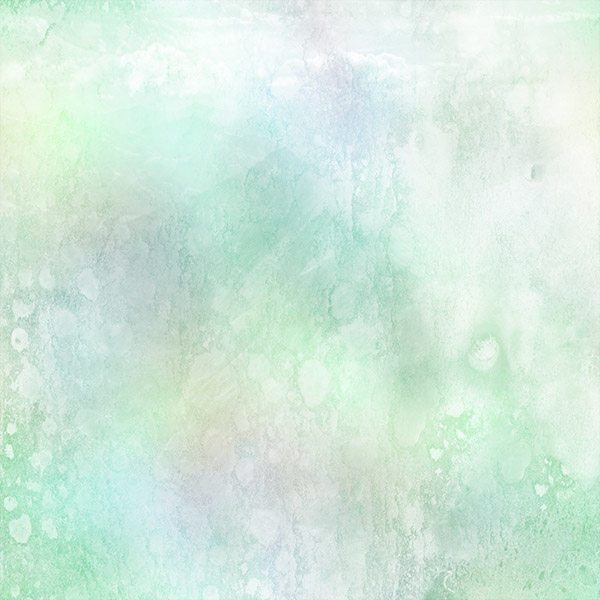
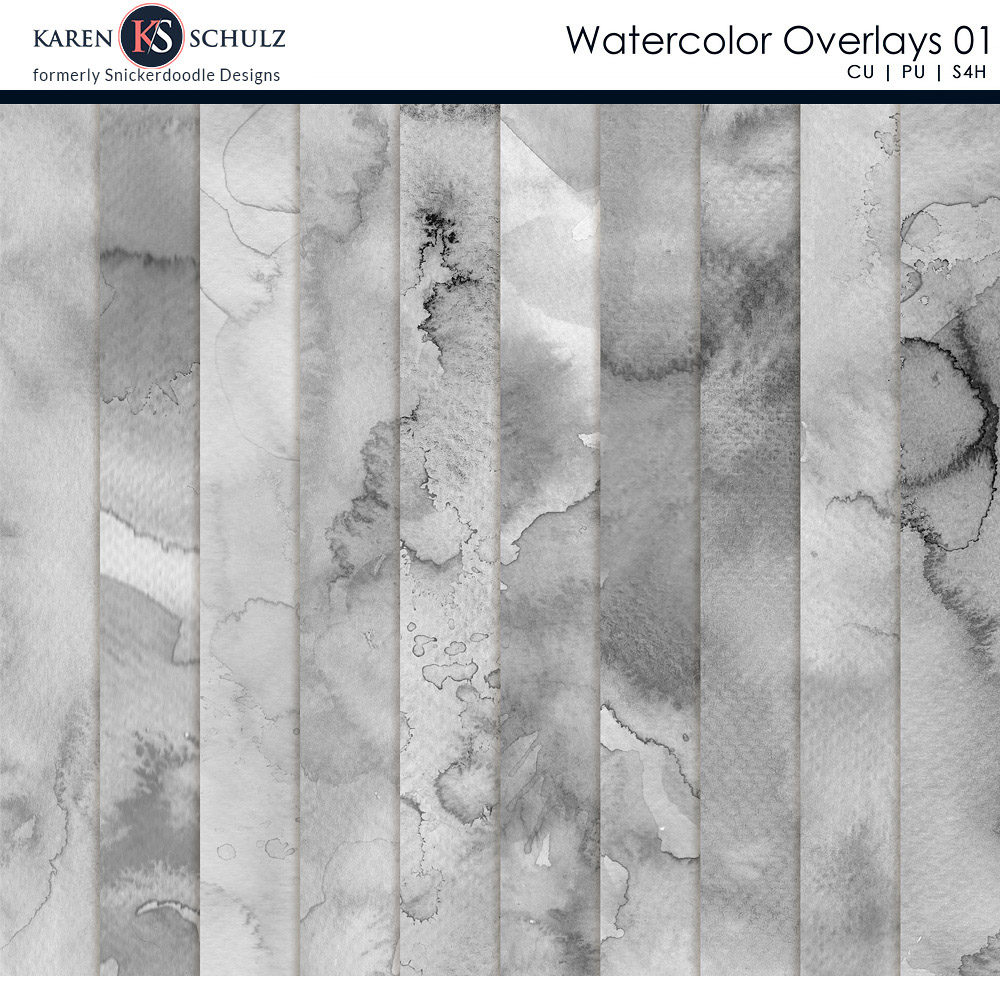
This is a grayscale watercolor texture. (Watercolor Overlays 01, #9)
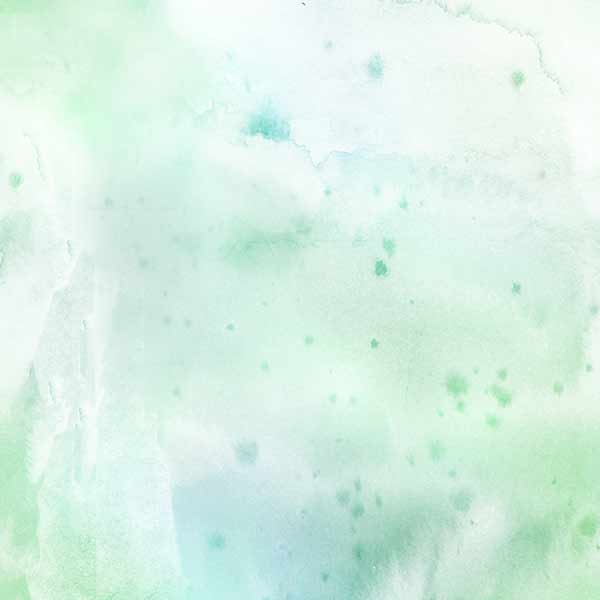
I added a layer of solid color (Hex 73beb9) on a blank layer in the Layers Panel above the texture and changed the Blend Mode of the solid color layer to Overlays. This is the result.
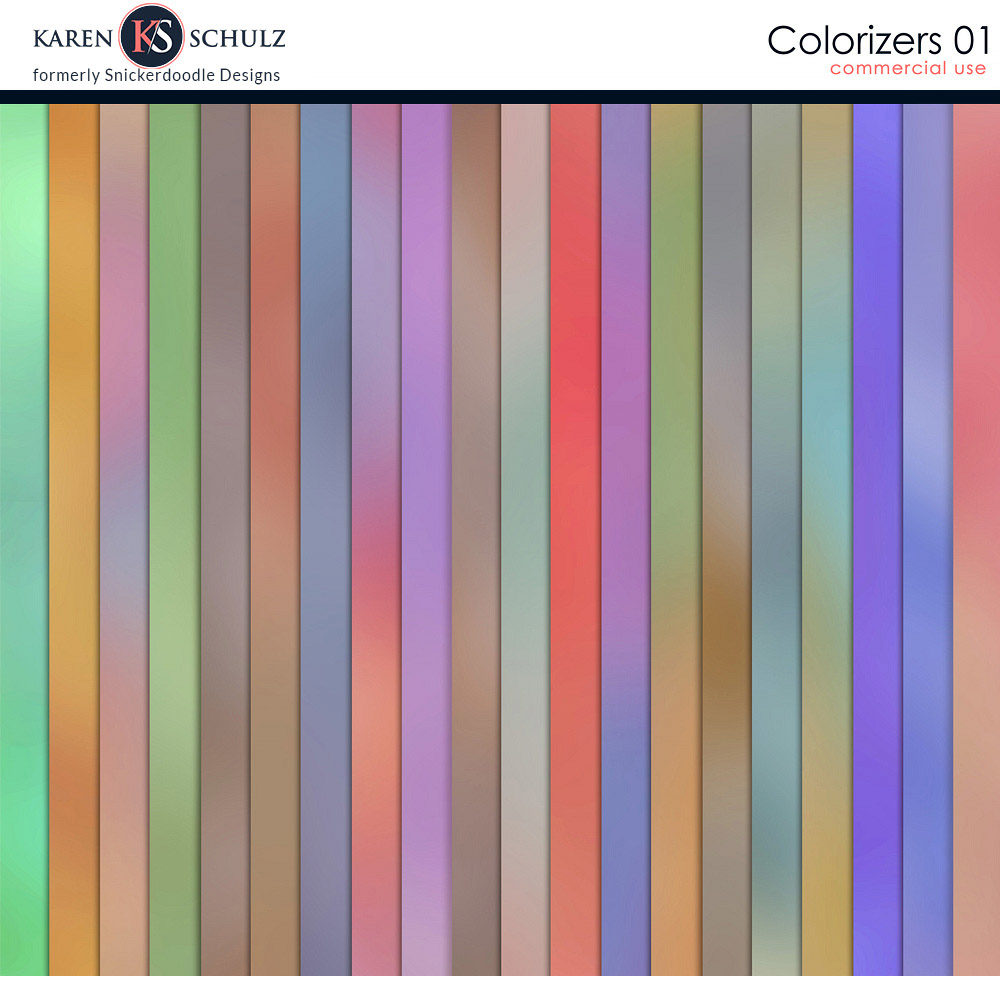
Next, I experimented with a Colorizer. (Colorizers 01 #1). I deleted the color layer, placed the Colorizer on a layer above the Overlay, and set the Blend Mode of the Colorizer to Overlay.
You can create so many unique looks when using Blend Modes depending upon the 2 images that are working with.
Practical Example #2: Using Blend Modes with Transparencies
Blend Modes work their magic with all types of file formats. They can help add extra interest to images when using .png files (or transparencies).
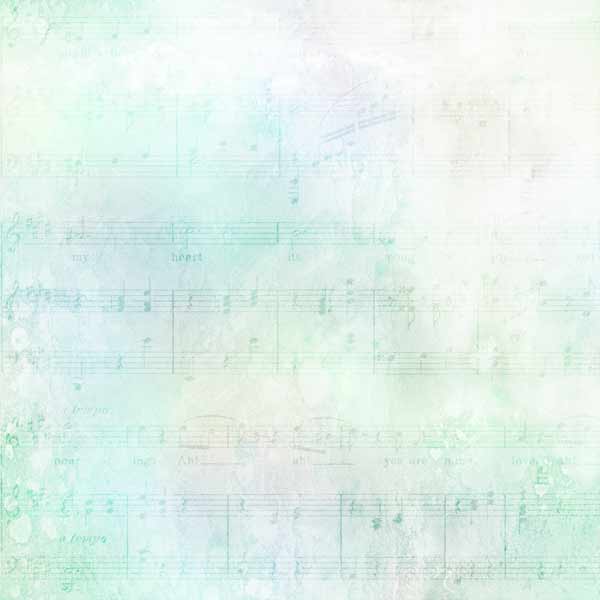
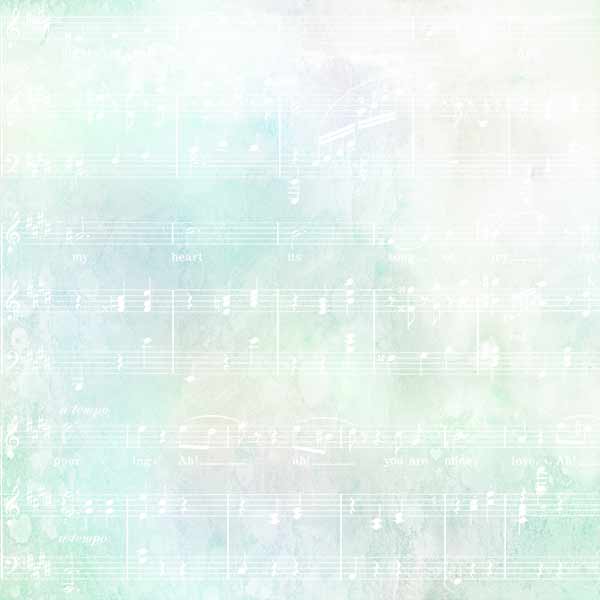
Here is a sheet of music, provided in png format. (Music Transparencies).

Place the sheet of music on a layer above your background image and experiment with Blend Modes. The 2 best results, using this image are Overlay and Divide. (Drag the slider below to the right to get a full view of the Overlay Mode and to the left for the Divide Mode.
I’m confused! Where do I even begin?
When using textures with your images, the most common Blend Modes to use are Multiply, Screen, Overlay, and Soft Light. That is always a good place to start and, most likely will give you the best results.
What’s next?
When you are comfortable using Blend Modes, try combining multiple textures for even more fun.
The image below contains 5 layers:
- Artsy texture 05, #6, Screen Mode
- Colorizers 01, # 1, Screen Mode
- Colorizers 01, #8, Linear Burn Mode
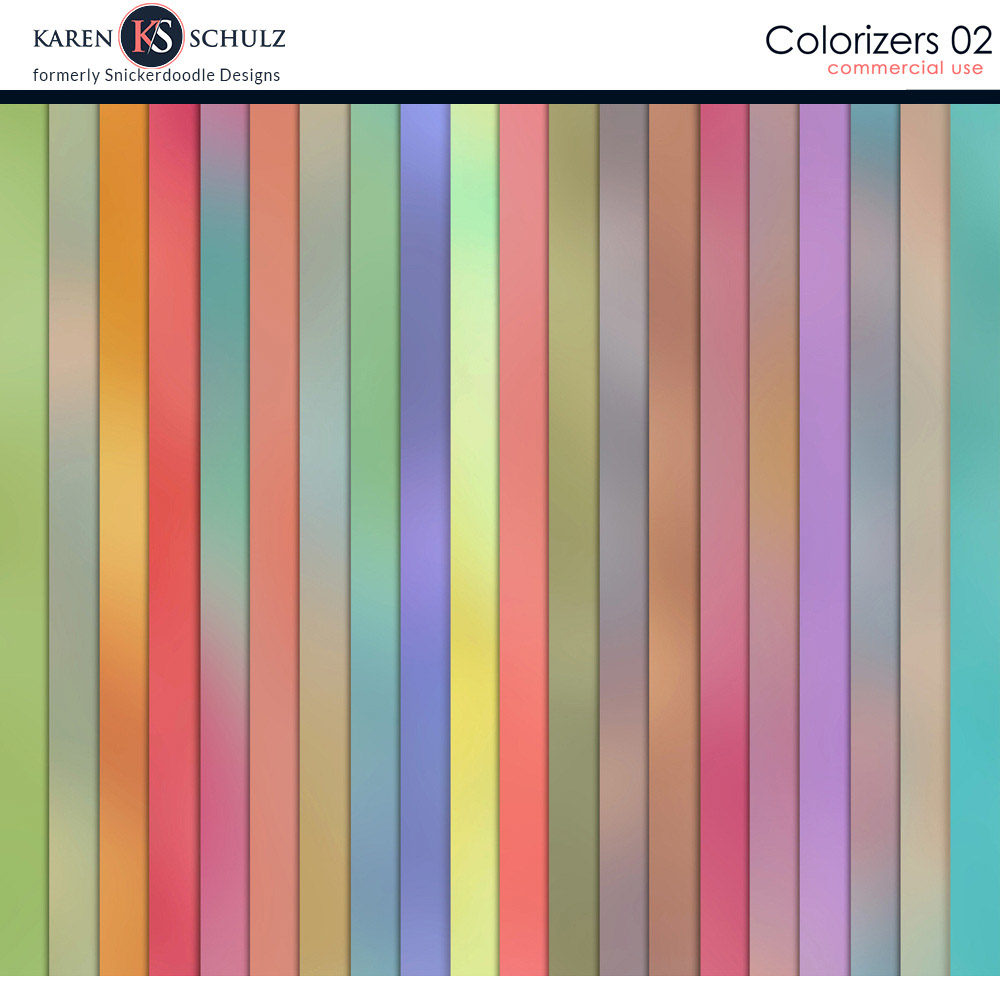
- Colorizers 02, #16, Multiply Mode
- Watercolor Overlays 01, #9, Normal Moe
What’s the Bottom Line?
Working with Blend Modes is a great way to “stretch your stash” because you can achieve so many different results just by changing the Blend Mode.
Be careful! Working with Blend Modes can become addicting. Not only that, but it’s just plain fun. And I guarantee that once you start using Blend Modes you will amaze yourself with what you can do.

Products used in this tutorial:


I ask so many questions and I am sorry, it is my way of learning – lol.
You mentioned Colourizers – are these just solid colour papers??
Love your tutorials, I use PSE10 so really love it when these tutorials include
PSE.
Thank You
Hi Christine, Please don’t apologize for asking questions. That’s how we ALL learn! And if you have the question, someone else probably does too. 🙂 Colorizers are a product of mine. They are multi-colored blended papers that you can use to easily add color to your papers, stamps, text, etc. Does that help?
Yes awesome I did see them in your shop this morning when I did some shopping, so now I know I will go back and purchase them.
Once again thank you so much
Chris Moyse (Christine) from Australia but I am moving back to New Zealand next year once Covid settles
[…] To create a dark background, I combined 3 backgrounds and blended them together with Linear Burn and Multiply modes. Karen has a great post on how blend modes work here. […]