
Lightroom is amazing for so many things. Quick edits on photo’s, creating a cohesive asthetic for a series of photo’s, transforming color to black & white, and for adding a pop of selective color.
How you ask? I’m so glad you asked! I have a new handy-dandy Lightroom Tutorial ready to go. Let’s get started.
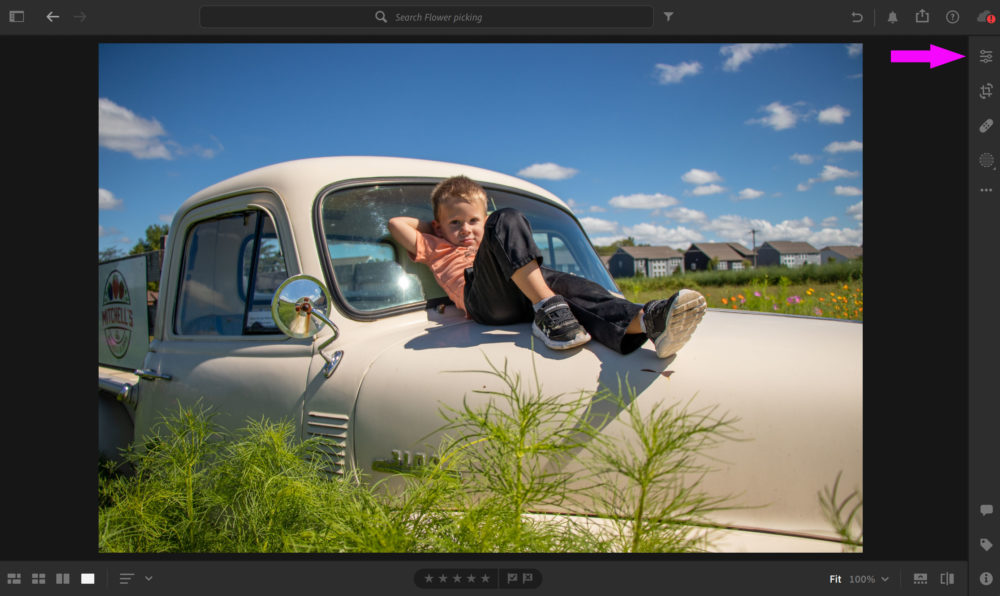
- Open your photo (see Add a Photo)
- Click on the Edit Icon
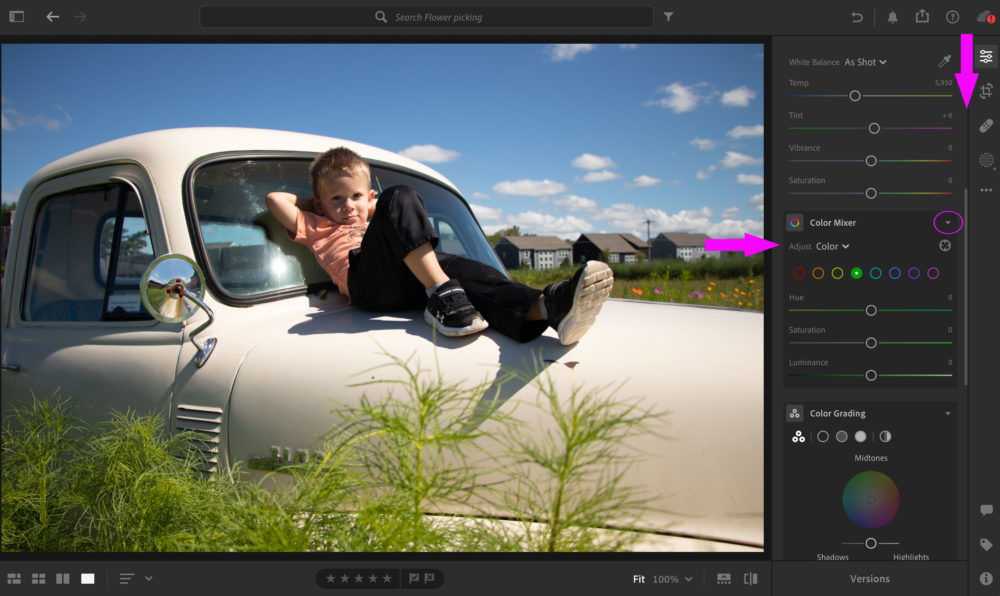
I did some basic edits in the Light subpanel. Then I scrolled down to make the magic happen.
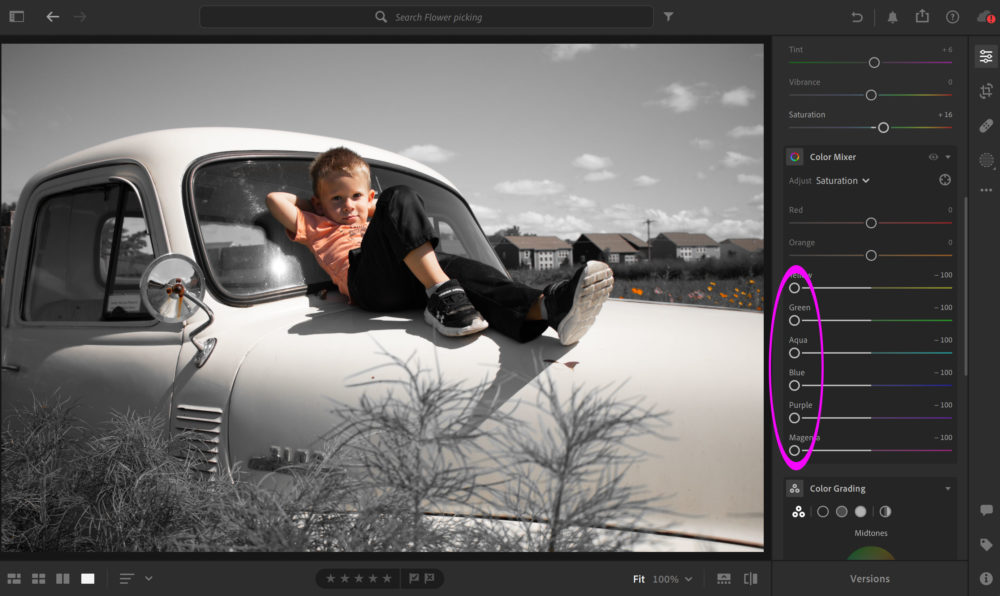
- Scroll down the Edit Panel until you find the Color subpanel
- You may need to expand the teeny, tiny arrow to the right of the Color subpanel
- Scroll down the Color subpanel until you find the Color Mixer subpanel
- You may need to expand the teeny, tiny arrow to the right of the Color Mixer
- Once you see the Adjust Color, and the rainbow circles, it’s time for the next step
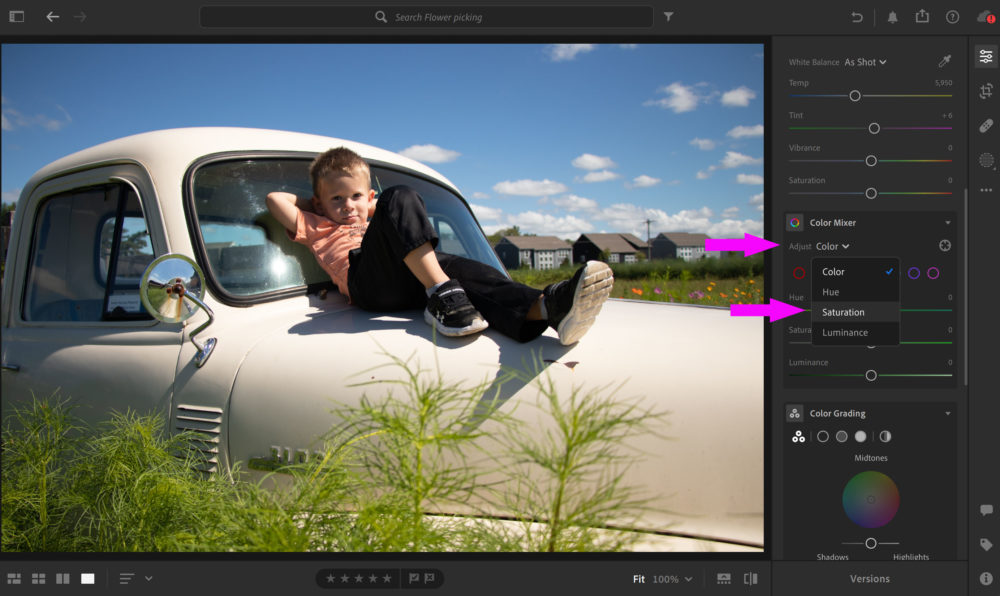
If I forgot to tell you, put on those reading glasses or magnifiers! There’s another teeny, tiny arrow.
- Click on the teeny, tiny drop-down arrow next to Adjust Color
- A short menu will pop up;
- Click on Saturation
There is now, magically, a full color menu replete with sliders! You can, at any time, switch from Saturation to Hue to Luminance.
Note: Switching adjustment choices does not remove your custom slider settings!
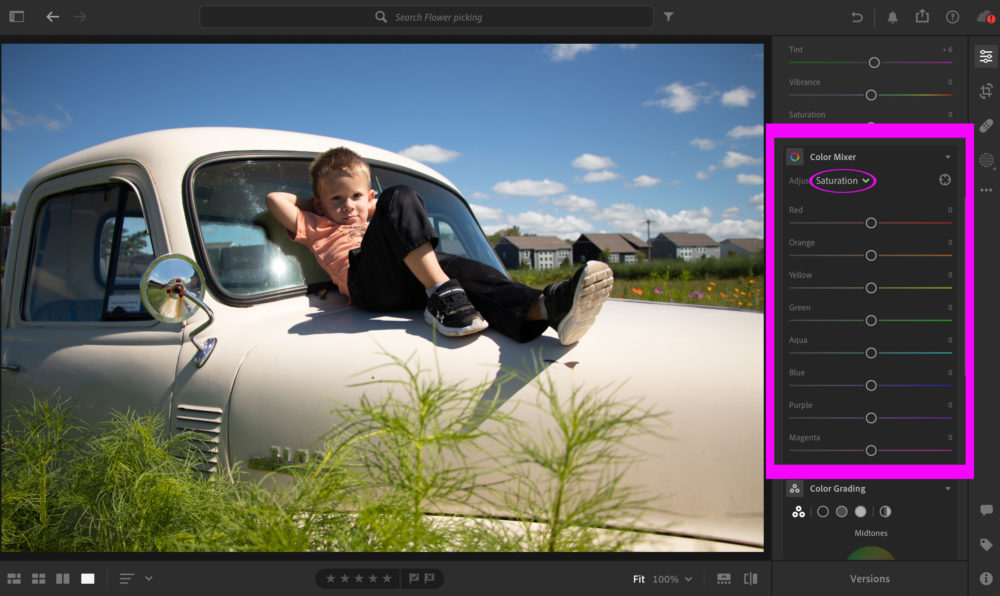
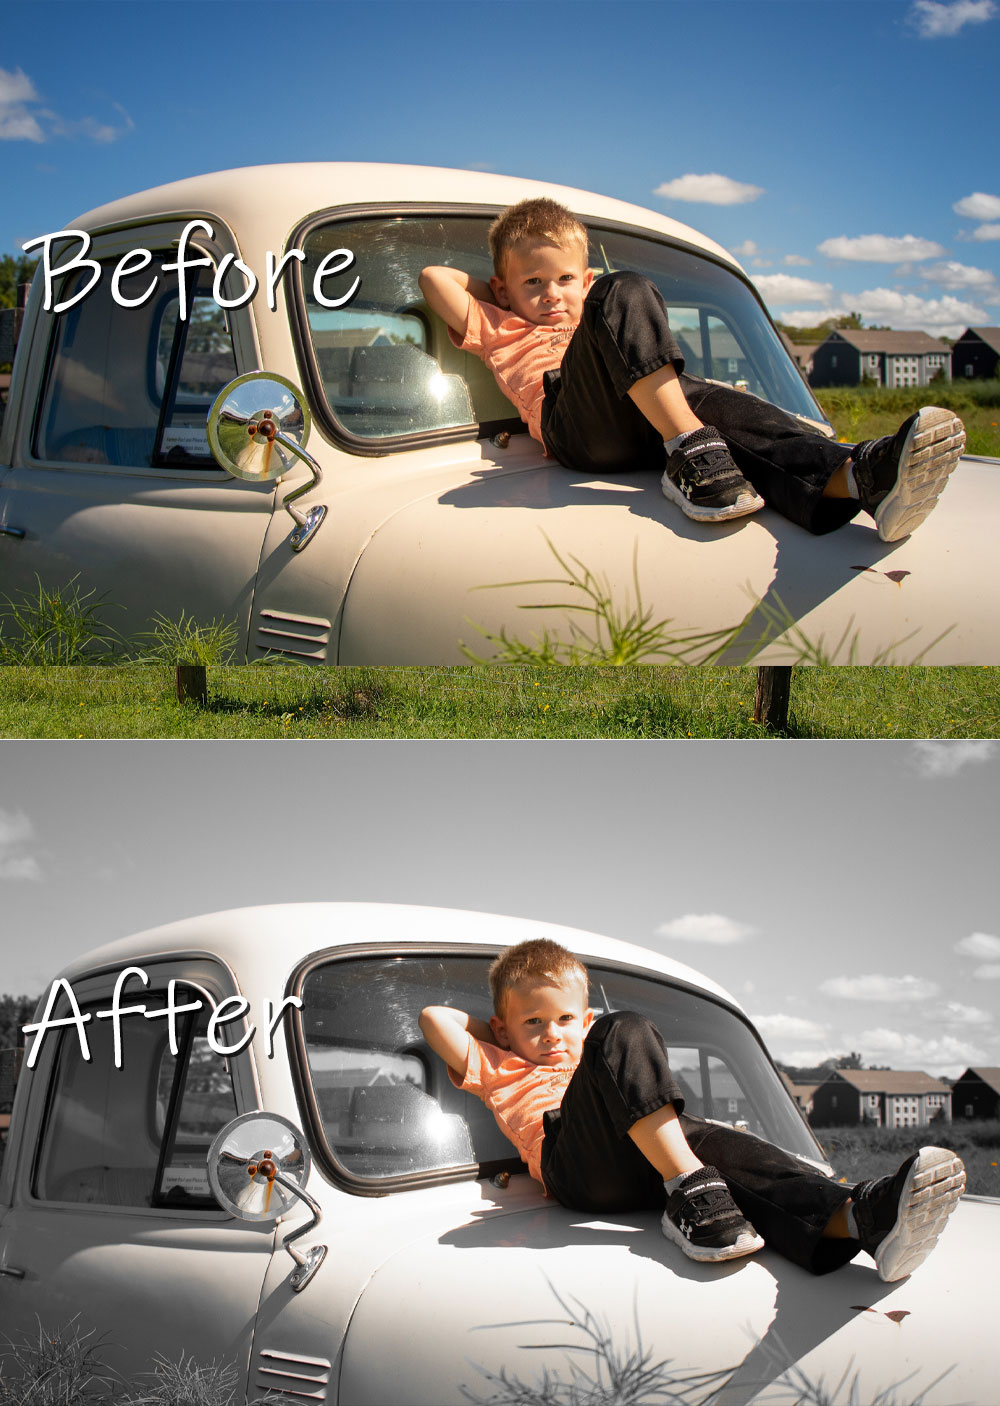
My focus is on the orange in Declan’s tshirt. You can change up your Saturation choices depending on the color you want to pop.
- Slide all colors to the far left;
- Except Orange & Red
- This preserves his shirt, skin tone, truck rust, the poppies as well as keeping a hint of color in the roofs.
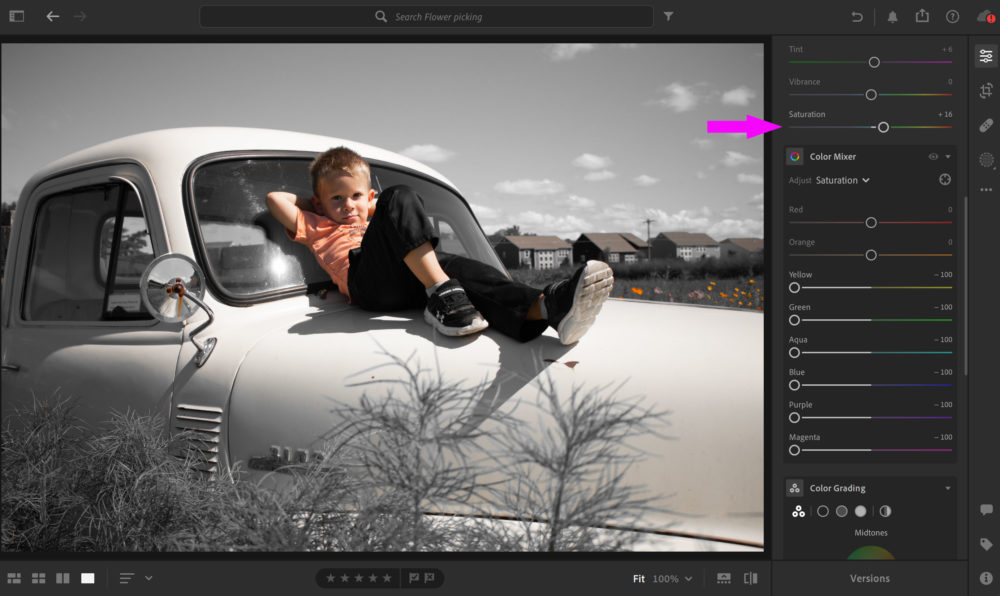
I also bumped up the Saturation directly under the Color subpanel a bit.
Note: I could mask out the poppies, roofs, etc. and desature those completely but I like the extra bits of pop
This is a quick, easy edit that brings a big change to a photo. Give it a whirl? Let me know how you do, or join our (free & fun) 100 Days of Summer Project and show it off in the Day 77: August 22, 2022 thread.

Merci beaucoup!