Before I begin, I have to announce the final winner in our month-long weekly giveaways. We had one more camera stashed away (please read There’s still time for one more give away…) and we have a winner! Congrats to NancyP, lucky number 13, winner of a beautiful, new, red Kodak Easyshare camera! Nancy, we will be in touch with you to find out where to send your prize!
A giveaway of a beautiful camera seques beautifully into a tutorial about photographs. I’m in love with the beautiful starkness of black & white photography. I’m struggling enough to shoot in manual, I’m not ready to shoot in b&w. I do, however, like playing with all of photoshops features to convert my color photo’s to b&w.
You can follow along with my tutorial, or just skip to bottom, download the action & let it do all my babbling for me.
Note: I made the action in Photoshop CS5. It may or may not work with other versions, or with elements. Please let me know if it works for you & what verion of photoshop or elements you are using. I will update here as I hear from people.
UPDATE: The action also works in CS6 & CS4. It does not work in PS Elements.
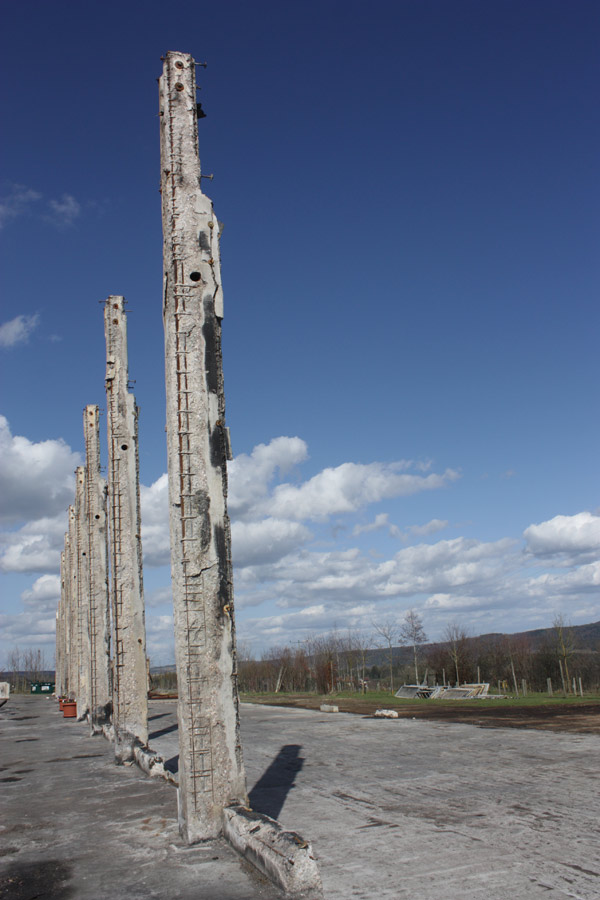
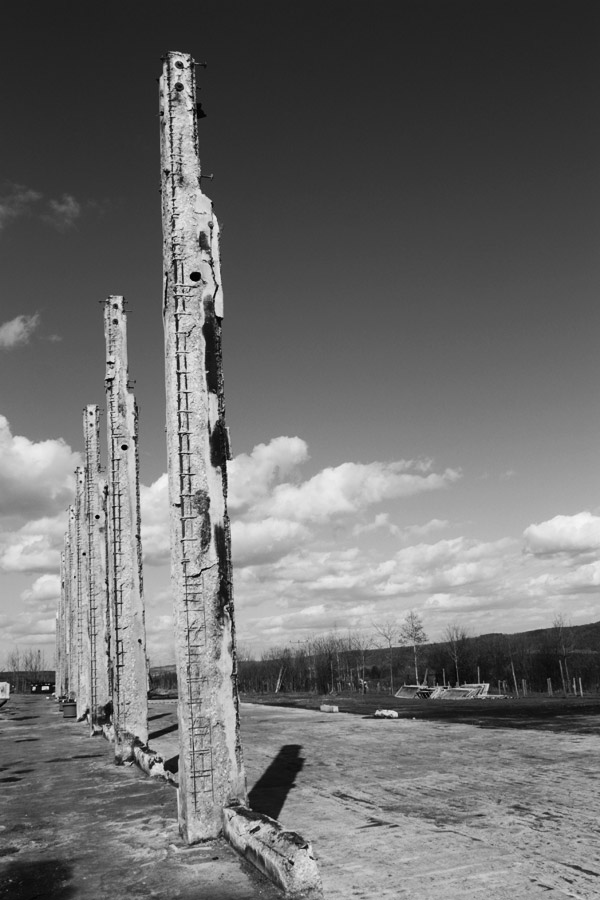
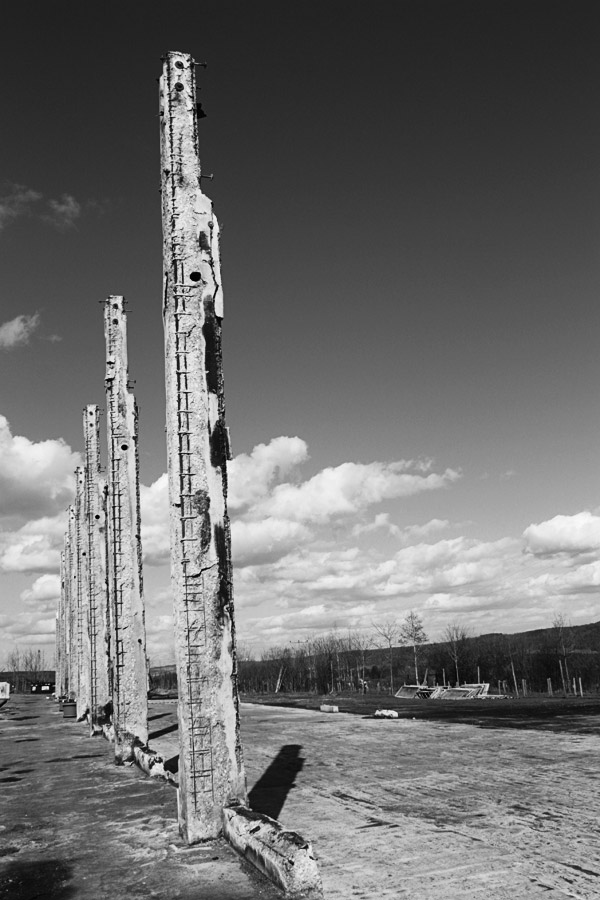
My original photo was take at the Camel Farewell Memorial. These are the burned out main supports of the barn from the horrible fire on January 31, 2013. My first glimpse of these brought me to tears. I though the feeling behind the photo would be much better expressed in stark black & white.
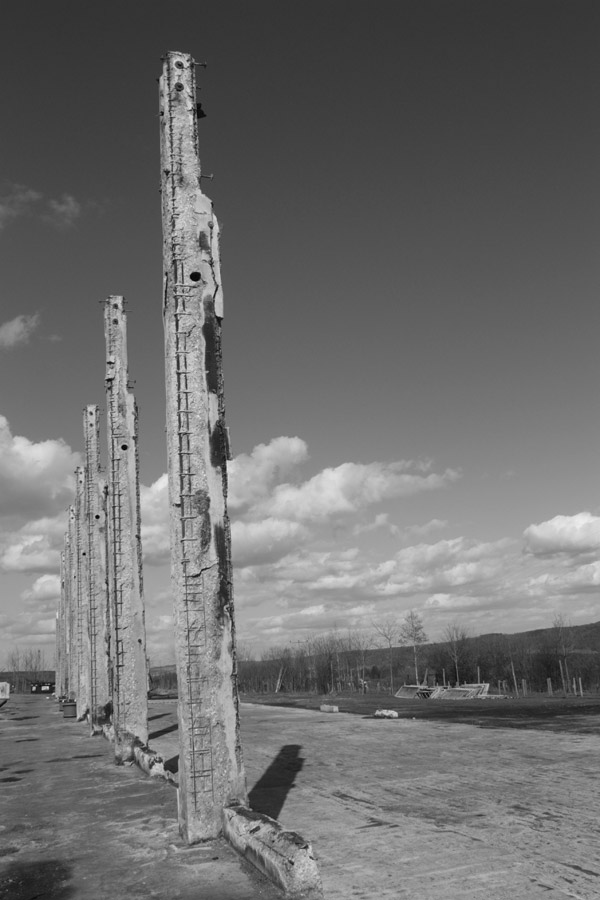
My first step was to add a simple Black & White mask, or adjustment layer. You can do this one of two ways:
On the bottom of your layers palette, click on the black/white circle: Create new fill or adjustment layer –> choose Black & White
Or click: Layer–>New Adjustment Layer–>Black & White
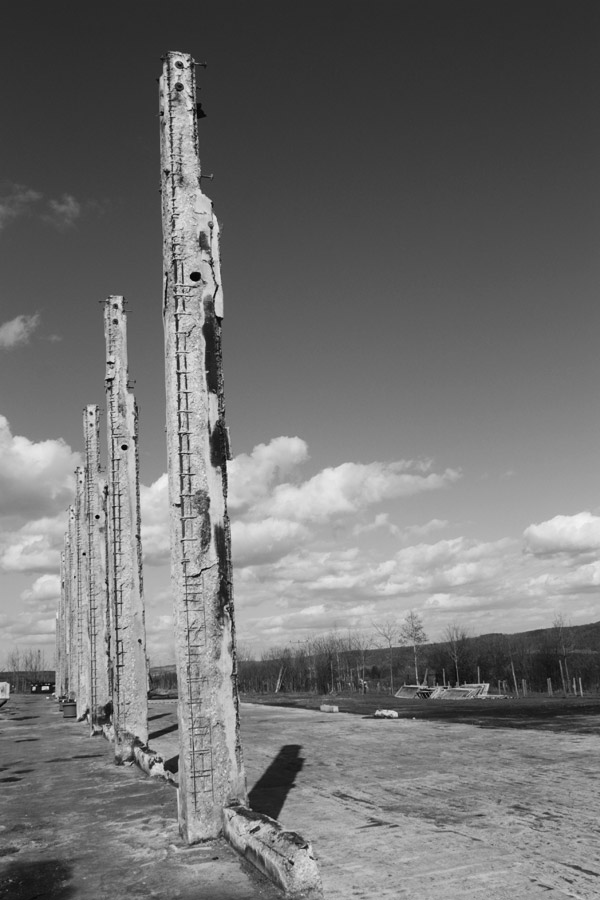
For a little more drama, I added a little bit of curve to my curves. Again, you can add the curves adjustment mask one of two ways:
Create new fill or adjustment layer –> choose Curves
Or click: Layer–>New Adjustment Layer–>Curves
I used the following settings:
Bottom curve:
Output: 49
Input: 59
Top curve:
Output: 154
Input: 140
I wanted to boost the contrast a little with levels. Again, you can add the levels adjustment mask one of two ways:
Create new fill or adjustment layer –> choose Levels
Or click: Layer–>New Adjustment Layer–>Levels
I changed the settings to Soft Light and Opacity to 50%
I next ran high pass for definition. Click Filter–>Other–>High Pass I used 10px.
Note: This value is dependent on the size of your image. I am working with a 2848X4272 size image. The bigger the image, the bigger the number.

I am going for stark in my photo. I want to ramp up the white. I do this by adding a Selective Color adjustment mask one of two ways:
Create new fill or adjustment layer –> choose Selective Color
Or click: Layer–>New Adjustment Layer–>Selective Color
While on your Selective Color adjustment mask layer; click on your Adjustment Palette –> choose Whites under the colors dropdown menu –> Change Black to -38%
As my final step, I merged all my layers (right click in your Layers palette –> Merge Visible or Shift+Ctrl+E), created a duplicate layer (right click in your Layers palette–>Duplicate Layer), then ran Unsharp Mask.
Filter –>Sharpen–>Unsharp Mask
Settings:
Amount: 234%
Radius: 0.7 pixels
Threshold: 3 levels
I did not adjust opacity of my Sharpen layer. The free action leaves you the choice to adjust the Sharpen layer by sliding the Opacity slider.
Note: Before merging for the final step, you can adjust each individual layer by using the opacity sliders, change the Blend Mode, or play with the options on each individual Adjustment palette.

You can download the FREE action to do the work for you here:


Well done!! I like working in adjustment layers! much safer that way LOL Ü
[…] Converting to B&W with a FREE action – 1 freebie(s) […]
[…] Converting to B&W with a FREE action – 1 freebie(s) […]
Great tut … I’ve always just gone along with the defaults, but that’s because I never truly understood the options available. I’m definitely going to play around with your suggested settings, but I’m also going to download your action. Thanks!!!
[…] Converting to B&W with a FREE action by Toiny […]