Our Snowed In EVENT is a HIT! Anyone can join. Members, Admin, CT… anyone! You will be allowed to use any kit, any Designer for your layouts. The goal is to SCRAP!
- What is Snowed In? Quite simply it’s a layout-a-day challenge for January.
- What makes it spectacular? A prize-a-day. A snowballing prize-a-day.
- What does that mean? That means everyone that posts a layout on day one, gets one prize. An element. A paper. Just one. On day two you get two prizes. Two elements or two papers or one of each! And just like that it snowballs:
- Day 3 = 3 prizes (a mix of papers & elements)
- Day 4 = 4 prizes (a mix of papers & elements)
- Day 23 (January 31) = 23 prizes!
- Grand total = 276 papers & elements!
By playing every day. By posting a layout every day. You wind up with a phenomenal Snowed IN Mega FREE!
Today I am using the marvelous Snowed IN Mega to create my very own stacked paper. Follow along (pick up the freebie at the end) & create your own ❤
- Start with brandnew page in Photoshop (I’m using CC 2018): 3600 X 3600 pixels; 300 dpi:
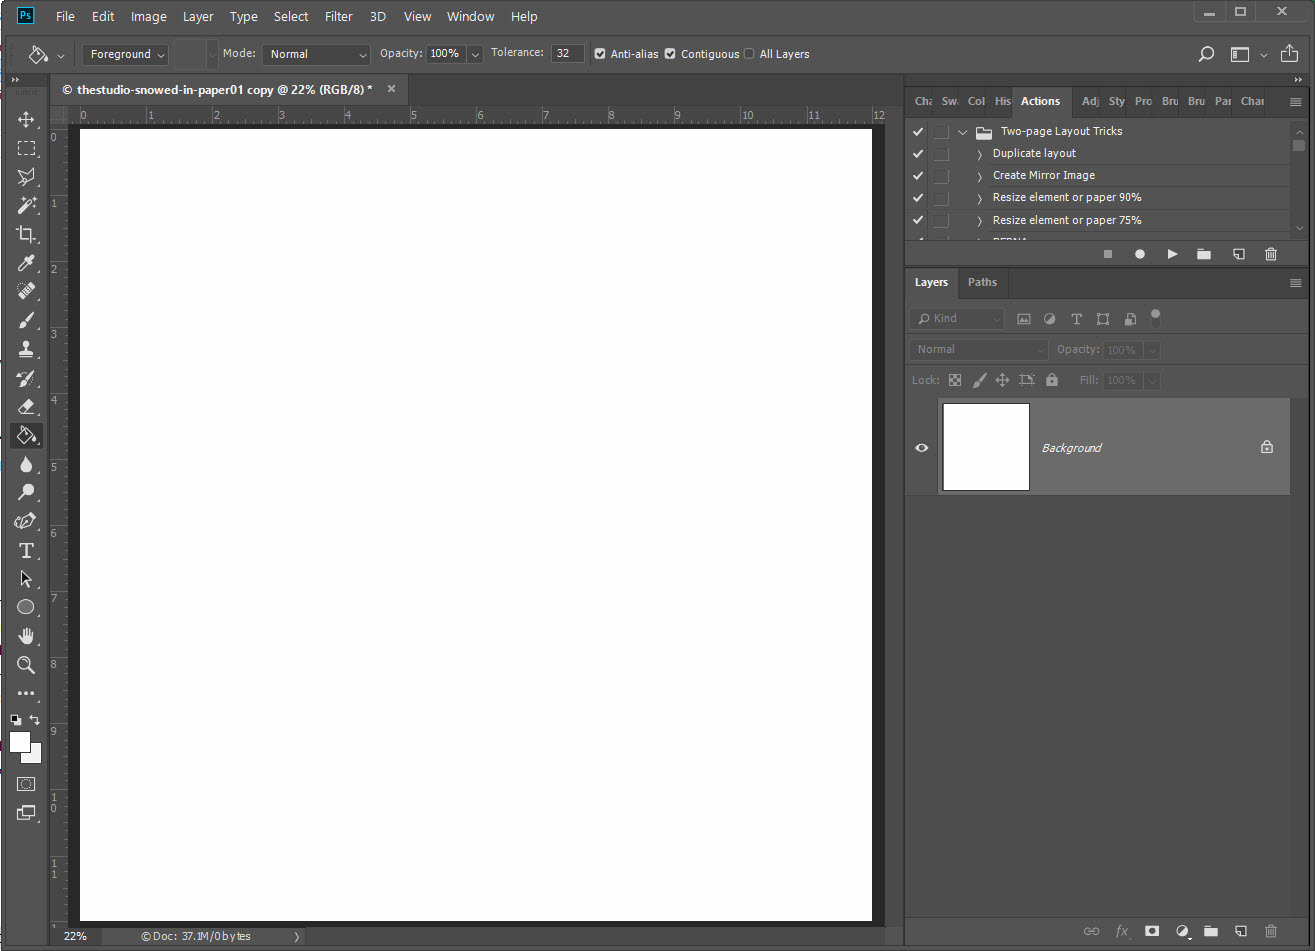
Start with a brandnew 3600 X3600; 300 dpi page
- Drag & drop your favorite paper (any kit; any Designer) by holding down the Shift+Click & Hold+Drag the paper into the new open page:
This is a video, click the teeny tiny arrow on the bottom left to play
- Duplicate the background layer to create a second layer:
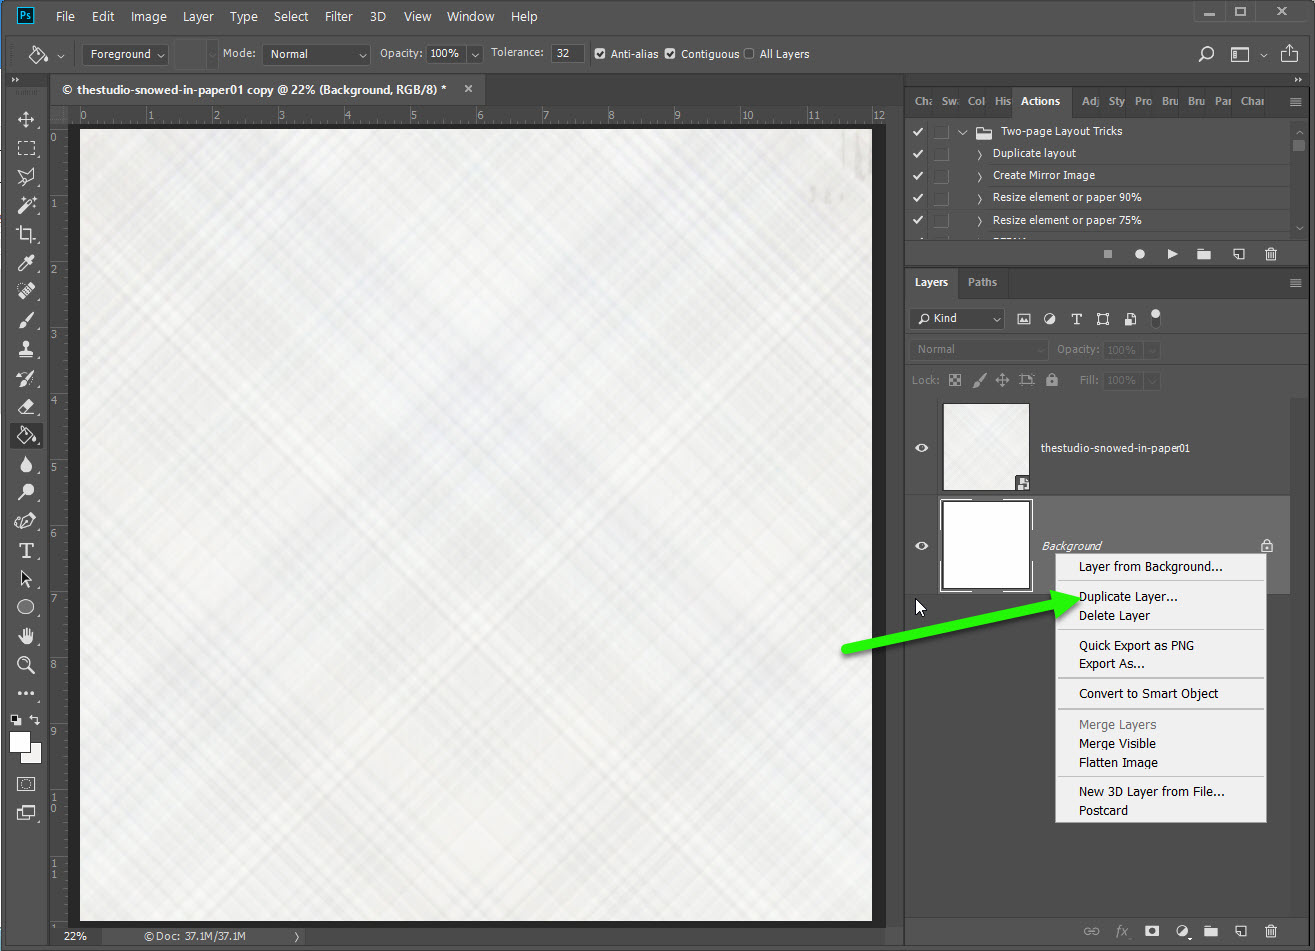
Duplicate the background layer to make a 2nd “paper”
- Drag the new layer Background copy to the top of the Layer Palette
- Use the Paint Bucket Tool to change the color of the new layer (it helps keep them straight in your mind while working with this file).

Change the color of the new layer
- Double click the layer name, in the layer palette, to rename it. This makes it easier to keep track of where you are in your project.
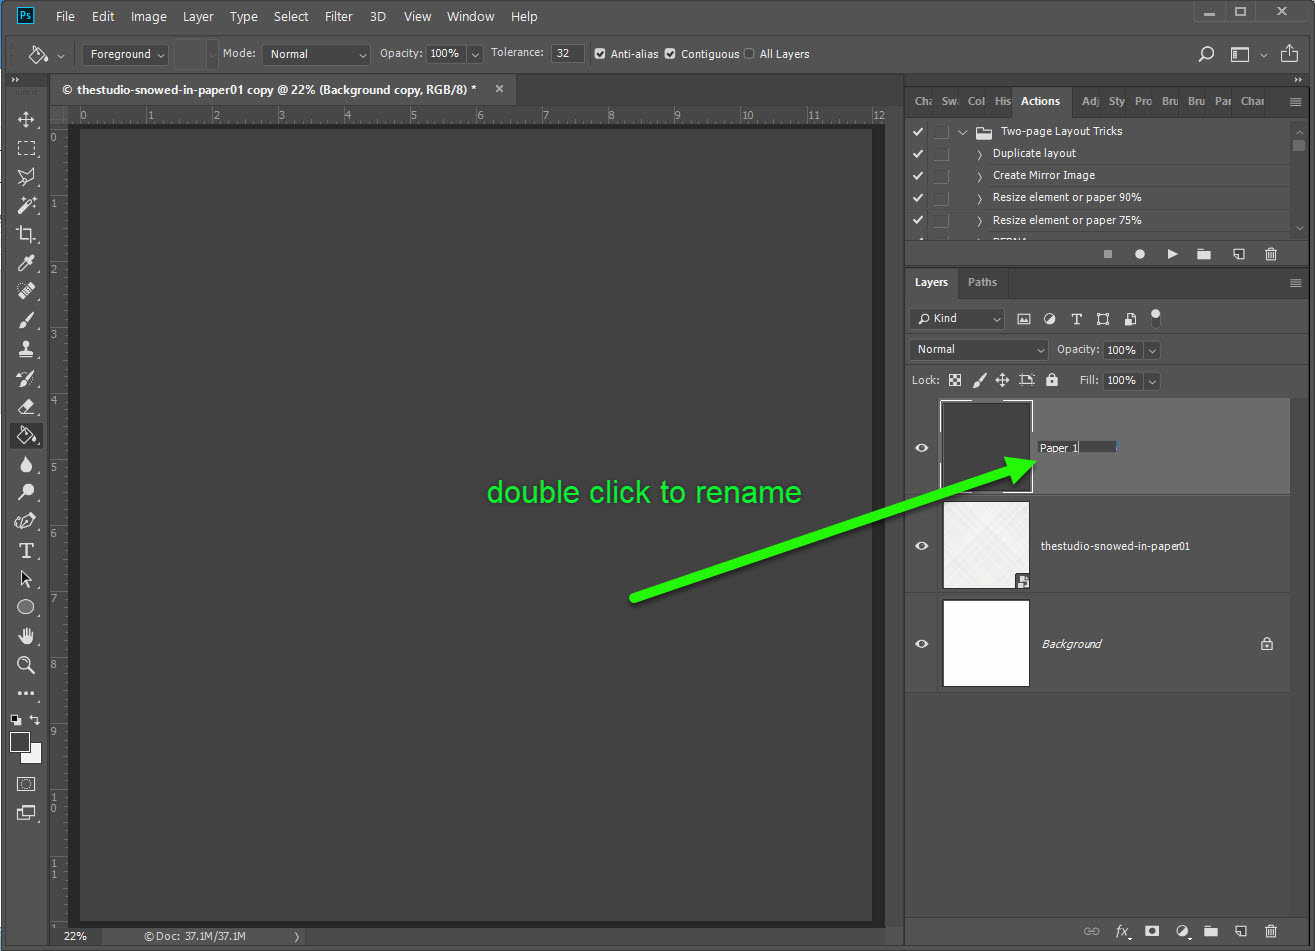
Double click to layer name to rename it
- Use the Move Tool to reposition new layer “Paper 2”
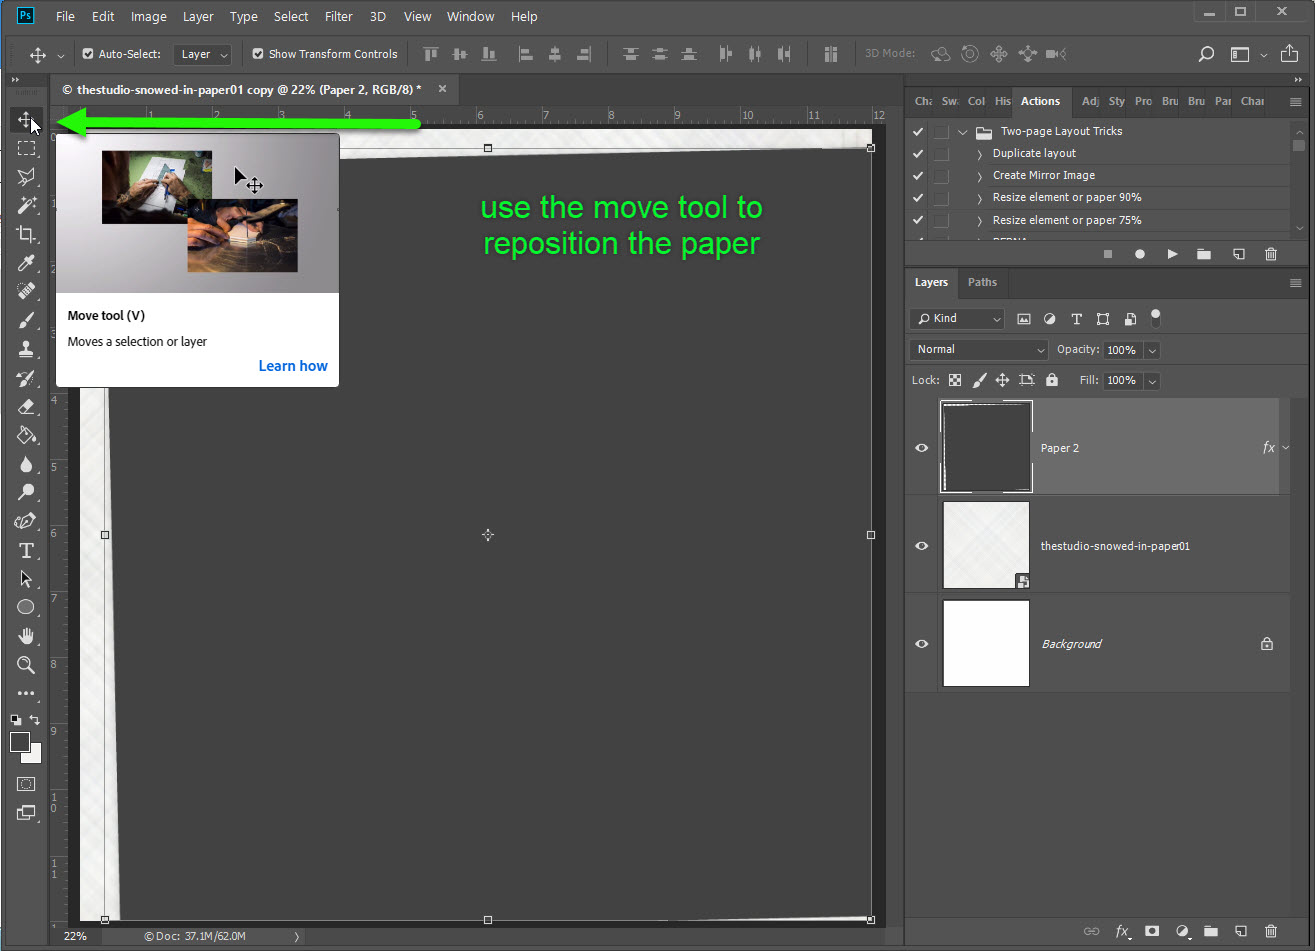
Use the Move Tool to reposition “paper 2”
- Follow the steps up above to Shift+Click & Hold+Drag a new paper into your project.
- Create a Clipping Mask by right clicking on “Paper 2”
- Tada! You have stacked your first two papers!
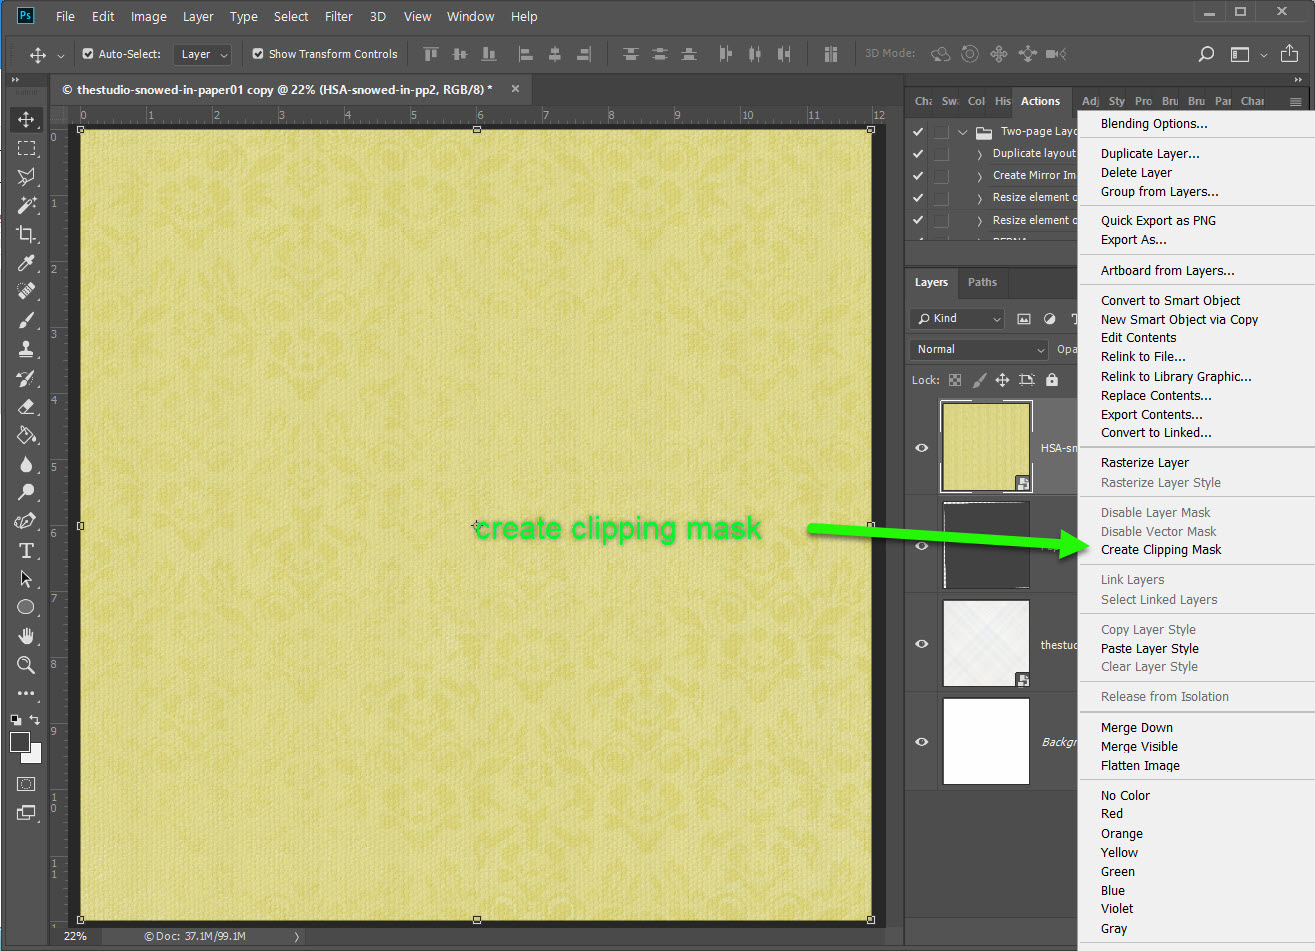
Repeat the shift+click & hold+drag to add a second paper. Then create a clipping mask.
- Repeat the previous steps and duplicate the background layer again.
- Drag it to the top of your Layer Palette
- Use the Paint Bucket Tool to change the color
- Double-click to layer name in the Layer Palette to rename it “Paper 3”

Add a third new layer
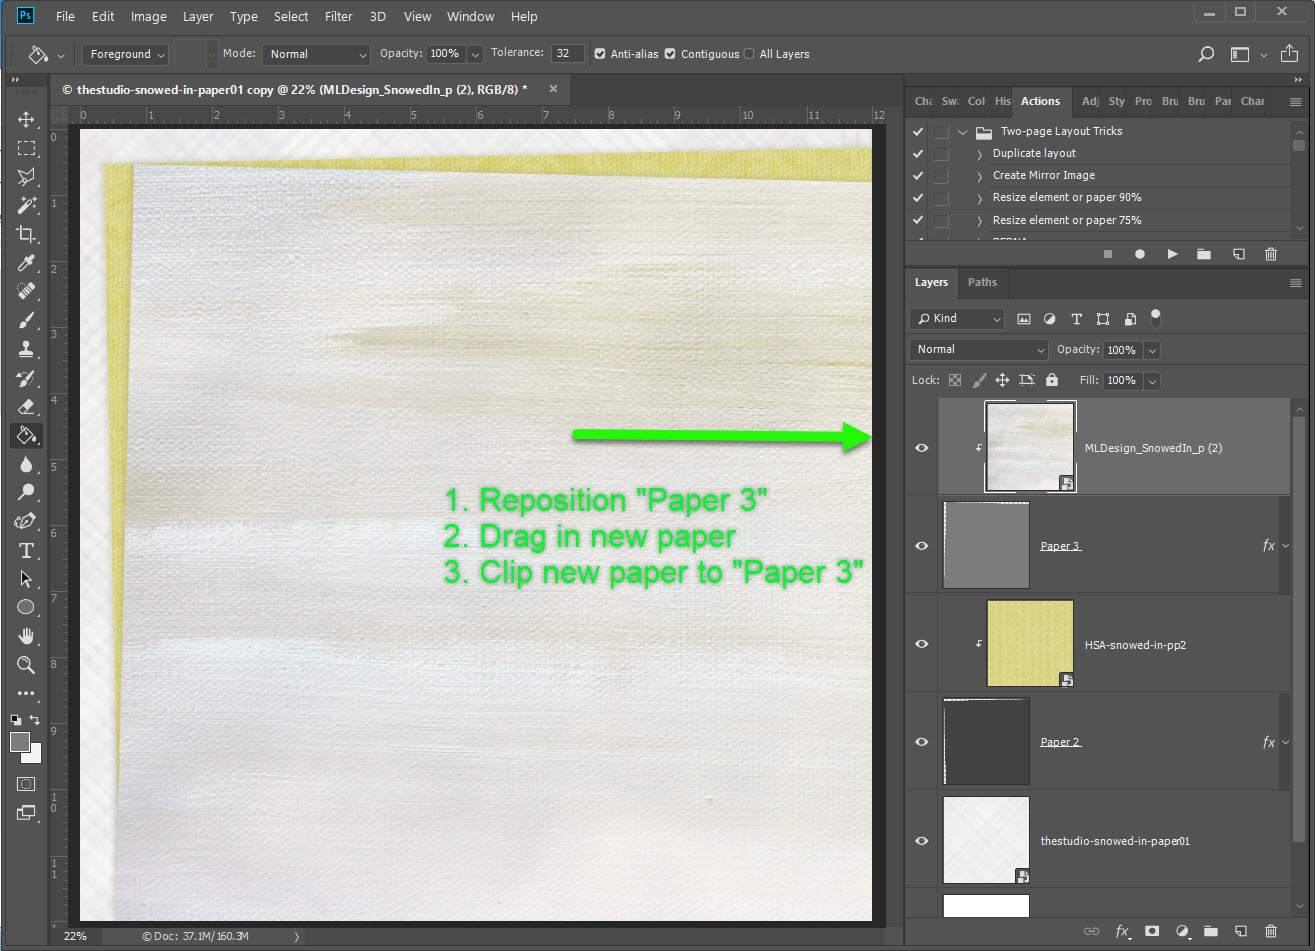
- Again use the Move Tool to reposition “Paper 3”
- Again follow the steps up above to Shift+Click & Hold+Drag a new paper into your project
- Create a Clipping Mask by right clicking on “Paper 3”
- Tada! You have stacked three papers!
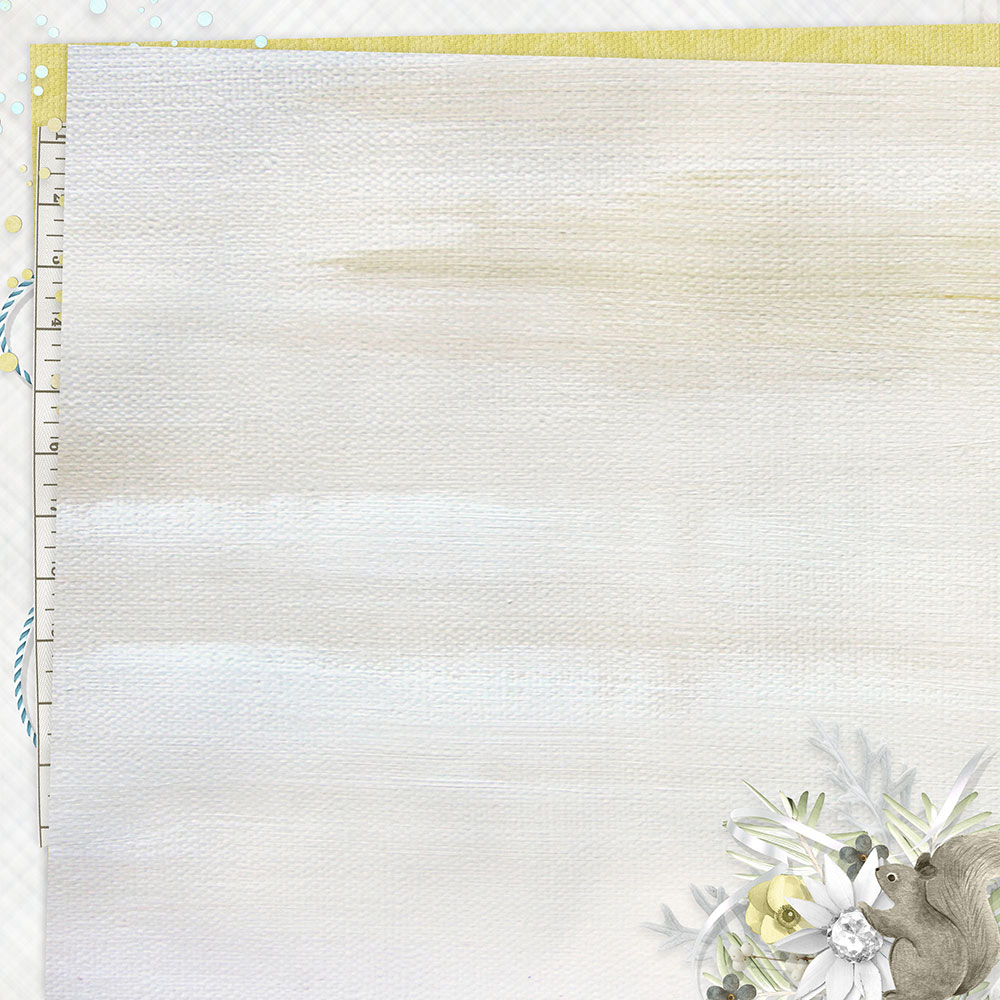
I add some subtle drop shadows to each of my new “Paper” layers. Then I added in a couple of ribbon & scatter elements between the stacked layers, as well as a cute little cluster to finish the look:
And just for you, just for today, I have both the basic stacked paper template & the stacked paper FREE! Simply click to download & enjoy. Remember, our Snowed IN event is January 9 – 31, 2019. Everyone is welcome!
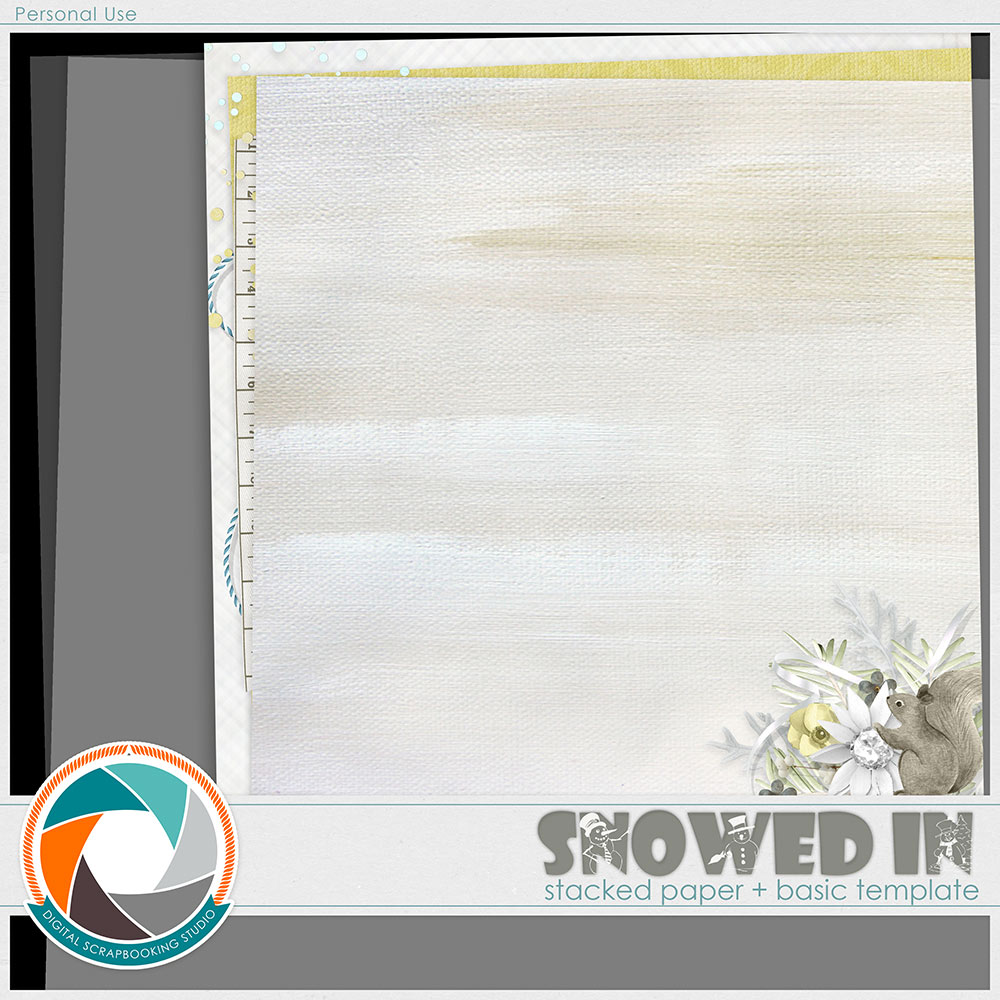
Click to download & enjoy!


Thank you for the freebie
Thanks for the tutorial and the paper!