Thank you for joining me today for the last Ultimate Basics tutorial in Adobe Photoshop Elements. Today we will learn how to save our scrapbook page.
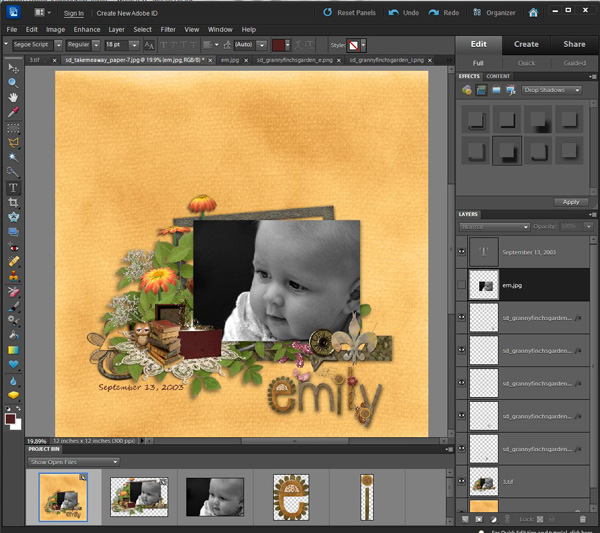
Here is my final layout, and I would like to save it as a jpeg:
Go up to File (upper left corner of the Menu bar), > Save As and a dialogue box will open.
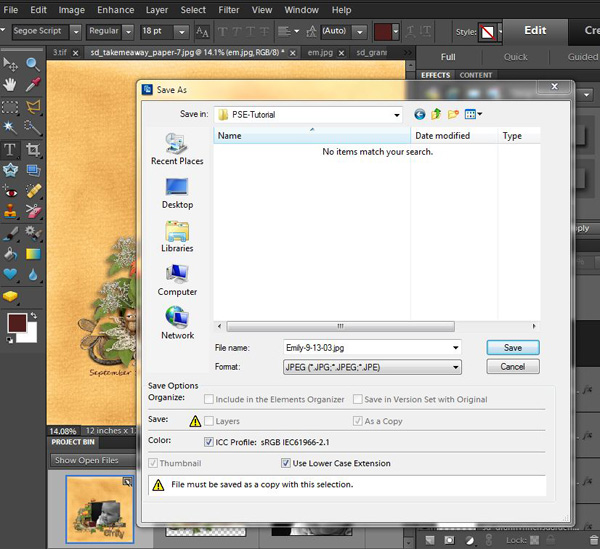
Click on the down pointing arrow in the “Save As:” box and navigate to the file where you would like to save your layout. You can see that I have chosen to save my layout in my PSE-Tutorial folder. Specify a File name, and then choose the JPEG format. Click Save, and you’re done. Your layout will now be in the folder that you specified.
Very often, in addition to saving my layout as a JPEG, I will also save it as a PSD or TIFF file. These file formats save the layers, rather than flattening them. If I realize I have made a mistake, want to change something, or learn a new technique I would like to try out on this layout, I can just open the layered file and start working, rather than having to start all over again. Amanda (Nibbles Scribbles) has a great tutorial on the difference between PSD and TIFF files and I encourage you to take a peek at it!
Photoshop Elements is a great program, with many capabilities! This week we have just covered the Ultimate Basics! Be watching for more tutorials on our blog. You may also click on the Help button in the Elements Menu bar to read more about how Elements can help you reach your creative potential!
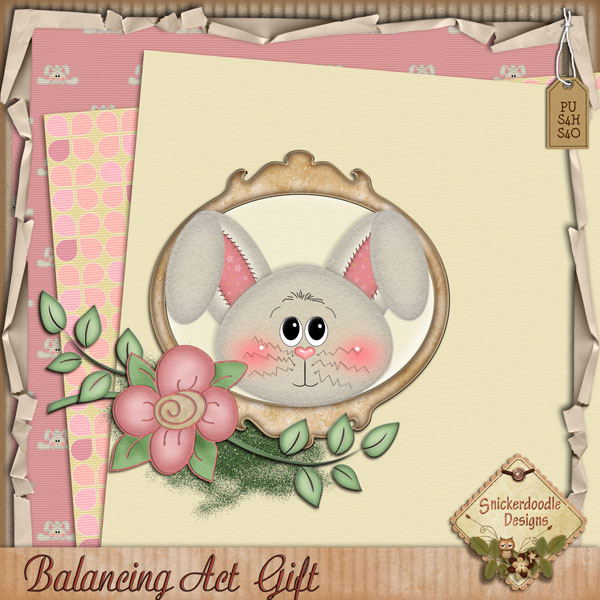
I have a small gift for you which you may download HERE. A Sneak Peak at my new kit Balancing Act, which will be coming very soon! It contains 3 papers and 5 elements for you to practice with!
Thanks for joining me this week! See you again soon!


Another great tutorial!! And, oh my goodness, what an adorable, generous freebie you gave us!!!!!! I did go read Amanda’s post about the difference between PSD files & TIFF files & I posted a question there (I’m not sure it’ll be seen by her since her orig post was done on 2/2 so I’m asking it here as well)…If the TIFF file is essentially the same thing as a PSD file (keeps the layers, etc) & allows you to open it & make changes, with the only difference being the amount of space the TIFF file takes up…is there any real reason to continue saving files in PSD format as opposed to switching over to TIFF files??? I don’t have a lot of finished layouts at this point, but, I’m assuming that any space I can free up/keep free on my computer is gonna allow me to have more room to collect more digi goodies : O : ) ????! Thanks for all your tutorials & I look forward to seeing what you all have planned for us in the future!
[…] Photoshop Elements – Ultimate Basics #4 – 1 freebie(s) […]
Your mini kit is just adorable and thanks for the lesson. It is always so good to see lessons on photoshop. I would like to ask your permission to use this mini kit in my daily free wordart. I just love this little bunny. If you say yes, on the day of your elements in my word art I feature your name as the designer, the name of the kit and/or element and your site. I dedicate that day to you, as a way of saying thank you. Please contact me either at my blogsite or email address. I will be glad to answer any questions you may have. Hugs, Sue
Thank you so much for these tutorials. They have been great. The Balancing Act Gift is so wonderful. I do love that little bunny so much. My grandkids have a poster of the bunny on their bedroom doors. They love the bunny too. Thanks very much for this cute gift.
You are right, Donna.. Every little bit of space helps! I’m glad you found Amanda’s post helpful as well!
Thanks, Carol! You are always so sweet to let me know exactly what you are doing with my designs! I appreciate that, because I can visualize how they are being used, and that makes me smile.
Sue, I don’t see a contact on your blog, Please PM me in the forum: SnickerdoodleDesigns is my UN. Would be happy to work with you!
Perfect for our Easter layouts. Thank you
You are so welcome! I appreciate your comments!