Let’s face it! There may be times when we really, really want to scrap a situation or event but our photos are less than stellar. Over exposed, under exposed, slightly blurry, poor composition, or damaged photos. All of these can lead to disappointment! Here is just one way to salvage the situation!
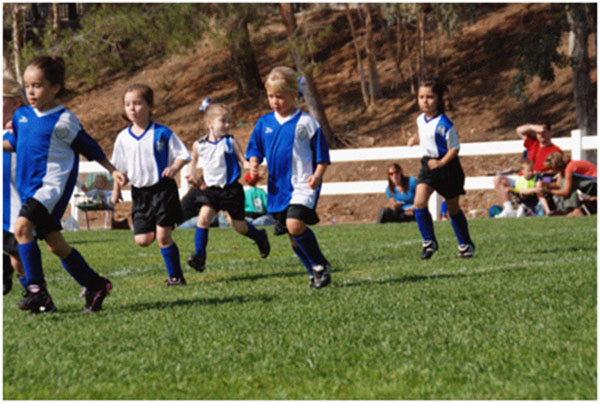
I love this photo of my granddaughter, Emily. I love the look of concentration on her face, but the photo is slightly blurry.

When I downsized the photo, it made the blur less obvious. I could have used it in the smaller size on a page utilizing white space, but that is not the look I wanted. Instead I chose to make the photo larger. Yes – making it larger just made it worse! But that’s okay for my purposes! Here it is upsized:
I am going to allow the texture of my background paper(s) to camouflage this poor quality photo.
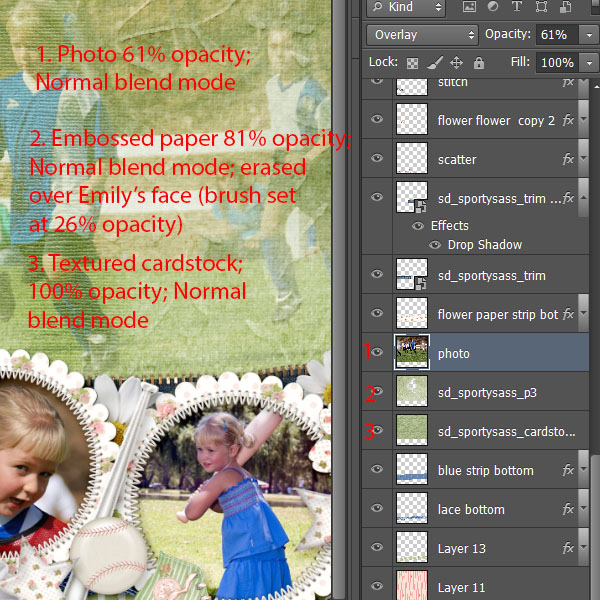
First I dragged the photo onto my layout. Next I lowered the opacity of the photo to 61%. I scrolled through the Blending Modes to see if any particular blend looked better than another. I liked the look that the Overlay blend gave, so I chose that. These will not be the exact settings that work best for every photo, but the process is the same. Just play around until you like the look that you get.
I have 2 background papers under this photo: the bottom layer is a textured cardstock and the top layer is a heavily textured paper with embossed foliage on it. I like the look the textured cardstock gave the photo, so I left that blending mode at Normal. I thought the embossing on the top paper was too heavy, so I lowered the opacity to 81%. I noticed that a heavily embossed branch was running right thru Emily’s face. I took a soft edged brush and lowered the brush opacity to 26%. Being sure that I had the embossed foliage paper selected, I gently erased that paper away from Emily’s face.
And here is the final result!
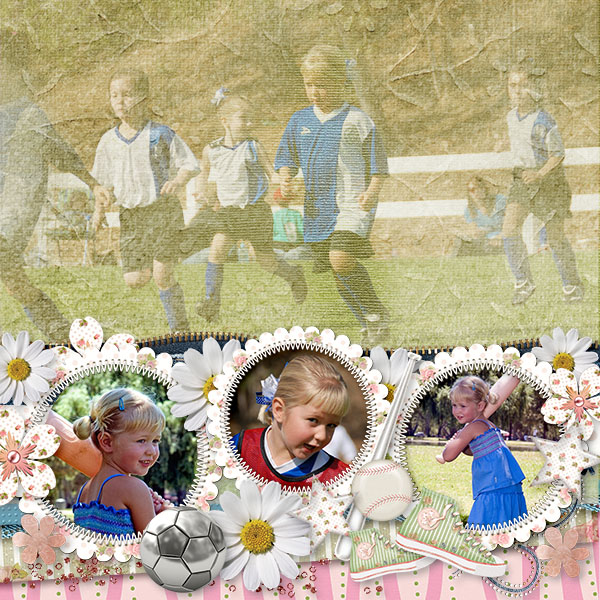
I’m happy with that, so I just Save and I’m done!
Whether you are a
Photoshop or
Photoshop Elements user, I hope you will find this tutorial helpful to rescue any precious photos that are less-than-perfect!
Credits:
Thanks to Michelle Bradshaw for sharing her original tutorial with me, and to Norma Keevers for allowing me modify her layout according to my needs.


Thanks! Since many of my pics are “less than stellar”, I’m thinkin’ that this is a tip I will definitely have a need for!!
Great idea; thank you. And the layout you created is wonderful.
[…] Quick Tip #11 – Working with a less-than-perfect Photo – 1 freebie(s)? […]
Really wanted to follow your process, but your “social Icons” share-bar or whatever it’s called is completely obscuring the left hand side of your page.
If there is a way to move this to the right side of the screen, I suggest you do so. Thanks so trying though….
Hi Judith!
I’m sorry about the sidebar blocking your view, that can be pretty annoying! There is a way you can hide it, though 😉 There should be an arrow on the left side of the sidebar, click that, and the sidebar will now be hidden! I hope this helps some! Thank you for letting us know! 🙂 {Kim}
Guess, I’m dense….I don’t actually see the arrow to make the sidebar disappear. On my computer, there is white space on the right hand side of the screen. It would help if the menu was placed in an area of white space instead of covering text but I realize that’s a personal preference.
Appreciate the tutorial. Always love learning something new.
WOW! This picture came out great. I have to save this tutorial and try it myself. Thanks very much.
Wonderful tut Karen! And what a little cutie 😉
I have done this after your tutorial, I couldn’t believe how wonderful it came out, thanks for such a fabulous idea.
Thanks for finally writing about >Quick Tip #11 – Working with a less-than-perfect Photo
| theStudio | Digital Scrapbooking Studio <Loved it!