This week I was asked how to create a Sepia Effect in Photoshop, so I thought I would share this with you today.
Adobe has made it very easy for us to actually add the Sepia Effect, but it is buried just a little in some of the options… so let’s go find it!
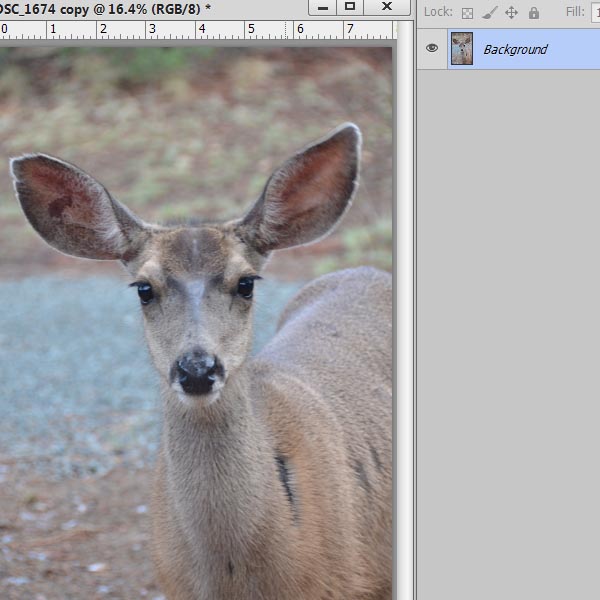
Here is a picture I took of a deer in Ruidoso, New Mexcio this summer.
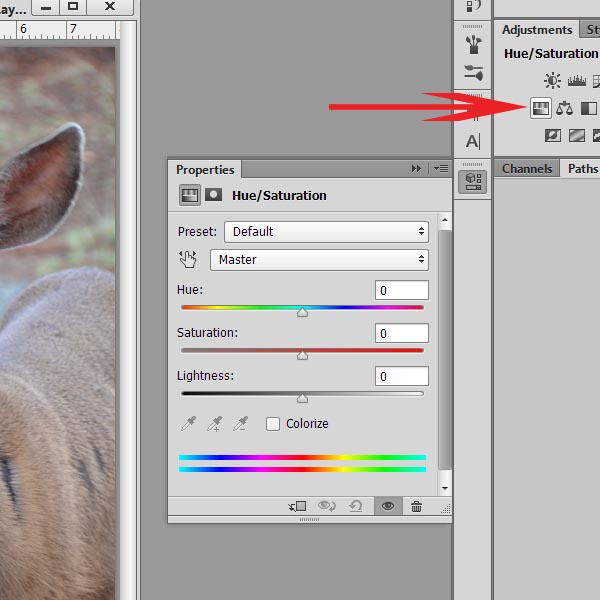
To see how this looks with a Sepia tone, we need to click on the Hue / Saturation icon in the Adjustments Panel. A Properties fly-out menu will then become available to us.
When we click on “Default,” a drop-down menu will open, giving us multiple choices…. one of them being Sepia!
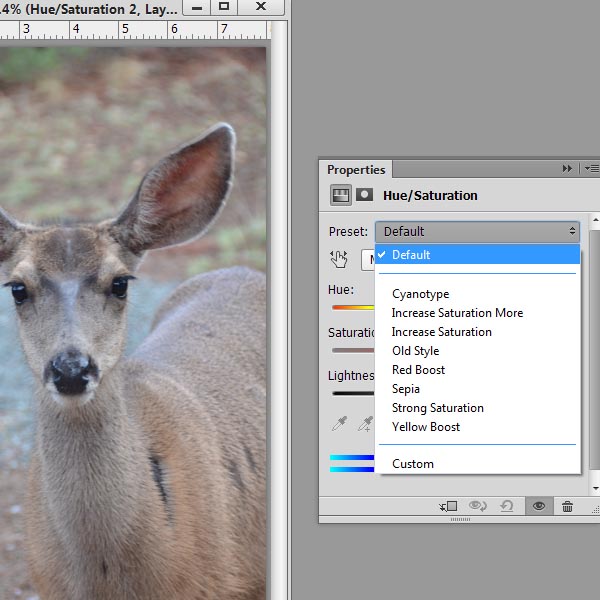
After changing the Preset to Sepia, we again are offered choices! You can adjust the Hue, Saturation, and Lightness according to your taste. Uncheck the “Colorize” box to see your “before” picture for comparison.
I made just a few slight adjustments to get the result I was happy with.

Although I was generally happy with the Sepia tone, I felt it looked a little flat. So I added a Levels Adjustment to increase the contrast.
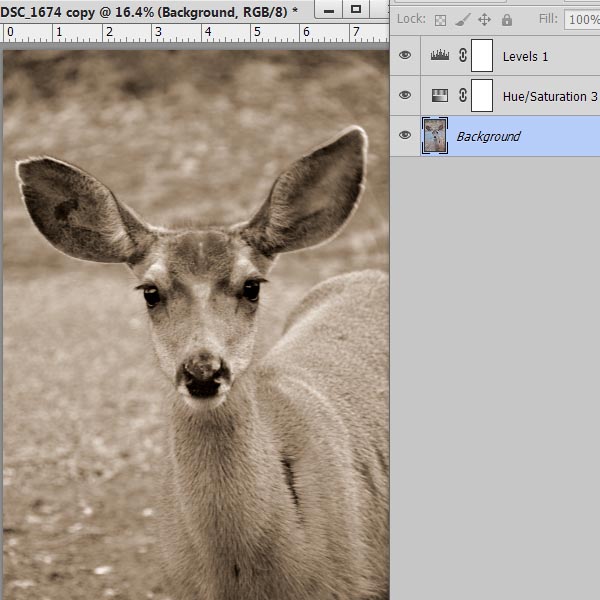
I was much happier with that, so I simply clicked on Save, and I was done!
Does this deer look familiar to you? This is the deer that was included in Walk With Me, a collaboration between SnickerdoodleDesigns and Christine of Digilicious Designs. Christine and I have Walk with Me on sale right now for just $3.99 – or pick up the entire Collection for just $9.00


[…] posted a tutorial on “How to Add A Sepia Effect in Photoshop” on theStudio’s blog. I hope it is helpful for you […]
[…] How to add a Sepia Effect in Photoshop – 1 freebie(s)? […]
Thank you!