The Patch Tool in Photoshop ranks high on my list of all-time-favorite Photoshop tools. For a long time I didn’t even know it was there, hiding so quietly in the Toolbox.
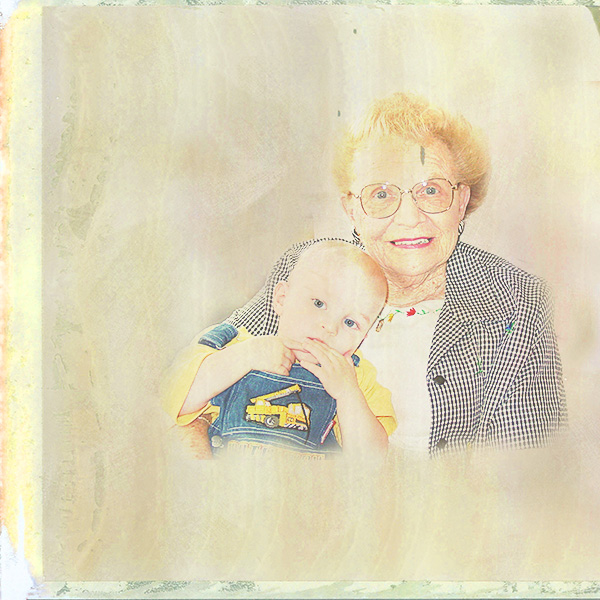
The photo below is of my mother-in-law, Fran, and my grandson, Tyler. Although the background could certainly have been chosen better, I love this picture of the two of them.
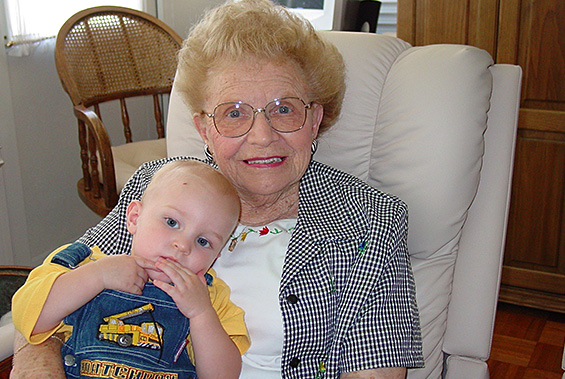
Tyler had fallen the day before and had a little bump and scab on his forehead. Let’s remove that with the Patch Tool. I am using Photoshop CS6 today, but the Patch Tool is also in previous versions of Photoshop. Although Photoshop Elements does not have a Patch Tool, it does have the Healing Brush Tool (just as Photoshop does), which works similarly.
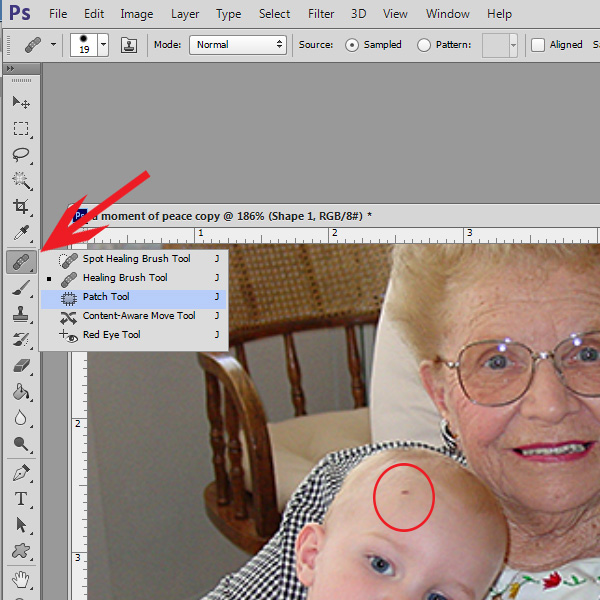
The Patch Tool is grouped with 4 other tools:
- Spot Healing Brush Tool
- Healing Brush Tool
- Content-Aware Move Tool
- Red Eye Tool
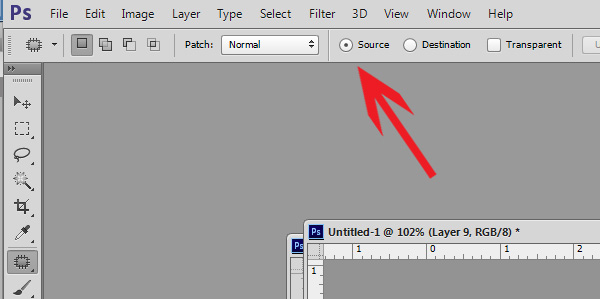
To get started, we click on the Patch Tool icon to make it active. Be sure that the “Source” Option is selected on the Options bar at the top of your screen.
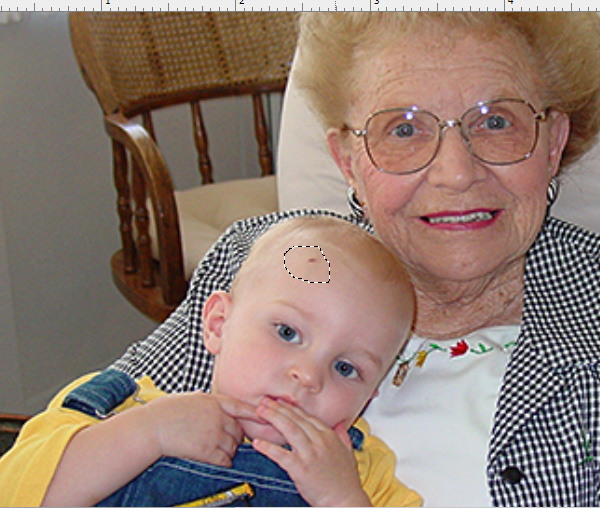
The Patch Tool works much like any of the Selection Tools. Just click on your image, and draw around the area that you want to remove. Once you have completed your selection, let go of your mouse. The marching ants in the photo below show the area I have selected. (I really didn’t have to select such a large area, but for the purposes of this screen shot, a larger selection was easier to see.)
Once you have created your selection, let go of your mouse. Then click in the center of your selection and drag toward the area you want your selection to most resemble. The Patch Tool takes a sample of the surrounding area and matches texture, lighting, transparency, and shading of the surrounding area to your selected source. As you drag, you will see a copy of the area you are moving your mouse over appear in your original selection. Release your mouse when you see the match that you like. Deselect the area and admire your skills!

This technique works well not only on photographs but also on your digital supplies.
Below is a paper from my kit Scenic Route. I really like the “film emulsion” look to the paper, and I like the little spatters of darker color around the edges and near the top of the page.
However, if I wanted to blend my photo into my background, using this paper, I wouldn’t like having the spatters on my mother-in-laws face. Using the Patch Tool on the paper would be solution I would choose.
So have fun with the Patch Tool, and see the amazing results you can get with very little work!
I am sharing the Featured Designer Spotlight with Jilbert’s Bits of Bytes through the end of August! That means that both of our stores are on sale for 40%. This would be a great time to get to know Jill’s work, if you haven’t had a chance to visit her new store yet! And then hop on over to SnickerdoodleDesigns and take a peek at my newest kit, Scenic Route!
That’s it for today! I’ll see you again next week! If you have any suggestions for tutorials, we would love to hear them! Just post here in the Comment Section, and we will do our best to be sure your questions are answered!


Thank you! I haven’t used the Patch Tool. That’s going to change. It’s so simple!
Is Patch Tool a separate software to download free or it is selling for a price somewhere?
I have PSE9 and PSP3X in the computer
I’m PSE rookie but pretty good with PSP
Please direct me to where this tool located if it’s on a website for free or for a price$$…
Appreciate it very much, Glenna/freckles913
The Patch Tool is only in Photoshop. PSE does have the spot healing tool and the healing brush, as well as the clone tool which together work almost as well as the Patch Tool.