Last week we looked at two of the Lock Options in Photoshop. If you missed that post you can find it here: Lock Options in Photoshop.
Today we are going to take a look at the Lock Transparent Pixels option in Photoshop. This is like magic!
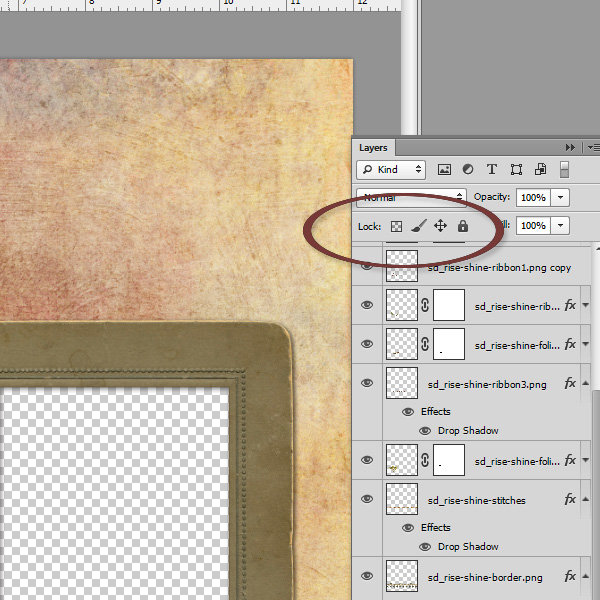
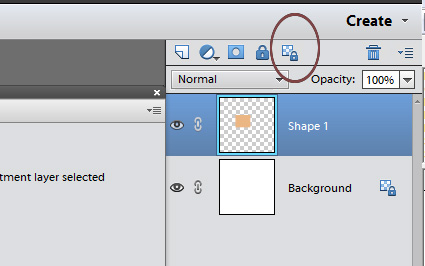
The Lock Transparent Pixels option is located at the top of the Layers Panel. It is the first icon on the left, the little box icon which has transparent pixels in it.
This option was perfectly named! When we click on the “Lock Transparent Pixel” icon, that is exactly what happens! Once we select a layer, and click on the icon, all of the transparent pixels on that layer, and only that layer, are locked. That means we can do anything we want with the pixels we can see, without damaging, altering, or otherwise messing up anything else that is underneath or next to that layer.
Let’s take a close-up look at the border below, created by Renee.
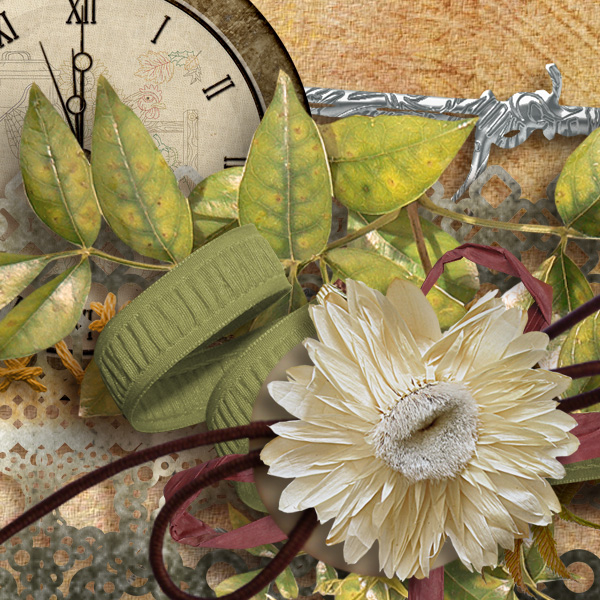
It’s gorgeous! But what if I wanted the white flower to be darker, or another color altogether? All I would need to do is:
1) Select the layer
2) Click on the Lock Transparent Pixel icon
3) Make adjustments to the flower, as desired. Try using your Burn, Dodge, and Sponge Tools or your Brush to make adjustments. (Layer Adjustments, such as Hue/Saturation, Brightness, and so forth will not work with the Pixel Lock; you will still need to clip layer adjustments as usual.)
Let’s take a quick look at the ivory flower. I selected the layer, locked the pixels, then stamped a rose color on top of the white flower. You can see that the color affected the flower, but not anything under the flower, because the transparent pixels on that layer were locked.
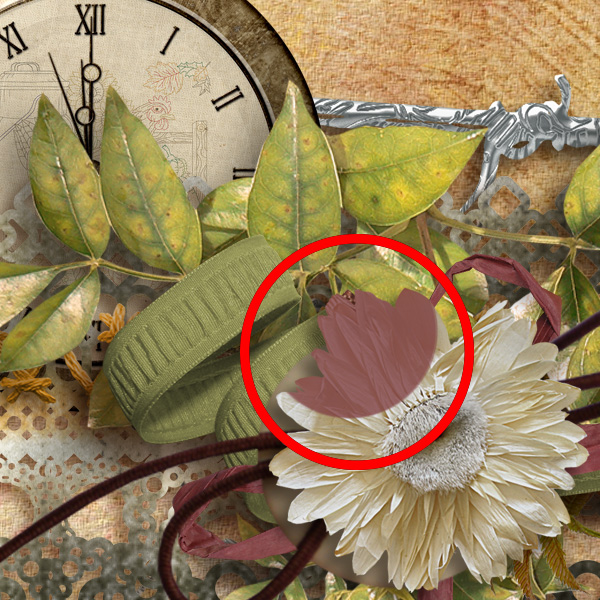
Now, admittedly, that stamped color on the flower isn’t attractive in the least. But for the purposes of showing you what the Transparent Lock is all about, it works perfectly!
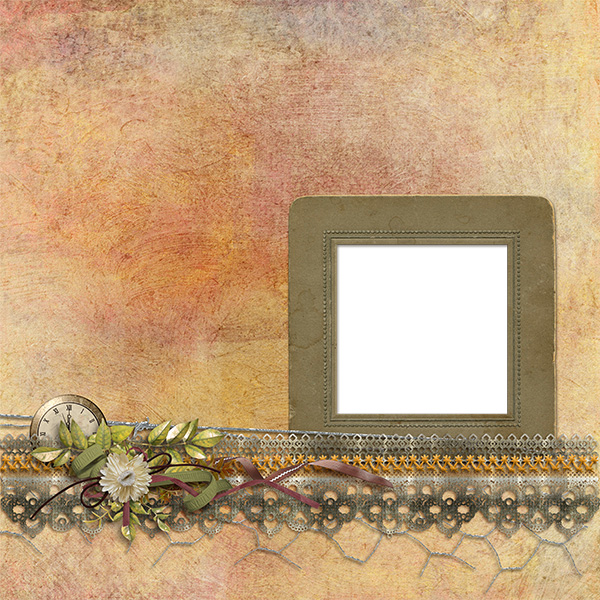
I loved the border that Renee created, so used it to put together the Rise and Shine Quick Page below. You may download this gift here.
Next week we will take a look at the last lock option: Lock Image Pixels.
For the purposes of this tutorial I used Photoshop CS6.
Photoshop Elements Users: The Lock Transparent Pixel icon looks the same in PSE as it does in CS; however, it is positioned differently. You will find it at the top of the layers Panel, the 5th icon from the left.
The Introductory Pricing for Rise and Shine is coming to a close. You can still save 30-50% on Rise and Shine through January 28th!


Thank you for such an interesting post ! Very useful !
[…] Lock Transparent Pixels in Photoshop – 2 freebie(s) […]
Thanks for the great tutorial and the lovely QP.
Thanks for a great tut… glad you included where to find it in PSE.
Thank you for your comments1 I am glad you found this tutorial useful, and I appreciate you letting me know!
Thanks for the tutorial & for including where the icon is in PSE. Thanks also for the lovely QP.
[…] In case you missed those tutorials, you will find them here: Lock Options in Photoshop and Lock Transparent Pixels in Photoshop. Today we will look at the last remaining lock option: Lock Image Pixels. READ […]
thank you for the useful tutorial and the lovely QP!
Great tutorial – I would like to learn how to lock words…I have a verse with grey chevrons behind it with White in between sentences. I’d like to eliminate the grey chevrons and end up with the verson on White background. I look forward to your tutorials…Thanks for your help.