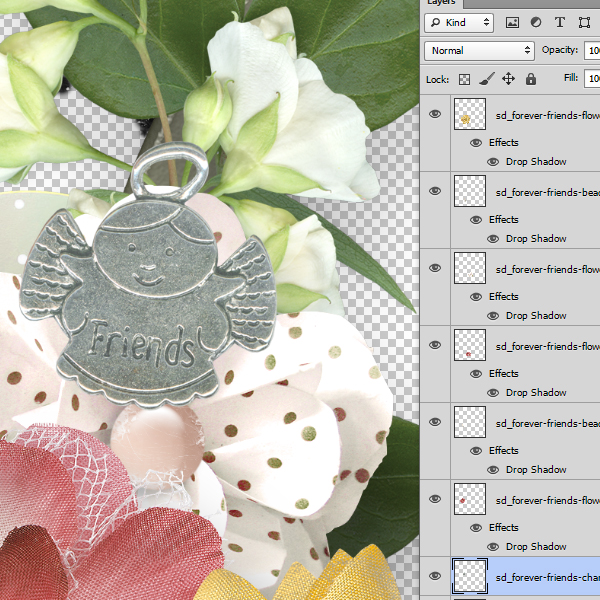
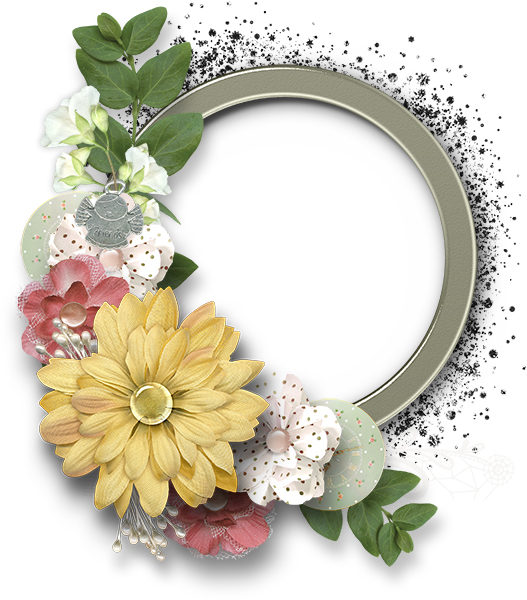
Let’s take a look at Photoshop Layer Masks today, and how they can help us in creating our scrapbook pages. To create a Layer Mask, you must start with an open document. Here is a cluster, with all of its layers visible. I have placed my Forever Friends Charm on top of the cluster of flowers. I would like to have the stem of the white flower behind the charm weave thru the charm opening. We can easily accomplish this using a Layer Mask.
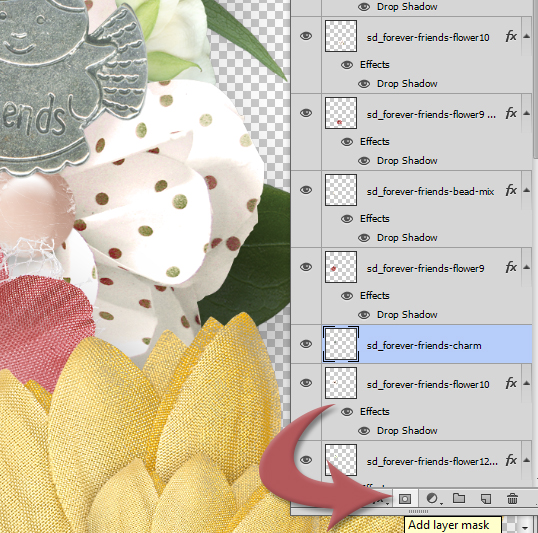
To create a Layer Mask, click on the layer that will contain the mask. Next, click on the gray rectangle with the light gray dot inside, at the bottom of your Layers Panel.
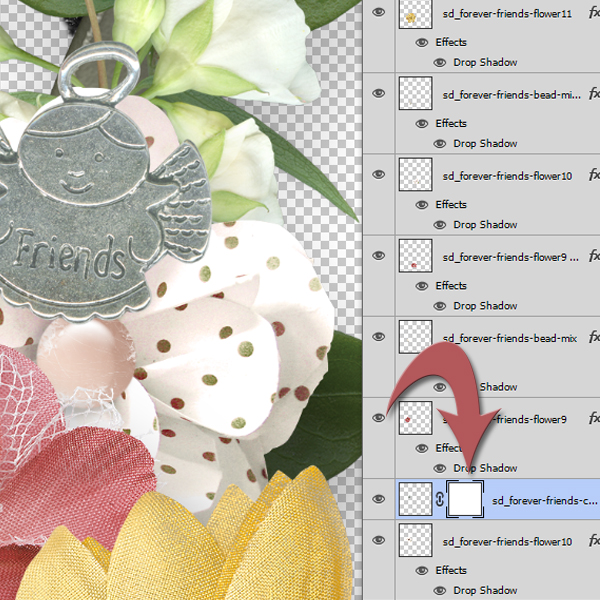
When the Layer Mask is applied to your selected layer, you will see a white box to the right of the thumbnail on your selected layer.
When working with Layer Masks, we can either reveal or conceal part of the selected image by painting with a brush. The key thing to remember is that “White reveals and black conceals.”
In my example, I would like to conceal part of the metal ring, so that it looks like the stem is coming through opening in the charm. Here’s how I will do that:
1. Apply a mask to the charm (which we have already done.
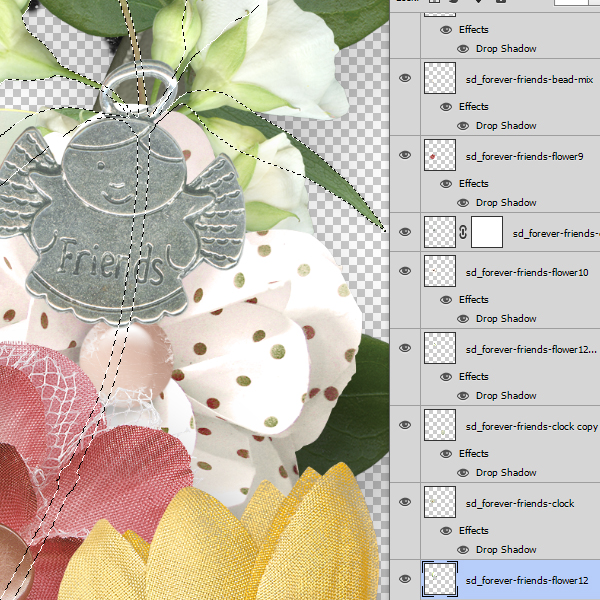
2. Select the shape of the flower/stem by clicking on the thumbnail image on that layer (sd_forever-friends-flower12). You can tell that the flower and stem are properly selected by viewing the marching ants around the element.
3. Go back to the layer that the charm is on and click on the white mask to activate it.
4. Change your foreground color to black (because we want to conceal part of the image).
5. Choose a small, hard-edged brush.
6. Paint over the ring of the charm to reveal the stem underneath. In the image below, I have revealed only half of the stem, so you can see clearly how this will look when you do it.
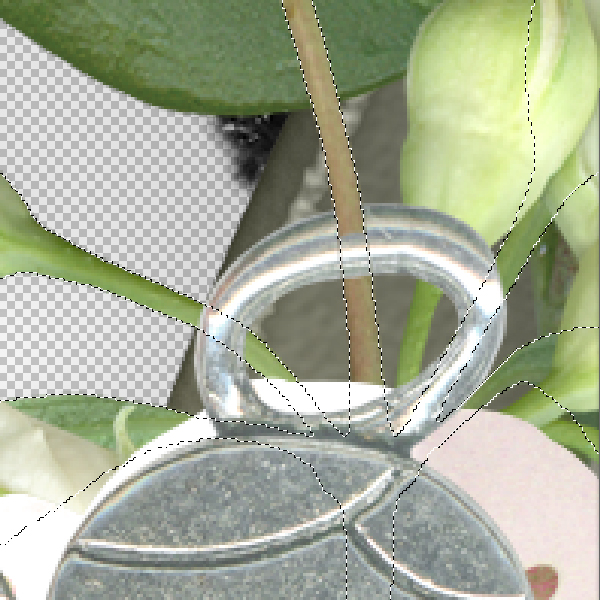
7. Once you are finished, hit Contol + D to deselect the stem, and you’re done!
As with all things in Photoshop, there are multiple ways to accomplish the same task. This is just one, easy way to achieve this result.
This cluster was created by Kabra, a member of my Creative Team, using Forever Friends. It was absolutely perfect the way it was, and I have only added the charm for the purposes of this demonstration.
If you would like to download Kabra’s cluster just click on the image of the cluster above!
If you would like to take a closer look at Forever Friends, you will find it in my SnickerdoodleDesigns PU store. It is currently being offered at a 30% savings, or you can save 54% with the purchase of the entire Collection.
Images in this tutorial were captured in Photoshop CS6. This masking technique will work exactly the same in Photoshop Elements, although the location of some of the tools may be different.


[…] Working with Layer Masks in Photoshop – 2 freebie(s) […]
[…] the charm weave thru the charm opening. We can easily accomplish this using a Layer Mask….. READ MORE of this tutorial on theStudio’s blog and pick up a Quickpage […]
You write such good tuts! This is a nice one, too! Thank you!
Love your new kit!
Su
Loved this tut. Thank you so much.
This really explains well a different way, much easier too. Thank you
This is fantastic! You are invited to share it in the resources section of the DigiScrapAddicts forum. Registration is free and posting your tutorials helps create traffic to your site for new customers.
Love the use of your LARGE arrows to point out exactly what you are referring to! These “mature” eyes appreciate the thoughtfulness! As always, your tutorials are a great learning tool.
Thank you all for your comments. I appreciate hearing from you!
[…] week we talked about Working with Layer Masks in Photoshop. Today I would like to share with you a simple way to create a soft edge around your photos, […]
[…] If you would like a refresher on how to use layer masks to easily make your ‘threading’ look realistic, you might enjoy reading my tutorial: Working with Layer Masks in Photoshop. […]
You have teached me something I didn’t know, thanks a lot!
[…] If you would like a refresher on how to use layer masks to easily make your ‘threading’ look realistic, you might enjoy reading Karen’s tutorial: Working with Layer Masks in Photoshop. […]