Today let’s explore Gradient Maps, and how they might be useful in toning our photographic images.
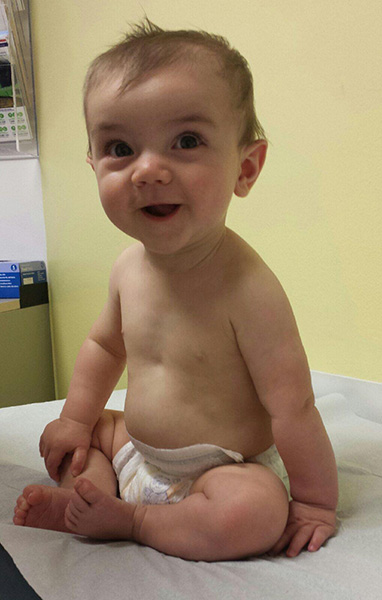
I received a text message from my son, Brian, this week. Attached to the text was this photo of my grandson, Owen, who was at the doctor’s office for his 6 month check-up. The photo is slightly grainy, having been compressed for a text message, but it will work just fine for today’s tutorial.
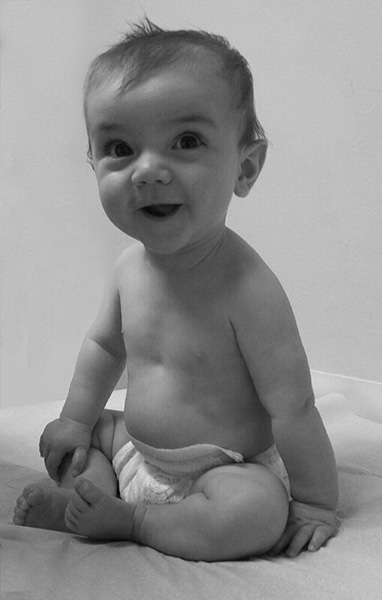
First I very quickly cloned away the office area on the left of the photo. I wanted to turn the image into a Black and White, and I was curious to see the difference between a Black and White Adjustment Layer and a Gradient Map Adjustment Layer.
To add the Black and White Adjustment layer, I clicked on the black and white rectangle in the Adjustment Panel. This immediately changed the image to black and white. In addition, the Properties Panel opened, allowing me to make further adjustments, if desired. I left the sliders alone for now.

And this is the result………
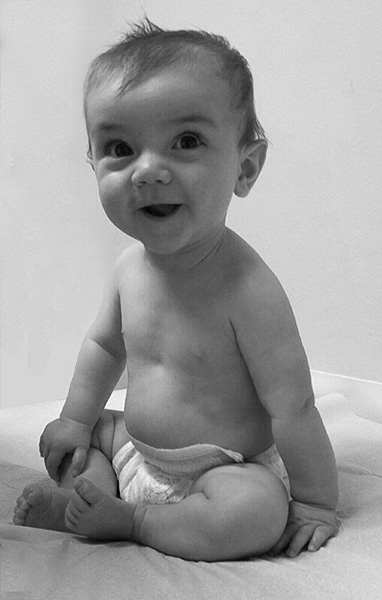
Next, I wanted to see what a Gradient Map Adjustment Layer. First I made the Black and White Adjustment Layer invisible, by clicking on the eyeball icon on that layer. Next, making certain that my foreground and background colors were set to the default of black and white, I clicked on the Gradient Map icon in the Adjustments Panel. Doing so added a gradient to the image.

And here is the result:
And the comparison of the two images:
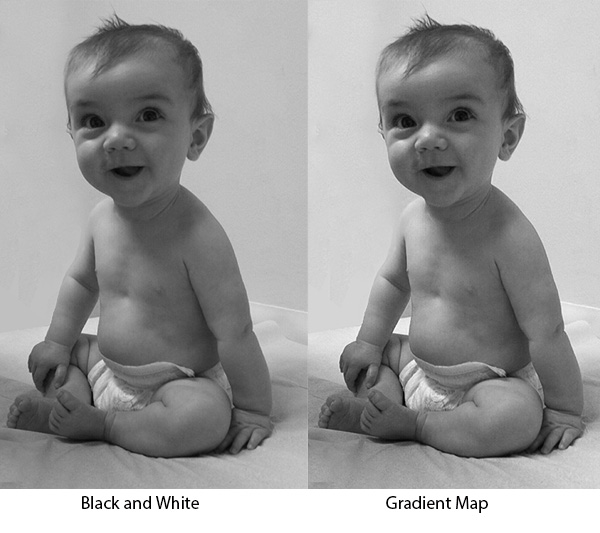
The difference is subtle, but very nice, I think.
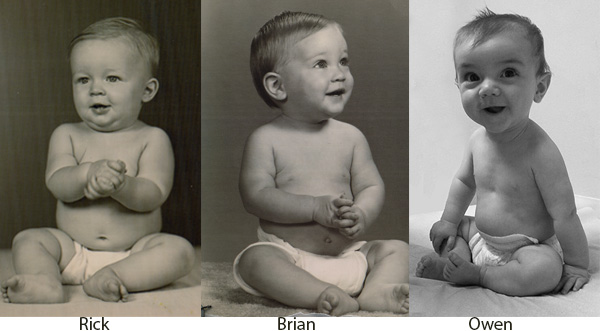
Just as a point of interest – when my husband was 9 months old, his parents had his photo in black and white, by a professional photographer. When our son, Brian, was 9 months old, we took him to a photo studio to get a photo of him posed exactly the same way. At that time, color photography had been popular for about 20 years, so I had to search to find a photographer that was willing to shoot in black and white! And now, years later, I can manipulate a photo with Photoshop, that was taken with a cell phone, to duplicate the look that I would like to have. Isn’t technology amazing????
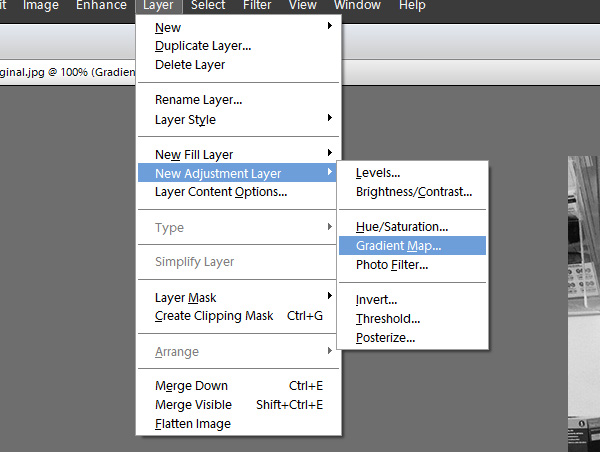
Gradient Map Adjustment Layers are available in Photoshop Elements as well. The path to locate them is: Layer > New Adjustment Layer > Gradient Map
Do you remember tediously hand-tinting black and white images? Next week, we’ll look at how to EASILY accomplish that using Gradient Maps! In the meantime, explore Gradient Maps and see how easy it is to create beautiful black and white images using this technique.


thank you so much, I have such a hard time understanding PS (elements) and I really appreciate the tut!
This is a great tutorial, I’ve never thought of trying the gradient map for black and white … I like it … thank you …and your grandson sure is a cutie 🙂
SuCanDo
http://cottonartsboutique.com
Your little grandson is the cutest baby I think I have ever seen! What a doll!
I use the Gradient Map occasionally. It can really add a lot to a photo, even a scrap layout, like on the elements.
Thank you!
Awesome tutorial Karen and I LOVE the 3 photos!!!!
m
[…] Tone an Image using Gradient Maps – 1 freebie(s)? […]
WOW! such a great tutorial. I would never have even thought to try a gradient for a photo. I love the three photos and you do have such a darling grandson. Three generations and such an awesome way to display the pictures.
[…] week, we looked at how to “Tone an Image using Gradient Maps.” Today, let’s explore Gradient Maps just a little more and look, specifically, at […]