Last week we defined and demonstrated how to create and use a Photoshop Layer Mask. (Using Layer Masks in Photoshop). Today let’s look at one way in which we can use layer masks to stretch our digi-stash.
As a reminder from last week’s tutorial:
When would you use a mask? You would use a mask on a layer when you want to hide portions of that layer and to reveal the layer below.
With this in mind and our masking skills at hand, stretching our digi-stash becomes an exercise in creative thinking and experimentation.
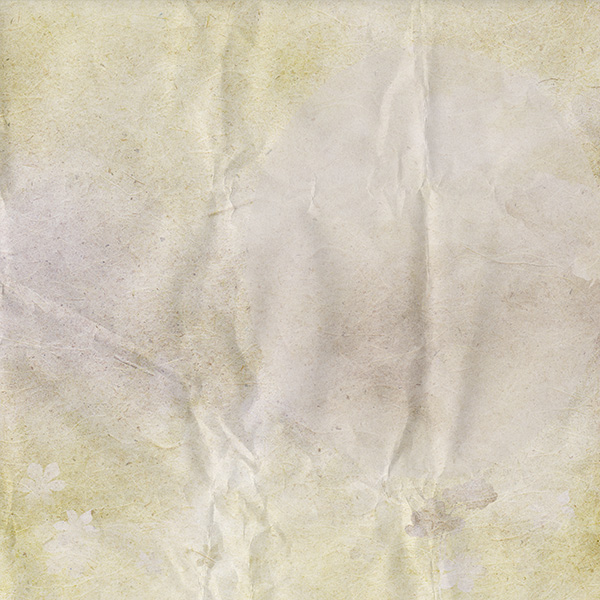
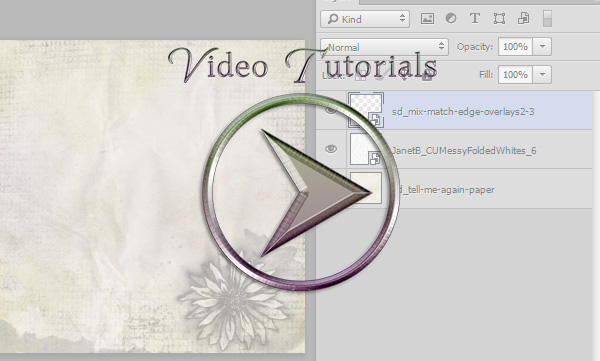
Here is a paper from Tell Me Again, and I have placed one of JanetB’s Commercial Use Messy Folded Whites on a layer above it, with the Blend Mode changed to Linear Burn. This is just personal preference for this demonstration.
Next I added a Mix and Match Edge Overlay Set 2, Overlay #3.
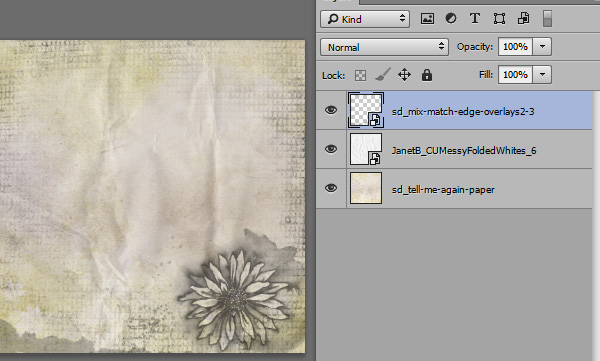
I changed the Blend Mode of the Overlay to “Overlay”, which gave a softer look, while still allowing the design to be visible. (Need a refresher on Blend Modes? I’ve added some of our tutorial links at the bottom of this post for your convenience.)

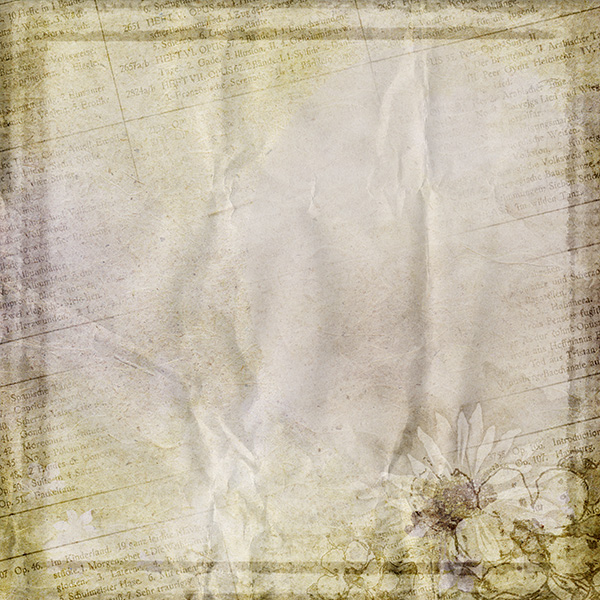
Next I added Mix and Match Edge Overlays Set 2, Overlay #4. The flower graphic in the lower right corner is hiding the flower from Overlay #3; but I like the text in this Overlay #4.

I changed the Blend Mode of Overlay #4 to “Overlay.”
Before proceeding with any masking, though, I added the Mix and Match Edge Overlay #2, Overlay 5. I liked the border edge on this Overlay. I set the Blend Mode of Overlay #5 to Soft Light.
Now I was ready to do some masking.
I added a Layer Mask to Overlay #4 (flower with newsprint), changed by Foreground color to Black, and chose a soft-edged round brush. (I used a 700 px brush.)
I painted away the floral graphic that was on Overlay #4. I also painted away the text that was in the middle of the paper, leaving just a nice text border.
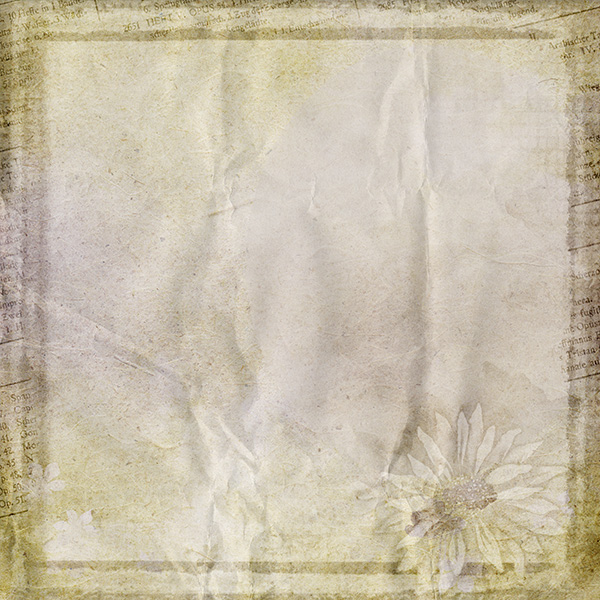
Pictured below is the original flower graphic from Overlay #3, the text from Overlay 4, and the nice dark border edge from Overlay #5.
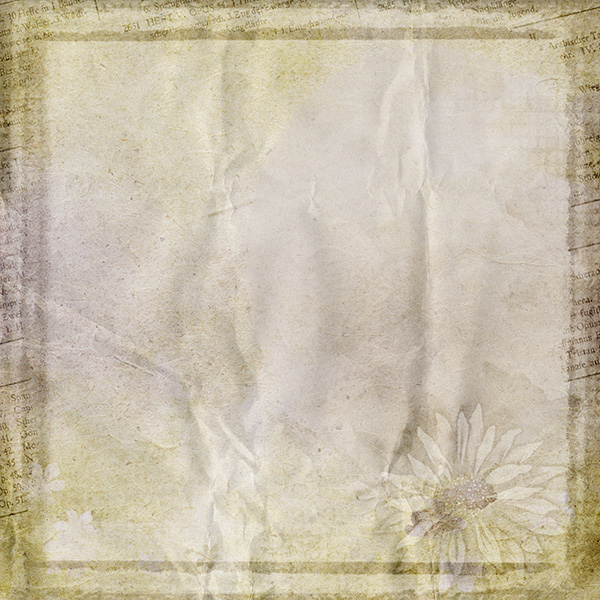
I thought this was looking pretty good, until I noticed how the border was visible through the lower petals of the flower. I put a layer mask on Overlay #5 (the border edge), reduced the size of my brush, and painted away the border where the flower petals were.
I liked that much better!
And that’s it! That’s how easy it is to use Layer Masks to stretch your digi-stash.
Mix and Match Overlays were specifically designed to … well… mix and match. However, you can use masking techniques on ANY overlays, papers, borders, or other graphic designs. Find some products that you like, add some masks, grab your brush, and just play! Sometimes the best results come with experimentation!
This weekend we are having our Valentine’s Day Sale! Now would be a good time to stock up on products you can practice your masking skills with!
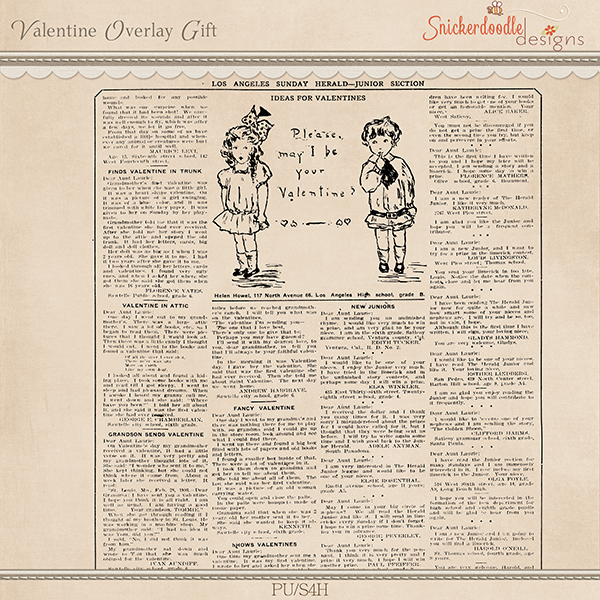
I do have a transparent Overlay for you to practice with. Drag it onto your paper of choice and mask away what you don’t want. Don’t forget to experiment with opacity levels of your brush as well as of the Overlay itself!
Just click on the the image to download.
Blending Tutorials for your Reference:
Blending Modes – Just What Are They?
4 Ways to use Overlays and Textures Creatively using Blend Modes
Using Blend Modes in Photoshop
Using the Screen Blend Mode in Photoshop

If you would like to keep this tutorial on your computer for easy reference, you may download a PDF here.
If you are a visual learner, you can view this tutorial on SnickerdoodleDesigns You Tube Channel and on theStudio’s You Tube Channel.
Please head over to YouTube and take a minute to Follow both channels. Each Channel will have some exclusive videos, so by following both channels, you will be sure not to miss a thing! Thank you!!


This helps a lot, thank you.
You’re welcome, Faith. Thanks for the note.
[…] more use out of the products you currently own: Stretching your Digi-Stash with Pre-made Clusters Stretching your Digi-Stash with Masks, Part 1 and Part 2 Stretching your Digi-Stash with Pre-made Borders Use Styles to Stretch your Digi-Stash […]