Over the past 3 weeks we’ve been exploring Photoshop Masks and how they can help us in digital scrapbooking.
This tutorial will provide an overview of general techniques. For specifics, such as how to apply a mask, please review our previous tutorials:
Masking with the Gradient Tool PDF You Tube
Stretching your Digi-Stash using Layer Masks PDF You Tube
Using Layer Masks in Photoshop PDF You Tube
Today let’s look at 4 different ways to Stretch your Digi-Stash using Photoshop Masking Techniques and/or Photo Clipping Masks.
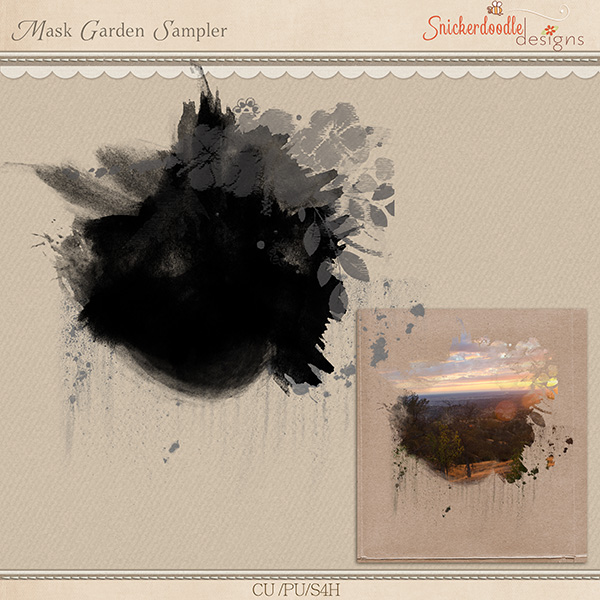
1. Photo Clipping Masks are great tools that allow us to quickly and easily cause one layer to take the shape of another layer. Very often we will see photos clipped to Photo Clipping Masks. Below is an example of a photo clipped to one of my Garden Masks.
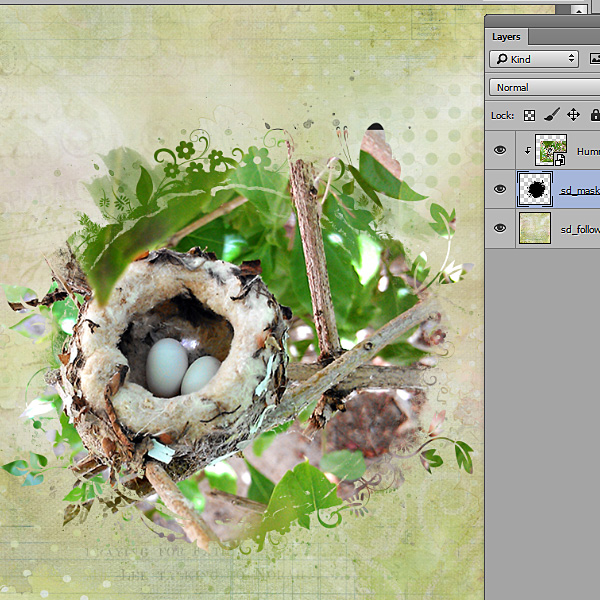
Sometimes we might need to tweak a mask, depending upon the photo we are using. In the image above, I don’t like the positioning of my photo where the butterfly is. A brown branch and the top of the photo itself is showing at the top of the butterfly wings. Moving the photo around in the mask didn’t solve the problem, so modifying the mask was the next step.
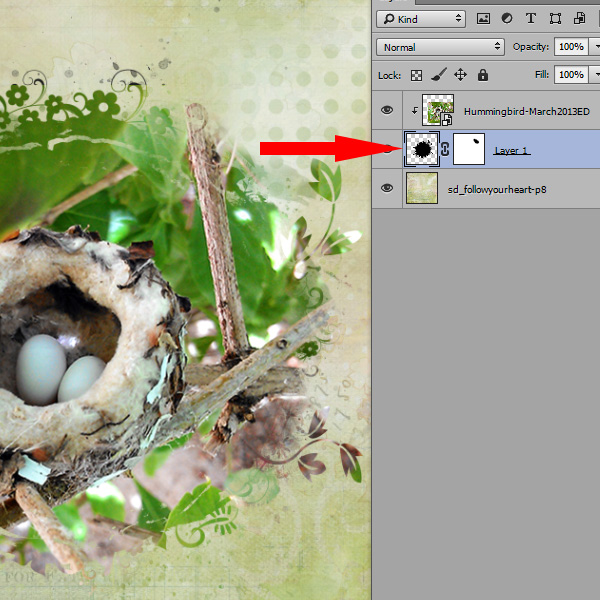
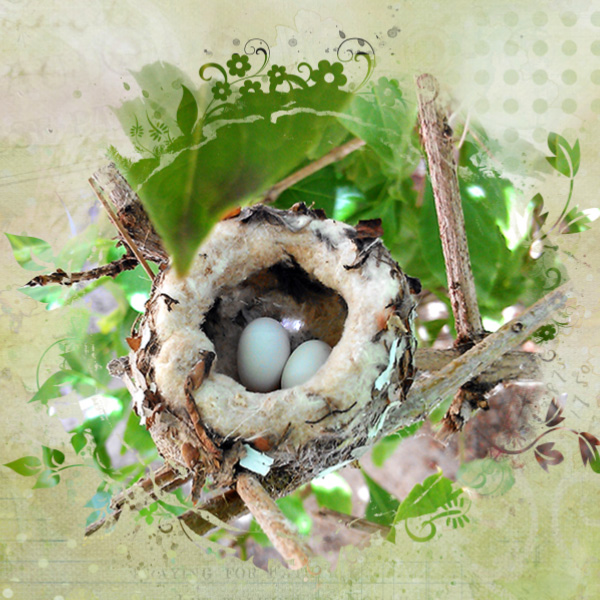
I applied a clipping mask to the photo mask, chose a soft-edged brush, and painted away the butterfly.
By using this technique to modify photo masks, you can use them over and over again, without ever having them look the same!
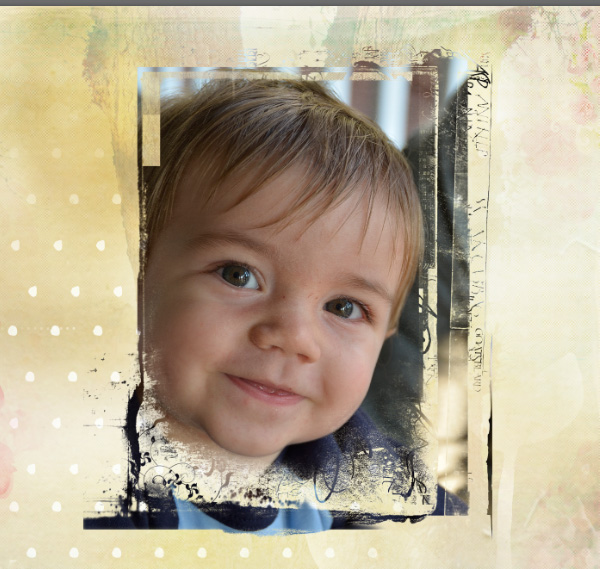
2. Modifying a Mask by adding to it is also a great option when working with certain photographs. In the image below, I have clipped a photo of my grandson Owen to my Garden Mask 3. I would prefer not to see the few little “blobs” (transparent areas of the mask) on his forehead.
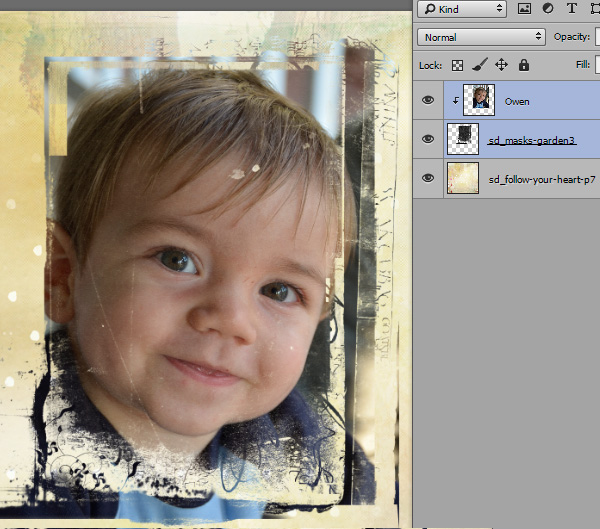
In this case it is a simple matter of grabbing a brush, choosing a color from the color picker (here I chose black to match the mask), and painting in the areas of the mask that I didn’t want to see. To make it easy, I made the photo layer invisible, and brushed away the obvious “blobs.”
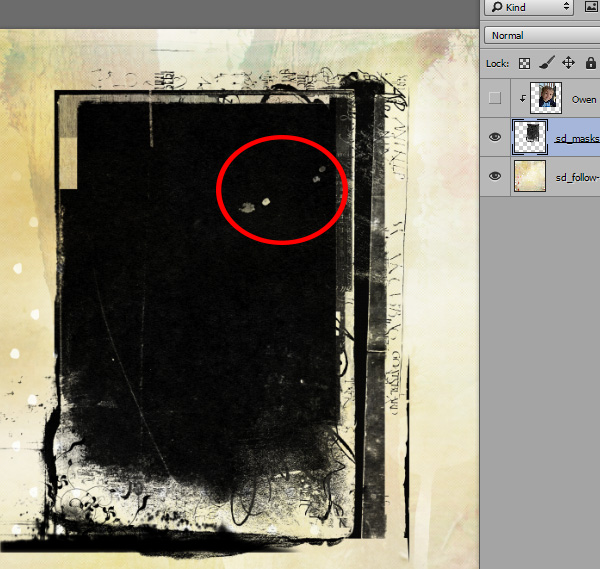
I then clipped the photo to the mask (for visibility), and making sure my mask layer was selected, brushed over the finer scratches that were visible on Owen’s face, removing those also.
3. Blend a Photo Mask into a background paper.
Who says we have to use Photo Masks as they are intended? Let’s think outside the box!
Norma, a member of my creative team, placed Mask #3 on a background paper and changed the mask Blend Mode to Overlay. She was using the Mask as a “design element” on her page, rather than as a clipping mask.
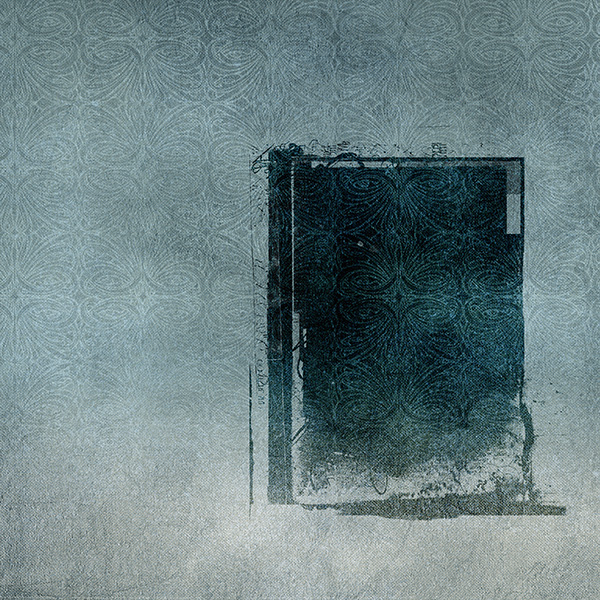
Here is her final layout (Kits used: Scenic Route, The Long Road Home):
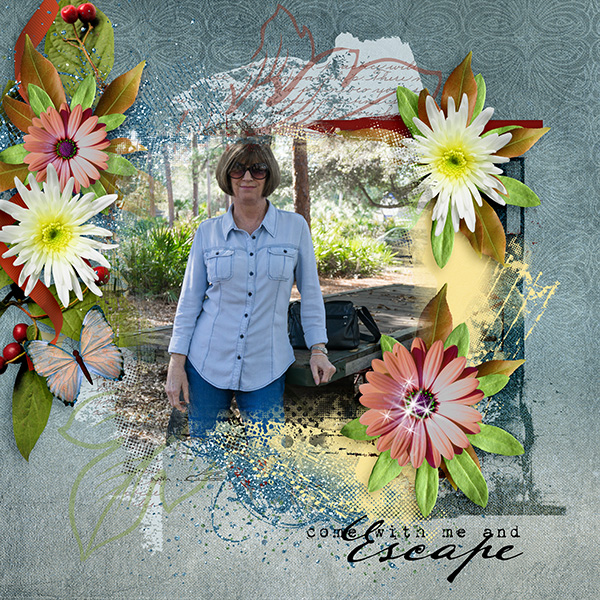
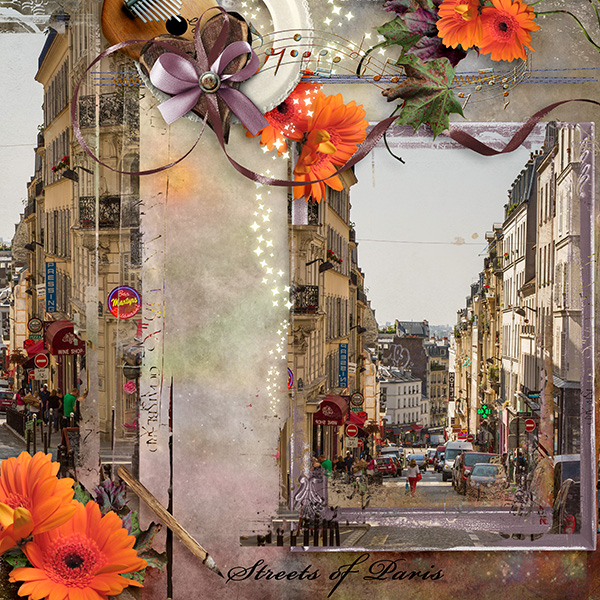
4. Use only part of a Photo Clipping Mask to create a border design. This works better with some masks than others, but experiment and see what you can come up with! Norma flipped this Masks – Garden #3 to take advantage of the designs on the left side.
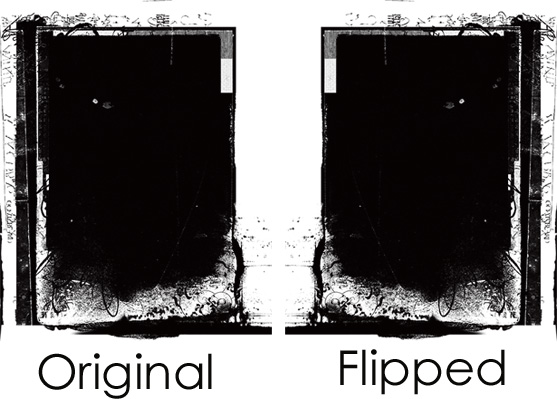
She stretched the flipped mask to 12″ in height, and positioned it on the left side of her background paper. Norma next clipped her photograph to her newly created mask-border. She used the original mask in the body of her layout, to create this stunning page. (Kit used: Rocky Mountain Dreams).
Masks. I love them! Photoshop Masking Techniques and Photo Masks! We can get soooo much more out of our digi-supplies with using these tools and our imagination! Just look at the 3 different looks Norma achieved using the same mask!
I created a sampler for you to try some of these techniques on. Just click the image below to download.
I hope you have found this series on masking helpful.
What should we talk about next? I welcome your suggestions! Just leave them in the Comment area at the bottom of this post!
If you would like to keep this tutorial on your computer for easy reference, you may download a PDF here.


Fabulous, informative blog post, with beautiful examples to inspire us all. Thank you Karen!
Love your tutorials, you make “sense”. Beautiful samples for us to follow too. I’m building up a lovely collection to go back to when needed. Thank you so much.
What an OUTSTANDING tutorial, Karen. So many fun things to try. Owen is sure getting to be a big boy! ADORABLE examples. Thank you so much.
love your tutorials, I do not have photoshop but Serif which is different but can follow as the tutorials you give are excellent and give one so many ideas. Thank you.
Thank you for the tutorial, and for the sampler – both are much appreciated!
Thank you for the helpful tutorial. And the beautiful sample. Always appreciated.
Would love to see a tutorial in PSE for text on wrinkled paper. The how totally escapes me. Thanks so much.
Great mask…thanks Karen!
Excellent! I love love the page with the Paris street. I feel like I am looking through a window-kind of 3D. I never thought of using a piece of a mask like that. Now I will look at all my masks differently. Thank you for the beautiful sample. I love it, including the little shower effect at the bottom.
Thank you so much for the sample, and even more thanks for the excellent tutorial and the ability to download it as a PDF. 🙂
Great tutorial! You have shown some awesome ways to use those funny black blobs! LOL To me, it is fascinating to try different ‘masks’ under a photo/image, just to see what effect there is. Stamping a painted splatter, drip or paint stroke, with a fairly solid interior can offer some beautiful effects. If it is real sparse, stamp twice. Often, I add another stamp, sometimes stamping different splatters or drips on separate layers, then, assembling them to what I feel will fit under my image, then, merge those splatters, or whatever, together, for a mask that is custom. You can also place a layer mask on a layer, but, invert it to black, then, ‘paint’ back in the parts of the image you want to see. Masks are just so darned versatile! You have like complete control. I am very pleased you have helped so much with this series! THANK YOU!!
Su
Thank you for this tutorial — I love using masks, but often just clip my photos to them hoping that they will look good. Thanks for sharing the examples of different ways to use them. I enjoy your tutorials; they are very easy to follow. Thanks also for the sample.
great tut … I love masks … thank you for sharing with us
Please, Please teach us how to make vector image or png image out of a black and white fancy box rectangle that looks like a label, so I can put it below photos for identification–also how to shadow them with a name in center without shadowing the letters. I could send you a sample of what I am talking about. It came from an old image. Graphics Fairy has these, but I want a .png not a jpeg or pic with the white background. Thanks bunches.
I’m sorry to be so long in getting back here! We’ve had out-of-town guests which have kept me busy! Thank you, all, for your comments and suggestions! I appreciate them all, and your feedback is very helpful. Thanks Jo and WyoSpring for your suggestions. (WyoSpring, please contact me with your sample so I can be clear on what you would like. PM me here at thestudio or email: karen at snickerdoodledesignsbykaren dot com.)
Just one question Karen, are masks meant to make the photo a little feint?
Excellent tutorial. I love playing with masks and changing them to suit the photo. Thanks for the sample to play with.
Faith, the color of the mask should not affect the color of your photograph; however, the opacity of the mask can make it appear that it is affecting the color of the photo. Perhaps this is what you are seeing?
Thanks, Bright Eyes!
I never watched these because they are Photoshop but now realize I can (most of the time) transfer the knowledge to PSE. Really enjoyed reading these tuts and watching you on YouTube and then playing. Stayed up late last night but sure learned a lot! Thanks so much!
Wonderful Tutorial, Karen!
Love LOs with just the masked picture! Less is more!
Thanks so much for the mask to play with too!!
Hugs!!
*Andie*
Just love it! Thank you so much, Susie
Hi Karen! Thanks for this awesome tutorial! I always love your tut’s as they are clear and simple and easy to understand. It’s like turning the light on in a previously dark room. I do have a request, for you please. This tut was talking about when you already have the mask. I’m looking for how to *make* the mask in the first place. not sure if you already covered that in part 1 as when I clicked on the links they just took me to the store, not to any tutorial. p.s. I also look forward to your newsletters, that always have so much information in them. – Thanks
[…] Masks: Stretching your Digi-Stash with Masks, Part 2 […]