I love including 2-page spreads in my scrapbooks. What is a 2-page spread? It is the placement of 2 scrapbook pages side by side, that provide an overall cohesive look to a layout. You might choose to use this technique to showcase a particular theme or perhaps an event, where you have multiple photos to share.
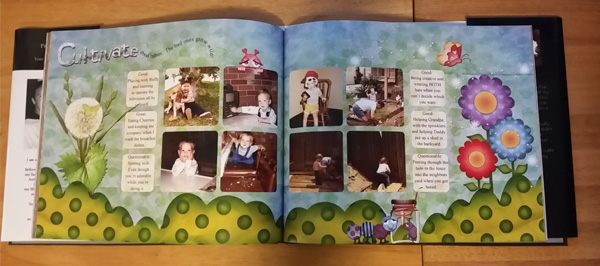
I created this 2-page spread for my son’s album back in 1998. This is a “theme” oriented spread. The “theme” of the page is “Cultivate good habits. The bad ones grow like weeds.” Here I was able to showcase multiple photographs of my son being both angelic and mischievous.
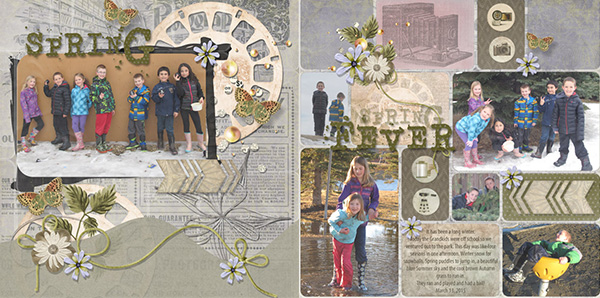
Renee (CT member) used It’s A Snap to create an “event” themed 2-page spread. This 2-page spread allowed Renee to showcase her favorite photo from this photoshoot (on the left) and include some fun out-takes on the right.
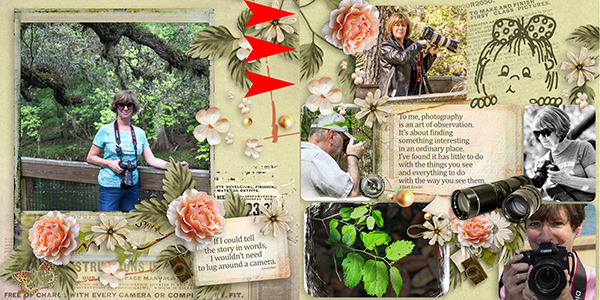
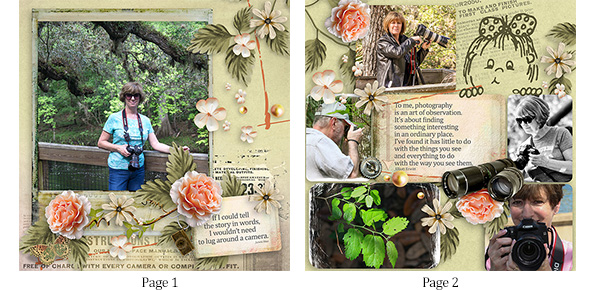
Norma (CT member) created a traditional layout using It’s a Snap, then decided to create a second page, using the same kit. When she put the 2 pages side by side, she realized she had a problem. The vines on page 1 and page 2 didn’t match properly. Let’s see how we can fix that, making a seamless transition from page 1 to page 2.
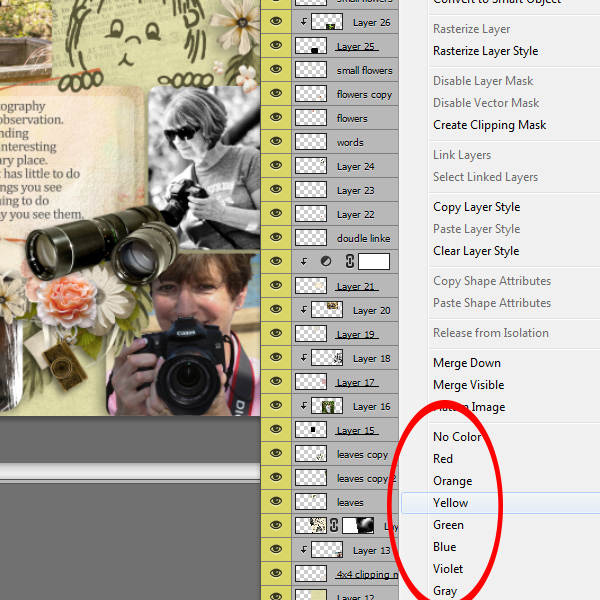
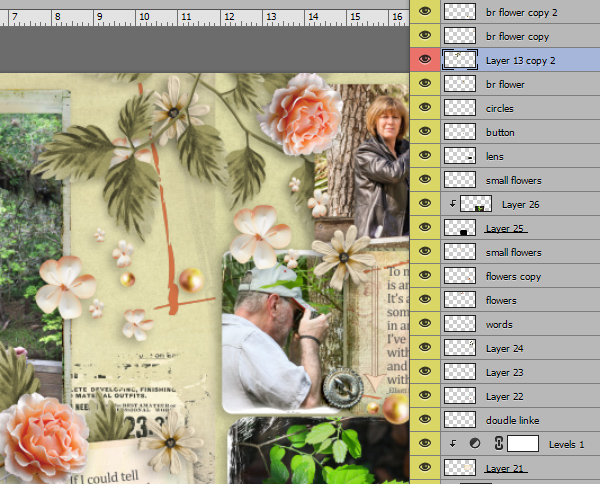
Optional but helpful: Open the PSD of page 1. If you are using a version of Photoshop that allows you to color-code your layers, it’s a good idea to do so. This will help identify which elements are on which page in the next steps. To color code layers, right click on a layer, and choose a color in the pop-out window. Or select multiple layers (select top layer, hold down Shift, select bottom layer) to color code all with just one click.
1. Create a blank document 7200 x 3600 pixels in size. This document size will accommodate two 3600 x 3600 pixel pages side by side.
2. Go back to Page 1. It’s not required, but can be helpful to link your papers and elements before moving them. (Select all layers and click on the chain icon at the bottom of the layers panel.) Move page 1 onto the new 7200 x 3600 document, positioning it on the left.
3. Do the same with Page 2, positioning it on the right.
4. Unlock all of the layers so you can move elements around as you like. (Select all layers, and click on the chain icon at the bottom of the layers panel.)
5. Move the elements around on your page until you achieve a cohesive, seamless look. All Norma had to do here was move one of the branches from page 1 to page 2. You can see this move reflected in the red-color-coded element (from page 1) that is now mixed in with the yellow-color-coded elements (from page 2).
6. Duplicate your new 2-page spread, and save the original in case you would like to make changes in the future.
7. Flatten the duplicated document.
8. We now need to divide the document in half, saving the left as Page 1 and the right as Page 2. Use your favorite method to do so. Here are a few different ways:
- Created a second copy of your flattened 7200 x 3600 pixel layout. You will now have 2 copies of it. Create a 3600 x 3600 pixel document (12 ” x 12″). Drag the 2-page spread onto the document, aligning the left side of the 2-page spread with the left side of the blank document. This will “cut off” the right side of the larger document. Crop. Save. Repeat (using the second flattened 7200 x 3600 pixel document), aligning the right sides to create Page 2.
- Alternatively: Duplicate your flattened image. Drag a Guideline from the left into the center of the document. It will snap into place in the middle of your document. (Be sure your “Snap To Guides” is set: View > Snap To > Guides.) Select the Crop Tool. Depending upon which version of Photoshop or Photoshop Elements you are using, either move the crop lines to the Guide Lines or drag the crop tool across the area you would like to crop. Either way, the Crop tool should snap to the Guide Line, making it easy for you. Once you have made your crop, save your page. Go to the duplicated document and repeat to create your second page.
You may have other page-splitting methods that work equally well; just choose your favorite method!
It’s a Snap, a collaboration between SnickerdoodleDesigns, ADBDesigns, and Jilbert’s Bits of Bytes was created with the 2-page spread in mind. How many times have you attended an event, gone on a photo shoot, or just snapped pictures in your yard, where you have come away with one spectacular shot, maybe 5-10 good shots, and then deleted the rest? I do that frequently. When that happens, I love creating 2-page spreads. The spectacular photo gets highlighted on the 1st page, and the so-so photos that I can’t part with get highlighted on the 2nd page. The It’s A Snap Kit and Extras are equally suitable for both traditional scrapping and pocket scrapping, but we have also included some pocket scrapping templates that make that opposing page 2 go together “in a snap!”
If you have not worked with 2-page spreads before, why not give it a try?
Here is a beautiful border, created for you by Charne (CT Member). It can easily be incorporated into any page design, either traditional or pocket scrapping!
Just click on the image to download!
Need some ideas? Review our tutorial on Stretching your Digi-Stash with Pre-Made Borders!

If you would like to keep this tutorial on your computer for easy reference, you may download a PDF here.
If you are a visual learner, you can view this tutorial on SnickerdoodleDesigns YouTube Channel and on theStudio’s YouTube Channel.
Please head over to YouTube and take a minute to Follow both channels. Each Channel will have some exclusive videos, so by following both channels, you will be sure not to miss a thing!
Thanks for stopping by! See you next week!
Credit: I believe the kit used in my 1998 2-page spread was a combination of elements from different Lliella Design kits. Please correct me if I am wrong anyone? Back then, when I was scrapping for myself, I didn’t understand the importance of keeping Credit Notes.


Thank you for sharing this tutorial — especially the instructions on how to divide the double page layout into the left & right pages. thanks also for the lovely border cluster!
You’re welcome, Pam! I’m glad you will find it helpful!
This tutorial was so great. Many thanks for the PDF download and for the beautiful border cluster.