Over the past weeks we have explored various Filters in Photoshop: How to create a Soft Lantern Glow (Lens Flare Filter), Using the Shear Filter in Photoshop, and Using the Liquify Filter in Photoshop.
We have had a request for tutorials on other Photoshop filters, so today let’s look at the High Pass Filter and see how it can help us sharpen our images.
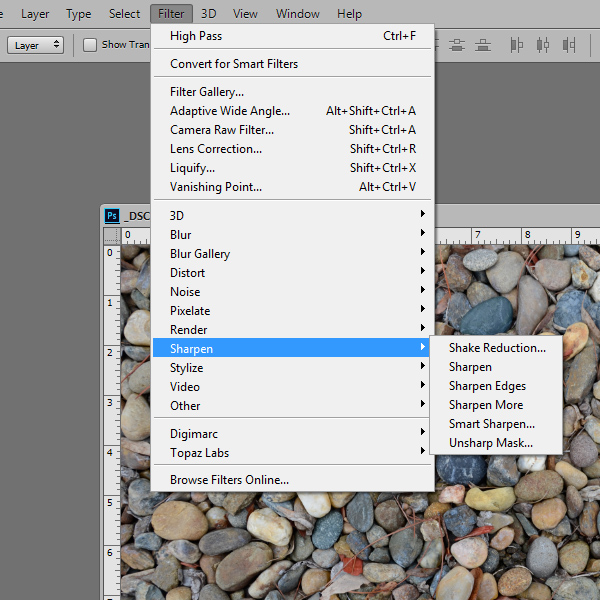
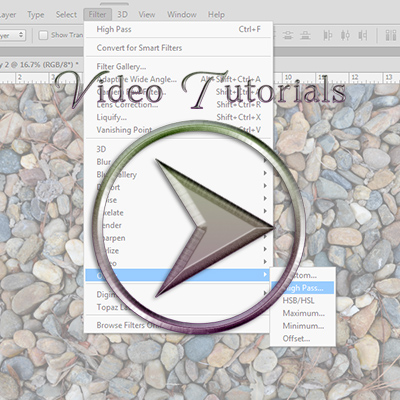
There are multiple ways to sharpen images in Photoshop. This is a screenshot from Photoshop CC2014, so your screen may look different from mine, depending upon the Photoshop or Photoshop Elements version that you are using. However, in general, if you go to the top Menu Bar: Filter > Sharpen > you will find various sharpening tools there.
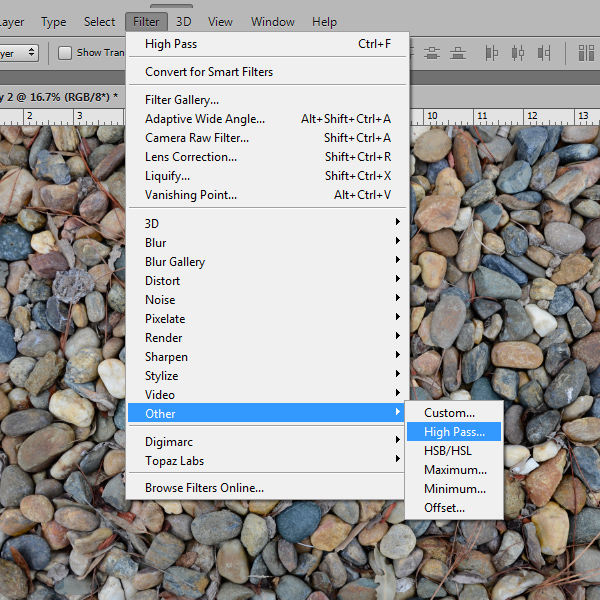
The High Pass Filter is found in a different place: top Menu Bar: Filter > Other > High Pass.
The High Pass Filter sharpens images by affecting only the edges of images, rather than the entire image.
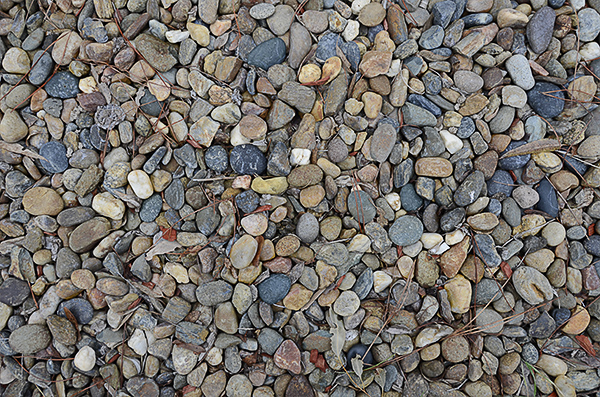
Here is a shot of some rocks in my yard.

I’d like to sharpen this image a bit. Here’s how using the High Pass Filter:
1. Duplicate the image you wish to work with, using your favorite method. (I selected the layer in Photoshop, held down Control, and pressed the “J” key.)
2. Making sure your duplicated layer is selected, go to the top Menu Bar > Filter > Other > High Pass.
3. You will see your duplicated image turn gray, and an options box will open.
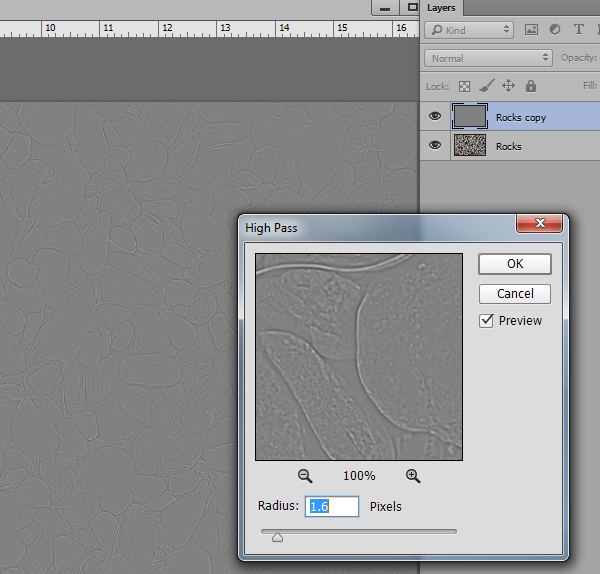
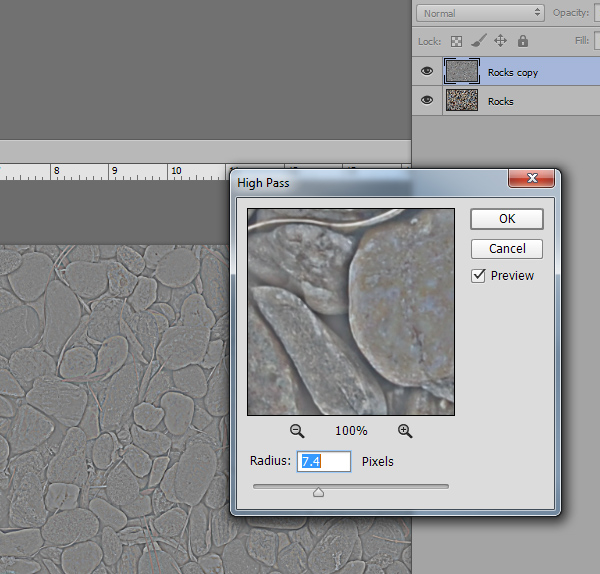
4. The slider at the bottom of the options box controls the radius sharpening. (The last sharpening that was used will reflect in the box when it opens. You can see here that the last sharpening I used was 1.6 pixels). We want to drag the slider to the left or right until we see some nice edge selection. In this photo, I have decided to use a radius of 7.4 pixels. The amount of sharpening you choose will be dependent upon the image you are using. Once you are satisfied, click OK.
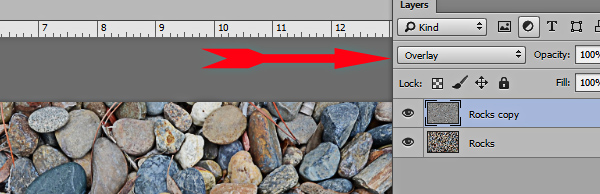
5. Change the Blend Mode of the High Pass layer to Overlay.
6. This is a little too sharp for my taste, so I can fix that in one of several ways:
- I can Undo the High Pass Filter and reapply it, choosing a smaller pixel range.
- I can lower the opacity of the High-Pass Layer in the layers panel.
- I can change the blend mode of the High-Pass Layer to Soft Light instead of Overlay. (Conversely, if I wanted the image to be just a little sharper, I could change the blend mode to Hard Light.)
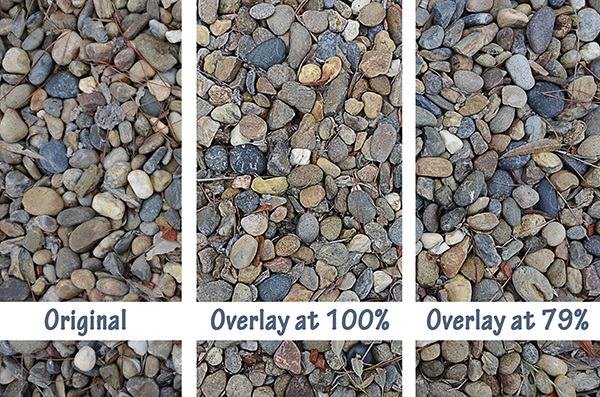
I lowered the opacity of my High-Pass Layer to 79% and was happier with that.
And that’s how easy it is to use the High Pass Filter!
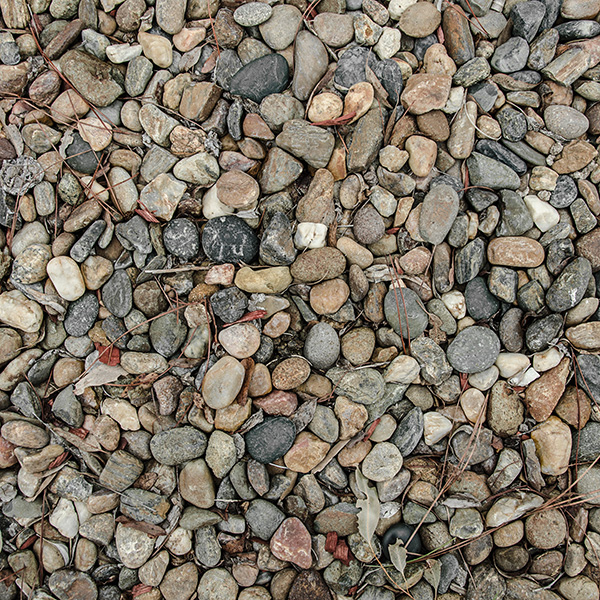
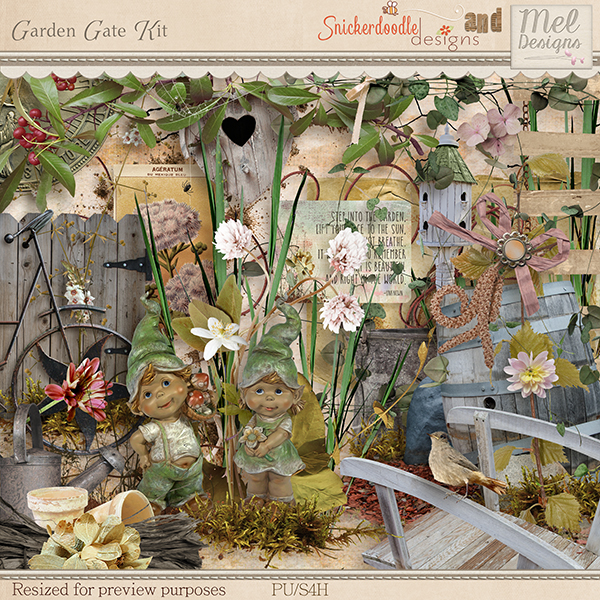
Wondering why I am taking pictures of rocks? I wanted to use them to create some papers in my Round Robin Collaboration, Garden Gate, with Mel Designs. Here is the Garden Gate paper I created, using the same image above (with some of the blue removed to better match our palette).
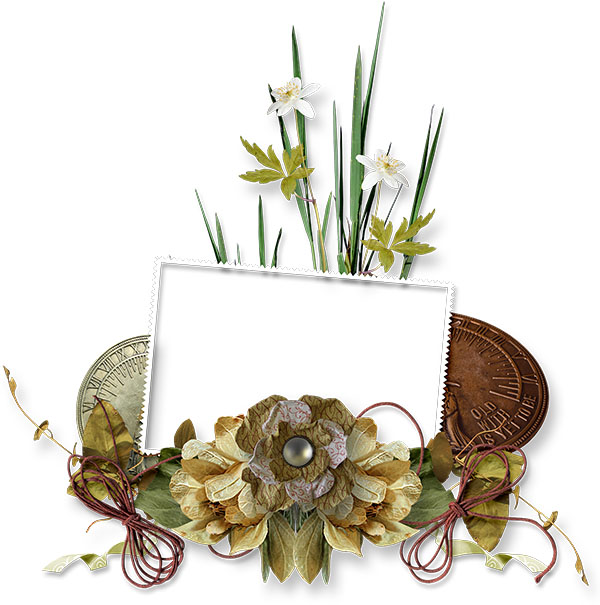
Our friend and fellow designer, Linda Cumberland, created this Garden Gate Cluster for you! Just click the image below to download!
If you would like to keep this tutorial on your computer for easy reference, you may download a PDF here.
If you are a visual learner, you can view this tutorial on SnickerdoodleDesigns You Tube Channel and on theStudio’s You Tube Channel.
Please head over to YouTube and take a minute to Follow both channels. Each Channel will have some exclusive videos, so by following both channels, you will be sure not to miss a thing! Thank you!
See you next week! And please keep the tutorial suggestions coming! I appreciate them all and will try to get to all of them!


Once again, thank you for a very useful tutorial. So many filters are such a mystery that I rarely go there. Nice to have them explained so well.
By the way, LOVE the new kit.
I have seen reference to High Pass for a while, didn’t have a clue where it was or what to do with it, thank you so very much AGAIN, for explaining everything, that even I can understand.
I would love to learn about creating paths and wordpaths. Additionally, using my PSE6 or PSE10, what’s the difference between using the feather option versus the refine edge. What’s the better option when you need to remove jaggy’s from something you have created like fonts or element? I have purchased actions which are suppose to do this but I just don’t see the difference with the action is complete.
Karen…love your very complete tutorials. Keep them coming, and thank you so much for all your work.
I am new here and was wondering if you have ever done one on shadowing? As in the drop shadow behind the element. I have ‘trial and errored’ a way to do them but they are just not right. (I am using Photoshop Elements)
Thank you for the tutorials! I am enjoying them!!
Thanks for more info on Filters – there are so many that are a mystery to me.
Karen, you amaze me, yet, again! I have known about the high pass filter for some time, but, didn’t really know how to use it. One thing I was doing was opening the ‘High-Pass’ filter, then, immediately hit okay, no matter the settings. Then, I would go change the blending mode to ‘Overlay’ or ‘Soft Light’. I would go back, then, to the filter and make my adjustments, able to see the end results on my image as I go. I see now why that may not have been the best idea. I see you have much more control over the effects once you get the settings right, or close, at least. I guess not knowing how to use it, I just found a way on my own. But, now, you have clarified it, so, I learned something new – yet, again, from you, dear heart!
Thanks!
Su
I can’t thank you enough!
Thank you all for your comments (both about the tutorials and Garden Gate). Thanks, Liz for your tutorial suggestions. I’ve noted them for future use (give me a few weeks to schedule them). Crystal, there are a few tutorials on shadowing here on the blog, but I don’t think they are what you looking for. I’ve noted this as a tutorial subject for the very near future. Su, some people will duplicate their image, change the blend mode of the duplicate to overlay, then apply the High Pass Filter to it so they can see the results in real-time. That is a slight variation of what you describe, it seems. It’s just a matter of preference. I like to do it the way I described, because after just a little practice, it’s pretty easy to tell by looking at the gray outlines, just how much sharpening to apply. Whatever works for you, is the best way for you to do it!
WOW! This just is a great tutorial. Each time I have tried to find out what “high pass” would do to some of my old photos that are in such bad shape I just close it and try something else. With your showing us how I can hardly wait to try this on those photos. Thank you so much. Many thanks again for the PDF file as well as the video tutorial.
Love the cluster. Thank you.
Thank you Karen! Love your tutorials!
I am going to have to “do try this at home!” People are going to look at me funny if I start going around and photographing the ground… LOL Love your rocks paper!
I would also like a tutorial on Text Paths and also text cutouts (if that is the right term?).
Thank you again!