Have you ever purchased a digital kit, started to create a layout, and wished that one of the elements were a different color? Some elements can be recolored very easily, while others might take more work. Today, let’s look at a simple method of recoloring using the Colorize option in a Hue/Saturation adjustment layer. (Today I am using Photoshop CC.)
Here is a paper and blue bow from By Design, a collaboration between SnickerdoodleDesigns and Vero – the French Touch.
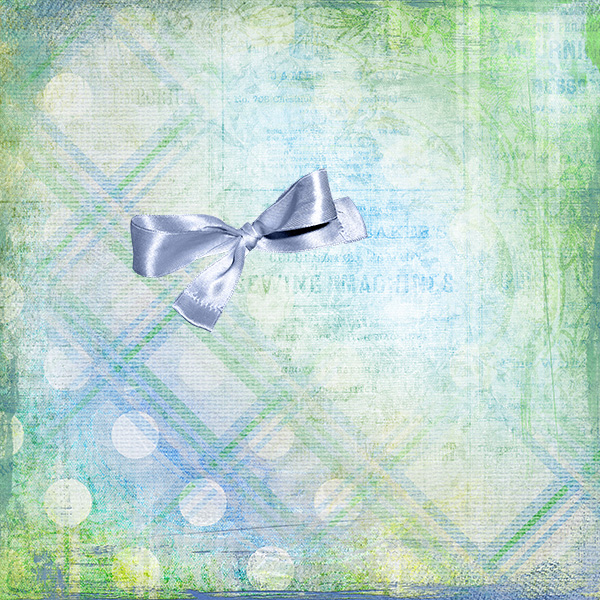
Let’s recolor that bow green. Here’s how:
1. Create a Hue/Saturation adjustment layer above the bow by clicking on the appropriate icon in the Adjustments panel. Alternatively, you may go to the top menu bar and go to Image > Adjustments > Hue/Saturation.

2. Clip your adjustment layer to the bow by holding down ALT and hovering your mouse between the 2 layers, then clicking when you see the down-pointing arrow. You will know that the 2 layers have been clipped together when you see the Hue/Saturation layer indented and with a down-pointing arrow indicator to the left of the layer. Having them clipped together will keep your Hue/Saturation adjustment from affecting all of the layers in your document, and restrict it to the bow only.
3. Click on the background paper (vero-by-design-pp7) to make it the active layer.
4. Click on the Foreground Color to bring up the Color Picker.
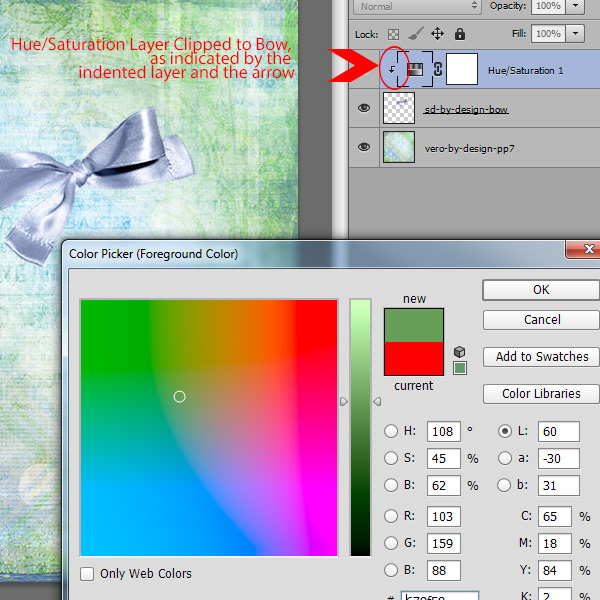
5. When the Color Picker opens, Photoshop will activate the Eye Dropper Tool. Click anywhere on the background paper to select the color you would like to recolor the bow. Click OK. I chose green. (Alternatively, you may type in the Hex Code, if you know it.)
6. Click on the Hue-Saturation Layer to make active.
7. Go to the Hue/Saturation Properties Panel, and tick the Colorize box.
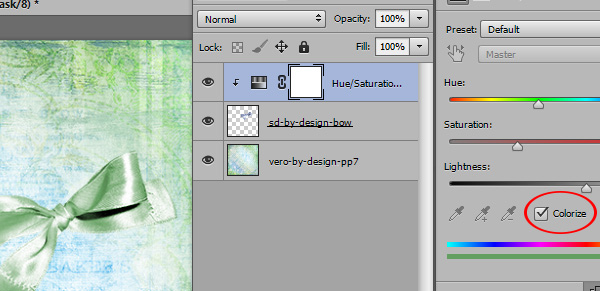
8. And now you have a lovely green bow.

This method doesn’t always work perfectly on all colors and all elements. Sometimes you have to adjust the color a little by moving the Saturation slider a little to the right or left, or by tweaking other color or levels adjustments. This is, however, one of the most simple recoloring methods, and is always the first one I will try when I need to recolor something.
That’s how easy it is! Try it next time you wish you had a different color element to go on a layout!
Toiny has created a new Tutorial Gallery for us! When you experiment with this technique, or any technique you learn through our tutorials, we encourage you to upload your results to the new gallery! Show off your hard work! Please include the name of the tutorial and provide a link to it, in case some of our readers missed it!
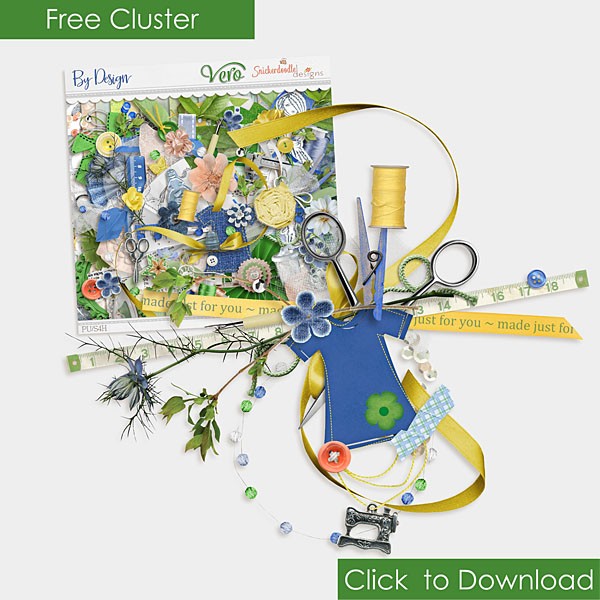
Vero created a beautiful By Design Cluster gift for you, and when I was packaging it for you, I included the green bow that we created here in this tutorial. You just might need a green bow sometime – and even though you can now make you own, here’s one already done for you.
Click the image to download.
If you would like to keep this tutorial on your computer for easy reference, you may download a PDF here.
Thank you for visiting! I hope to see you next week!


Thank you for this, I haven’t been clipping the adjustment layer, that’s where I have been going wrong! I’m so glad you are doing these tutorials.
I’m glad this was helpful for you, Faith! Thanks for letting me know.
HOW delightfully simple–and what a perfect way to match an element to something in the photo you want to use on a layout. Thanks Karen for the quick and amazing tip!
I am loving these tutorials that provide ways to grow my digi-stash!! Your instructions are so clear and easy to understand that even a “ditz” like me can do it! 🙂
I have PSE and am going to try to figure this out. This is so much easier than what I do! Thank you so much. Also, thank you for putting this in PDF format–great idea!! –k
Thanks Karen – I love these tutorials.
For Kern – yes it does work the same in PSE (I use PSE13) only difference is in Step 1 – you will have to go to Layer>new layer adjustment>Hue Saturation. The other steps are exactly the same 🙂 I tried it and it works like magic!!
Karen – have a wonderful ‘retirement’ holiday.
[…] Recoloring made easy – 1 freebie(s) […]
Thank you!
Thanks so much for this tutorial and a big thank you for the pdf file.
“By Design” is just great. Hopefully I will be able to get it sooner rather than later. For more years than I want to count I made my own clothes and then my daughter’s as well. Did make shirts and tee shirts as well as PJs but could never seem to make the boys and men’s pants. It would be fun to scrap layouts with pictures of kids and me with something saying something about my designing and sewing it.
Thanks, Karen (& Renee) — I have PSE12 & have been using a similar method to re-color elements. I hadn’t been using the adjustment layer step (didn’t realize that it was there). I was just directly clicking on the element layer after selecting the color I wanted, then adjust the hue/saturation through the edit menu. I just tried using the adjustment layer, but found that even though I check the “colorize” box I still need to change the numbers for hue, saturation & lightness. I like adding the separate adjustment layer though. I appreciate you sharing these tutorials. I’ve been stumbling across ways to use the program through trial & error — it’s helpful to learn how best to use the program. Thanks!
Thanks, Connie, Katherine, and Carol. I’m glad the tutorials and PDF downloads are helpful. I didn’t have time to prepare a video for this tutorial, as well as for the ones I prepared for my absence (vacation), but will be back to doing those soon!
Thanks, Renee, for answering Kern’s question. And Pam K – yes, sometimes additional adjustments are necessary, depending on the colors and element you are working with.
Thanks to all for your comments. I find them encouraging and appreciate them!
Thanks, Connie, Katherine, and Carol! I’m glad the tutorials are helpful for you, as well as the PDFs. I will be back to doing videos after vacation. Thanks Renee for stepping in and answering Kern’s question. Yes, Pam, sometimes additional adjustments are necessary, depending upon the colors you are working with. Glad you were able to discover the work-around that works best for you.
Thanks to all for your comments. I find them encouraging and appreciate them.
Thanks again Karen, for another great tutorial. I colorize elements occassionally, and never knew about the adjustment layer part. I use PSE 11 and can’t wait to try it. (Thanks, Pam K for the PSE hint!!) Also, thanks so much for the cute cluster from the “By Design” kit! I do a lot of sewing for family and friends and this will be wonderful to use in a layout!
[…] Read the rest of this tutorial on theStudio’s blog: Recoloring Made Easy […]