 Last week we talked about how to Transform your Selections. As I was writing that post, I was reminded of a fun technique that can be used with selections to create a cute border very quickly.
For the purposes of this tutorial, I am using Photoshop CC2015; however, this technique works in Photoshop Elements as well.
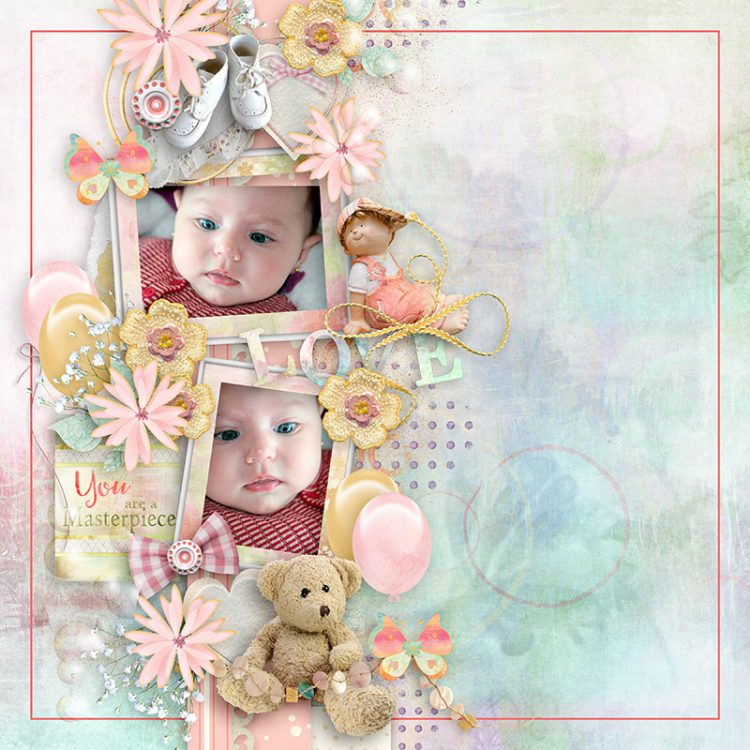
This gorgeous layout was created by Norma, using my new collection “You are a Masterpiece.”

It’s a stunning page as it is; but, for fun, let’s put a small border around the edge of the background page using a Selection. Here’s how:
- Working on your layered document, place a blank layer above your background.
- Now we want to create a rectangle around the edge of the background. We can do that in one of 3 ways. Click on the Rectangular Marquee to make it active. In the options bar at the top of the screen there are 3 Style choices:
Normal: You can drag out a rectangle “free-style,” changing the height and width of the rectangle as you like, with no restrictions.
Fixed Ratio: This will allow you set the height and width, in ratio, or proportion, to each other. In order to get a square, enter “1” in both the height and width boxes. Enter other numbers according to what ratio you would like. For example, if you want a rectangle that is 6 inches wide by 12 inches in height, you would enter: 1 for the width and 2 for the height.
Fixed Size: In the Width and Height boxes, enter the exact size dimension that you want for your rectangle/square.
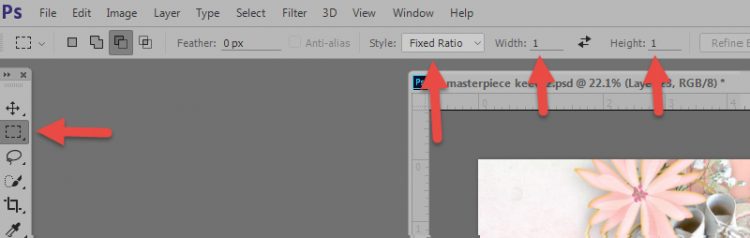
- I am going to use the Fixed Ratio option. I’ve set my Width and Height ratio to: 1:1.
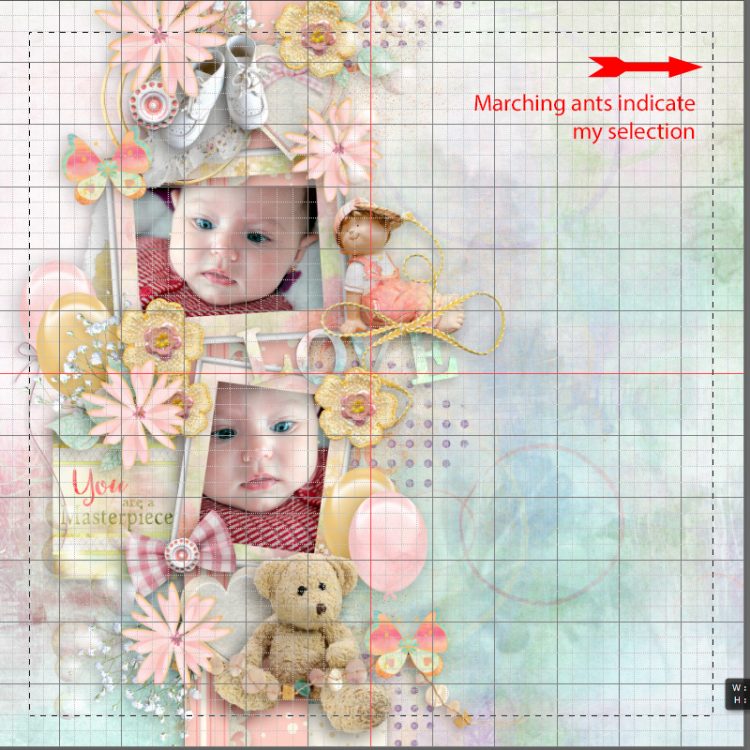
- I’ve also turned on the Grid, to make my selection easier. (View > Show > Grid)
- Using the grid, I’ve drawn out a rectangle, making sure that the blank layer (above the background layer) is the active layer. With the grid showing, my selection will “snap to” the grid lines. If I would like to reposition my rectangle/square, while still holding down the mouse button, I can depress the space bar, and move the selection freely.
- Now I can right click within the selection to access additional options. I have chosen Stroke.
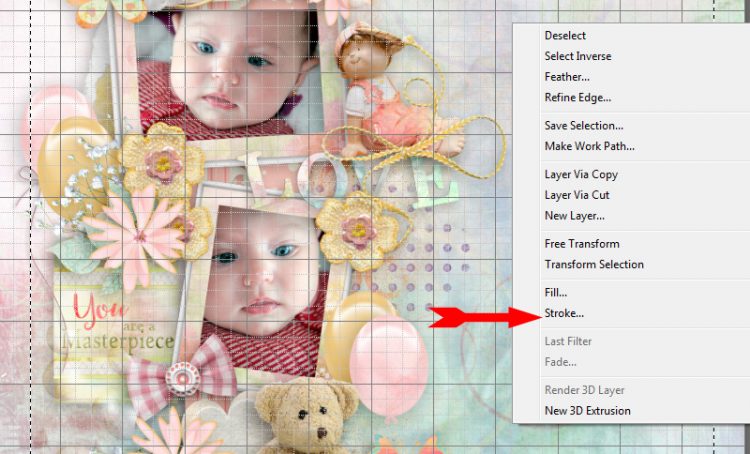
- The Stroke dialog box will open. Here I can set the stroke width, color, location, blend mode, and opacity. However, I prefer to just set my size and color here, leaving the other options set to their default. Those are choices that can be made later in the layers panel; and sometimes I’m not sure, for example, what blend mode I might like best.
In this example I chose a pixel size of 10, chose my color, and the location of Center. If I am happy, I am done. However, because I put the Stroke on its own layer, I can also now experiment with Blend Modes or apply a Layer Style, if I like.
I like the border as it is, so I’m done. And it took just a few seconds to add this additional finishing touch to this page.
If you would like to download a PDF of this tutorial, you may do so here: How to Create a Simple Border
See you next week!


You are so good at your tutorials, love them, they are simple and you use every day useful things. This is another something that is different to what I do, thank you. (and it’s simpler LOL)
Thanks, Faith! I appreciate your feedback – and glad to know this will be helpful for you!