This post was originally published in November 2016. The tutorial is original to Karen of SnickerdoodleDesigns. She has many more amazing Photoshop and Photoshop Elements tutorials on her site: SnickerdoodleDesigns.
With the introduction of “Groups” in the recent release of Photoshop Elements 15 (PSE15), it occurred to me that we haven’t discussed “Groups” here on Tutorial Friday. So today let’s look at what Groups are and how they can help us in our digital scrapbooking.
I am using Photoshop CC2017 for today’s tutorial. Unless otherwise noted, these instructions are the same for Photoshop Elements 15 users.
What is a Layer Group?
Think of a Layer Group as a “folder” within your Layers Panel. Once you create a Group, you will see a Folder Icon in your Layers Panel. Within that folder will be the images that you included when you created it. If you click on the triangle pointing to the folder, the Group will open so you can see the images inside. If you want to close the Group after opening it, click on the triangle once again.

How do I create a Layer Group?
- Once you have determined the layers that you want to include in a Group, click on the top layer you want to include; hold down Shift; and select the bottom layer of the files you want to include. (Layers that are in sequential order usually work best.) With the layers still highlighted, you can: (1) Drag the layers down to the Group Icon at the bottom of the Layers Panel, or (2) Click on the Group Icon at the bottom of the Layers Panel. Either way works the same: the layers that you have selected will be included in a new Group folder.

SCREEN CAPTURE PHOTOSHOP CC2017

SCREEN CAPTURE PHOTOSHOP ELEMENTS VERSION 15
2. In both Photoshop and PSE15 you can, alternatively, select your layers as described above and go to the top menu bar: Layer > Group Layers.
What can I do with a Layer Group?
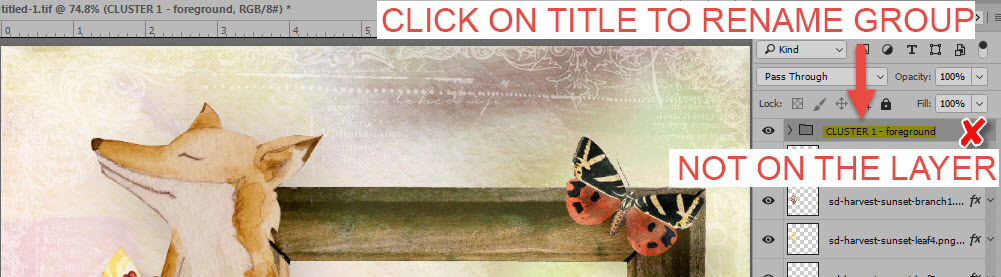
Name your Group:
Once you have created a Group, double-click on the folder title (Group 1, Group 2, etc.) to rename it.
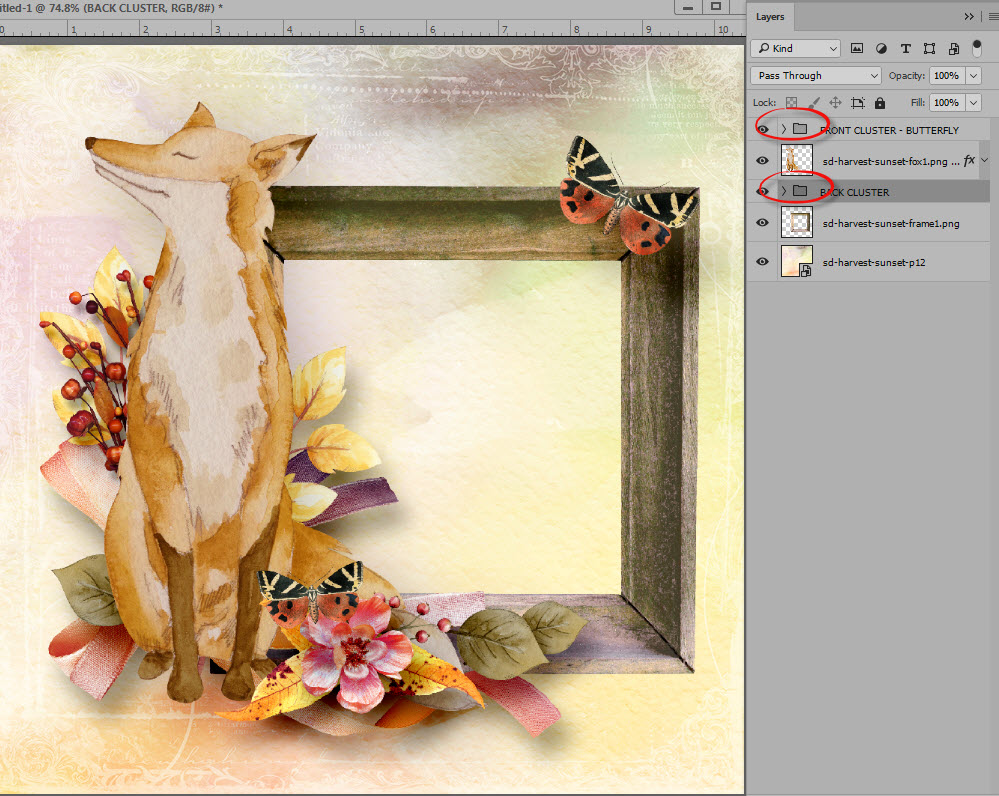
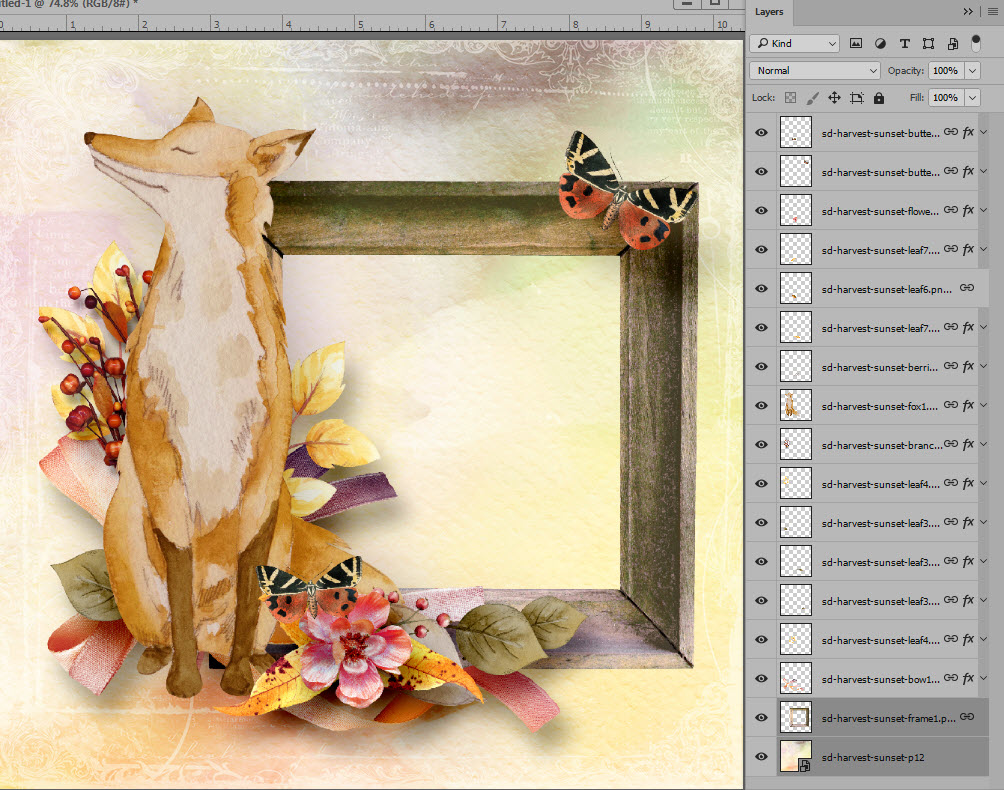
Keep your Layers Panel Tidy: Layer Groups help keep your Layers Panel tidy and organized. Pictured below is a Harvest Sunset Cluster, with 17 layers. (Many projects have significantly more layers than this, but a smaller file is easier to use for demonstration purposes.) Within this cluster are 4 distinct sets: the background paper, the frame, the front cluster, and the back cluster.
By Grouping the elements that belong together, we can tidy up our Layers Panel. I have put the elements included in the Front Cluster in one Group, and the elements included in the Back Cluster in another Group. Now the Layers Panel is tidy and organized, and it will be easier to find an element we are looking for.

Move your Group:
If you have grouped images, for example in a cluster, you may move the Group around to see what the cluster would look like elsewhere on your page. A Group moves as a whole, so you may click on the Group title, or if your Group is toggled open, you may click on any layer within the group, to move it around on your page.
Duplicate a Group:
If you are working a layout and want to use the same cluster, for example, in several places on your page, right click the Grouped Cluster > Duplicate Group, give the duplicate an appropriate name, click OK. Now you can move, resize, rotate, or even duplicate your 2nd cluster as needed.


UnGroup a Group:
If decide you do not want your images in a Group, right click on the group name and choose Ungroup Layers. You may also go to the top Menu Bar and choose Layer > Ungroup Layers.
Merge a Group:
Once you have created a Group, if you know with certainty you will not be changing it, you can Merge it by right-clicking on the Group and choosing Merge Group. This will result in a smaller file size. (This option is not available in PSE15.)
Add to or Subtract from a Group:
You may add to a Group by clicking on a layer to select it and dragging it into a Group. Conversely, you may remove a file from a Group by clicking on it to select it and dragging out outside the Group.
These are the “basics” of Groups. Once you get comfortable using Groups, I’m sure you will find multiple ways to use them! Please share with us your favorite way, if you are already a Groups User!


Leave A Comment