I’m going to be honest & upfront. I did not think of this idea all by myself. Whomever thought up the promo for Netflix’s 13 Reason’s Why gets that credit. But. I love this! I am suddenly finding six million and one reasons to do this to every photo.
You know how when you have a subject you photographed beautifully? But everything around said subject is 1) in the photo; and 2) not doing what you want! It can be color issues, background issues, people issues. There are SO many issues when trying to find the perfect photo of your perfect subject.
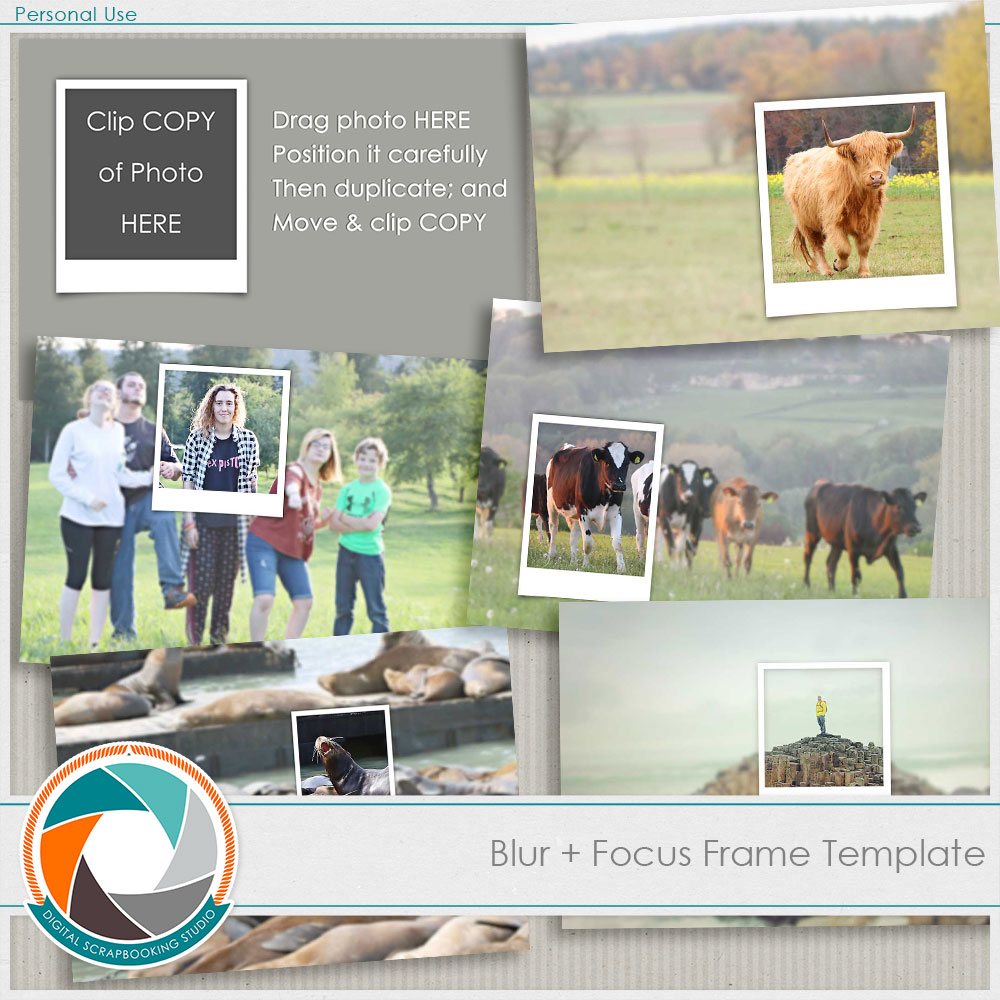
I have a solution! I found a way to frame my subject, keep the original photo, but blur out all the non-cooperative parts. I absolutely love the results. I think you will too. Take a look, and then give the Blur + Focus Frame technique a try.

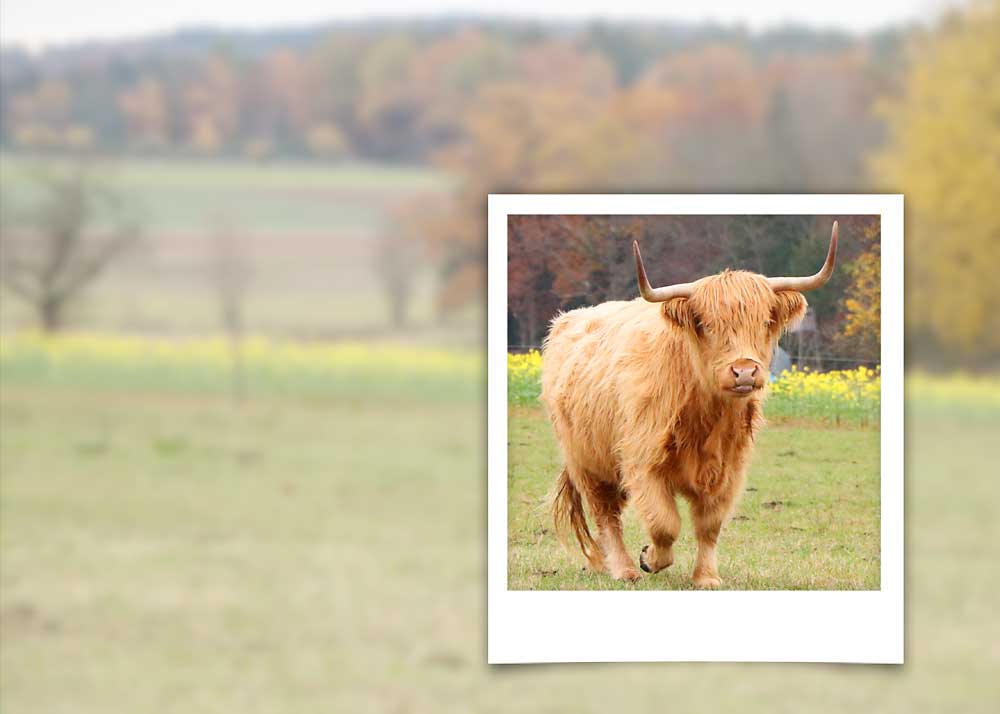
For: when you take a good picture…but everyone else is being special
Blur them & Focus on you!

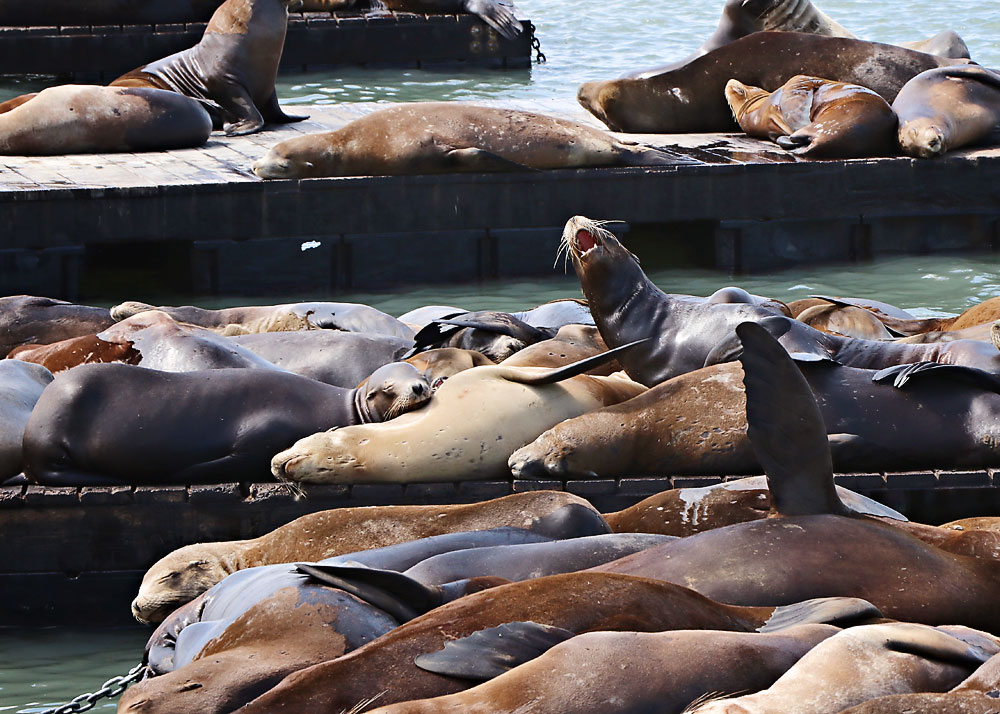
For: when the surroundings are taking away your star power

Blur them & Focus on you!
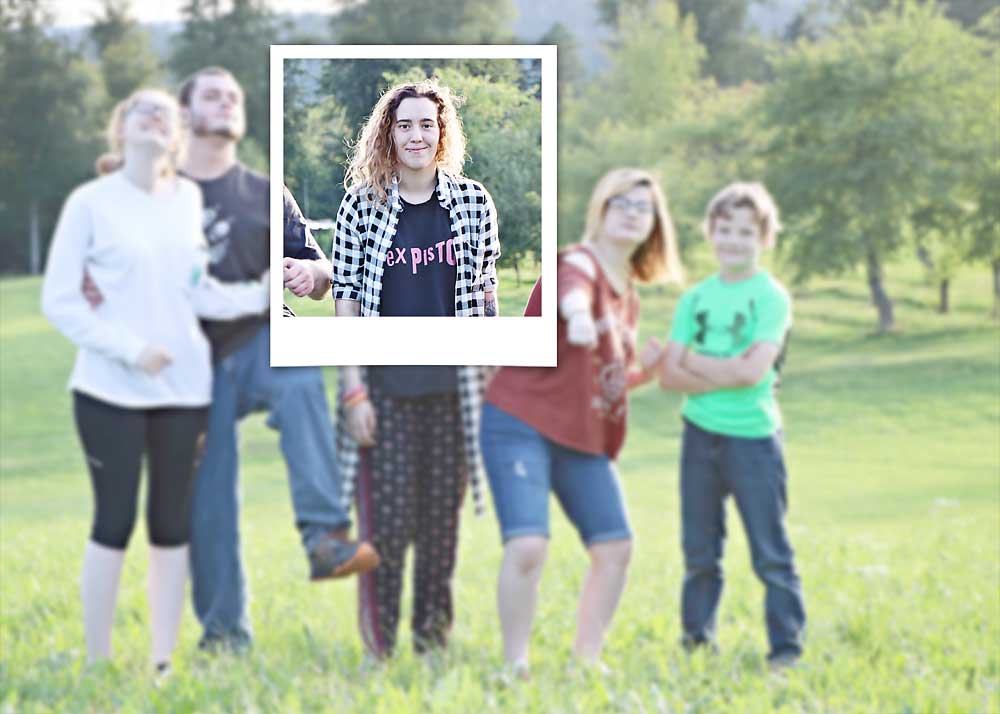
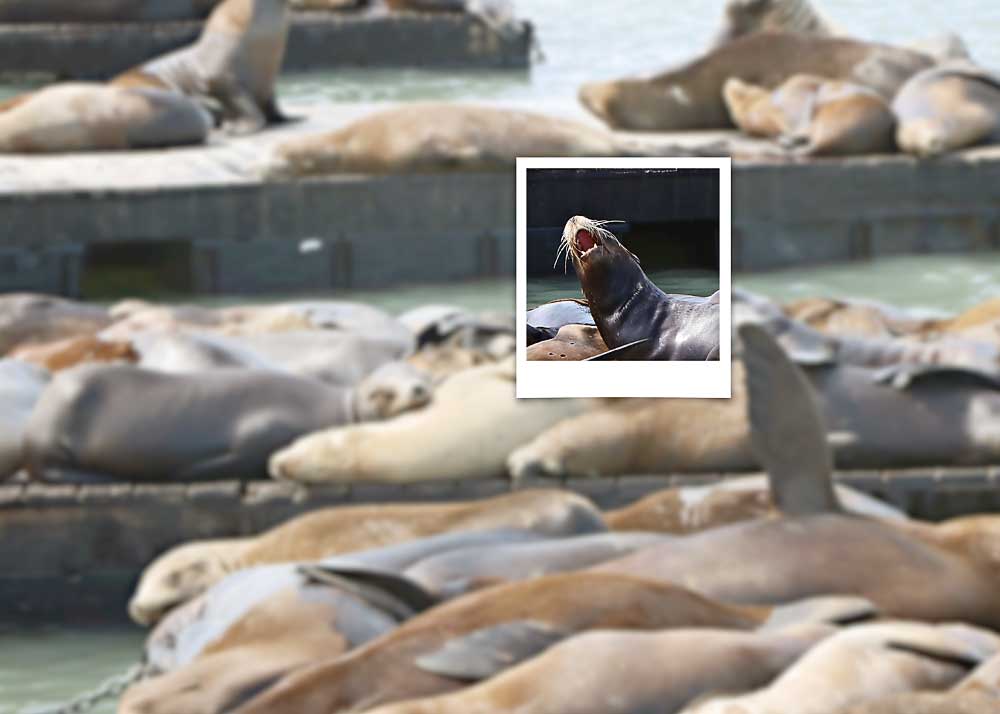
For: when they are all cute & you want to be noticed
Blur them & Focus on you!
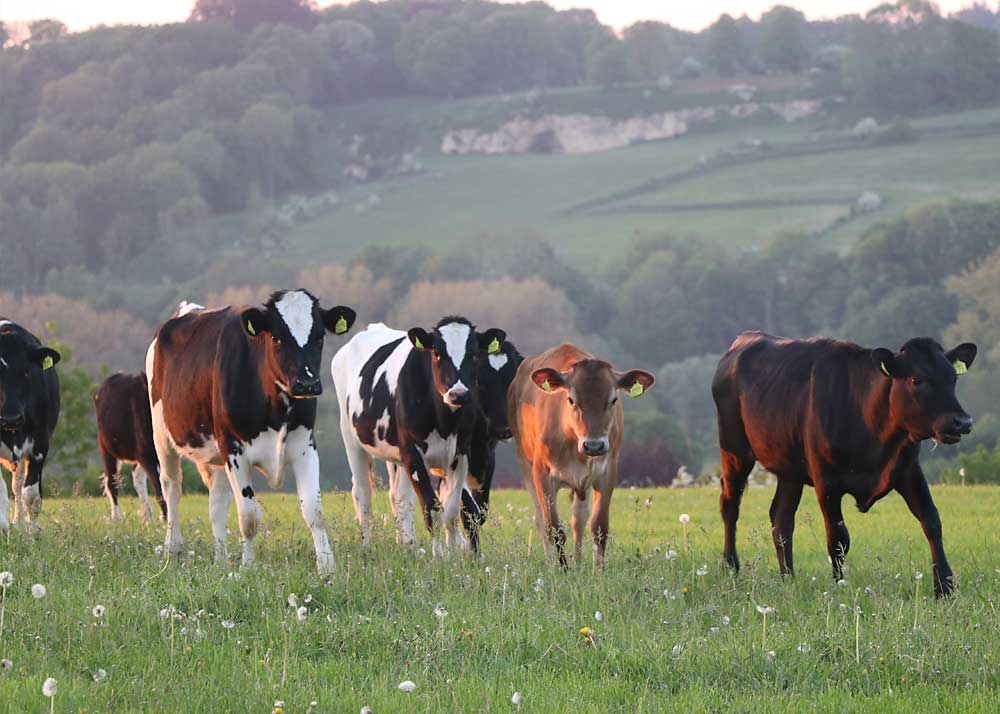
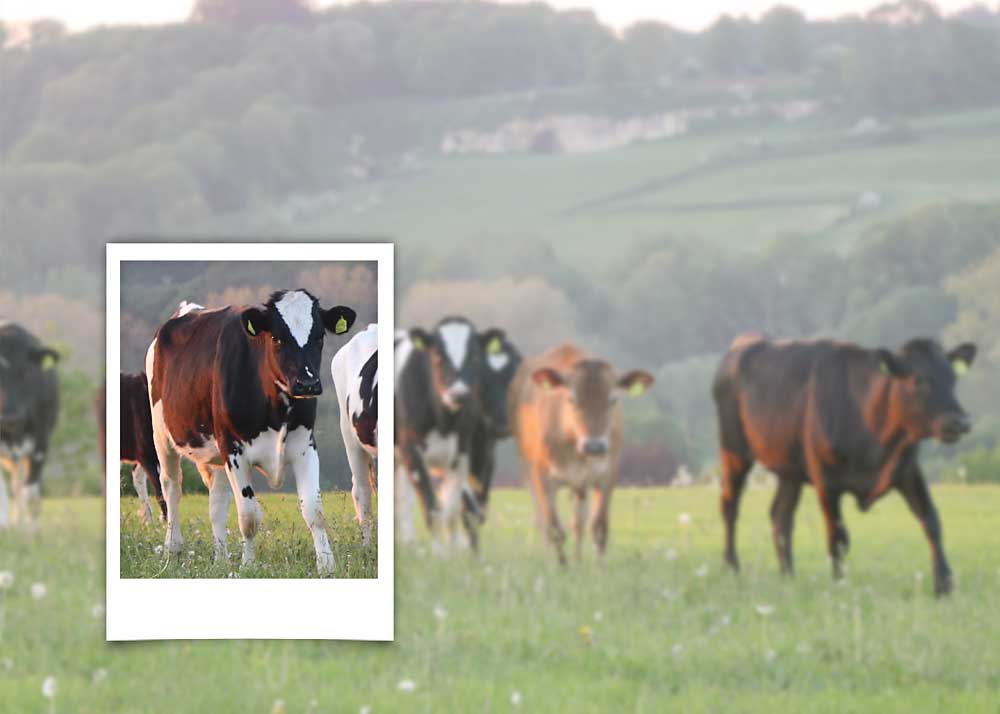
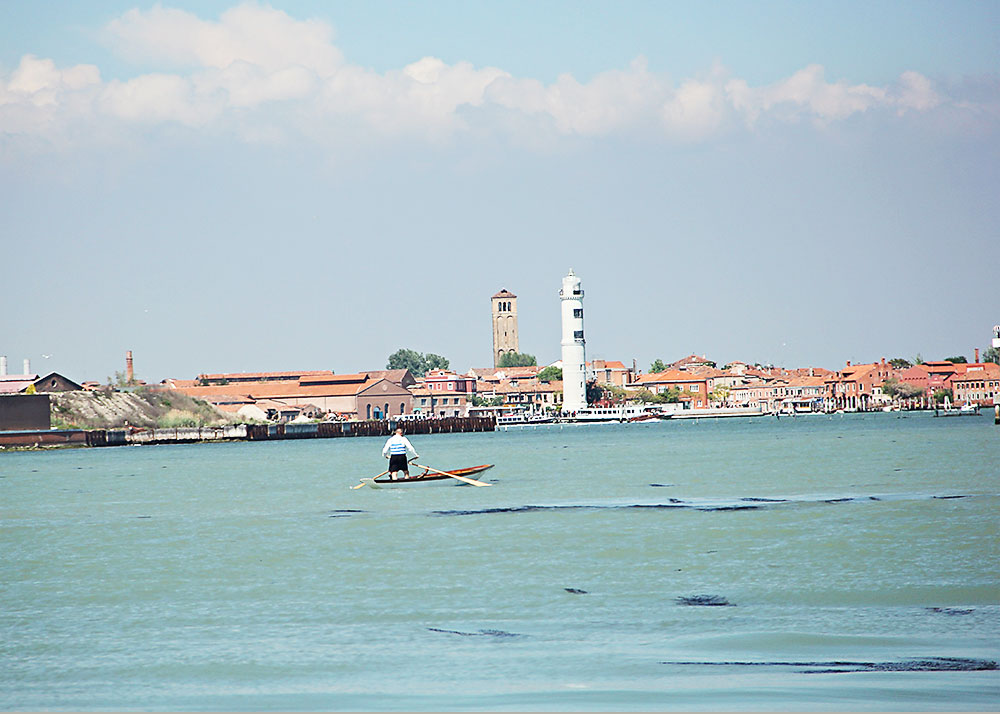
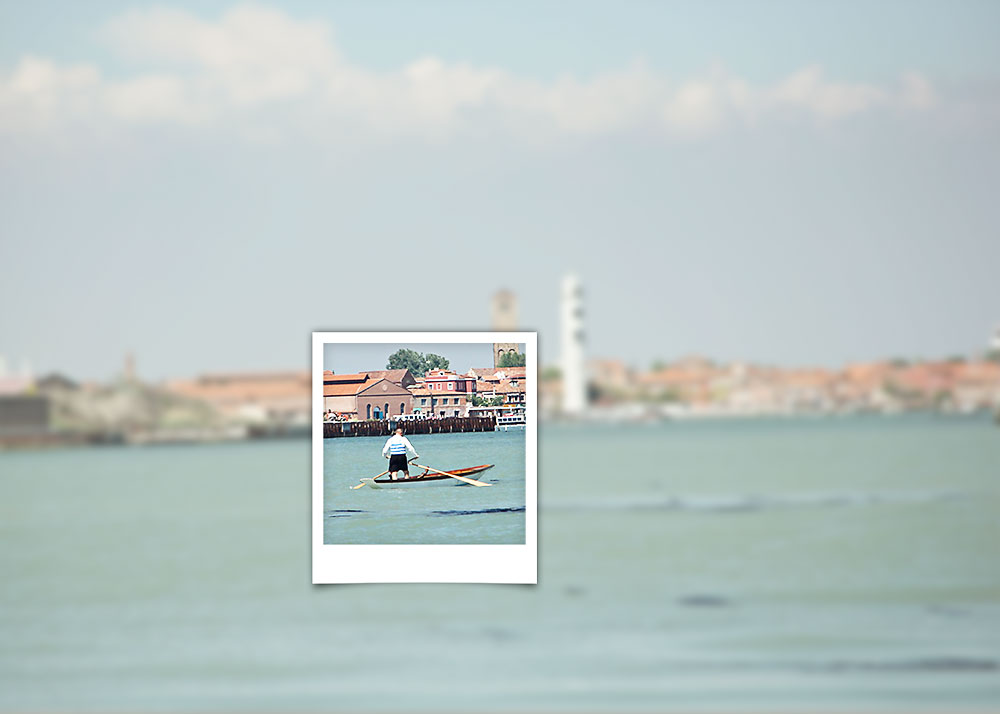
For: when you blend in with your surroundings
Blur them & Focus on you!
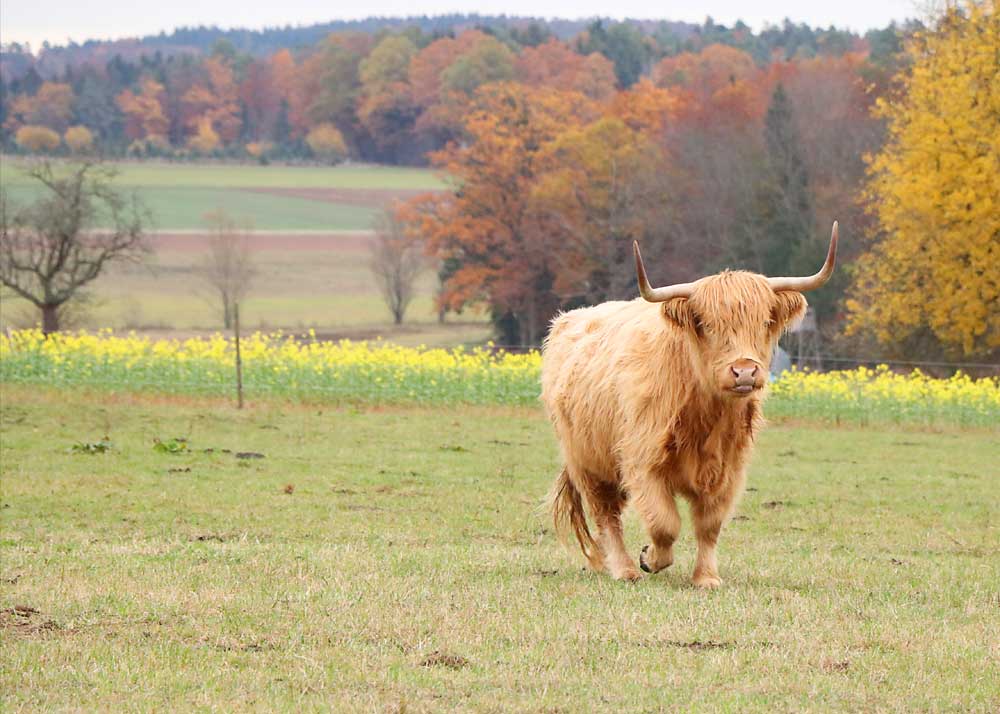
For: when you just want to be heard!
Blur them & Focus on you!
This is remarkably easy to do! Scroll down below & pick up my free Blur + Focus Frame Template. It doesn’t do all the work for you, but it does a big chunk of it! Now grab your favorite, flawed, photo and let’s get to work.
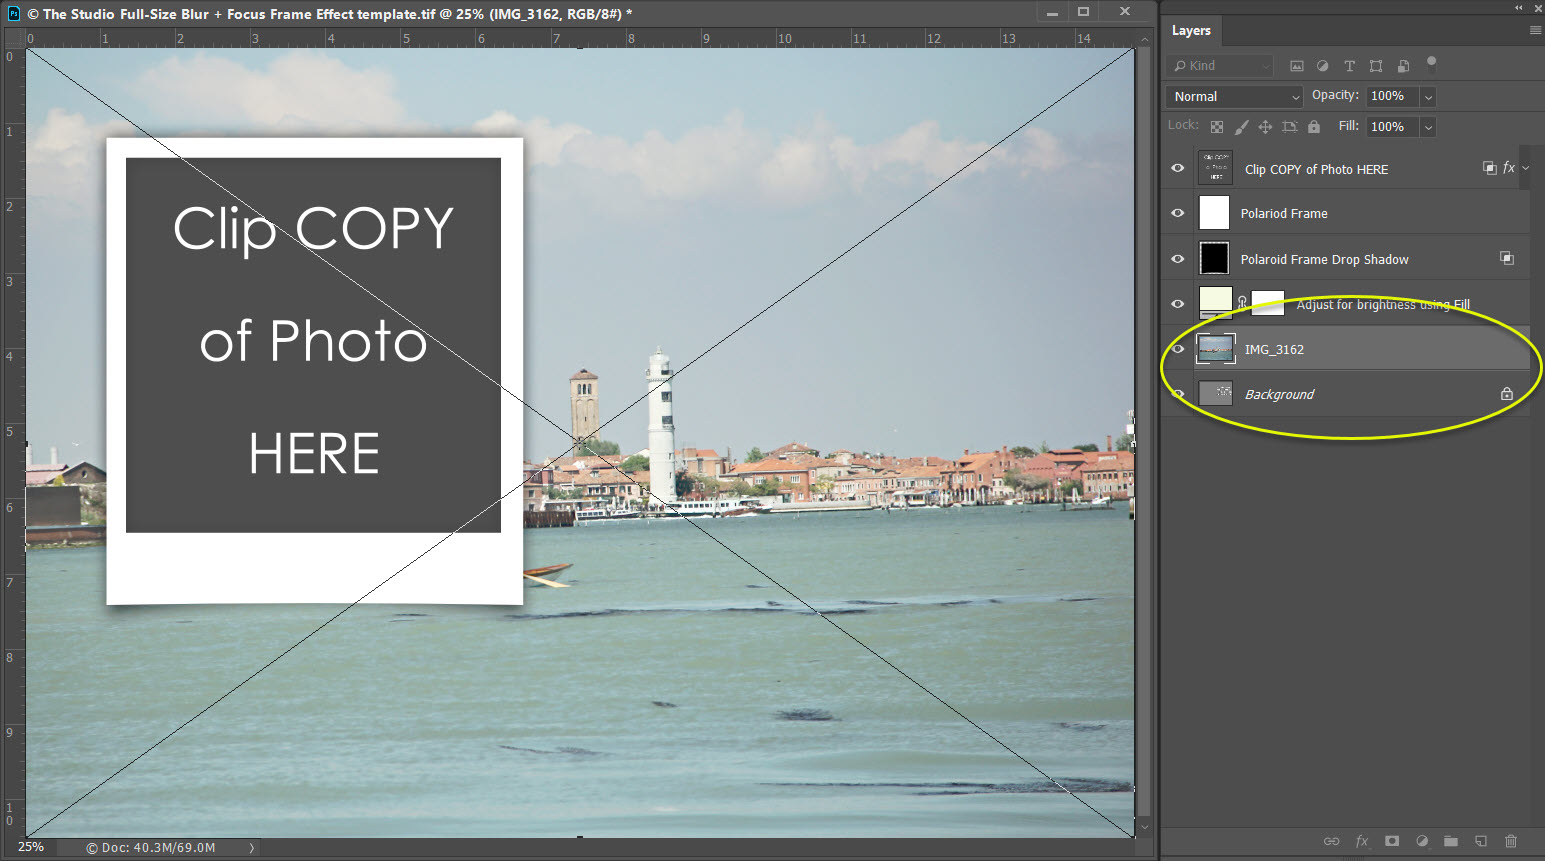
- Open the Blur + Focus Frame Template. Be sure you choose the right one for your photo size. I’ve included both Full-Size and Web-Size versions.
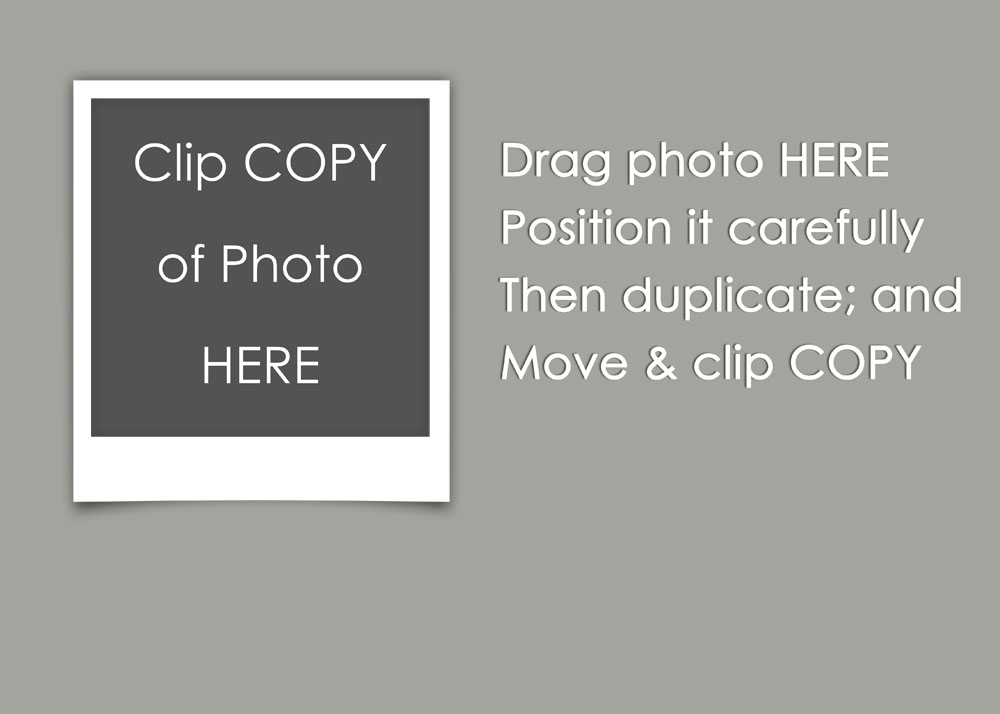
- Drag in your photo just above the Background layer
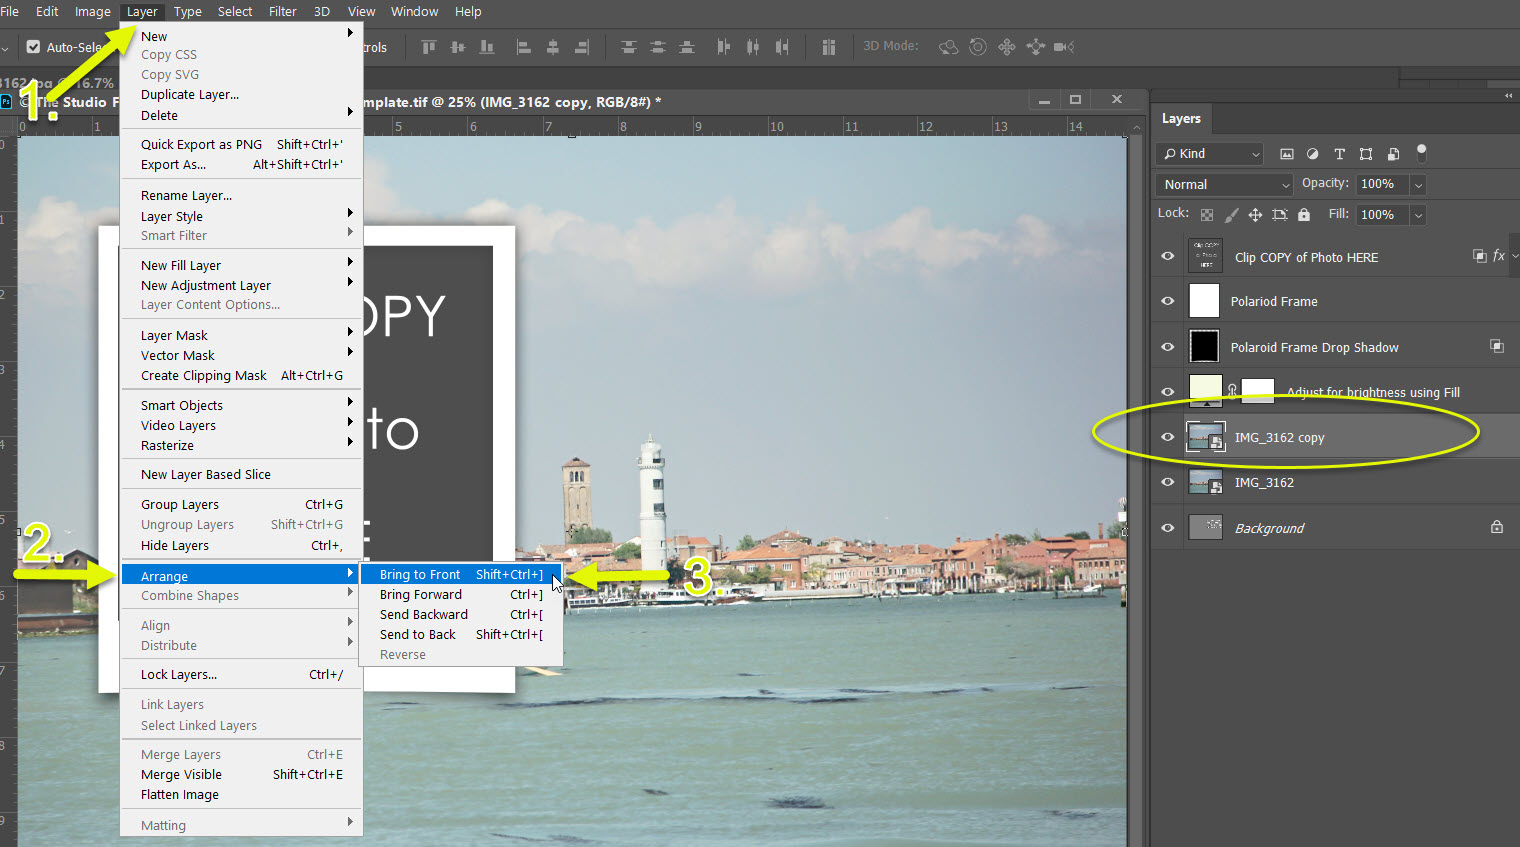
- Now create a copy of your photo by duplicating your photo layer. One way is to right-click and select Duplicate Layer. Be sure you are on your original photo layer when you do this.

- Once you have your duplicate layer, bring it to the front of your document/layers palette.
- Click on Layer in the top menu bar
- Click on Arrange in the drop down menu
- Click on Bring to front in the fly out menu
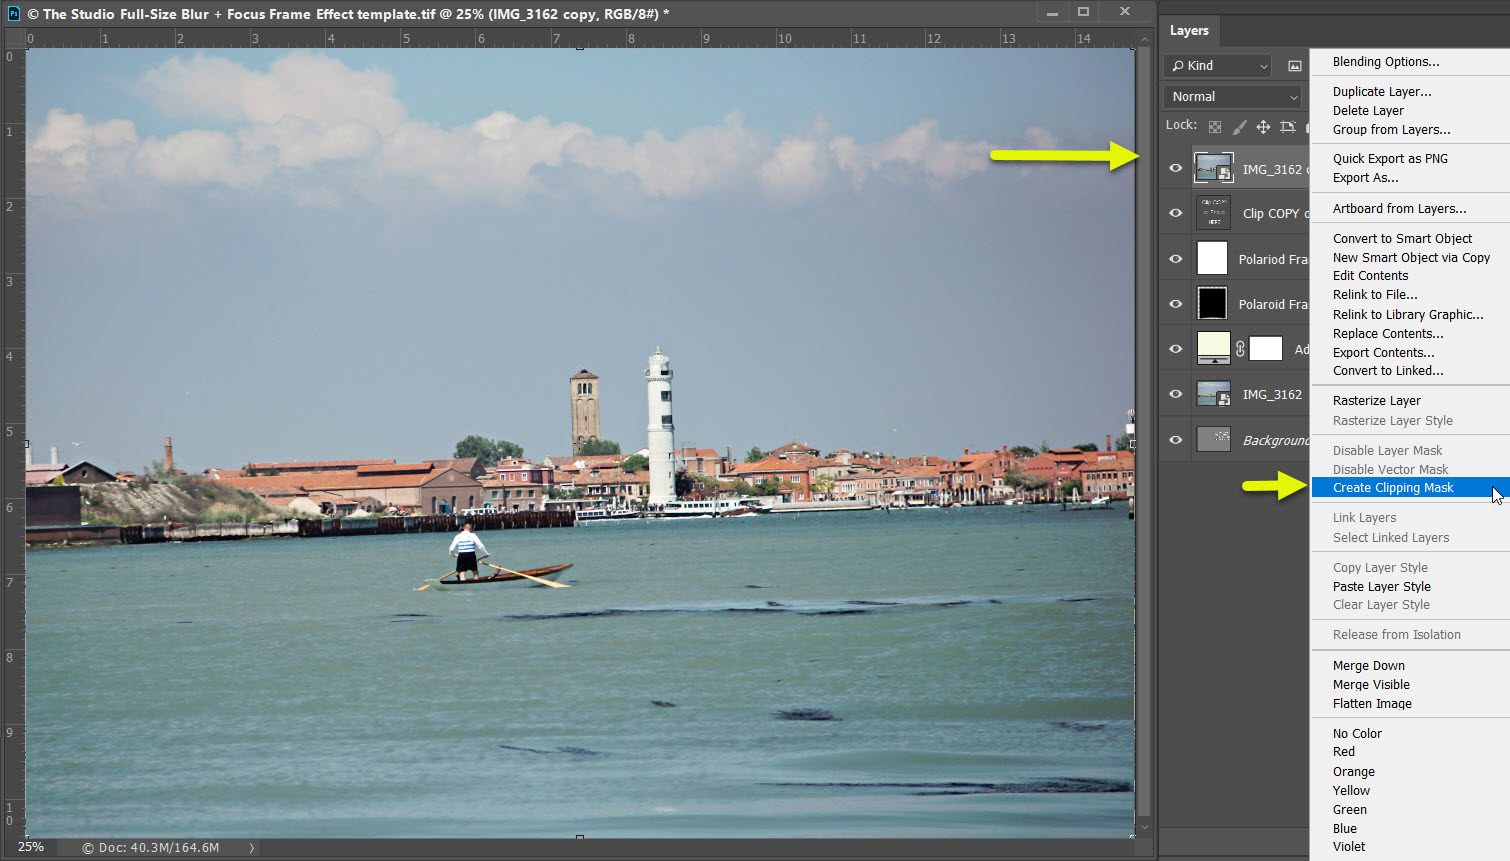
- Make sure you stay on your photo copy in the Layers Palette; then right-click and select create Clipping Mask
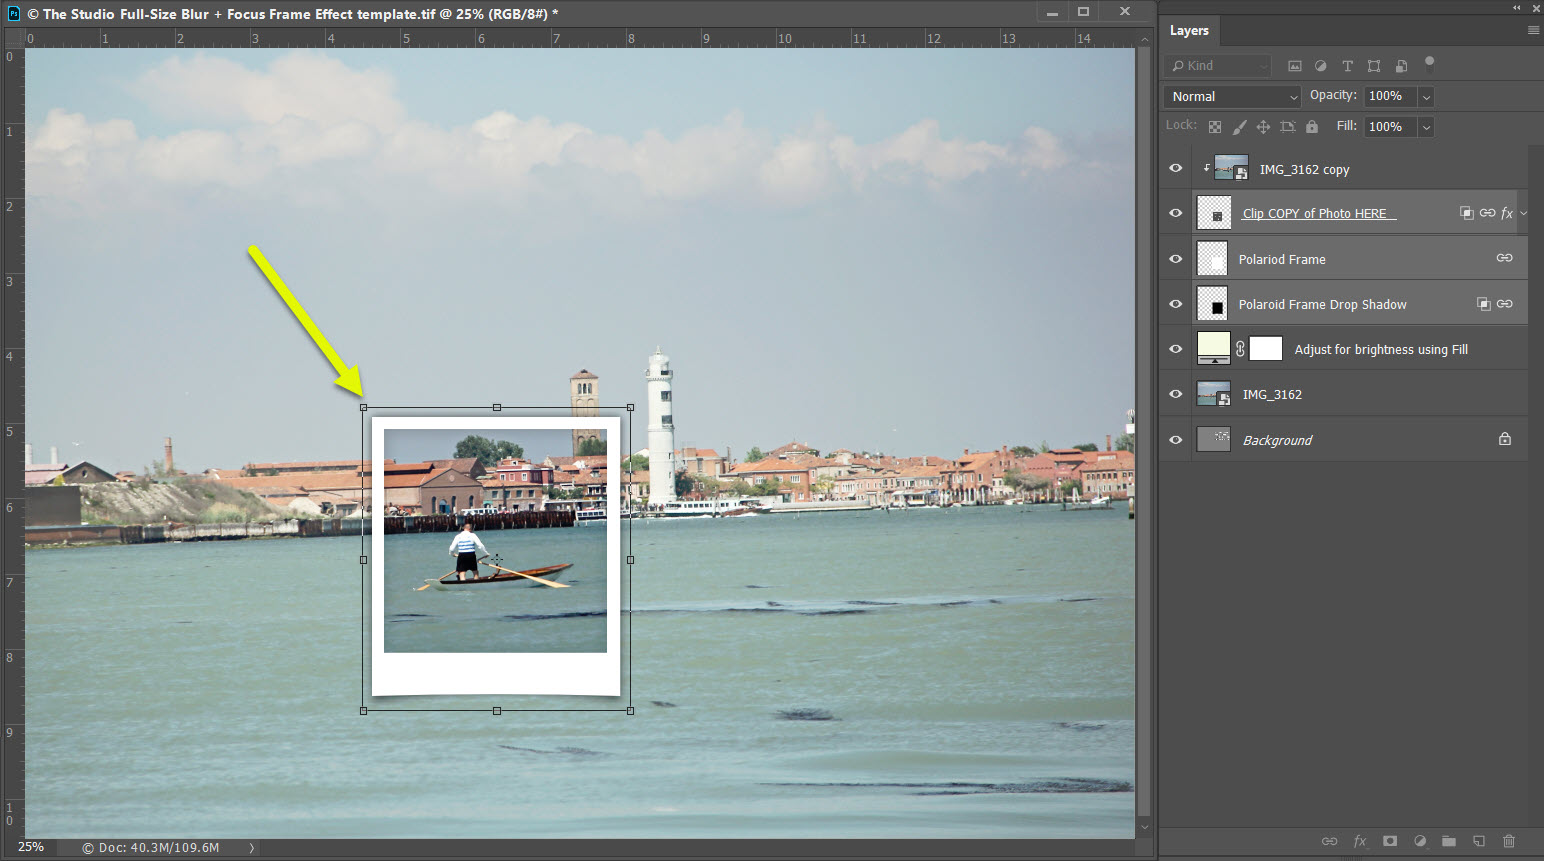
- Now move the frame to center your favorite part. Click on the Polaroid Frame layer in the Layer Palette. All the important layers are linked and will move as one unit.
Important: Do not select your photo layer too! Both your photo layers must not be moved!
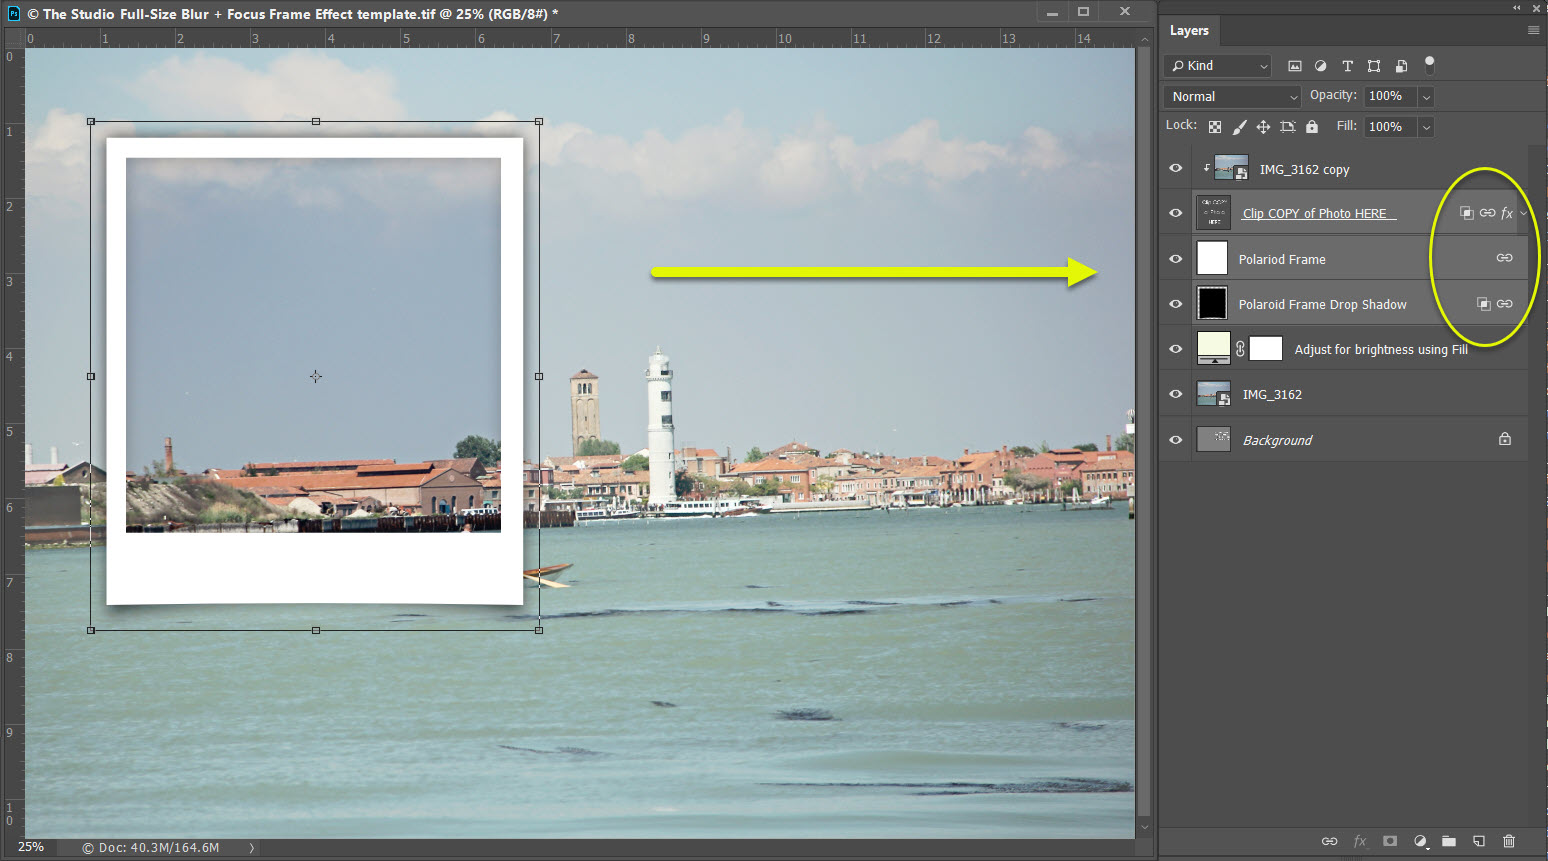
- Once you have your frame in place, you can also resize the frame to better fit your subject.
Important: Do not select your photo layer. Only select Polaroid Frame!
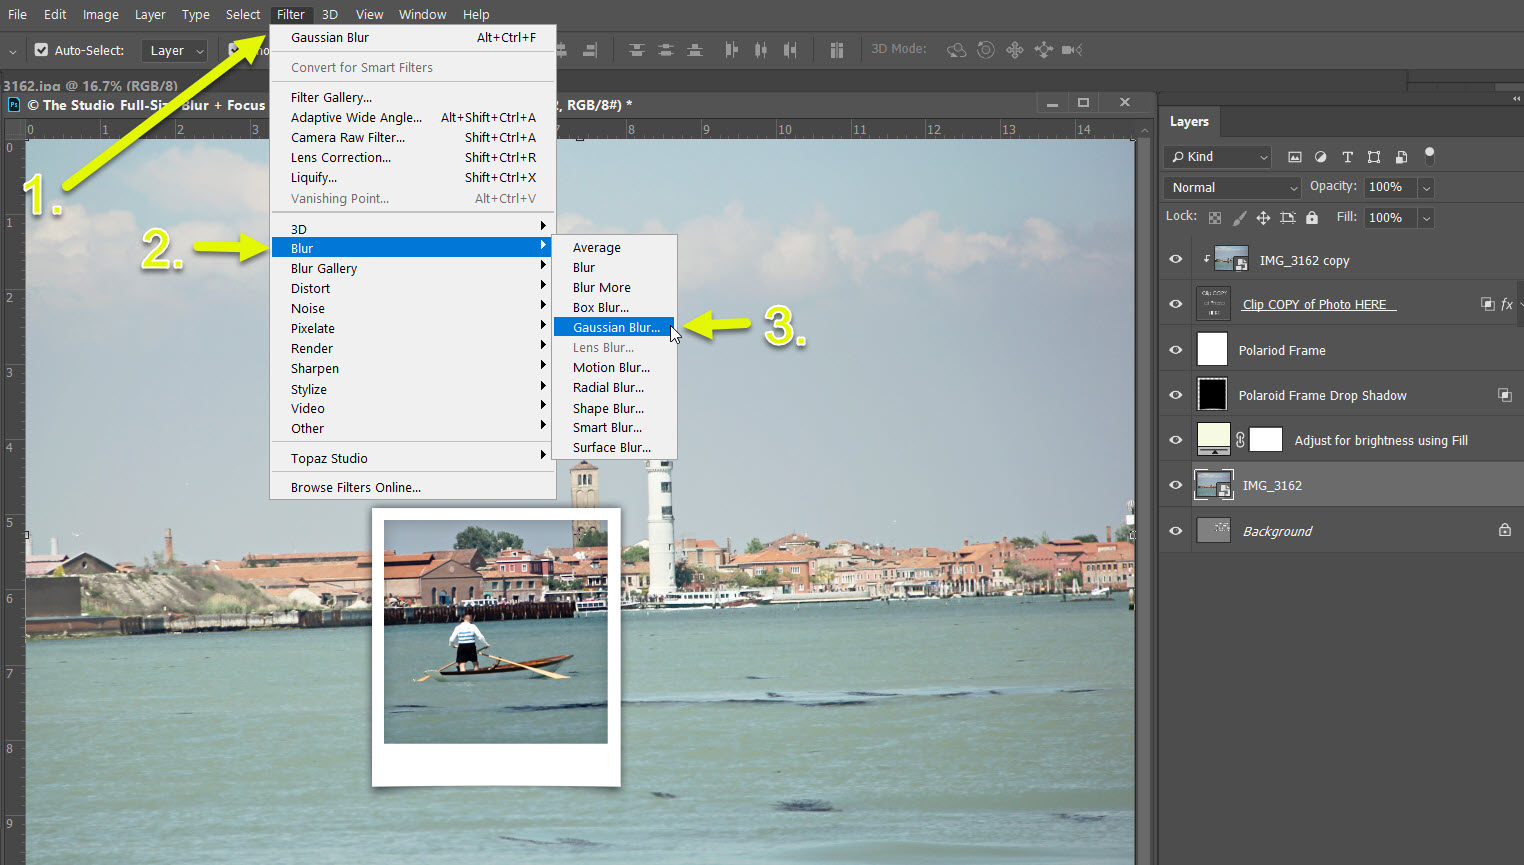
- It’s time to blur the background. Be sure you are on your original photo layer in the Layer Palette. Not on your copy!
- Click on Filter in the top menu bar
- Click on Blur in the drop down menu
- Click on Gaussian Blur in the fly out menu
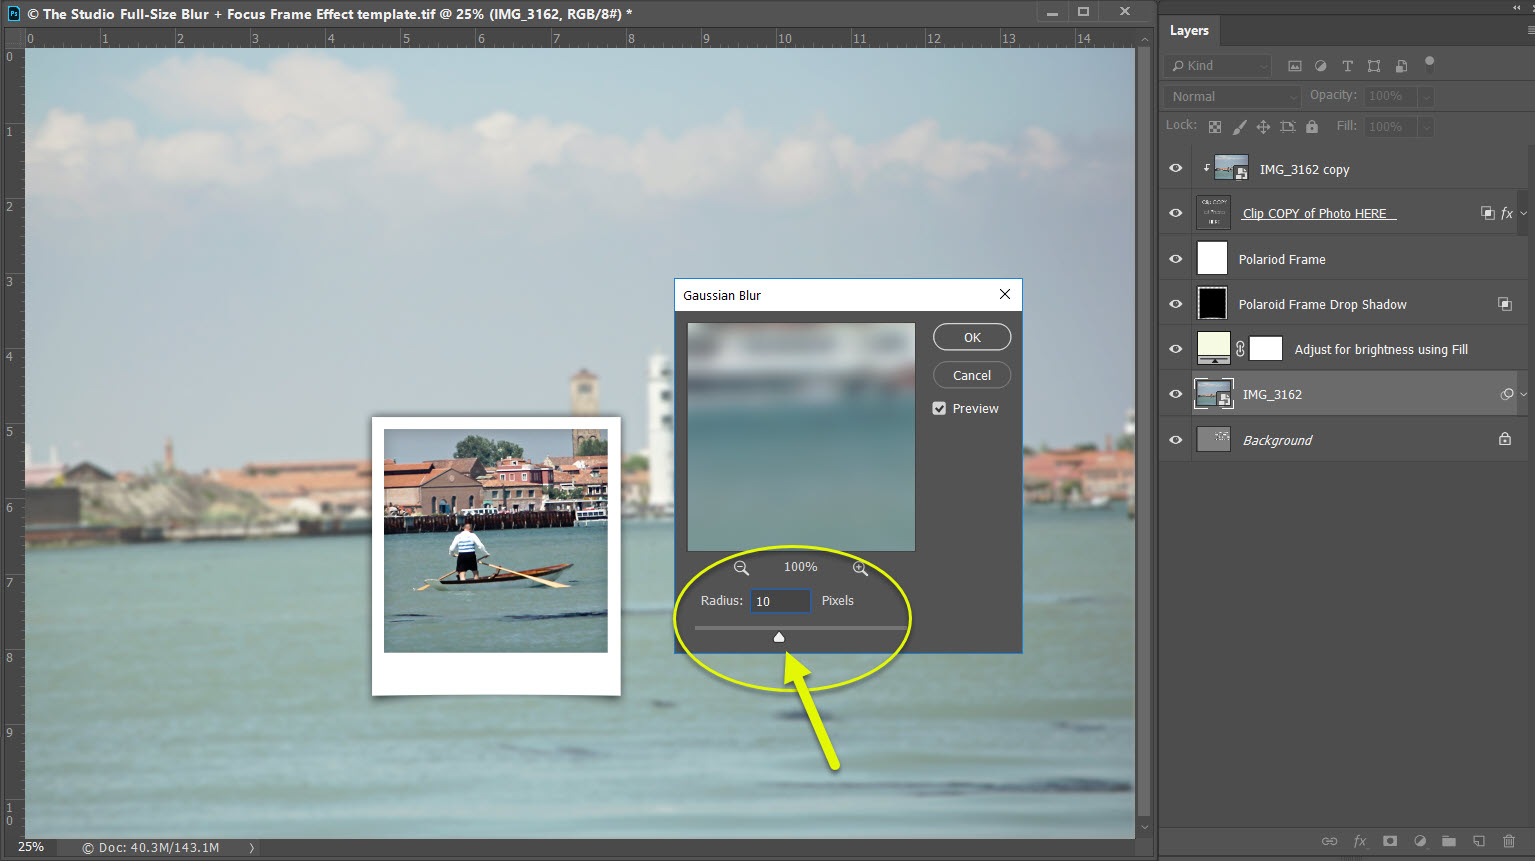
- A Gaussian Blur menu box will pop up. All you need to do is slide the slider to set the blur you desire. In general, I like a Radius of 10 pixels. Feel free to experiment. You will find your gaussian blur settings will change depending on your photo and it’s innate background blur. Click OK to accept your gaussian blur preference.
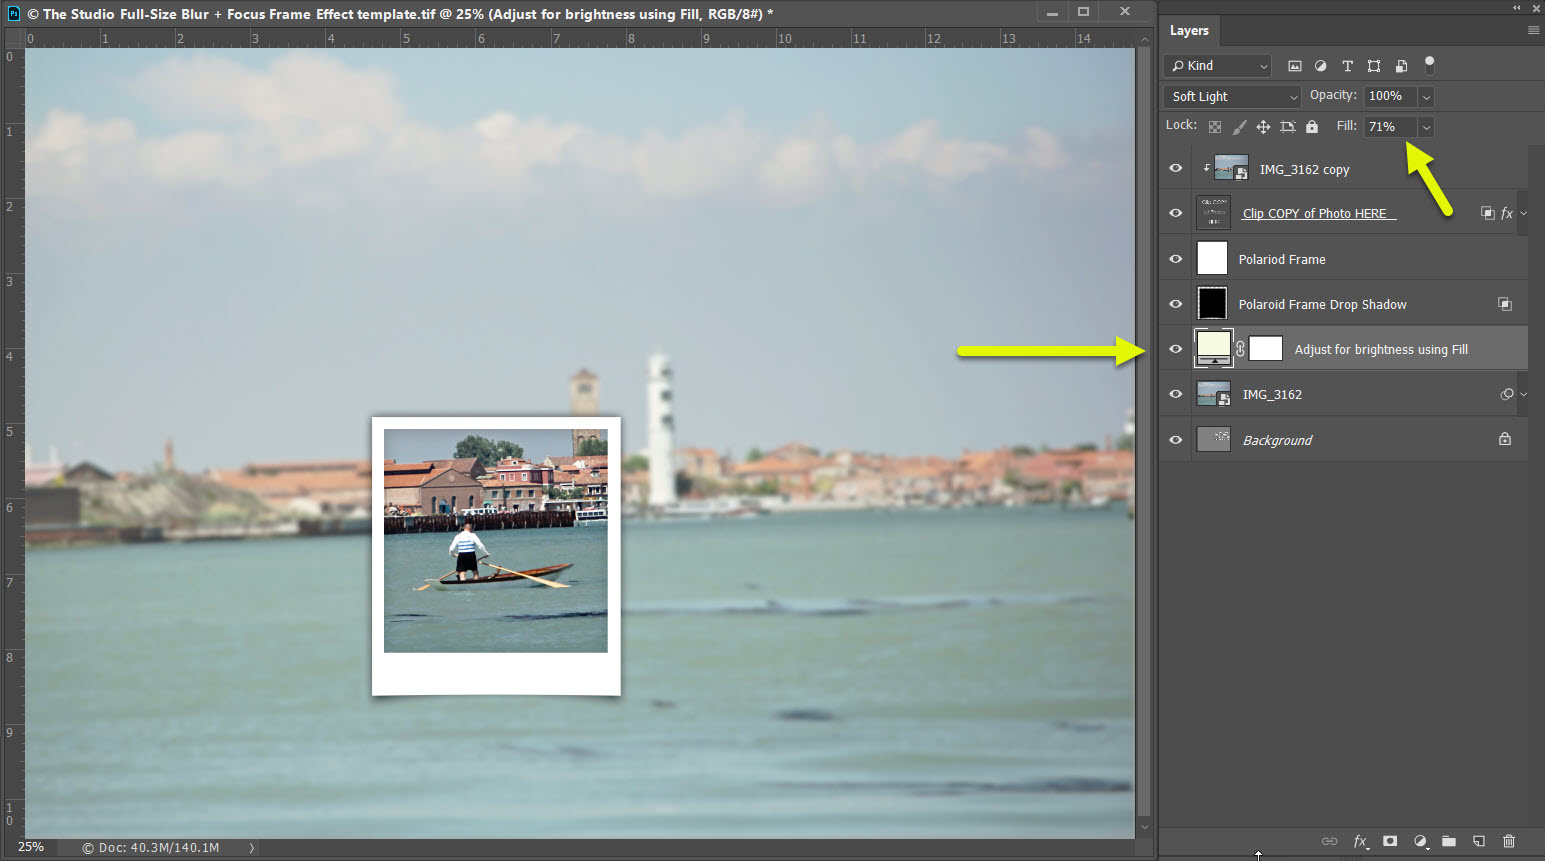
- There is only one thing left to do! I’ve included a Brightness Adjustment Layer for your original photo. Simply adjust the Fill slider to make it brighter or darker.
My photo & final result:
For: when you really want a memory remembered
Blur out the background & Focus on the memory!
That’s it! Have some fun with this & play away. You can download the free Blur + Focus Template freebie HERE:


The “in focus” area is SO much better with the frame, Thank you so much.
Has this freebie been removed? I tried to download it, but only got previews.
No, the zip file is linked to the preview image and the word “HERE”. Please try again?
Here is what downloads: Standard TOU pdf, images of the full-size blur and the web-size blur and a preview. I am confused. Other people have downloaded the template, so it must have been there. I’d really like to give this a try. I like your ideas very much!
What program are you using? These are TIF files only and they will appear as an image in your file explorer, but open as a layered file in photoshop and photoshop elements. I’m not sure how other graphic programs handle TIF files.
I am using Artisan 5 and I just learned something new! I didn’t realize that TIF files could be converted to PNGs. Now I can play with your template. Thank you!
Oh me too! Thanks for sharing that Diane.
I love this idea, I am self taught photoshop and digital scrapping, therefore always looking for new ideas -thank you from Christine – Queensland Australia
Thank you for this! I’ve used this effect a few times, but I’m sure it was a long and convoluted process to get there! Lol.
Way cool! Makes it so easy to move that frame around and get it exactly where you want it. Love it! Thanks much!
Hi Toiny,
Excellent tutorial and thank you for the template.
This is WAY cool. Can hardly wait to get to the computer and give it a try. Love the results shown. Looking at this on the phone!
I’ve used the blur technique before … but first I selected my subject & blurred the whole background. Using this frame template makes it so much easier!! I never thought of doing it this way … Thank, Toiny, for the tutorial & the template!!!
Thanks for the tut and the template!
Thanks I wonder if is possible to have png files, I don’t know to use TIFF files 🙁
I am so glad you like the template! Unfortunately, I have limited time to create free resources. Thank you for your interest.
this sounds fun, T, I have to give it a go. Mahalo!
awesome, thank you!
Thank you so much for this tutorial.