
Today it’s all about the drop shadow. Drop shadows are a given in digital scrapbooking. They are a versatile tool in digital scrapbooking that can significantly enhance the depth, focus, aesthetic appeal, context, and interactivity of your work. When used thoughtfully, they contribute to a more engaging and effective visual experience. In fact, they are so important we’ve got lots of tutorials on our site already:
- Quick Tip Elements: Drop Shadow
- Elements: Adding Shadows
- Adding Drop Shadows in Procreate
- Light & Bright Drop-Shadow Tutorial
So why another Drop-Shadow tutorial? Because. This one gives even more dimension to your page. This one helps you make all those adorable balloons, wings, clouds, etc. fly-away off the page.
I’m going to do two quick versions. One is for the photoshop & elements users, and one is for all the other programs. Obviously I don’t know all the buttons & commands for all the other programs, but these are basic actions you can take in any photo editing program.
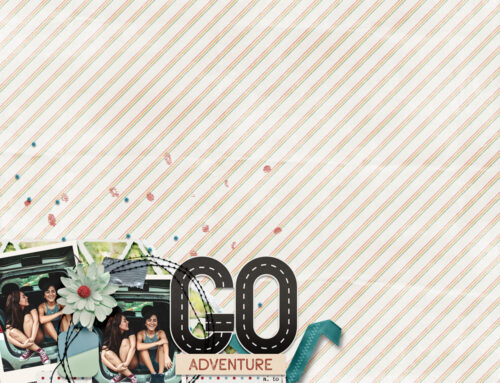
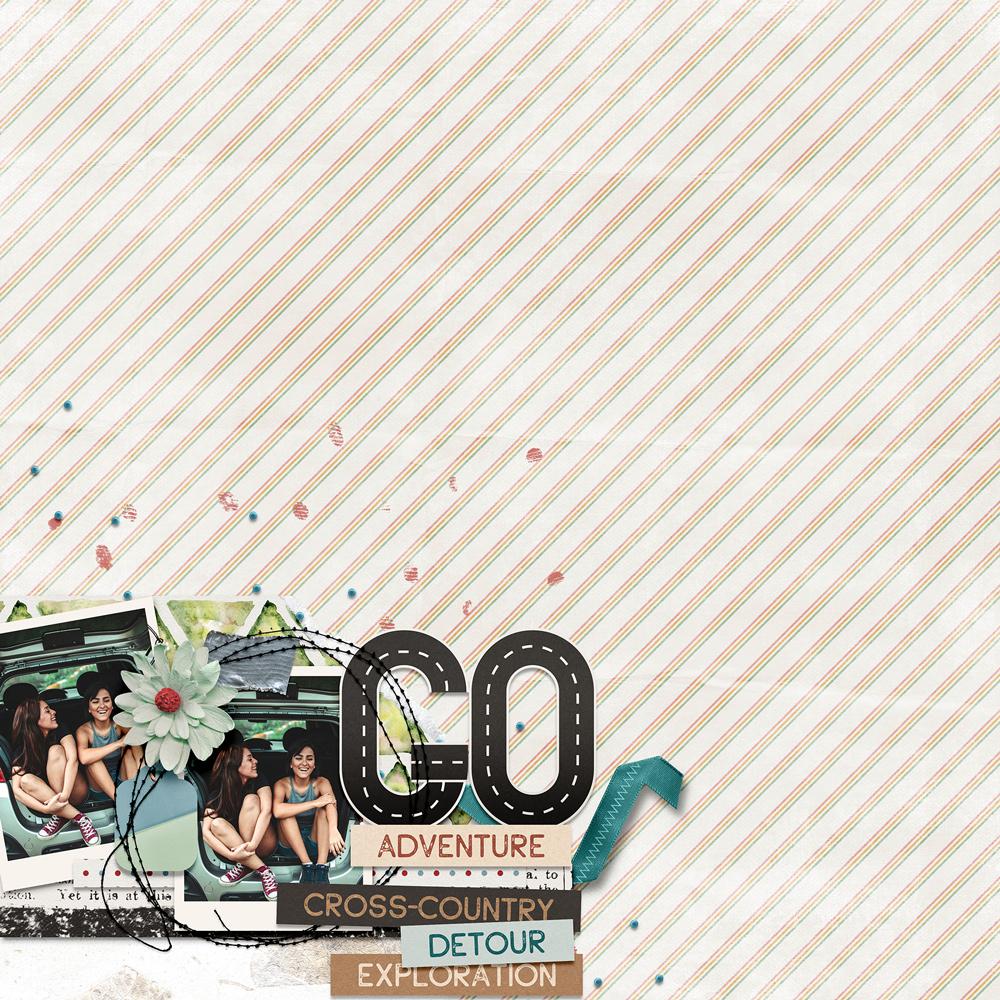
You can use any background. Any element. I’m using a paper & a background given away as prizes in our current LAD: Big Moments. You can also buy them in our store of course:
- The paper is from: Big Moments Mini by Schwarzwald Design
- The elements is from: Big Moments Mini Kit by Chere Kaye Designs
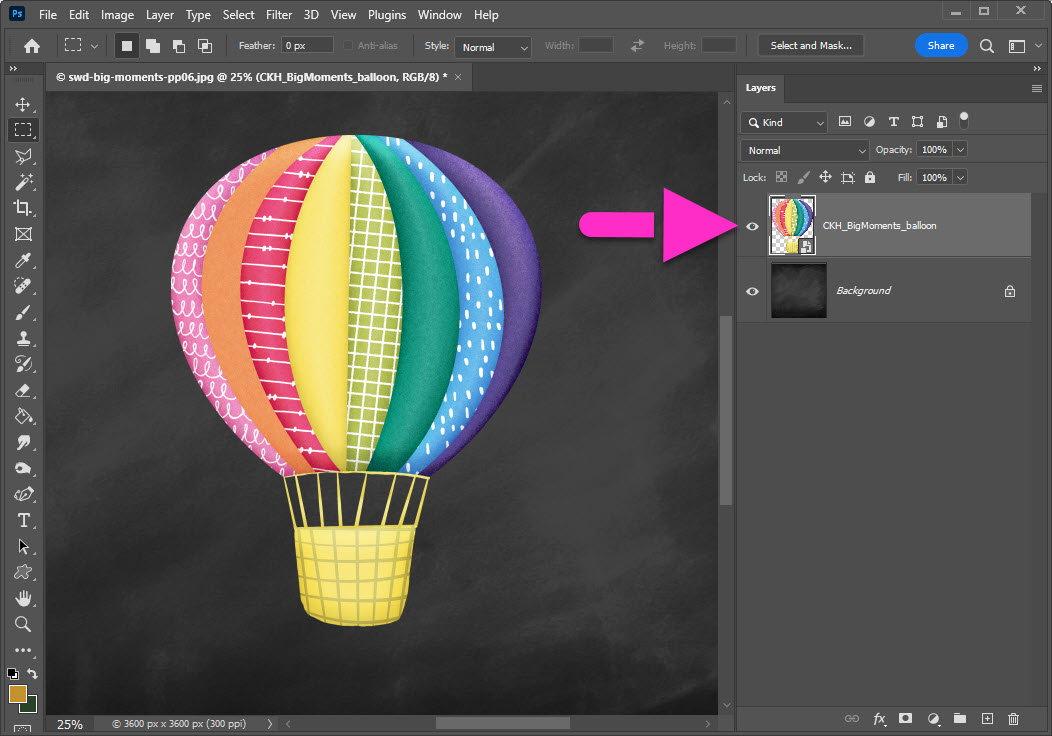
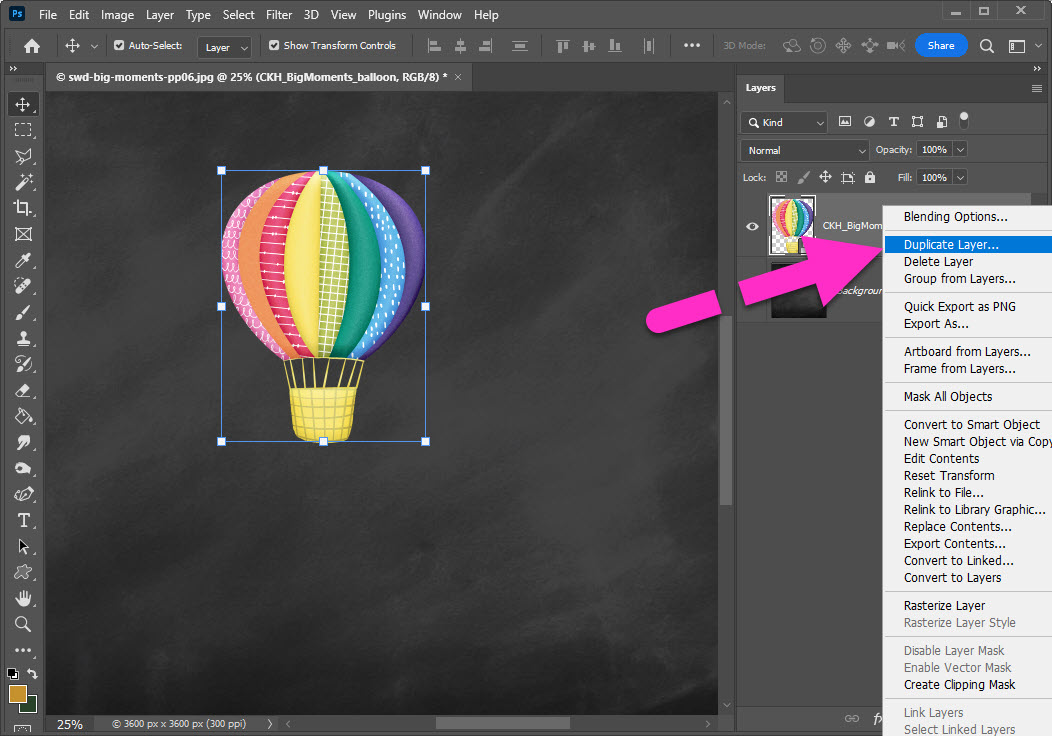
Making sure you are on the element (I’ve shrunk mine down a little for better visuals), create a copy or duplicate of your element.
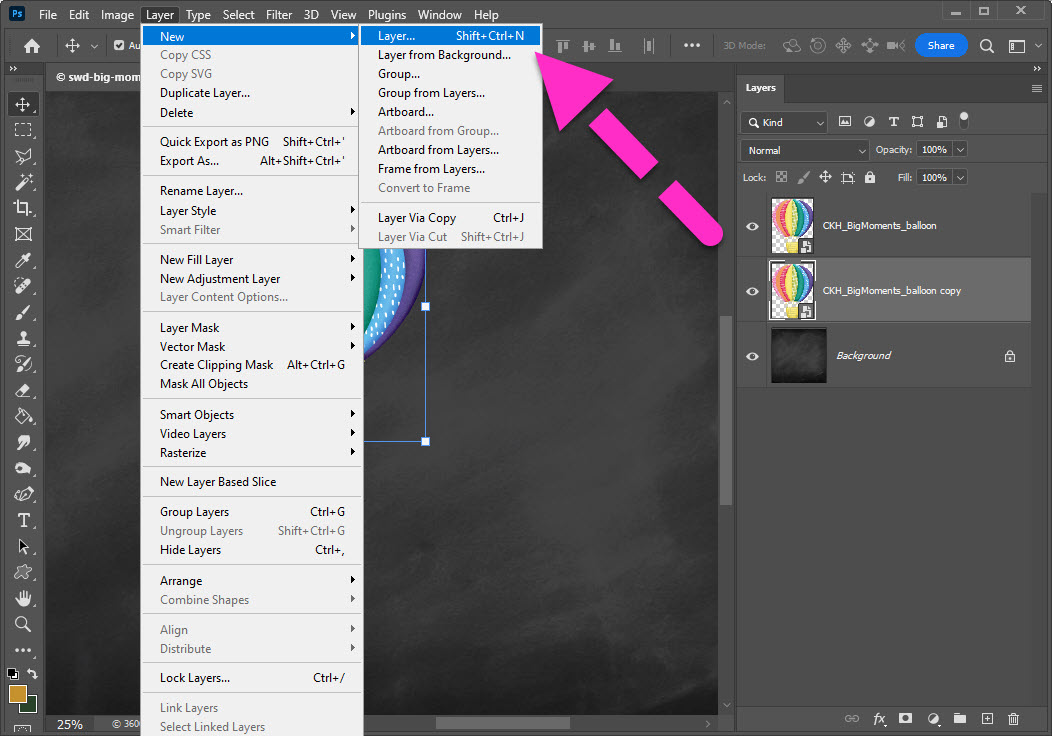
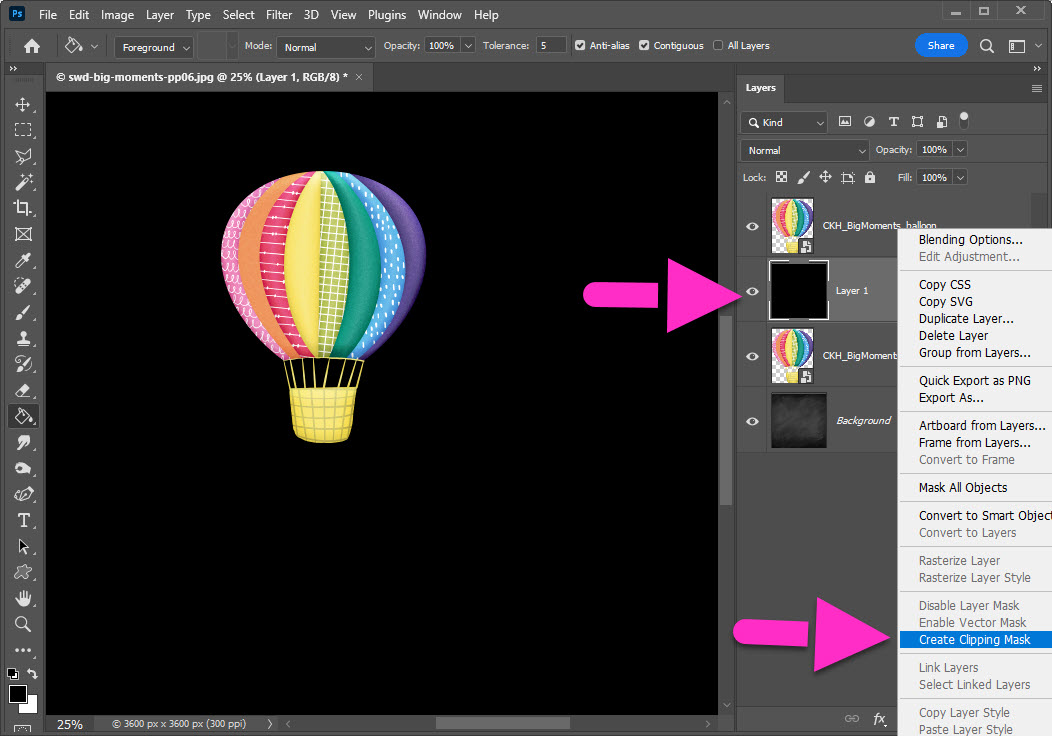
We need to color this copy black. There are many ways to do this in all the programs available. I’m going to do it using a basic clipping mask technique. Our first step is to create a plain, black, layer above our element copy.
- Create a new layer
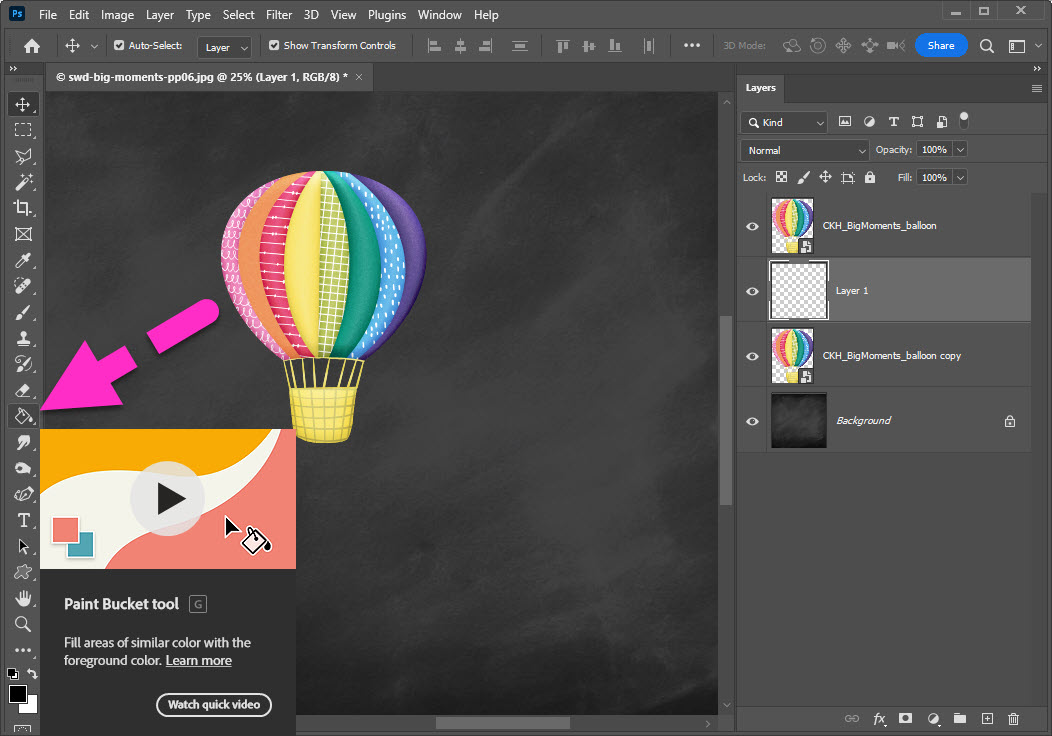
Make sure you are on the New Layer (layer 1), fill layer 1 with black.
- I used the Paint Bucket Tool to do this.
Now create a simple Clipping Mask to turn your element copy black.
To create a realistic drop shadow, we need to add a blur. This is much easier with a single element.
- Merge both your copy and your layer 1 (fill layer)
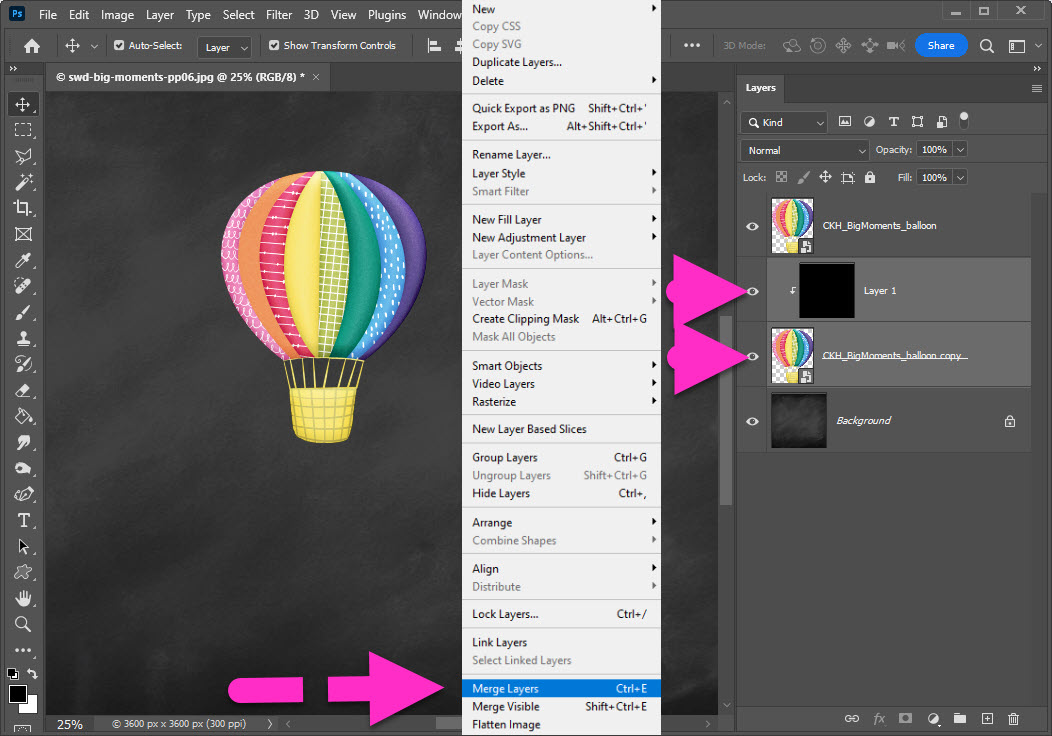
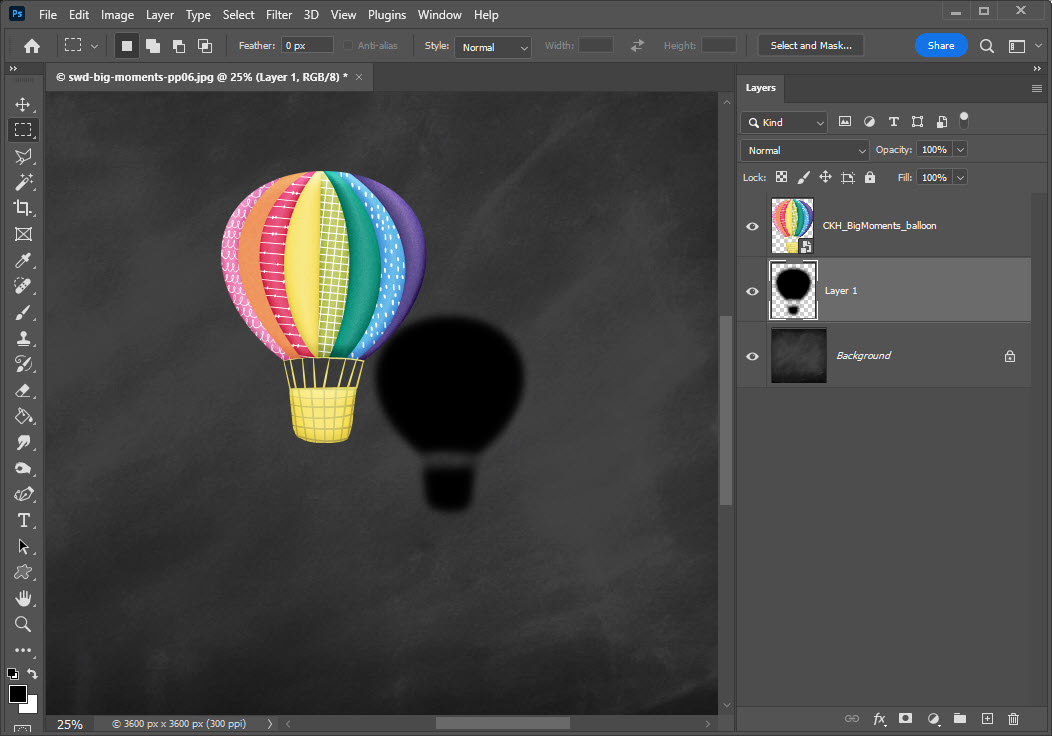
I’ve temporarily turned off the original element layer so you can see the new, all-black, merged copy.
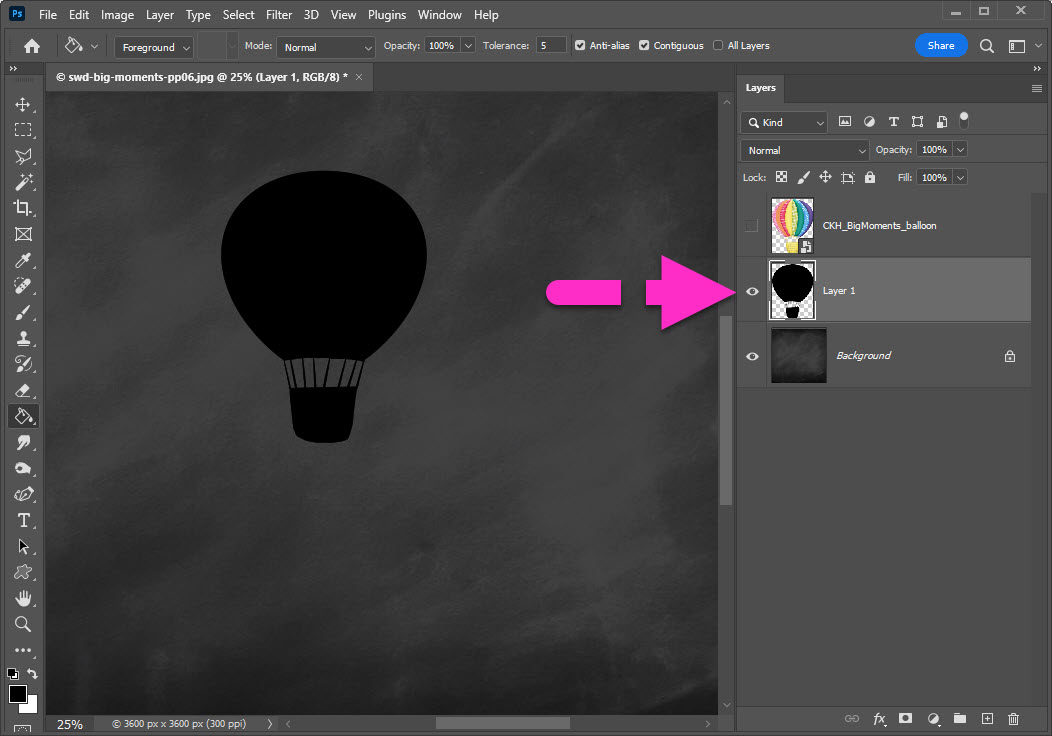
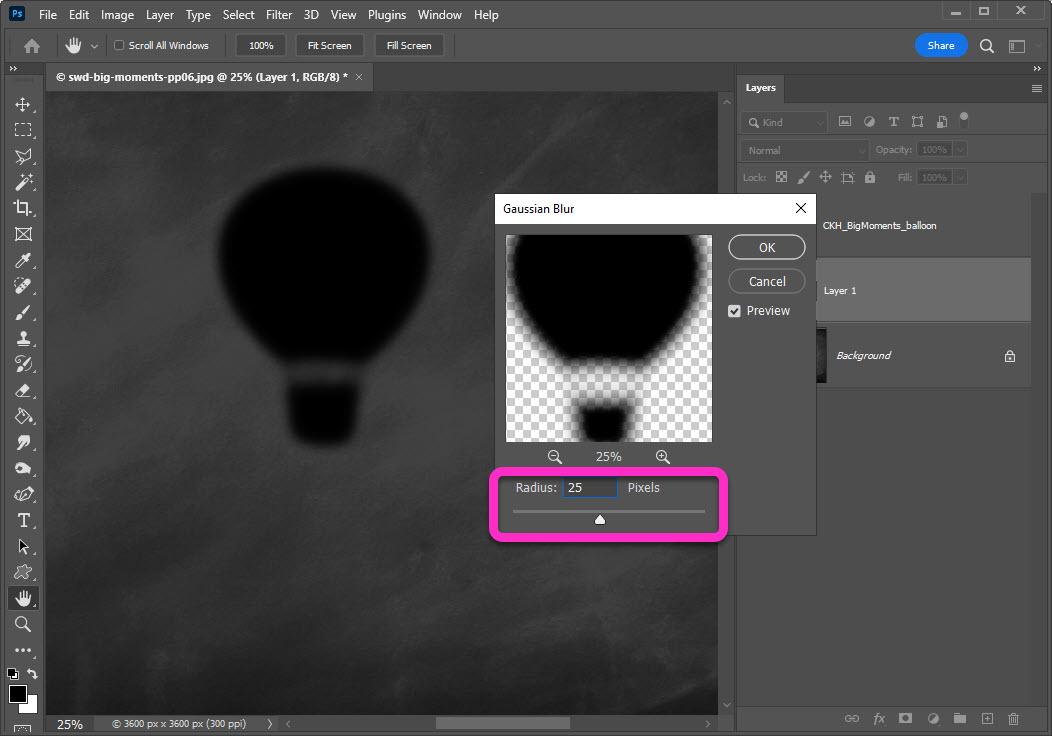
There are just two steps left! Hang in there. First, we need to add a Blur to layer 1.
- I’m adding a Gaussian Blur
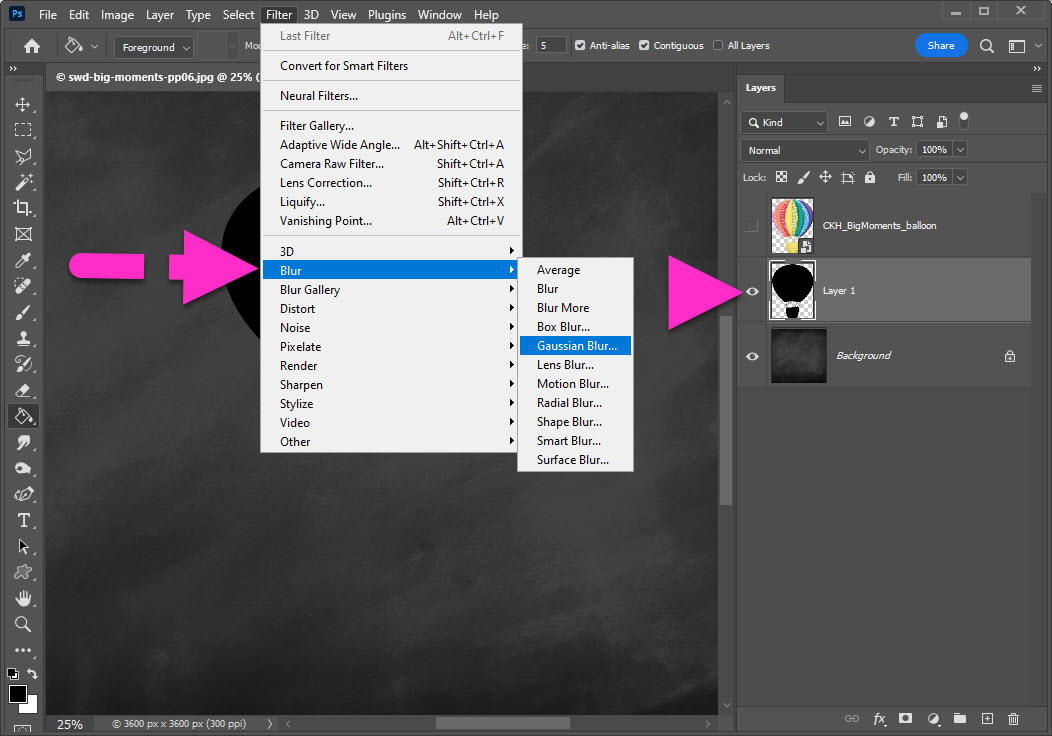
You can blur as much, or as little, as you like.
- I’ve added a 25 pixel blur
I turned the original element layer back on, and you can see the layer 1 poking out from behind.
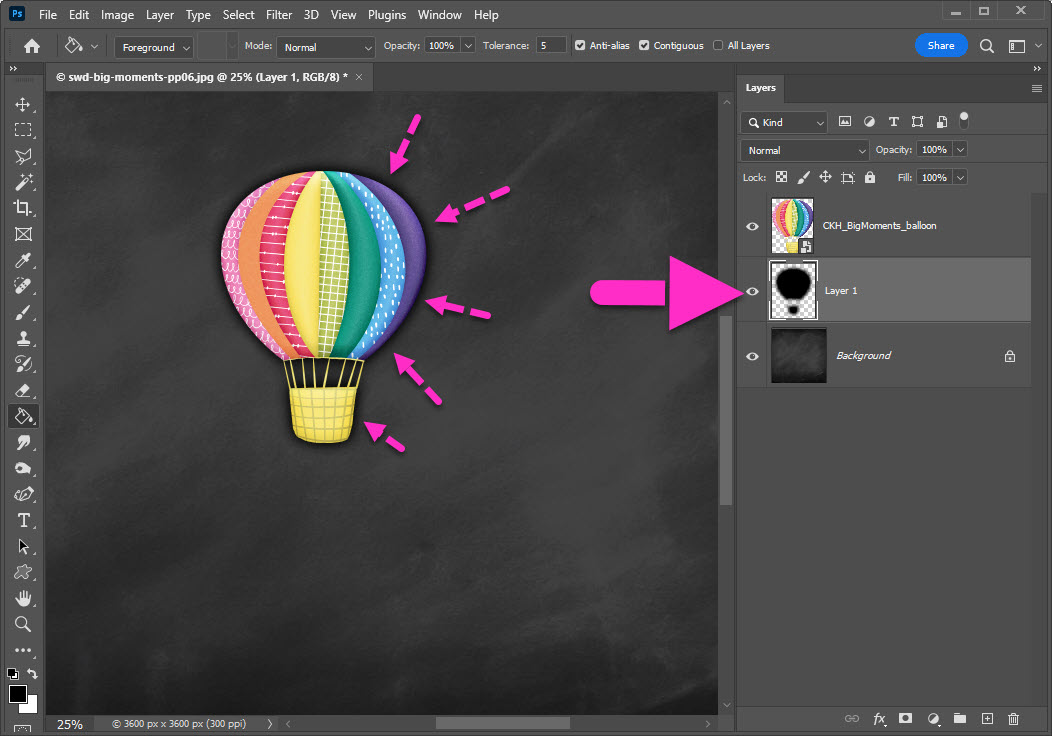
As the last step use the Move Tool to move your layer 1 anywhere that looks good. Make it look like your element is flying away off the page.
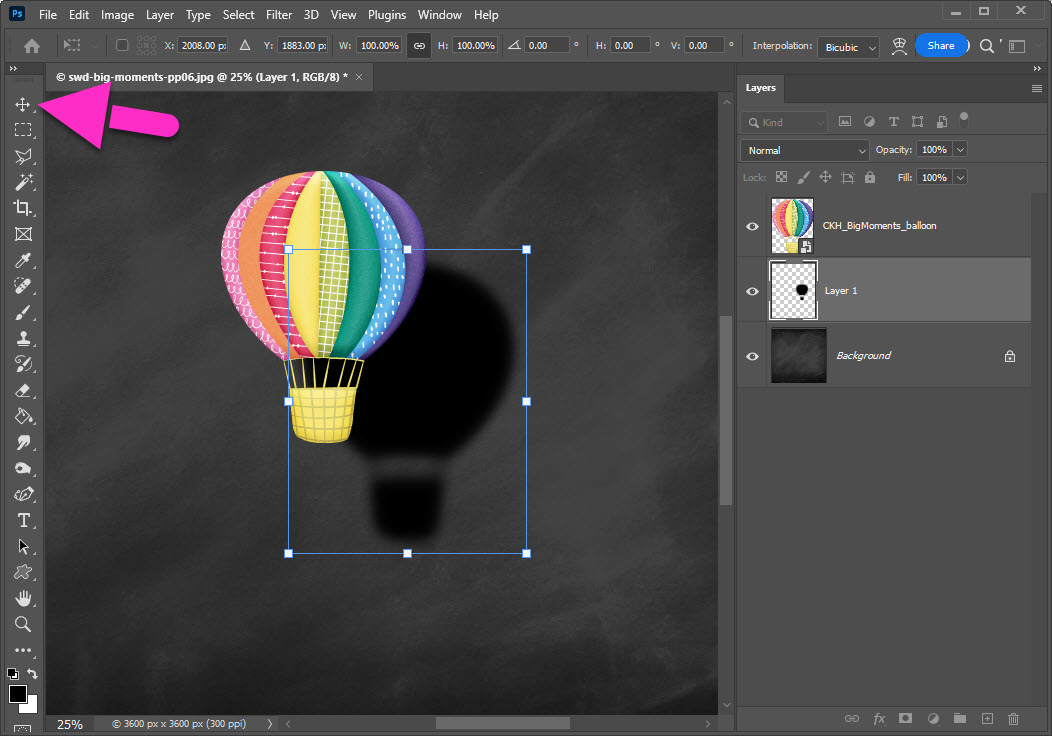
One last little trick, with the Move Tool still selected, RESIZE your layer 1.
- I’ve resized my layer 1 down to 70%
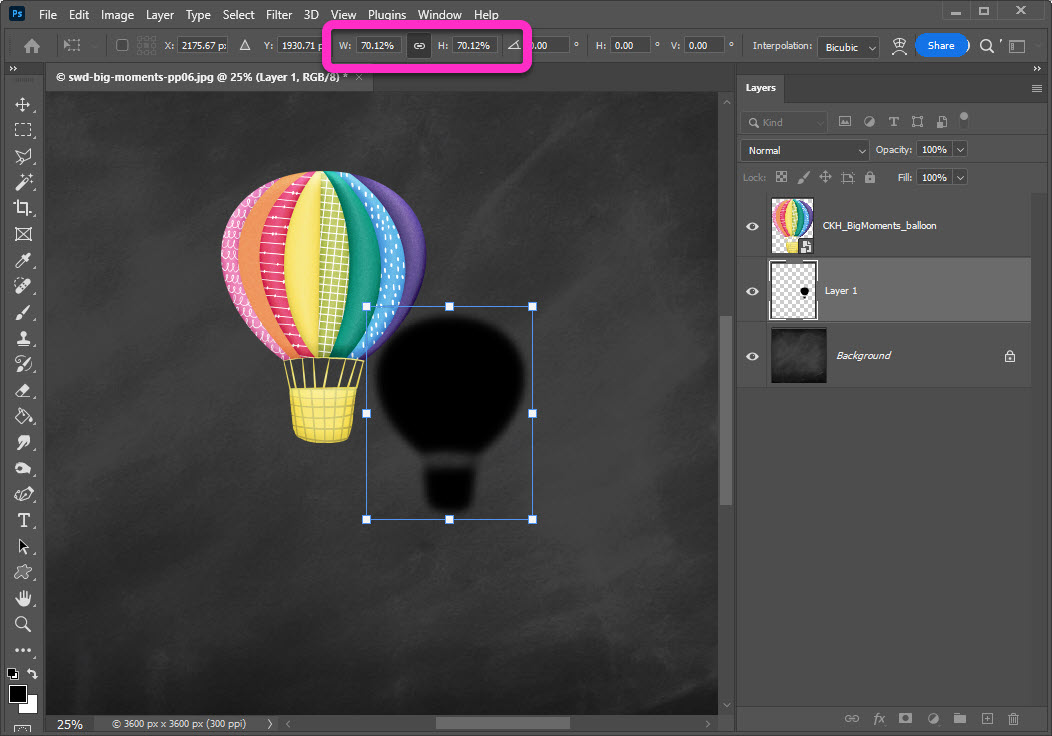
The smaller layer 1 adds even more dimension and realism to help your element fly-away off the page. Give it a go!
If you are a Photoshop or Elements user, this is even quicker & easier in my favorite programs!
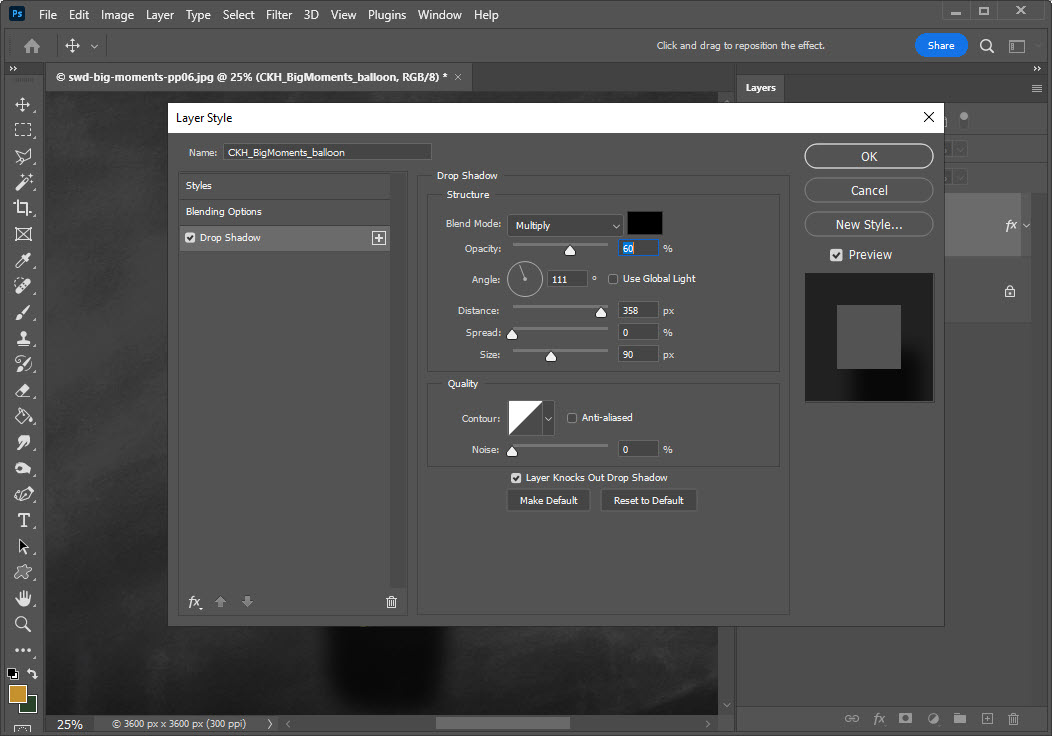
ADD A LAYER STYLE
- Click on the Layer Style icon
- Click on Drop Shadow
- My settings:
- Blend Mode = Multiply
- Color = Black Hex #000000
- Angle = 111°
- Distance = 358 px
- Size = 90 px
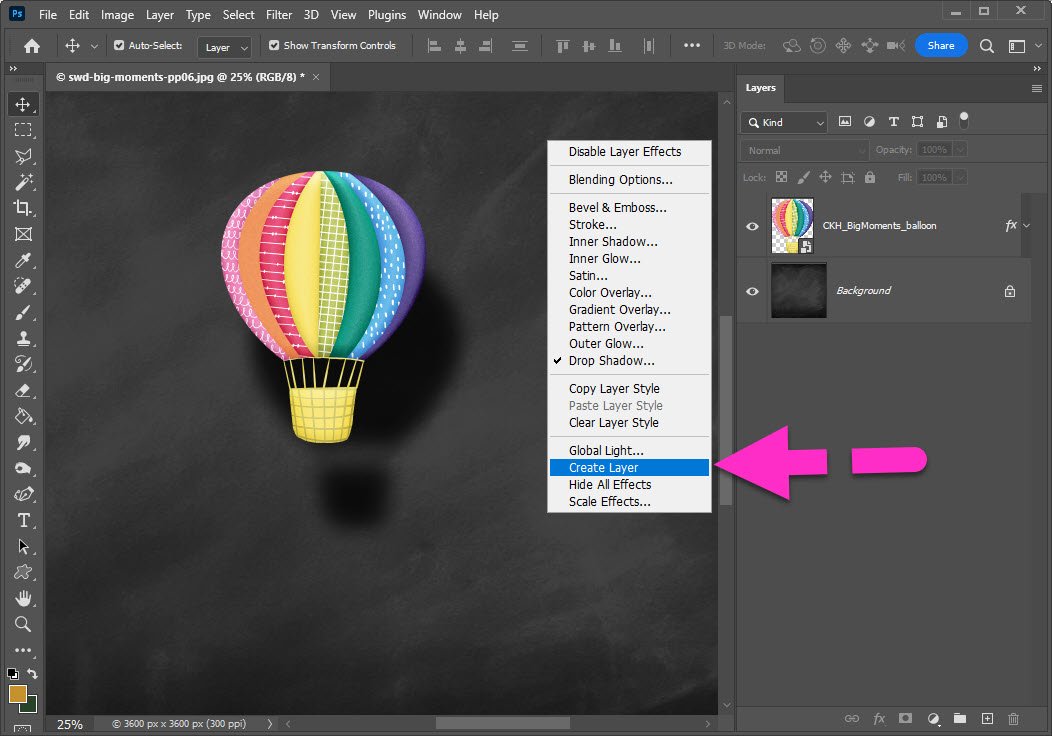
To make the drop shadow even more realistic, create a new layer from your drop shadow style.
- Right-click to access the pop-up menu
- Choose Create Layer
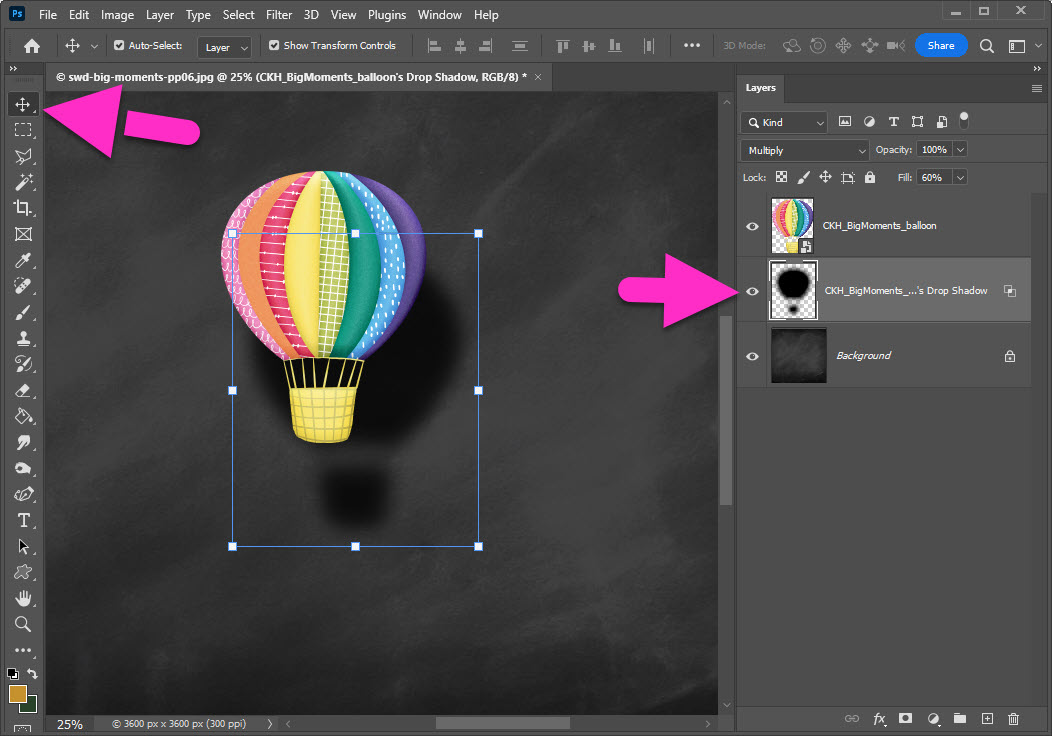
You now have a new layer: CKH_BigMoments_balloon’s Drop Shadow
- Make sure you are on the CKH_BigMoments_balloon’s Drop Shadow layer
- Click on the Move Tool
Either use the Transform Controls in the Options Bar or manually resize using the bounding box:
- Click on the bounding box surrounding the selected layer.
- Drag to Resize
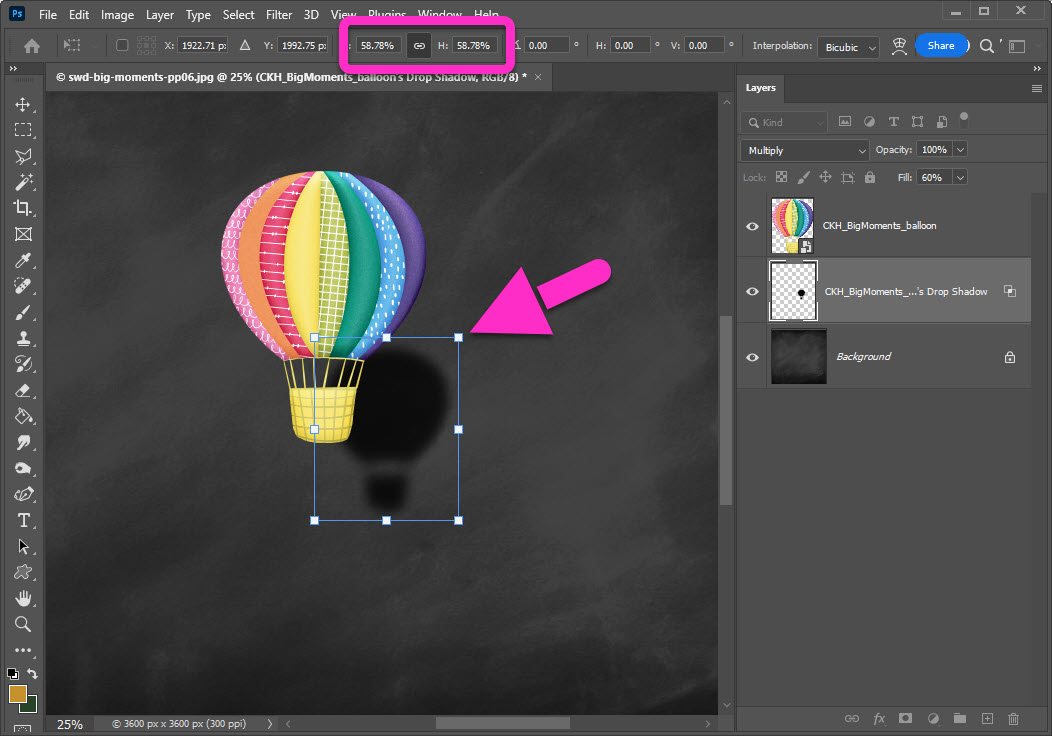
That’s it! Give it a go & show off your creativity in our LAD: Big Moments.


Leave A Comment