Today we’re going to have a little fun with Page Borders. Lots of Designers include these in their bundles, or as add-on packs. Most of us love adding them to our pages. We like to clip a paper, or add a layer style (color burn, linear burn, soft light, etc.) but did you know you can also make them disappear?
Are you scratching your head? Wondering if I woke up with my brain a little addled today? Maybe, LOL, but that’s not what is happening here. I’m not talking about adding in a Page Border, and then making it disappear completely. Because. Then what would be the point? Instead I’m talking about adding a Page Border and then having the pixels in the layer underneath disappear too.
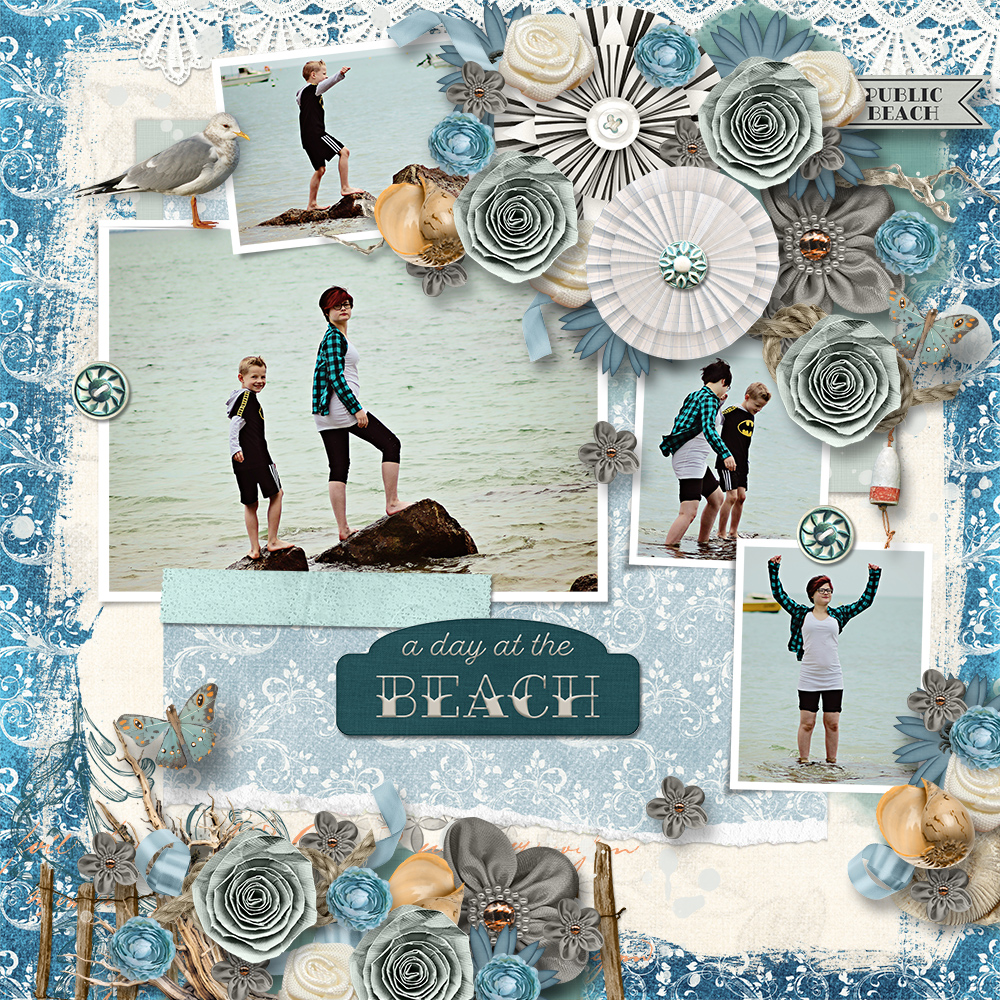
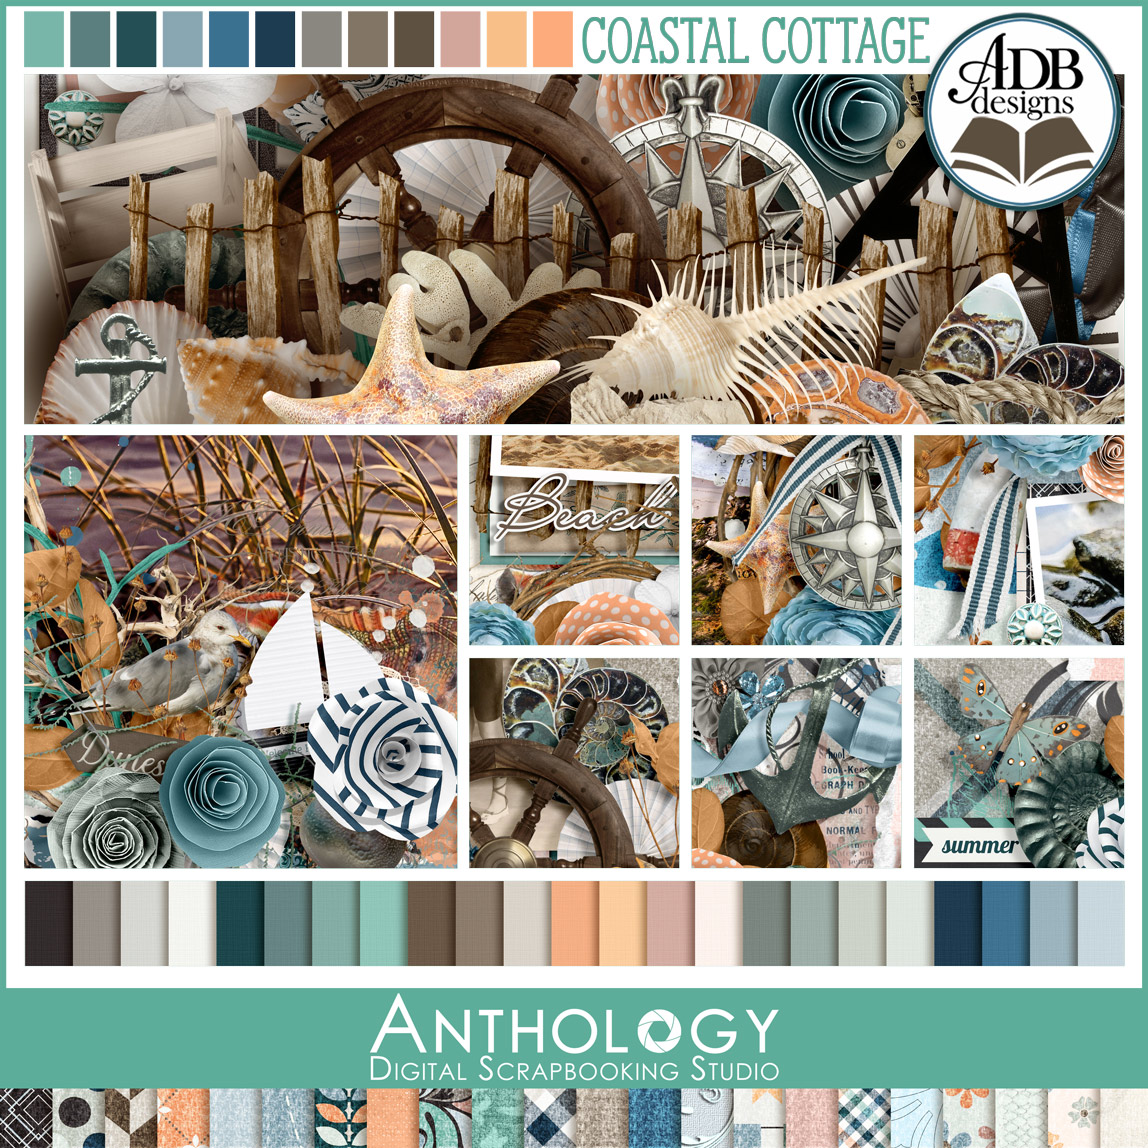
Confused? That’s okay! I’ll explain and it’s really easy & really fun. Let’s start with one of my favorite layouts I scrapped for our July Anthology: Coastal Cottage by Diane (ADB Designs). I used a template by Bryony (Heartstrings Scrap Art) that is one of the optional add-on’s (you must be subscribed to Anthology to get this template in July). I really love how the whole layout just came together:
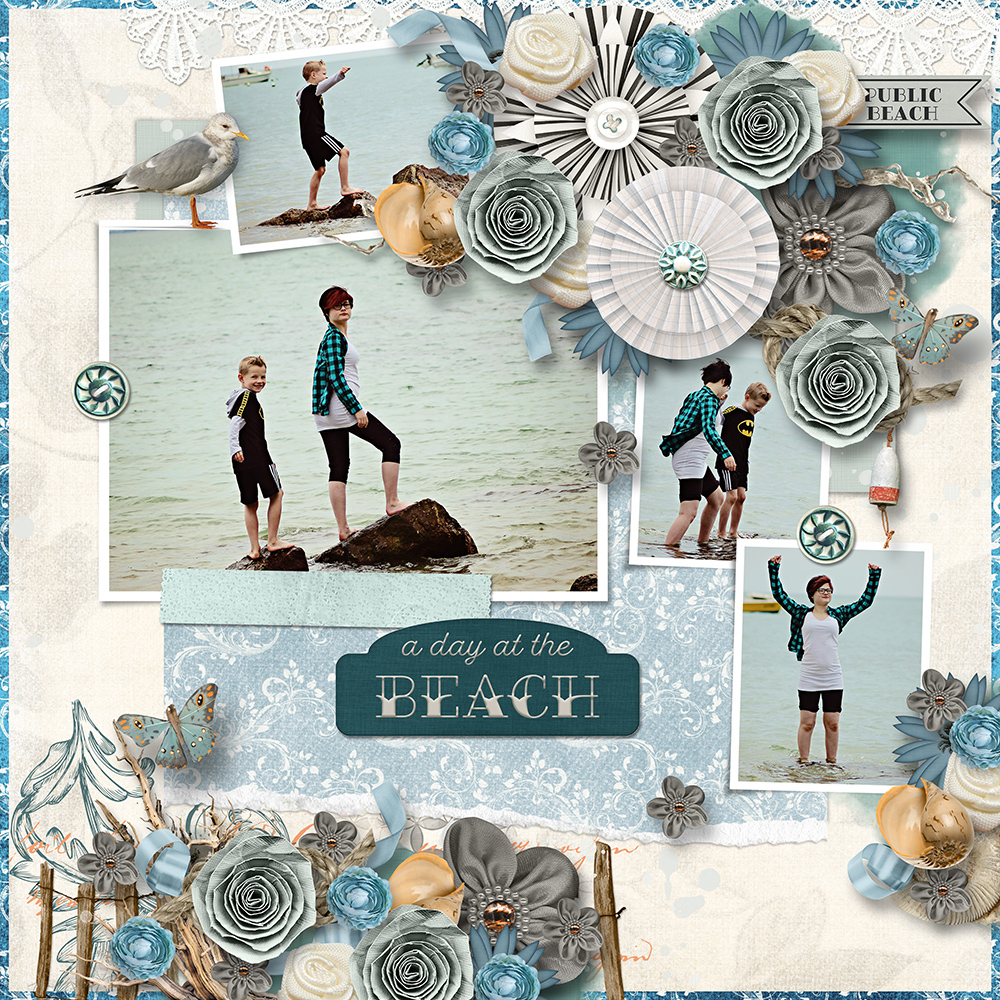
My only twinge of regret was the tiny bit of border. It looks fabulous. It’s a wonderful way to edge a layout. But. I love that paper peeking out! It’s a gorgeous paper! I would love to see more. And we can, quickly & easily using a Page Border.
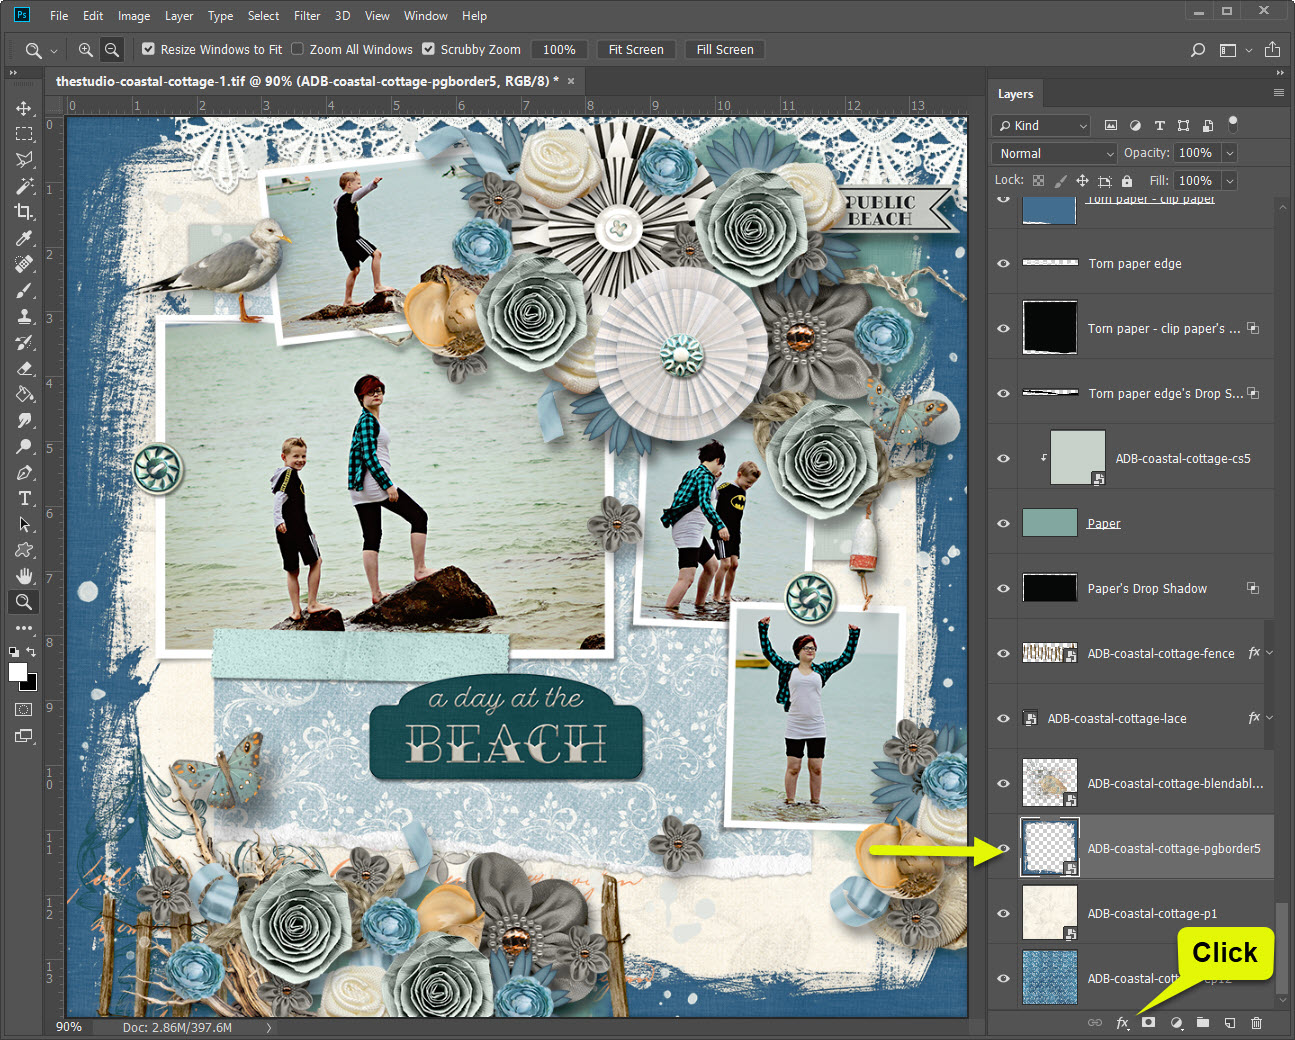
- I choose one of the Page Borders that Diane include in her Anthology and dragged it into my layered layout file above both background papers:
- Click on the layer palette icon and choose Blending Options. Set your Blending Options to:
- Fill Opacity = 0%
- Knockout = Deep
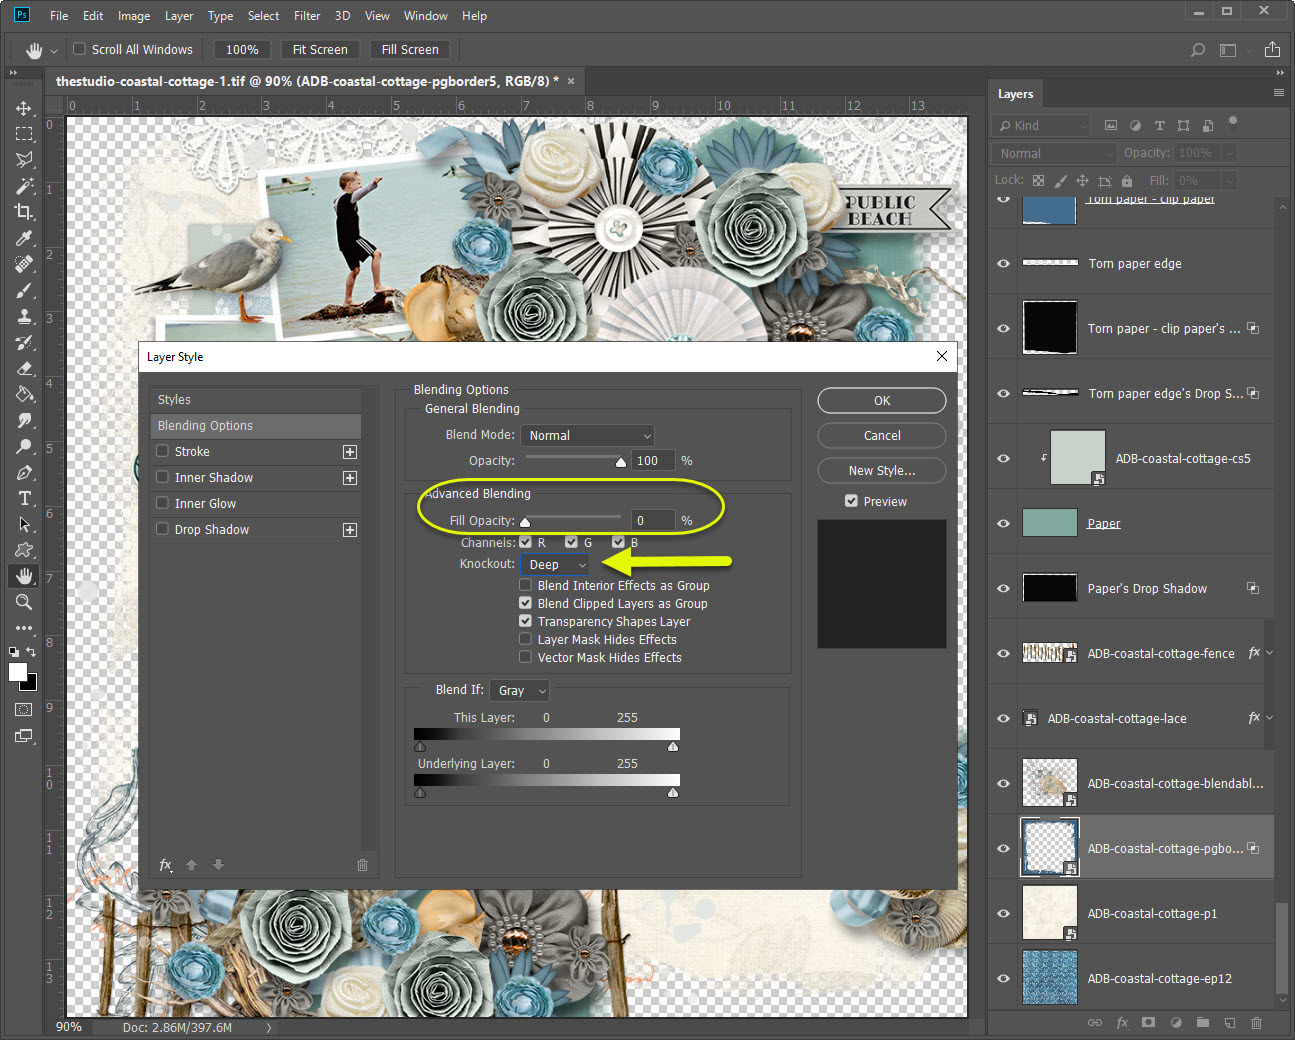
This renders your Page Borders pixels completely transparent, as well as every layer underneath (except for the Background layer, if you have one). To apply the now-transparent Page Border to only one layer, in this case my main background paper, simply apply a clipping mask.
To apply a Clipping Mask:
- Select both the background paper and the Page Border
- Right-click and a menu will pop-up
- Click on Create Clipping Mask

And that’s it! With the Clipping Mask in place the Page Border transparency affects only the one paper in the Clipping Mask. Your background paper is free to shine through.
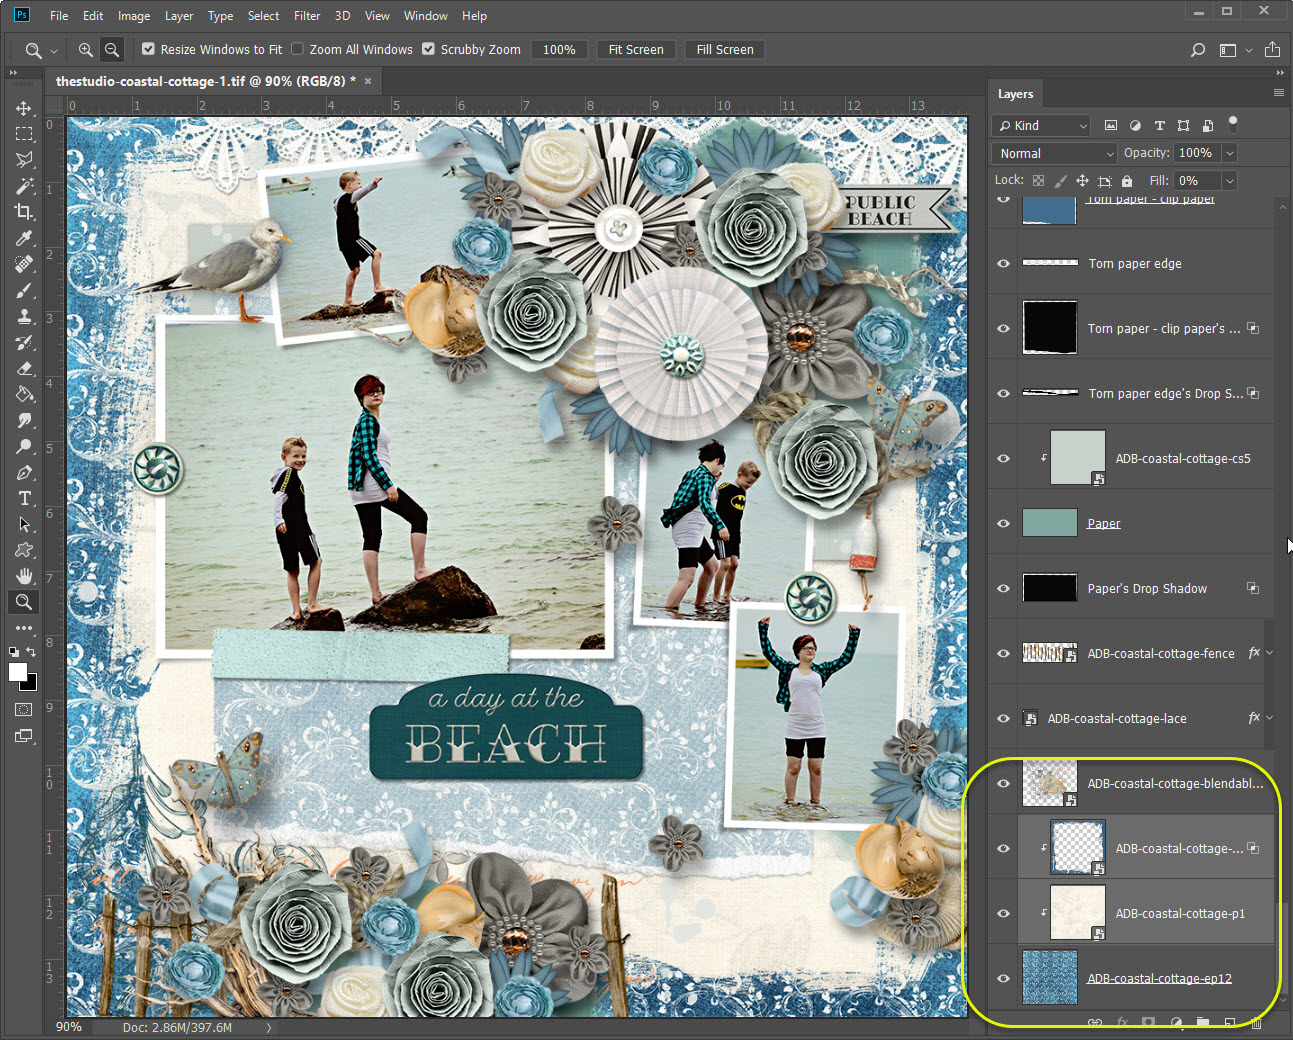
My new layout, with a bigger border:
This technique can be used in many different ways. Don’t let just this one example slow you down! You can now manipulate the paper underneath. Add layers styles & effects, drop shadows, and so much more. Have fun! I recommend you checkout all of Diane’s fabulous Page Borders to really have a blast creating your layouts.
Note: The knockout style I used on the Page Border is available as a free Photoshop Layer Style download in our Forum: https://www.digitalscrapbookingstudio.com/community/files/file/210-the-studio-knockout-style/
I wrote a previous tutorial on how to use the Knockout Style for Quickpages
Our July Anthology: Coastal Cottage is available to all subscribers for only $9.99 a month until July 28th.


Thanks for the useful tut!
Love this idea and will look for ways to use it in my layouts
[…] Supplies: Photoshop CS (but doable in any editing program that allows clipping masks)Note: For detailed how-to on clipping masks read: Tutorial: Using Knockout for Borders […]
I really like this. What is the name of the font you used for the Beach?
the font I used is Fairwater Sailor Sans – it is a part of a group of related fonts called Fairwater.- it is a purchased Commercial Use font and available several places for purchase.