Creating a Light Vignette using Dodge and Burn tool= in a non-destructive way! by PapierStudio Silke
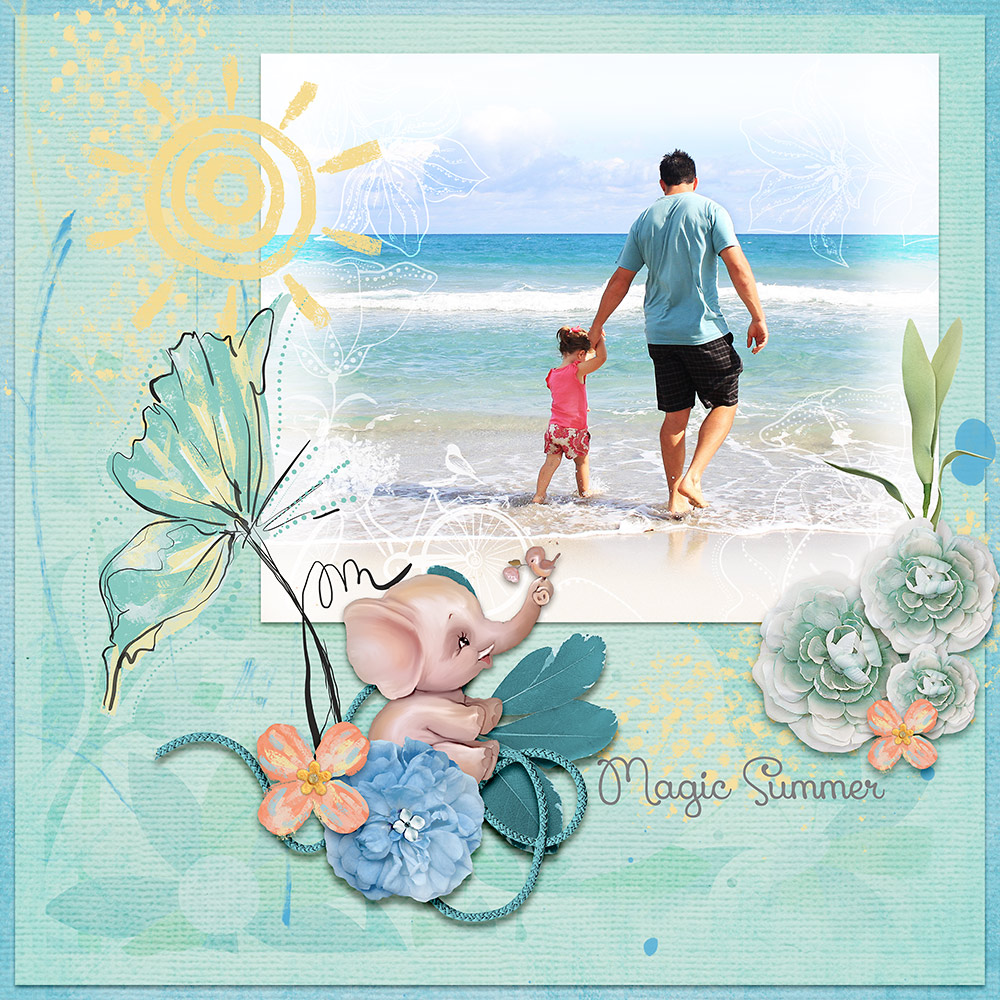
Begin by opening any photo.
- Add a new layer above the photo and fill it with 50% black.
- Set this gray layer to Overlay.

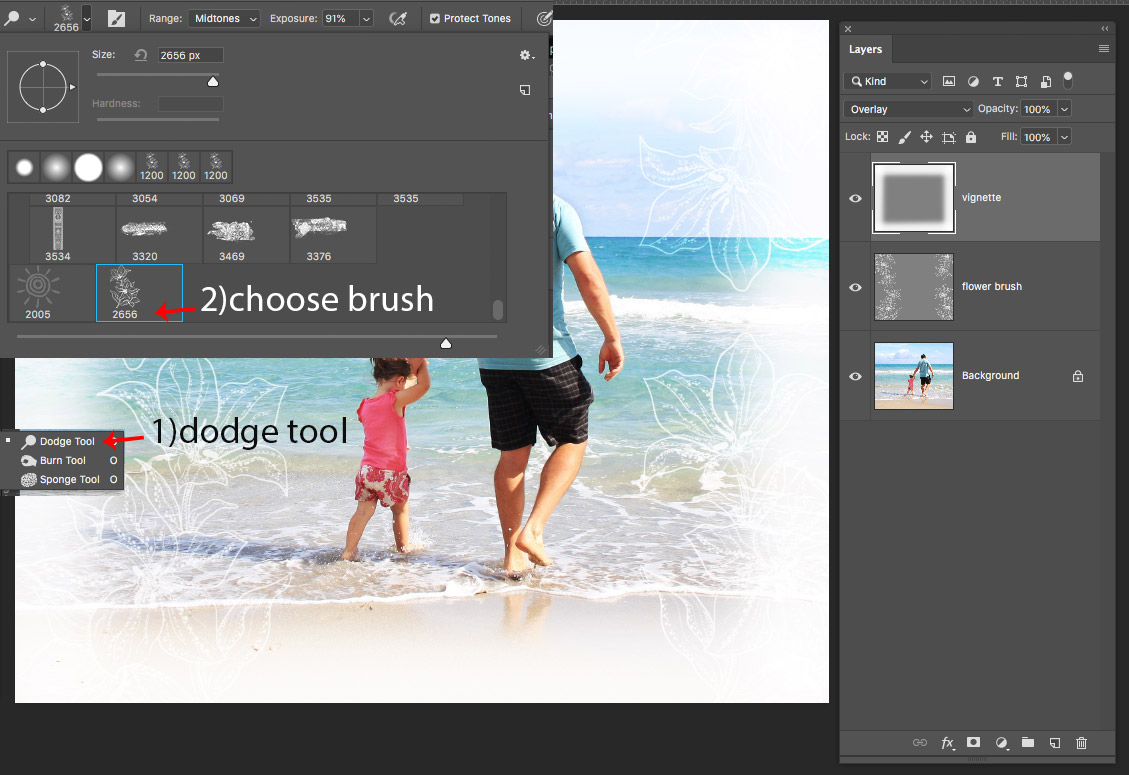
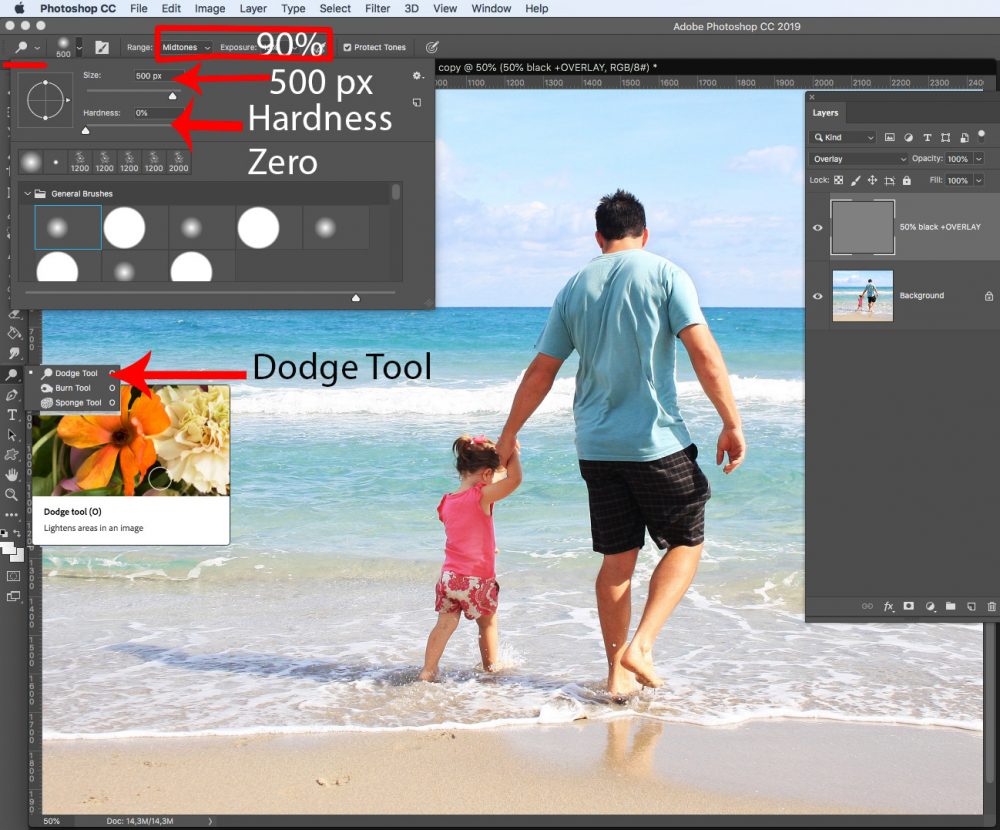
- Choose the DODGE TOOL to easily create a lighter vignette.
- Choose a soft round brush, zero hardness , sized around 500 pixels (this depends on the size of your image and how large you want the borders)
- Set the range to Midtones, and Exposure to 91%.
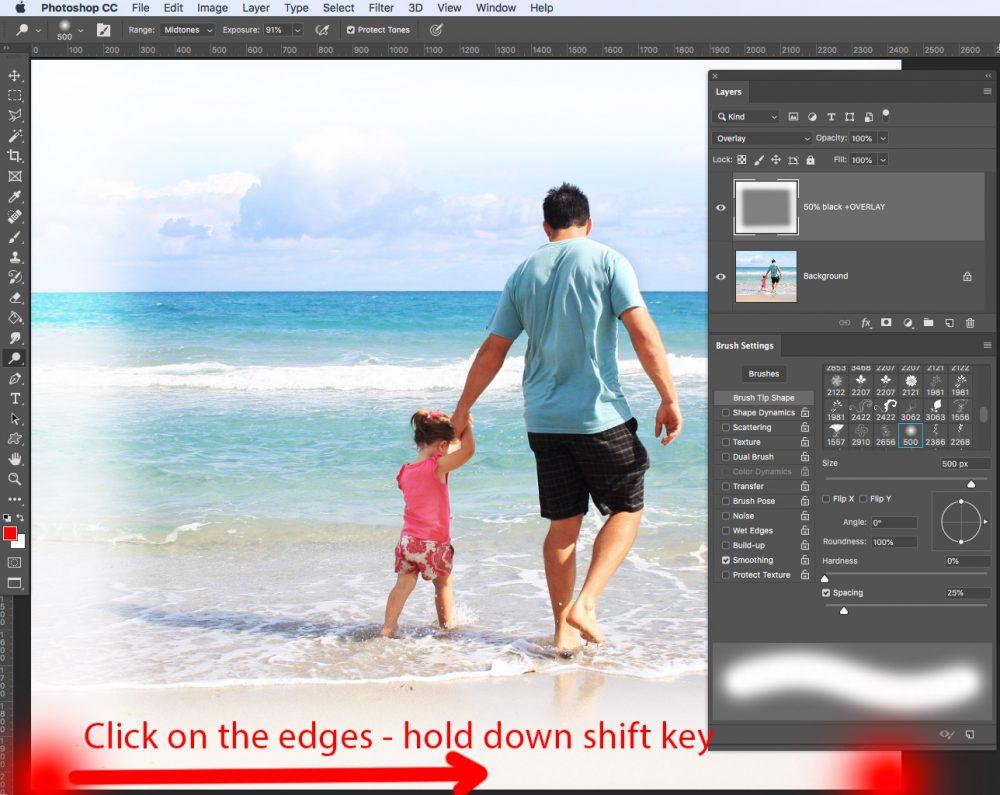
- Click on the first edge with this round soft brush
- Hold down the shift key;
- Click on the next edge (do not release the shift key); and
- Click on the 3rd edge and then on the 4th and then back to the 1st edge
- Now you can release the shift key!
- Repeat this 2 or 3 times, depending on your image
This will create the light vignette effect!
Let’s play a little more.
- Create a new gray layer. (Add a new layer and fill it with 50% black).
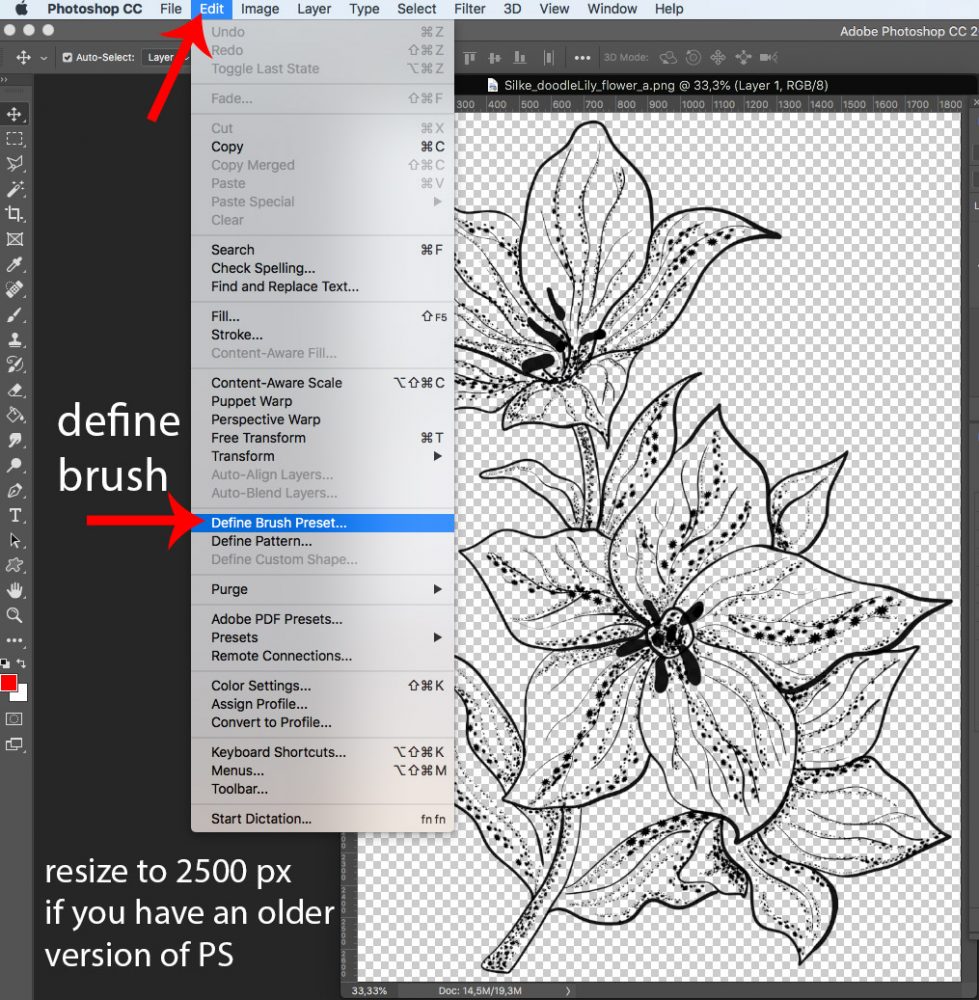
- Download my freebie doodle flower and open it.
- Go to Edit > Define Brush Preset.
We will use this brush (or any other doodle or your choice) to lighten areas of the image with the dodge tool.
- Click on the DODGE TOOL
- Choose the doodle flower brush that you have just created
- Stroke with the brush on your image!
- Ready!

Since this is a non-destructive way of creating effects on a photo or paper, you can always go back to create a new layer with 50% black fill and set it to overlay.
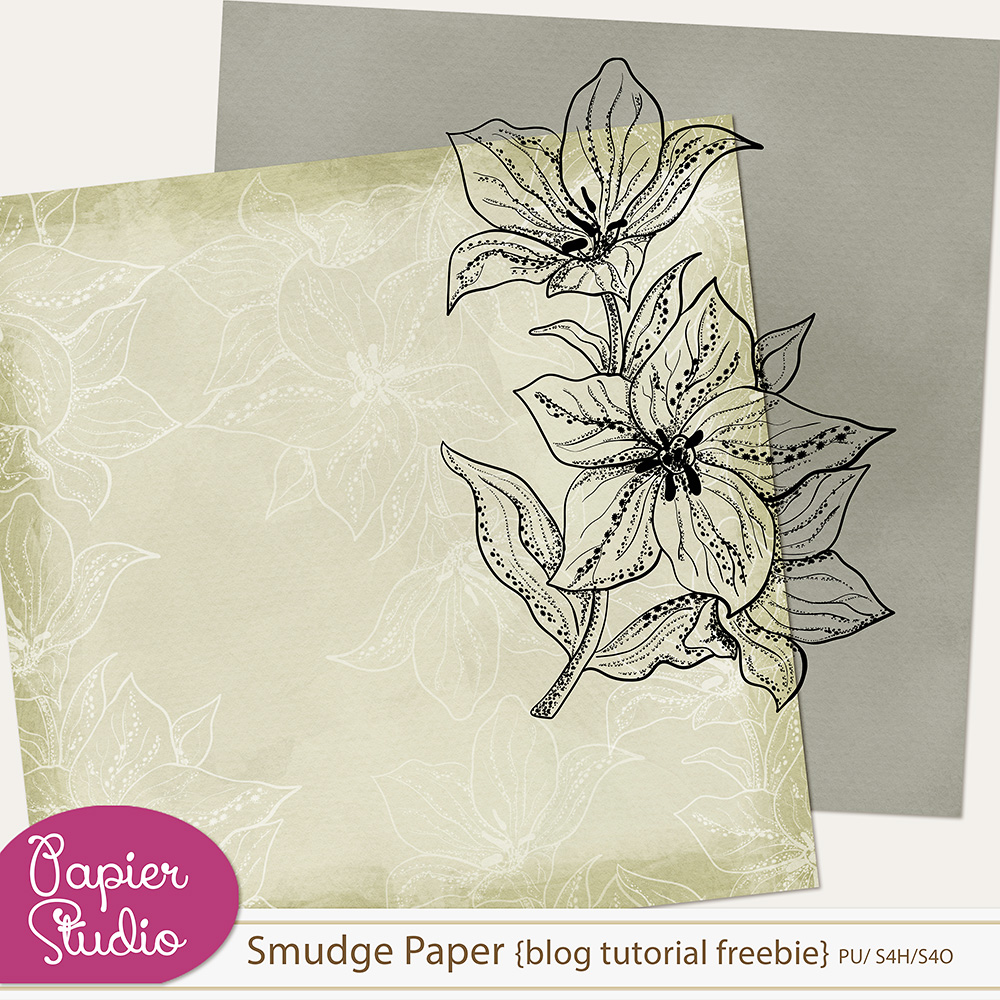
Download my freebie here below the preview.
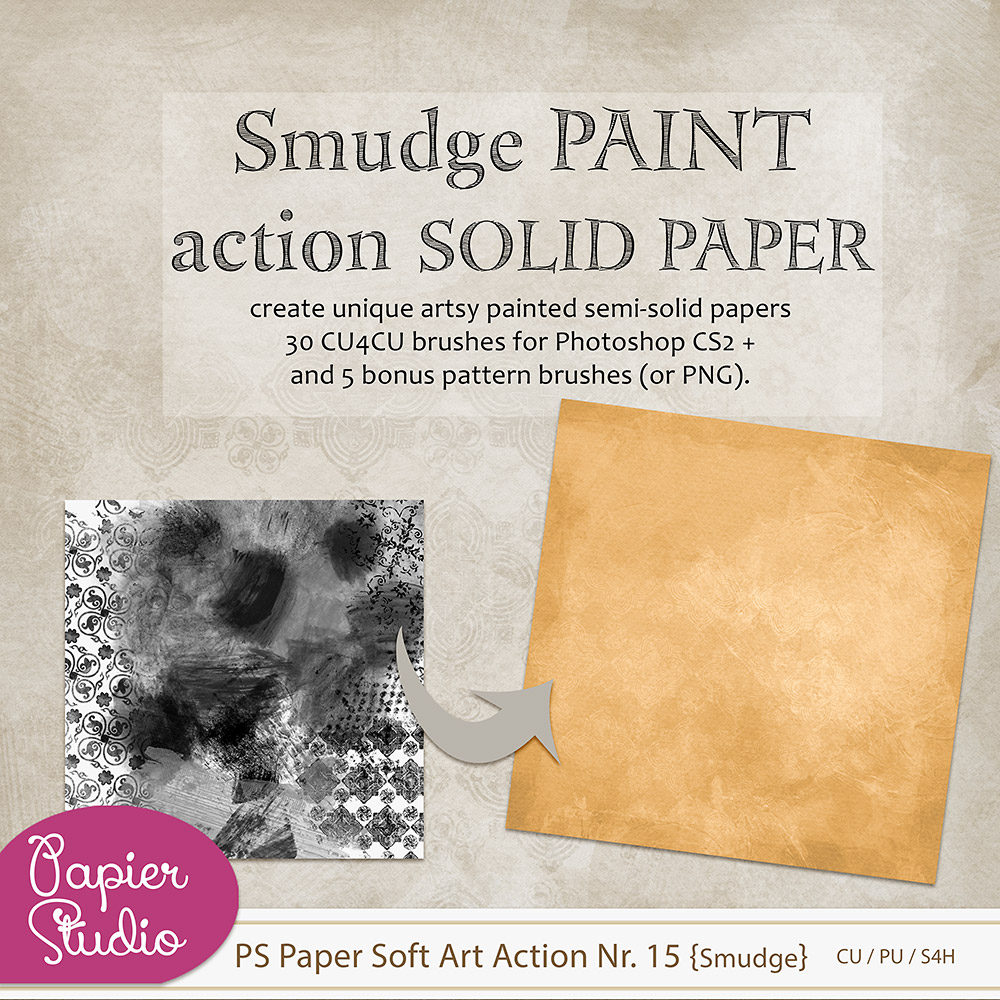
Create unlimited unique artsy painted papers with my Smudge Paint Action!


Thank you very much
Merci beaucoup!
Awesome! Thanks.
Thank you!
Lovely effect! Thanks for the tip!
merci beaucoup ))
What a fun tutorial… thanks Silke
Thank you for the interesting tutorial! I am trying to learn more about the non-destructive techniques. This was perfect.
Thank you! Now off to try it!
Gloria
Thank you for the tut and freebie!
Silke I had problems getting this to work… lengthy explanation is posted in todays challenge forum thread… I am Liz, easyeyes 4you… Help please….