Over the past few weeks we have been focusing on using Photoshop filters to help us achieve unique lighting effects. You will find links to past tutorials to the right under “Recent Tutorials,” in case you missed any, or would like a refresher.
The filter we will look at today is in both Photoshop and Photoshop Elements. I am working in CS6 and will be using that for screenshots.
Today let’s look at a quick and easy way to use Filters to create unique effects on our photographs.
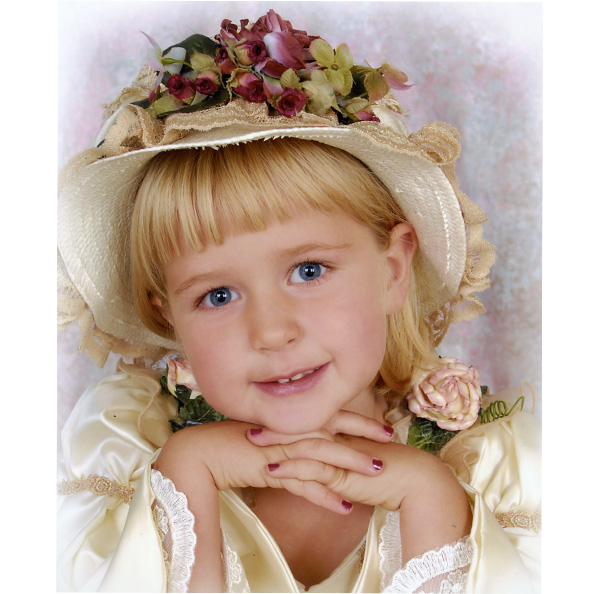
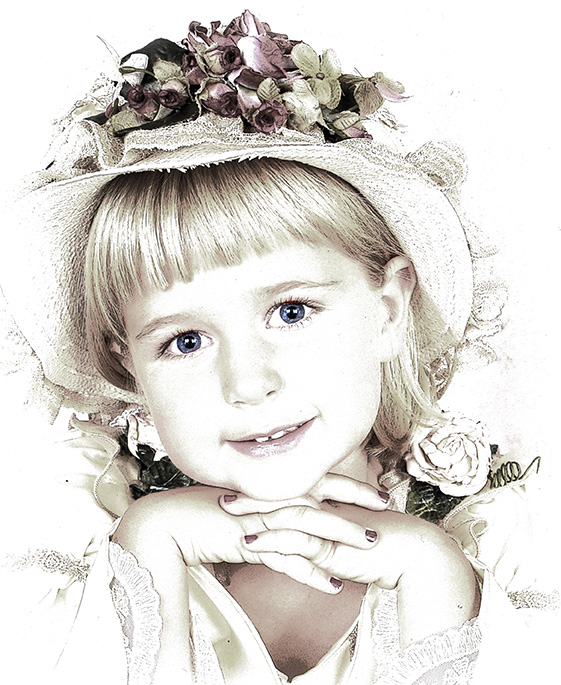
This is my granddaughter, Emily, when she was 4 years old.
. 
With just the use of one filter and a few other simple techniques, we can alter her photograph to something like this. I think it’s lovely as it is, but can also really see it becoming useful on an art journaling page.

Here’s how to create this effect.
1. Open a photograph and duplicate it.
2. Right click on the duplicated photo > Convert to Smart Object. (This will allow us to apply a Smart Filter.) (Previous reading: How Smart ARE Smart Filters?)
3. Go to the top Menu Bar and follow this path: Filter > Filter Gallery. Click on the Artistic Gallery to open the various options within that category.
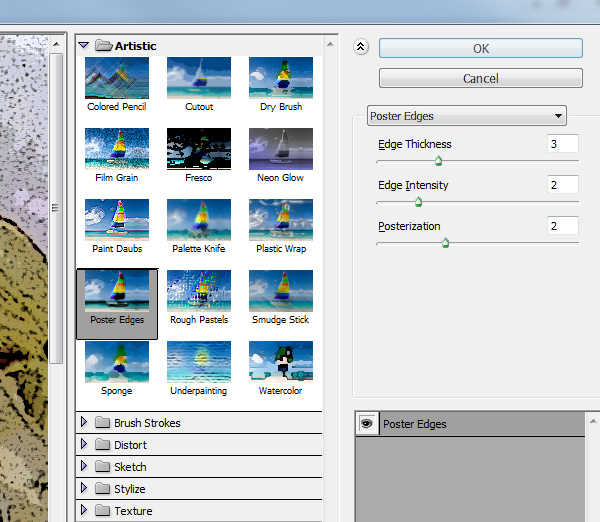
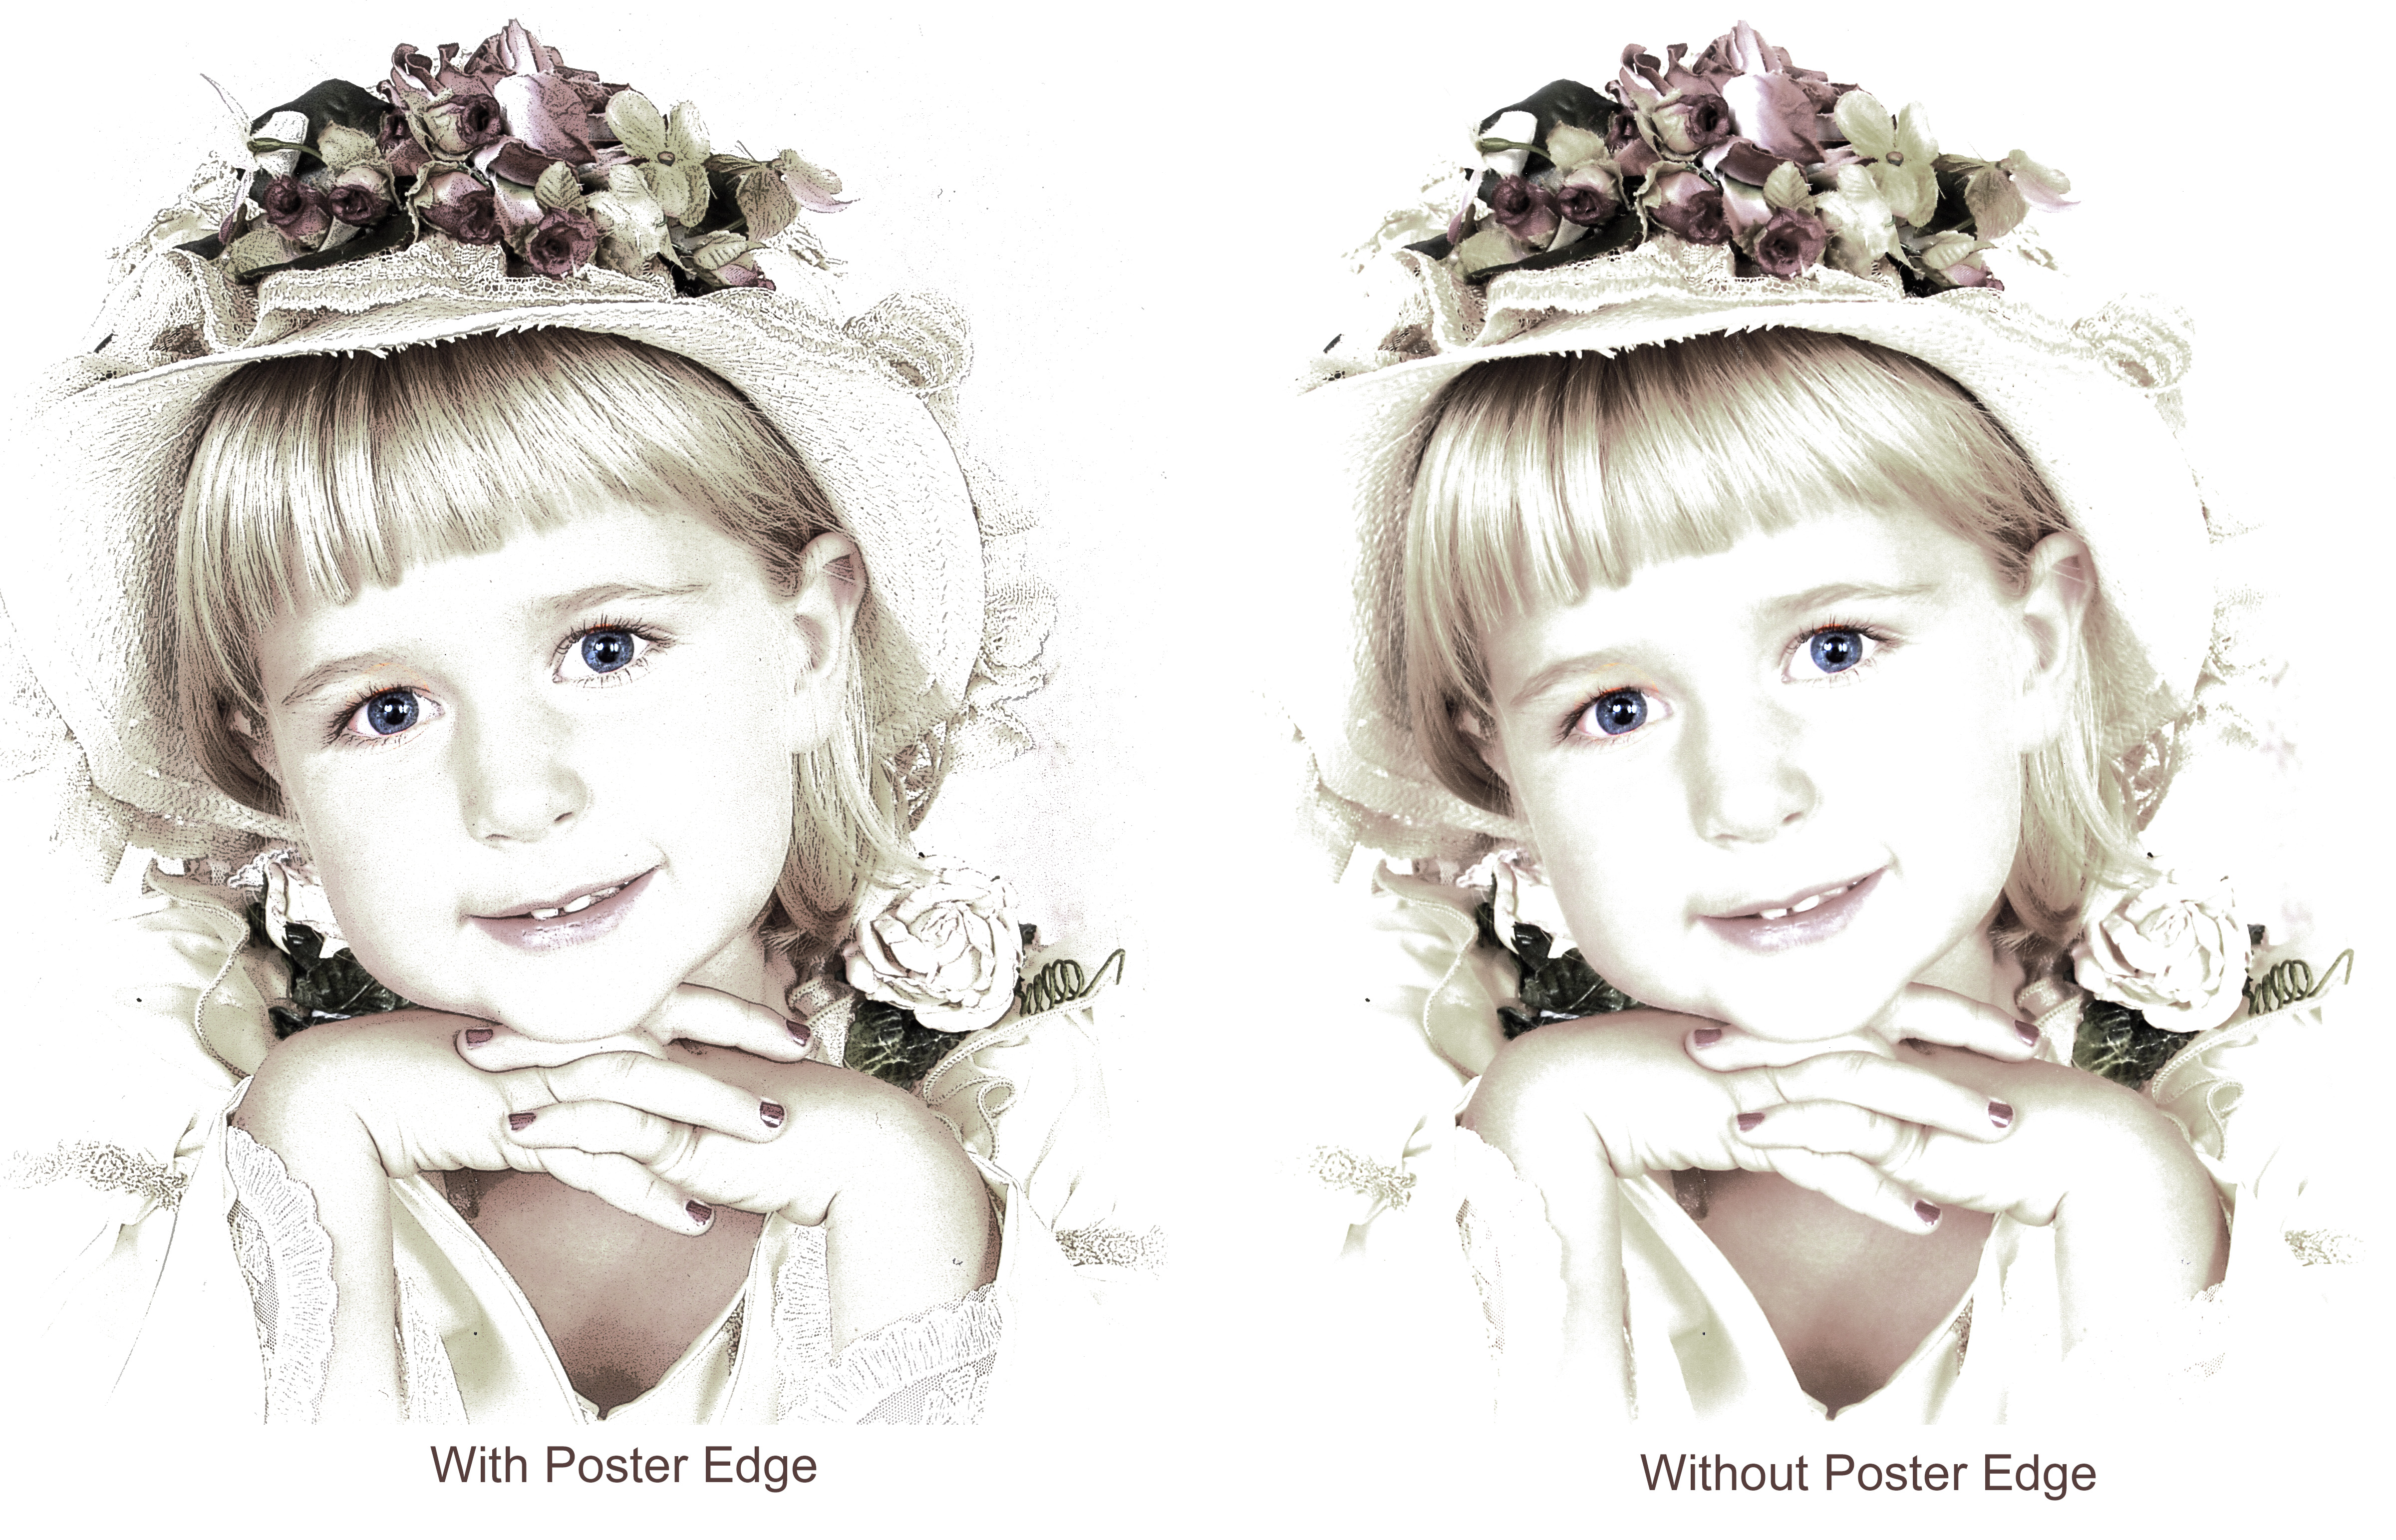
4. There are a lot of fun options to explore here. When you have time, click on them to see how they affect your photo. Today, let’s click on Poster Edges, with the Edge Thickness set to 3, the Edge Intensity to 2 , and the Posterization to 2. (You can always play with these sliders as well during your experimentation “play” times.) Click OK.
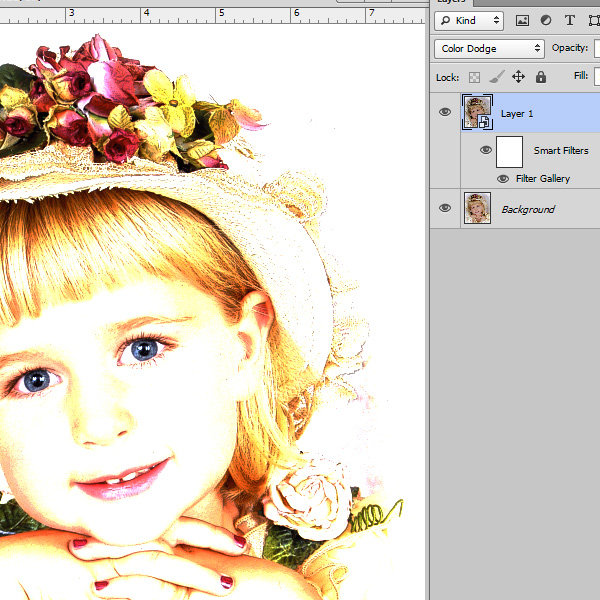
5. You can see in the image below how the Poster Edge has been applied as a Smart Filter. Change the Blend Mode of the duplicated photo (Layer 1 here) to Color Dodge.
6. Add a Hue/Saturation Adjustment layer by clicking on the appropriate icon in the Adjustments panel or by accessing it by clicking on the half black/half white circle at the bottom of the layers panel. Drag the Saturation slide to the far left to reduce the saturation to -100.

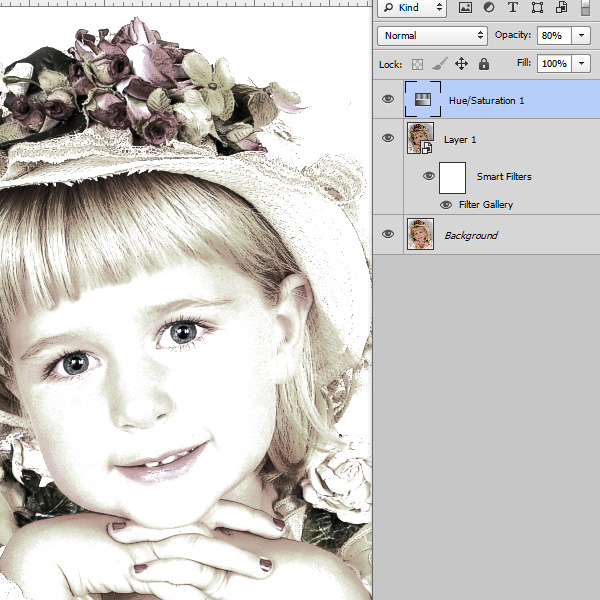
7. This is a lovely effect, and I could be finished right here. But I wanted to bring more focus to the Emily’s eyes. Here’s how to do that:
- Select a soft edged brush.
- Make sure your foreground color is set to black.
- Add a mask to the Hue/Saturation layer. ( Click on the rectangular icon with the small circle in the middle of it, at the bottom of your layers panel.)
- Lower the opacity of your brush if you like. (I lowered mine to 69%). Brush over the eyes to allow a little more color to shine through.
And here is the final result:
Filters are fun. They offer a quick and easy way to create interesting results! This week why not take some time to explore the filters in the Filter Gallery? I bet you’ll be hooked!


This just produces the most BEAUTIFUL results, Karen. And WHAT a great picture of sweet Emily. Masking that saturation layer is DYNAMITE!
Happy Vacation, and thank you for the luscious tutorial (and coupon!)
You guys always have such awesome tips for us. Thank you for helping us to stretch our use of PS.
What a beautiful photo of miss Emily!
Thanks for another great tutorial!
Another great tutorial – thanks Karen.
And Miss Emily is so pretty – what an adorable picture. Hope she is doing well these days.
Love your tutorials. Learn something new every time. Thank you for taking the time to set them out in a way so that even the most challenged user can understand and follow the instructions.
[…] Filter Effects on your Photos – 1 freebie(s)? […]
Very, very nice! I see so many beautiful layouts with an image done something like this and it blends into the background so nicely! Thank you, dear one!
Su
Your example is just stunning! I tried it on one of my photos, and the posterization left lots of little black dots and streaks. They were less after the color dodge, but still noticeable. Any suggestions? If I mask the poster image, the original shading comes through rather darkly. I used PSE14