I really like that there are multiple ways to accomplish most tasks in Photoshop and Photoshop Elements. Sometimes it’s hard to remember all of the shortcuts that Adobe provides for us. The most obvious way to achieve our goal, sometimes become habit; and shortcuts are forgotten. One of those shortcuts, for me, has been Scrubby Sliders. Are you familiar with them?
Scrubby Sliders provide a quick and easy way to change values. Scrubby Sliders are “hidden” tools are accessible when we hover over the “label” next to a tool that has a value option.
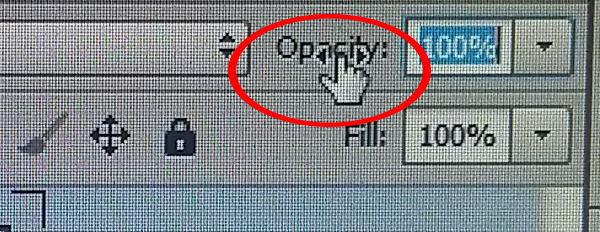
Let’s look at the Opacity Slider at the top of the Layers Panel. The “label” is “Opacity;” and the “value” is the percentage. The most common way to change the opacity of a layer is to click on the down-pointing arrow to the far right. A Slider will pop-out, and then a click on the slider and a drag to the left will lower the opacity of the selected layer.

A faster way to accomplish the same thing is to use the Scrubby Slider. Here’s how:
1. Hover your mouse over the Label “Opacity” and a hand, with 2 triangles, will appear.
2. While keeping your mouse button depressed, move the slider to the left to reduce opacity, and back to the right to increase opacity. You do not have to keep the mouse positioned directly over the word “Opacity,” which is another nice thing about Scrubby Sliders.
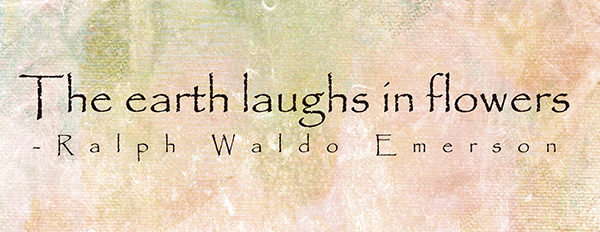
One of my favorite places to use Scrubby Sliders is in the Character Panel. Here is a quote typed in 48 pt.
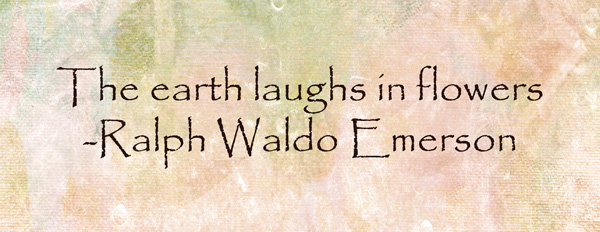
I would like the author’s name to be in a smaller font than that of the quote itself. I could highlight the text “~Ralph Waldo Emerson,” go up to the top menu option bar, click on the down-pointing arrow next to the font size, and click on the size I like. That’s not only a lot of clicks, but also if I’m not sure of the exact font size I want it, I may need to test several sizes before I’m happy with the result.
However, if I highlight the text I want to resize, then access the Scrubby Slider in the top menu bar, I can move the slider and see real-time changes in the font size. This is faster, easier, and takes the guess work out of finding the font size I want.
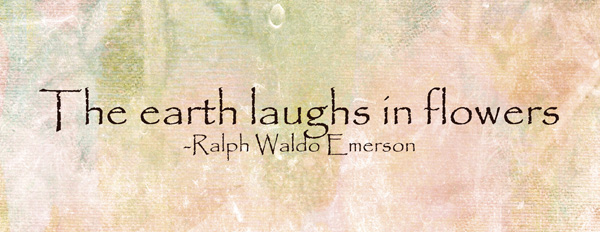
By reducing the font size of the author’s name, however, now the “g” in “laughs” is interfering with the “d” in “Waldo.” We can use the Scrubby Slider to fix that too. Here’s how:
1. Highlight the entire text.
2. Open the Character Panel (If this is not visible, go to Window in the top menu bar, and put a check mark in front of Character.)
3. Click on the A/A Label to adjust the leading, which is the space between the lines. Drag the slider to the left to to decrease the leading (making the lines closer together), and to the right to increase it (making the lines further apart).
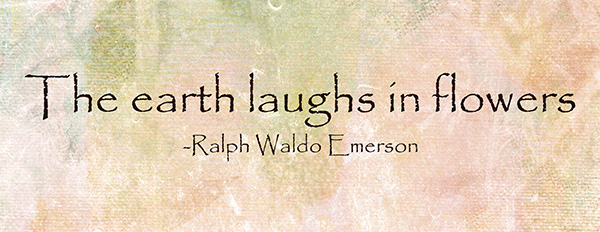
That looks better.
You can also use the Scrubby Slider to adjust the tracking if you like. Tracking is the space between individual letters.
1. Highlight the line that you would like to adjust the tracking on.
2. Click on the “VA” Label in the Character panel.
3. Drag the Scrubby Slider to the left to decrease the tracking, and to the right to increase the leading.
Take a look around Photoshop or Photoshop Elements. You might be surprised to find Scrubby Sliders hiding, just waiting for you to find them!
If you would like to keep this tutorial on your computer for easy reference, you may download a PDF here: Scrubby Sliders in Photoshop.
If you are a visual learner, you can view this tutorial on SnickerdoodleDesigns You Tube Channel and on theStudio’s You Tube Channel.
Please head over to YouTube and take a minute to Follow both channels. Each Channel will have some exclusive videos, so by following both channels, you will be sure not to miss a thing!
When you experiment with this technique, or any technique you learn through our tutorials, we encourage you to upload your results to our Tutorial Gallery! Show off your hard work! Please include the name of the tutorial and provide a link to it, in case some of our readers missed it!
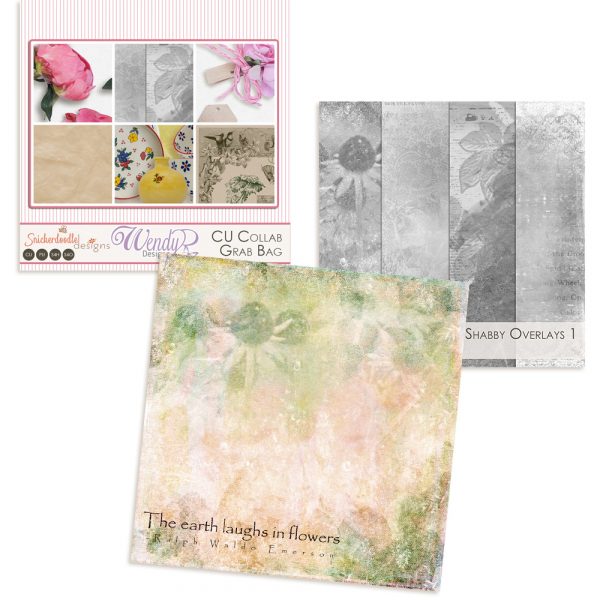
The background paper used in today’s tutorial was created using an overlay from SnickerdoodleDesigns Shabby Overlays 1. This pack is included in the CU Gala Grab Bag collaboration between SnickerdoodleDesigns and WendyP Designs. You may download the sample by clicking on the image below.
Whether you are a Designer or a Scrapper, CU Grab Bags are a great way to build your stash and stretch your digi-dollars! Stop by and see what catches your eye! There are just 2 more days to enjoy the savings in our Grab Bag Gala!

See you next week!


This is such a time saver! You’re right about there being scrubby sliders on practically ever adjustment feature, too! I think it even works in the filters panel, but, not positive. Thank you!
Su
I have Photoshop Elements 13, but a lot of this works for me too. I knew about the scrubby for opacity, but did not know I could use it for sizing text and changing the leading. Thank you for this great tip!
[…] Scrubby Sliders in Photoshop – 3 freebie(s) […]
Thank you for another wonderful tutorial. I love learning new things in PhotoShop, especially shortcuts. I have several of your tutorials as they are well written.
Thanks, Karen, for the beautiful overlay! I use PSE13 and I have found the scrubby sliders in many locations. Any idea why they are called “scrubby”?
Thank you so much for sharing the info and lessons you prepare. (@ age 73, I am still trying to catch up on the fun digital possibilities out there!) I love digital scrapbooking and my Mac computer.
I loved the PDF and loved the fact that you shared with her the overly thanks so much Sue & Wendy