
As the historians of our family memories, we will likely be taking a lot of photos over the next holiday weeks. We can set the scene, pose our models, and have the perfect photo composition; but be disappointed in the final capture if we see bright red eyes looking back at us.

Both Photoshop and Photoshop Elements offer a quick and simple fix for this – the Red Eye Removal Tool. Here’s where to find it:
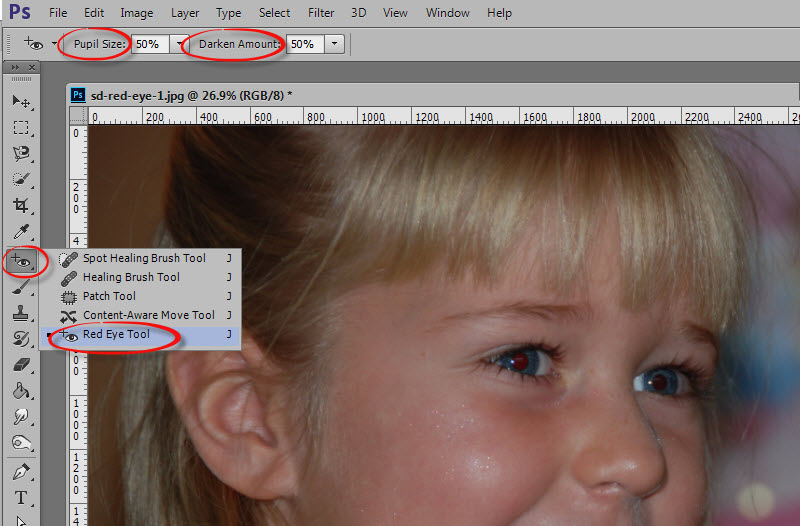
Photoshop:
The Red Eye Tool is nested with the Spot Healing Brush Tool. Click on the triangle in the lower right corner of the Spot Healing Brush to reveal other Tools. The Red Eye Tool is at the bottom. (Screenshot from CC2105).
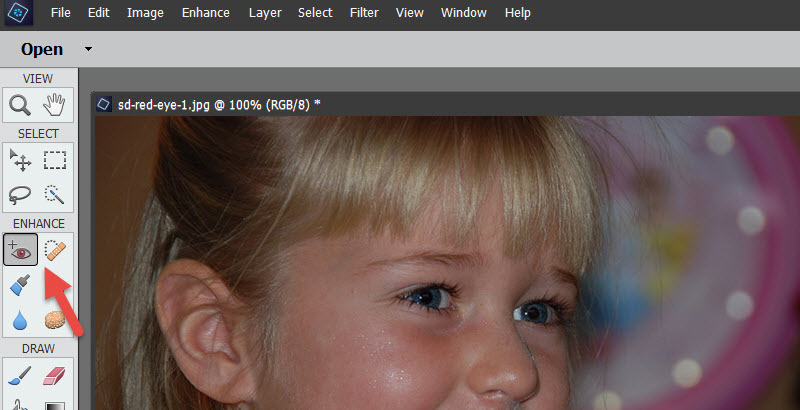
Photoshop Elements:
The Red Eye Tool is in the Enhance Menu options.
How to use the Red Eye Removal Tool is the same in both Photoshop and Photoshop Elements. Here’s how:
1. Select the Red Eye Tool.
2. The following options are available in the Options Bar (at the top of the screen in Photoshop; at the bottom in Photoshop Elements): Pupil Size and Darken Amount. You may set these according to your needs; however, the default of 50% usually works just fine.
3. Click in the middle of the pupil, where you see the red-eye effect; and the red is removed.
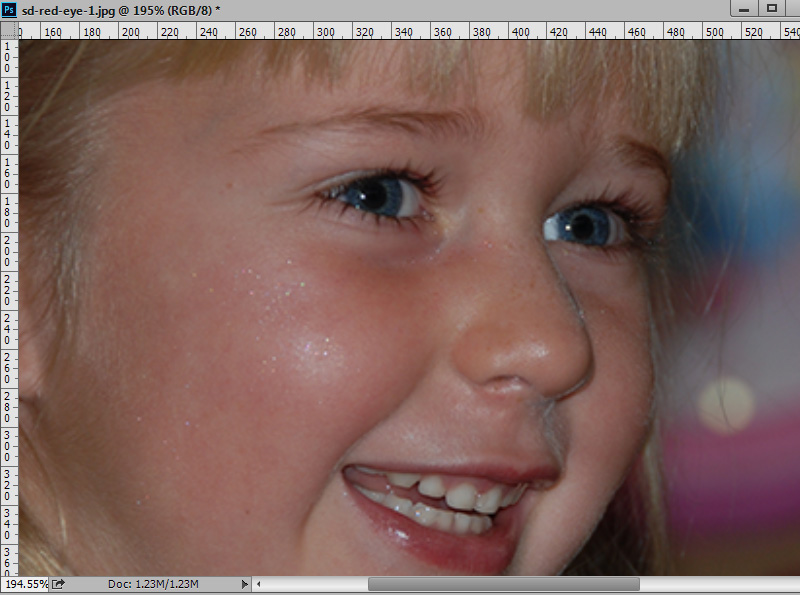
That’s how simple it is! One click and you’re done!
If you would like to keep this tutorial on your computer for easy reference, you may download a PDF here: How to Remove Red Eye.
If you are a visual learner, you can view this tutorial on SnickerdoodleDesigns YouTube Channel and on theStudio’s YouTube Channel.
Please head over to YouTube and take a minute to Follow both channels. Each Channel will have some exclusive videos, so by following both channels, you will be sure not to miss a thing!


[…] If you would like to keep a copy of this tutorial for ease of reference, you may download a copy here: How to Remove Red Eye. […]
Thank you , perfect as always.
Thanks, Faith. It’s easy to forget about this little tool, I think!
[…] If you would like to keep a copy of this tutorial for ease of reference, you may download a copy here: How to Remove Red Eye. […]
[…] If you would like to keep a copy of this tutorial for ease of reference, you may download a copy here: How to Remove Red Eye. […]