It’s not often that there is a feature in Photoshop Elements that is not available in the full version of Photoshop. But there is now. And WOW, is it amazing!
With the release of Photoshop Elements Version 15 (PSE15), a “Drag and Drop” feature was incorporated, which, when used with specifically created templates, allows the user to simply drag and drop a photo, paper, or element into the template. No. More. Clipping. Masks.
The templates can be used by (full-version) Photoshop users as well, but the “Drag and Drop” feature is NOT functional for them. The Photoshop user will need to use Clipping Masks, as they normally would with any template.
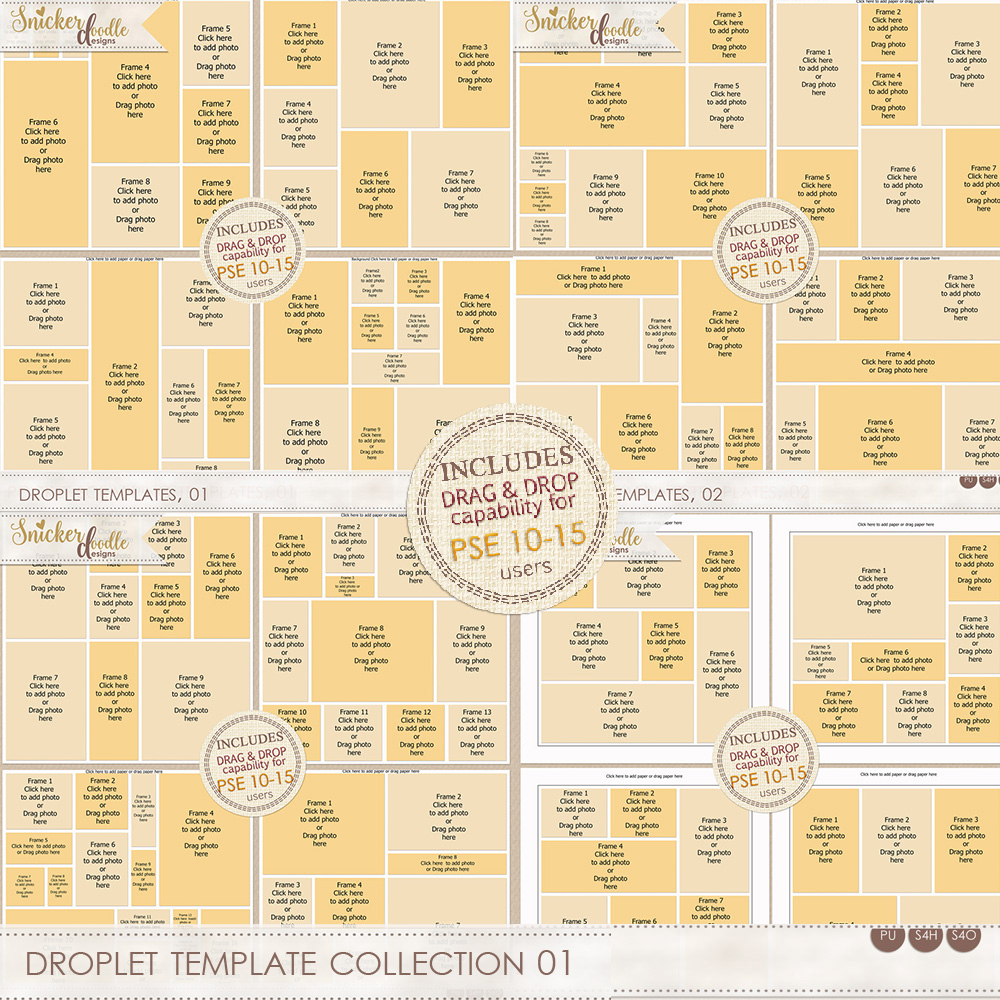
I’ve created some of these special templates, and here is a preview of Droplet Templates Set 01:
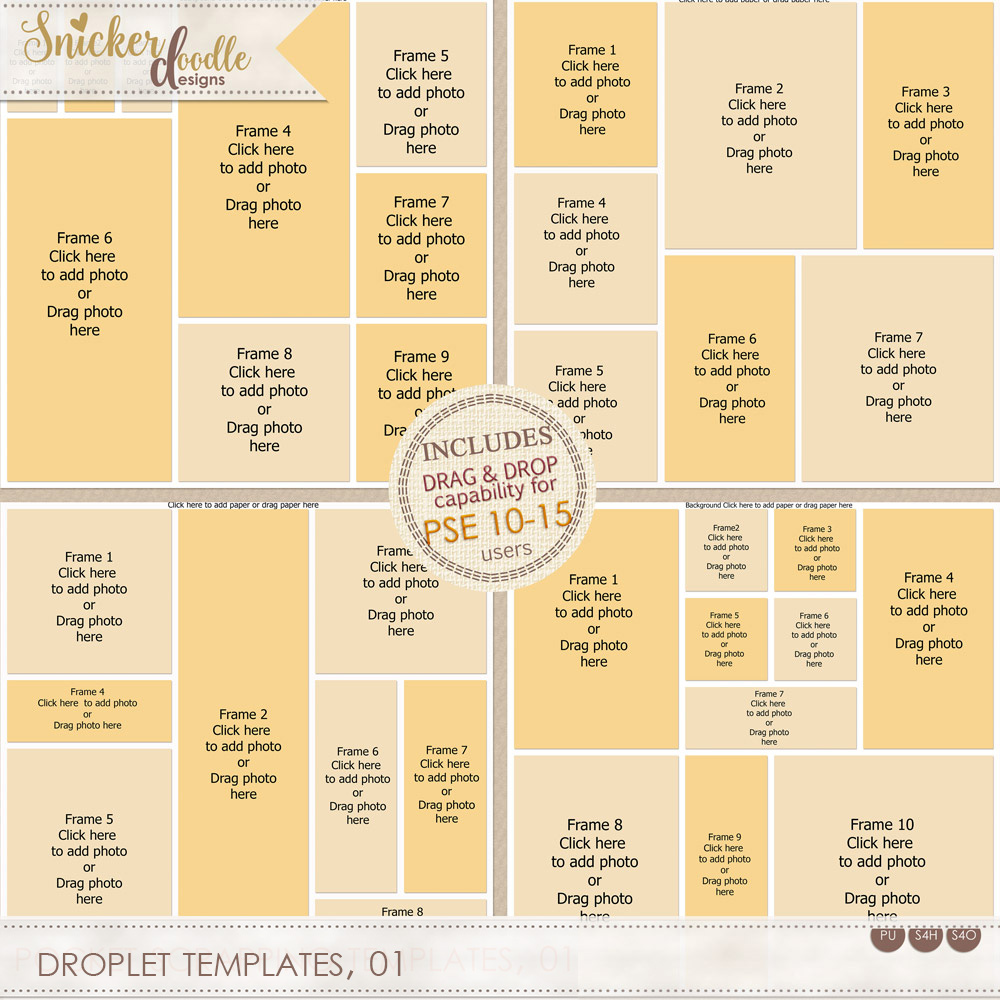
Droplet Templates Set 01
Notice the Badge on the package says that these templates work in Photoshop Elements Versions 10-15. That’s right! Adobe took a feature that was available in Elements 10-14 and developed it further to create the Drag and Drop functionality in Version 15. The feature works slightly differently in Versions 10-14 than it does in Version 15; however, for the type of templates I have created, the limited editing capability present in Versions 10-14 is not a factor.
Version 15:
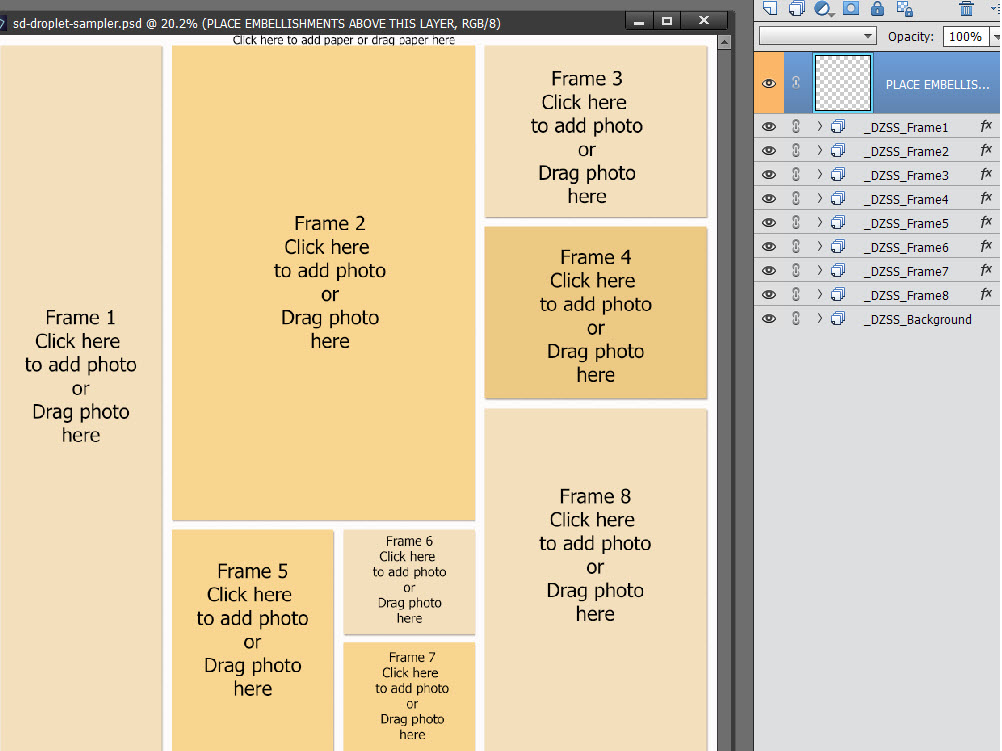
When you open a template in PSE15, you will notice that the Layers Panel looks a little different than usual. That is because PSE15 has introduced “Groups,” and Grouping is incorporated into the Drag and Drop feature in Version 15.
Next week, we will explore Groups, and how they can be used to help our work flow. We don’t need to understand them today, in order to work with this template.
Our goal is to populate these “frames” or blocks, with photographs, papers, images, text, and/or elements, as quickly and as easily as possible. There are 2 ways to accomplish this.
Image Placement Method #1:
With the Move Tool selected, click on the text within the box (or frame). This is the signal for Elements to access your computer folder structure, allowing you to navigate to the image you want. I am going to click on the Text in Frame 1. Once I’ve done so, the “Choose Photo” box opens, allowing me to navigate to my image. I have navigated to my Harvest Sunset Collection and selected Harvest Sunset Paper 6.
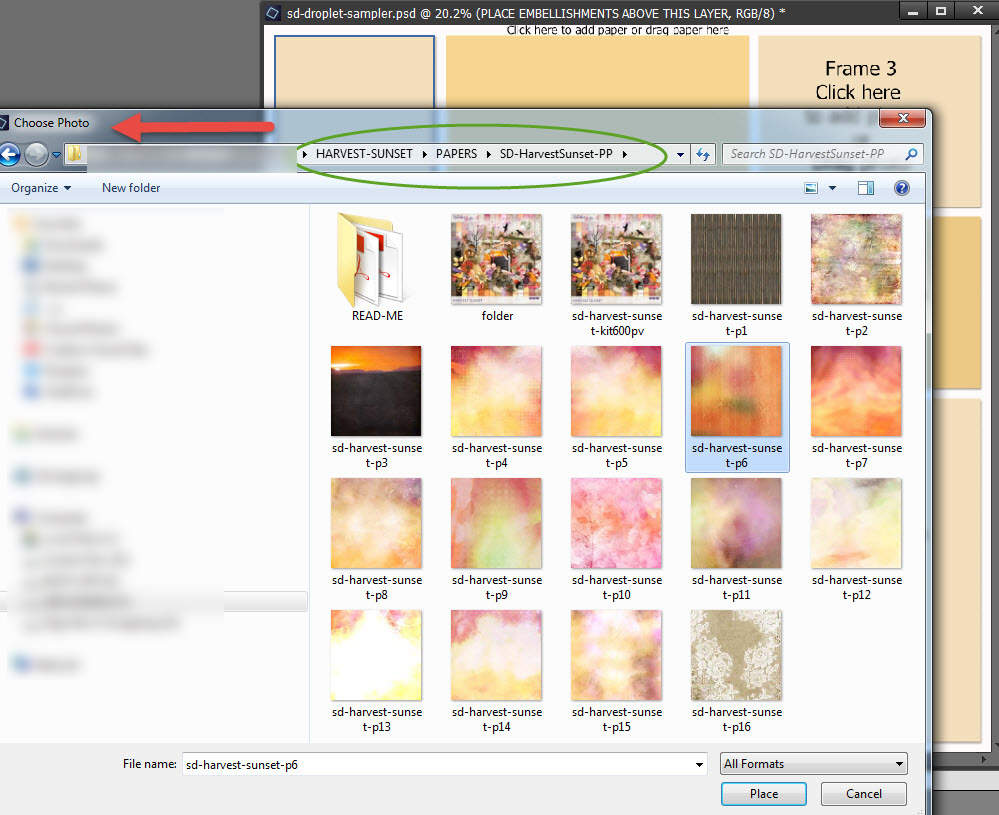
Once I hit PLACE, Elements will populate Frame 1 with my choice. A small box appears at the top of the frame, offering some additional choices. Use the Slider to resize your image, if desired. Click on the blue box to rotate your image. If you decide you would like to use a different image, click on the yellow folder to be taken back to your folder structure, and make another image choice.
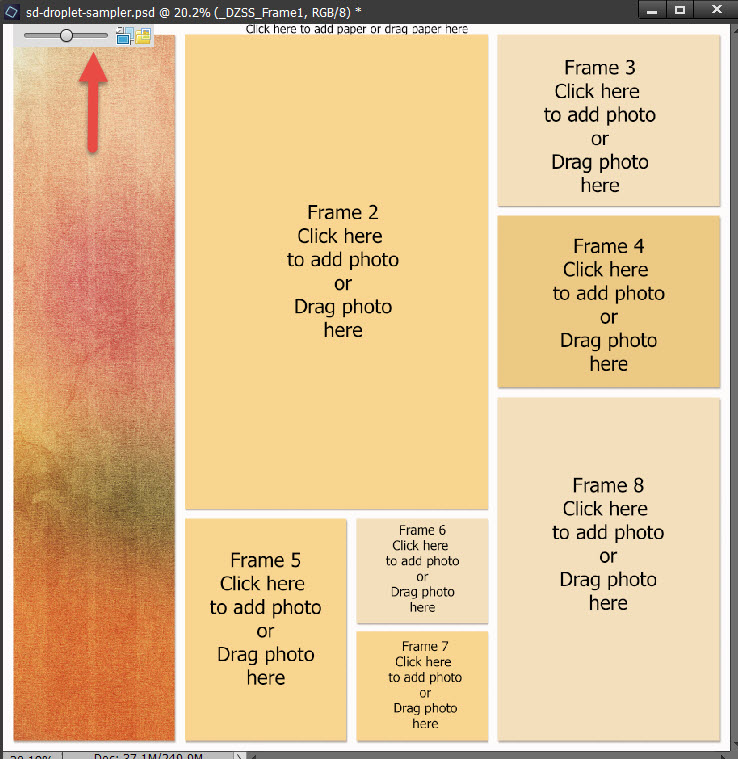
Image Placement Method #2:
Drag an image up from the Photo Bin and release within the Frame you want to populate. Let go of your mouse, and PSE will place your paper inside the Frame.
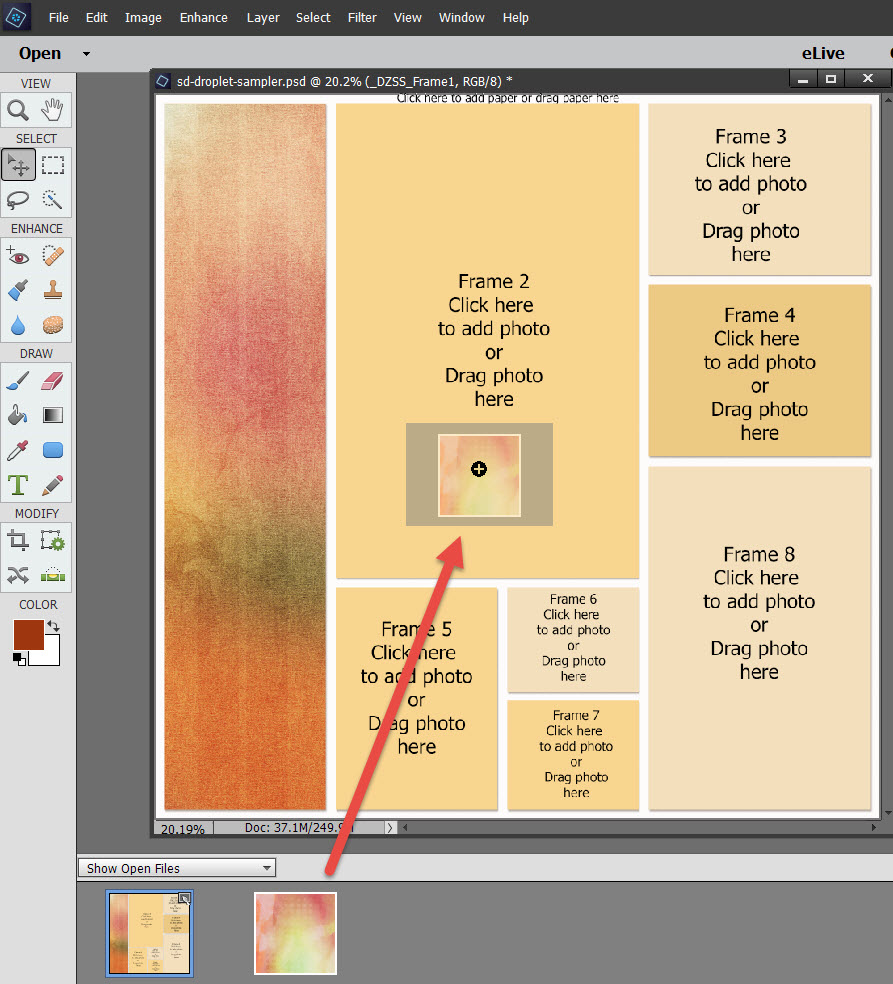
Really. It’s that easy!
Watch!
As you saw in the video, it’s easy to add embellishments after you populate the frames!
Here are the steps in written form:
- Place your images and papers within the frames as desired.
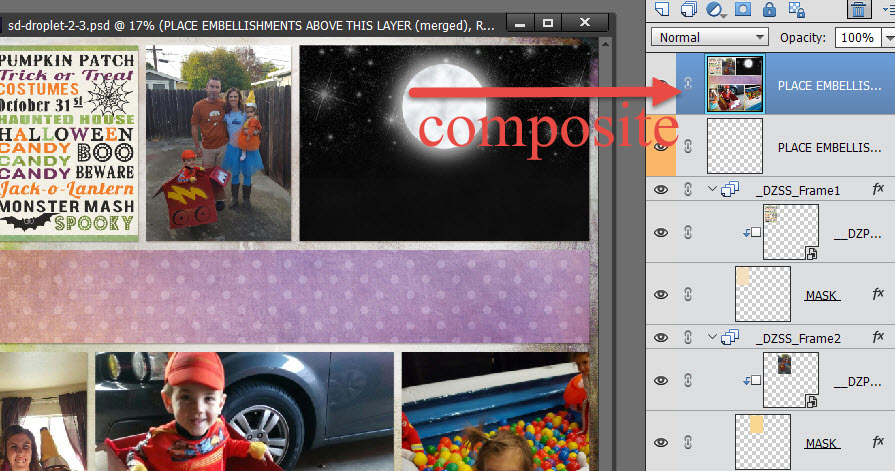
- Click on the top layer in the Layers Panel, hold down the Shift key, click on the last layer in the Layers Panel; this will select all of the layers.
- Press and hold the Control + Alt + E keys. A merged composite of your layout will appear on the very top of your Layers Panel.
- Add embellishments and text as you like. Using pre-made borders and clusters that often come in Collections, is a great way to complete your pages quickly!
Now let’s take a look at how PSE 10-14 differs from PSE15.
Version 14:
Here is a screenshot of the same template opened in PSE14. The Layers Panel looks more like what we are used to seeing… One image on one layer. No Groups.
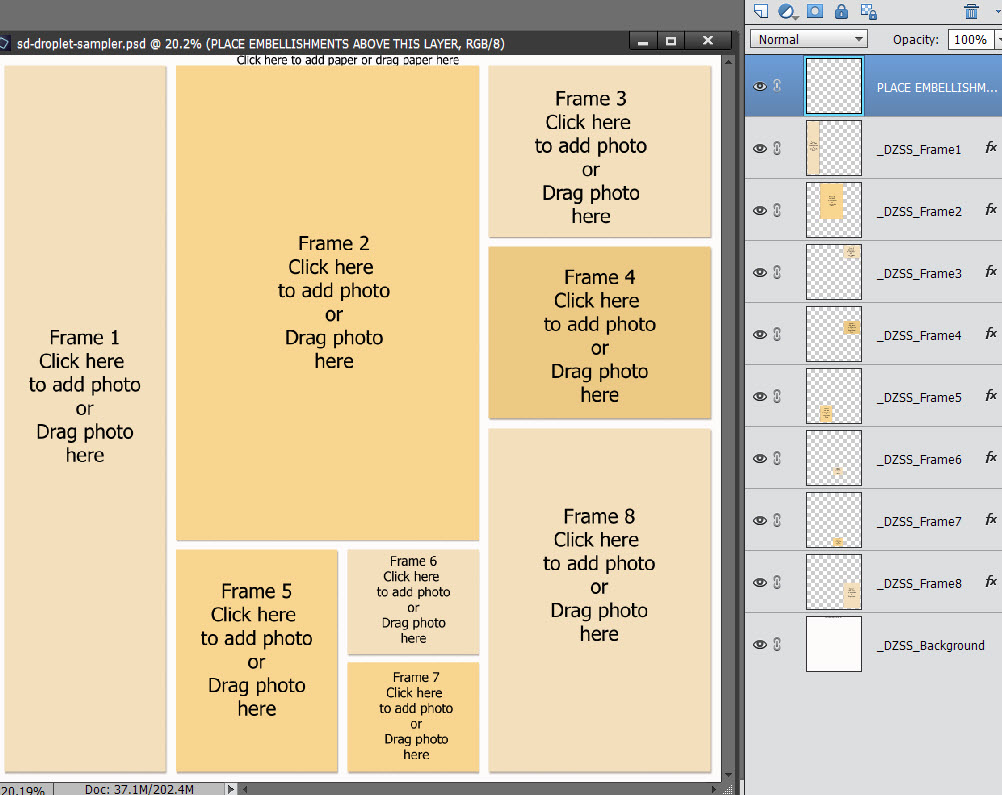
To populate the Frames, you can use either Method 1 (Navigate to your folders), or Method 2. Drag up from the Photo Bin.
If you place a paper in a frame, you will not receive a Commit Check-Mark. PSE14 assumes you chose right the first time. 🙂 However, if you do want to change your mind, you can click on the yellow folder to open the Choose Photo option. Or if that option has disappeared, double-click on the layer, and the box will open again.
Once you have filled all of the frames, create your Merged Composite image, as described above (Select all Layers, then Control + Alt + E), and embellish as you like.
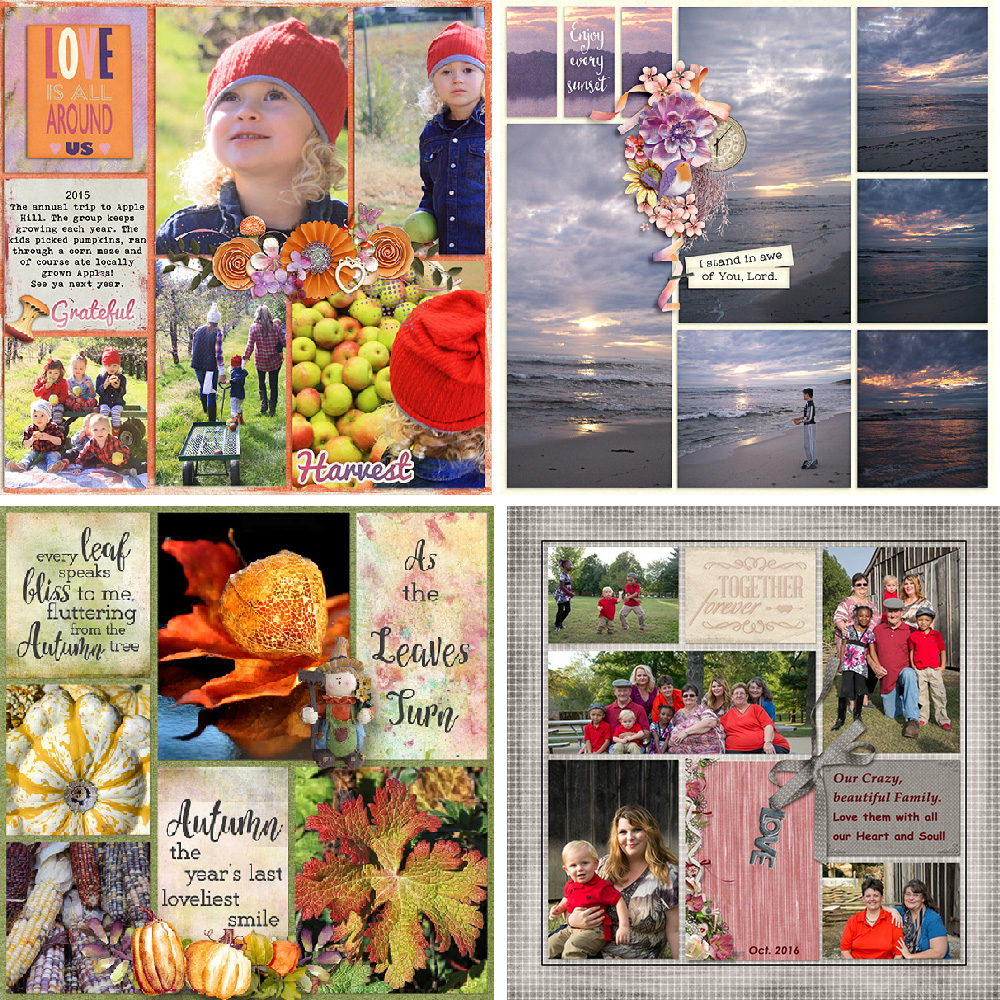
Here are a few sample layouts that were made in just a few minutes! Thank you Chrissy, Jenni, Kabra, and Cathy!
Visit my Droplet Templates products and you will find more creative, inspirational layouts!
Find the Droplet Templates in my Personal Use Store
Save 30% on Individual Packs and 40% on the entire Collection.
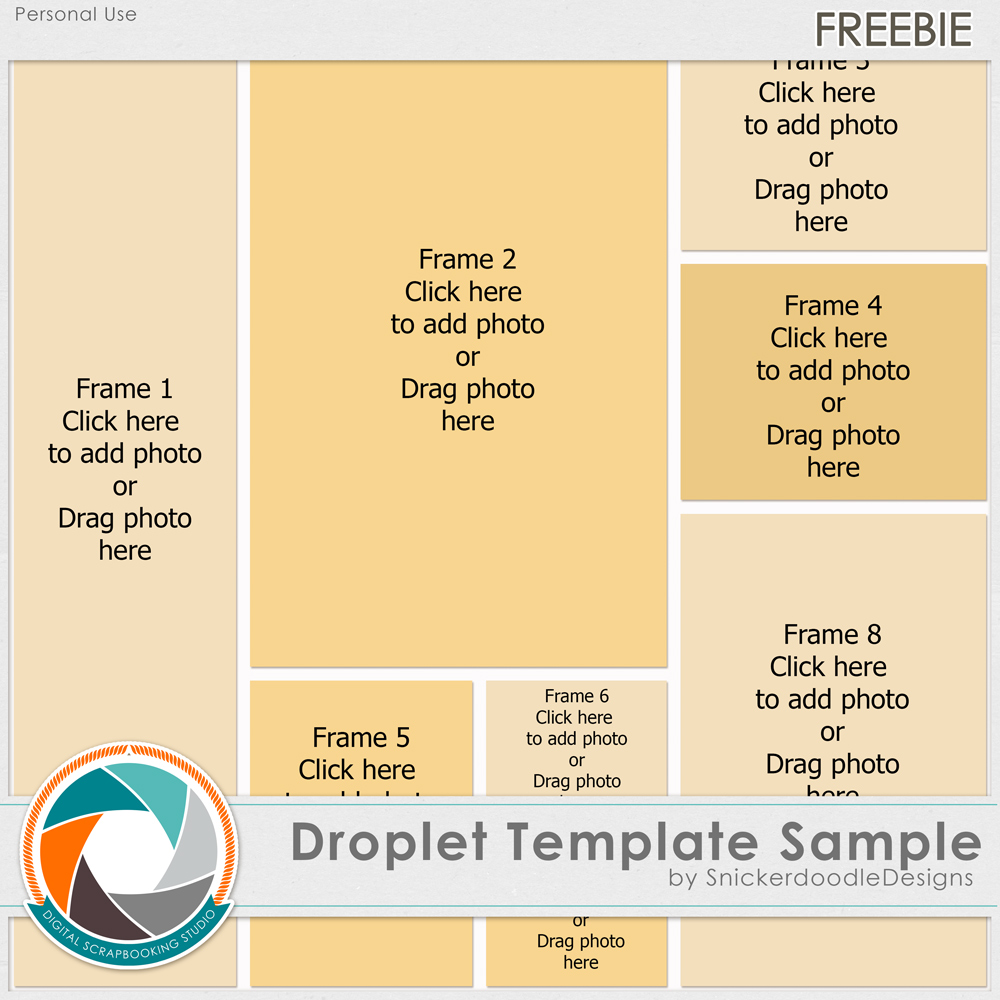
If you would like to experiment with a Droplet Template, click on the image below to download this Droplet Template Sample!
We welcome your feedback! Let us know what you think of these templates, and what is the fastest you can create a page with them!!
If you would like to download a PDF of this tutorial, you may do so here: How to use Drag and Drop Templates in Photoshop Elements
If you would like to watch a video of this entire tutorial, you may do so here: How to Use Drag and Drop Templates in Photoshop Elements


Gosh, you make it look so easy. This tutorial was so good. Thanks for the freebie. I am going to use it for Jack’s birthday celebration where he and his best friend went to this place where they did flying, surfing, bumper cars… Have lots of pictures of the day and want both boys to have their own copies of each for this special day.
Wow, this is awesome. (My granddaughter is going to Costco tomorrow to pick up PSE-15 at their regular yearly discount price. I don’t mind upgrading to 15 from 14 at Costco price.) I am really glad to receive your newsletter, because you are the first person to inform of this new template advantage. Thanks for the PDF.Love it to pieces. 🙂