
Last week we looked at how to use the the Clone Tool, and how to use it non-destructively. (Using the Clone Stamp Tool Non-Destructively). The Clone Tool has a well-kept secret; it can be rotated. This is great when you need to clone a curve.
I am using Photoshop CC for this tutorial. A workaround for PSE users follows.
Here’s what to do:
- If you do not have your Clone Source Panel open, go to the top menu bar: Window > Clone Source.
- The Rotation Tool is indicated by an angle icon. To the far right is a curved arrow, pointing down. This is the “reset” tool. The angle showing in the image below is -15.3, which is the last angle I worked with. When I click on the “reset” tool, the angle will reset to “0.”
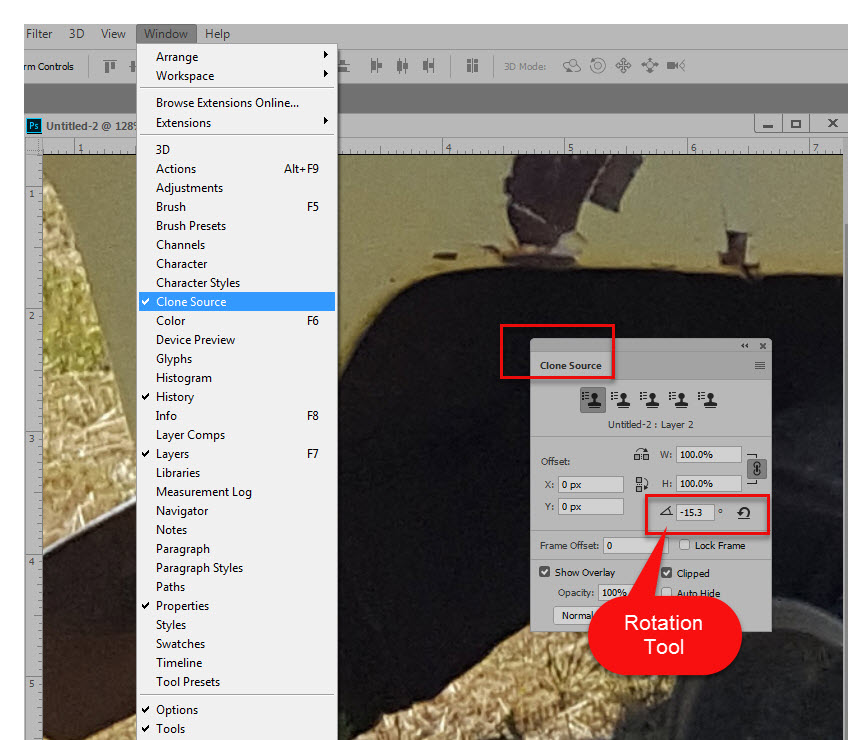
Open Clone Source Panel
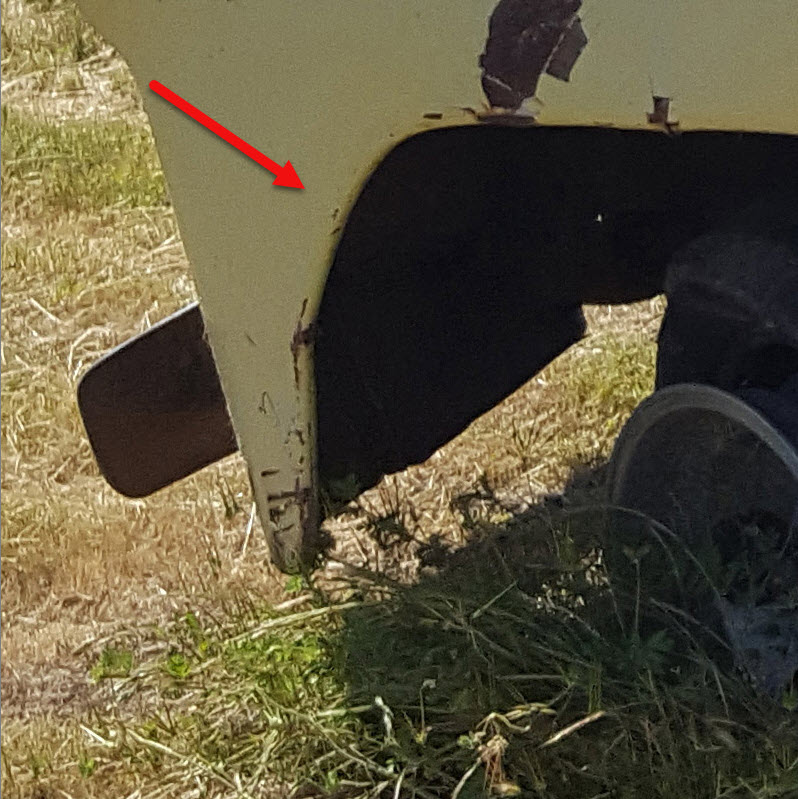
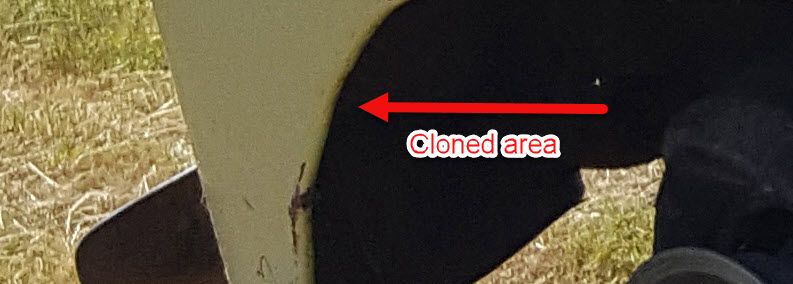
This is the image I will be working on, the rusty fender of a car, shown here at 115%. There are a lot of rusty areas that could be cloned away, but I’m going to work on the small area to which the red arrow is pointing.
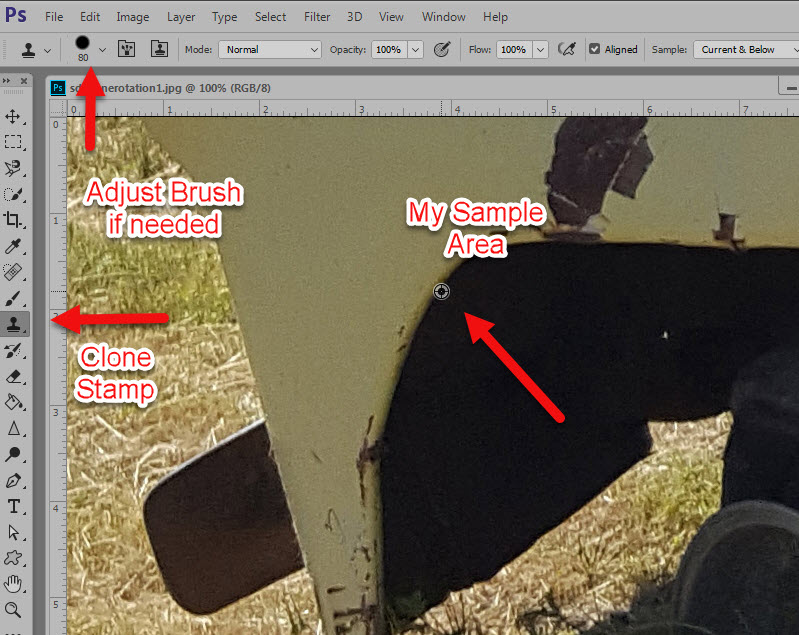
- Click on the Clone Tool to make it active.
- Adjust the brush size, if needed, in the top menu bar.
- Click and hold ALT, then left-click your mouse on the area you would like to clone.
Click and hold ALT, then click on the area you would like to clone.
- Move your mouse to the area you would like to add the clone to. Notice in the image below how this clone wouldn’t work well, because I cloned from a curved area?
Clone would not work well because of the cloned curve.
- With a few keyboard shortcuts, we can rotate our cloned source to make it fit the curve perfectly.
- Hold down Control + ALT: Use the right and left arrow keys to nudge the clone sample to the right or left.
- Hold down Control + ALT: Use the Greater Than and Lesser Than keys to rotate the clone sample right or left.
- Once you have the cloned sample where you want it, release the Control and Alt keys, and left click with your mouse to apply the sample.
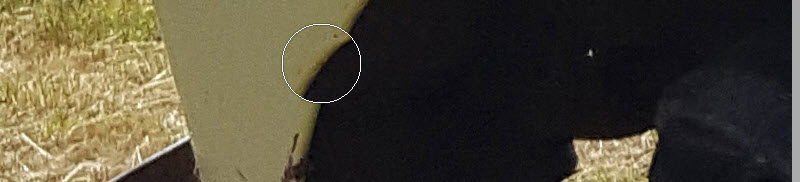
Depending upon the image you are working with, you might need to play around with the nudging process. But it can provide excellent results, so keep trying until you get what you want. Here is my result:
Final result
For Photoshop Elements Users: (Photoshop Users can use this method too, of course!)
- Create a blank layer above your image.
- Click on the Clone Tool to make it active.
- Adjust the brush size, if needed, in the top menu bar.
- With the image layer active, click and hold ALT, then left click your mouse on the area you would like to clone.
- Select the blank layer to make it active.
- Move your mouse in your image to where you would like to apply the cloned area. Left click your mouse. The cloned area is now on the blank layer.
- Control + T to bring up the Transform tool, and rotate the cloned area until you are happy with it.
- You may merge, or link the layers, or just leave as-is, if you prefer.
I hope you have found this tutorial helpful!
If you would like to download a PDF, you may do so here: Rotating the Clone Stamp


Thank you, this is helpful, I didn’t know that the tool can be rotated so easily.
OH! YOU are so GOOOOOOOD, I didn’t know about this, what a great find and tutorial. Thank you
So glad this was helpful, noblesnera and Faith!! Thanks for letting me know!
oh this is a great tip! I’m using PSE15 now but am venturing into CC soon. I love that you show how it can be done in both programs. Thank you Karen 🙂
Thank yoy very much!
You are welcome, Renee and Halina!