It’s a little known fact that digital art supplies can be used for more than just digital art. You can make physical, tangible, touchable art too. In fact, most of my gifts throughout the year (birthdays, Christmas, weddings, etc.) are handmade. And most of those are made with digital art supplies. I create mostly photo books, calendars, etc. with our digital scrapbooking collections but today I created a shirt (for me!) with our brandnew Cutting Files!
I am a little embarrased to admit, but I do not have a cutting file machine. Believe me, I want one. I want one soooooooooooo much. The projects I could do. I’m drooling just at the thought. And now I’m shaking it off. I don’t have one, but I do have a printer. Have printer, will play. It’s my new motto!
Our Cutting Files are a little different than our regular word art. These are designed to create physical products. You can use these to create physical gifts such as shirts, mugs, mousepads, etc. You can even use these for small business needs to create up to 500 crafts for resale. Please see our new Pro Crafter license for complete details.
I am not using this for anything but me today! I spotted the perfect quote for me amongst all the fabulous quote Pebbles has in her Cuttting File store:
“I survived my son’s wedding”
How is that not me?!? I did survive it. With flying colors! Even after breaking my ankle, and being denied pain meds, I still sat front & center during his wedding. I even made it through the first hour of the reception. That deserves a little recognition, even if I say so myself. Even if I make a shirt myself!
Today I had a little time to play. I downloaded the word art file from Pebbles, grabbed a brandnew shirt, some transfer paper, printer, iron & photoshop and I was good to go! Creating your own shirt with custom word art is not hard… as long as you remember to flip the word art when printing. It must be backwards to be frontwards on your shirt. Trust me, that makes sense.
I am very, very happy with my new shirt. I can’t wait to go back & see the kids wearing this shirt!
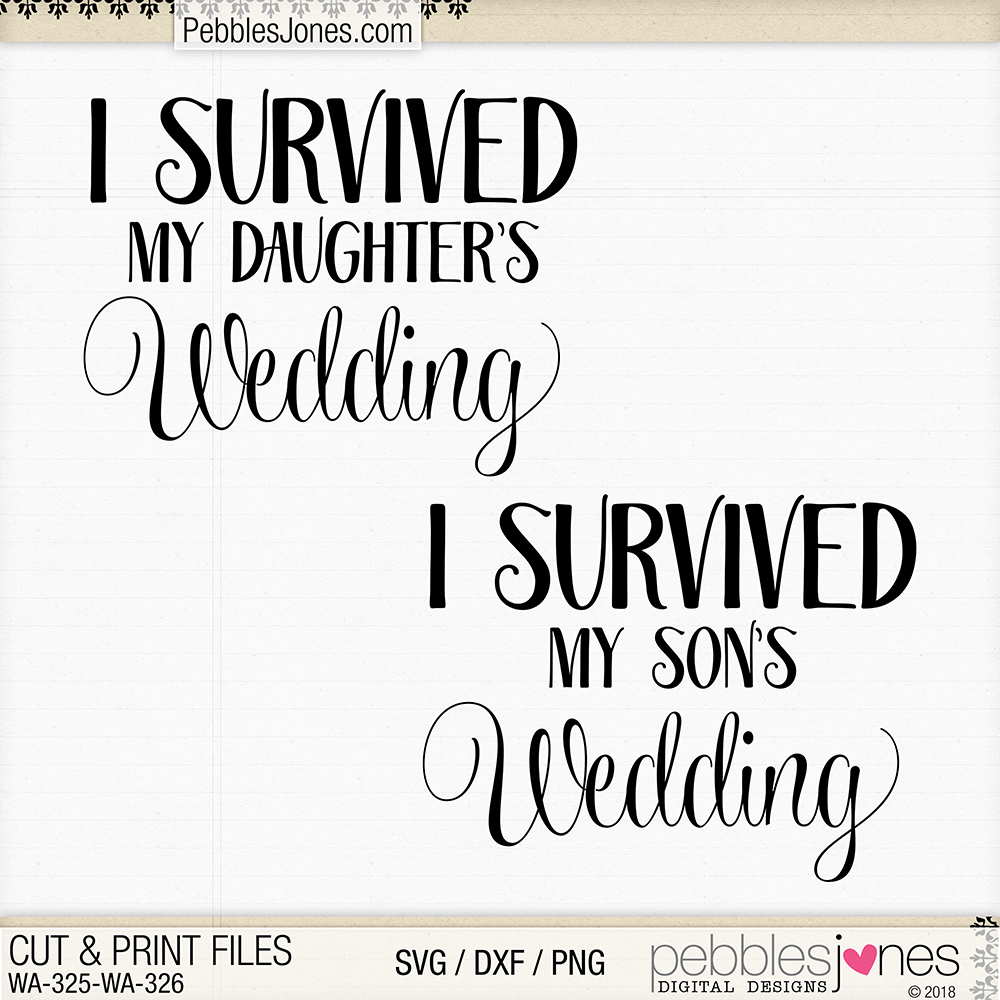
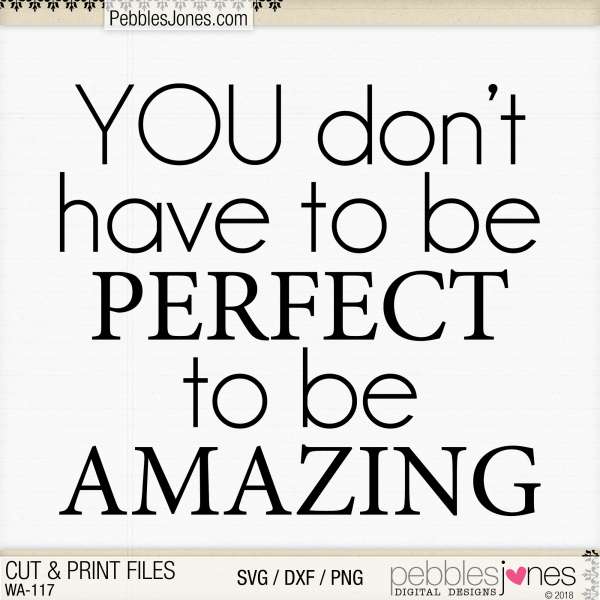
My starting point, the fabulous Cut & Print word art from Pebbles ❤
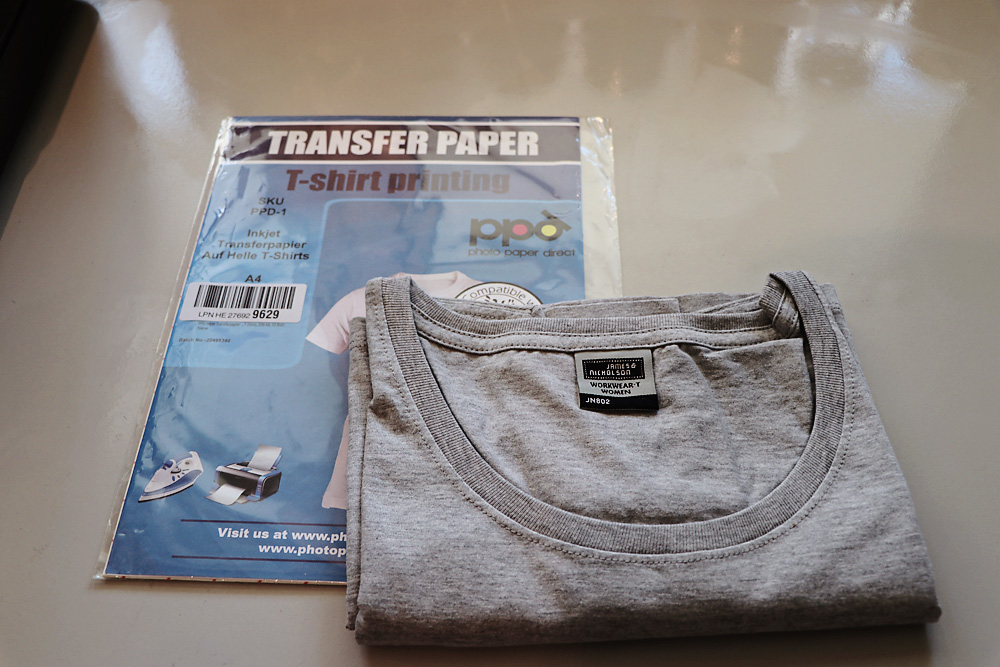
I also got some t-shirt transfer paper & of course a t-shirt!
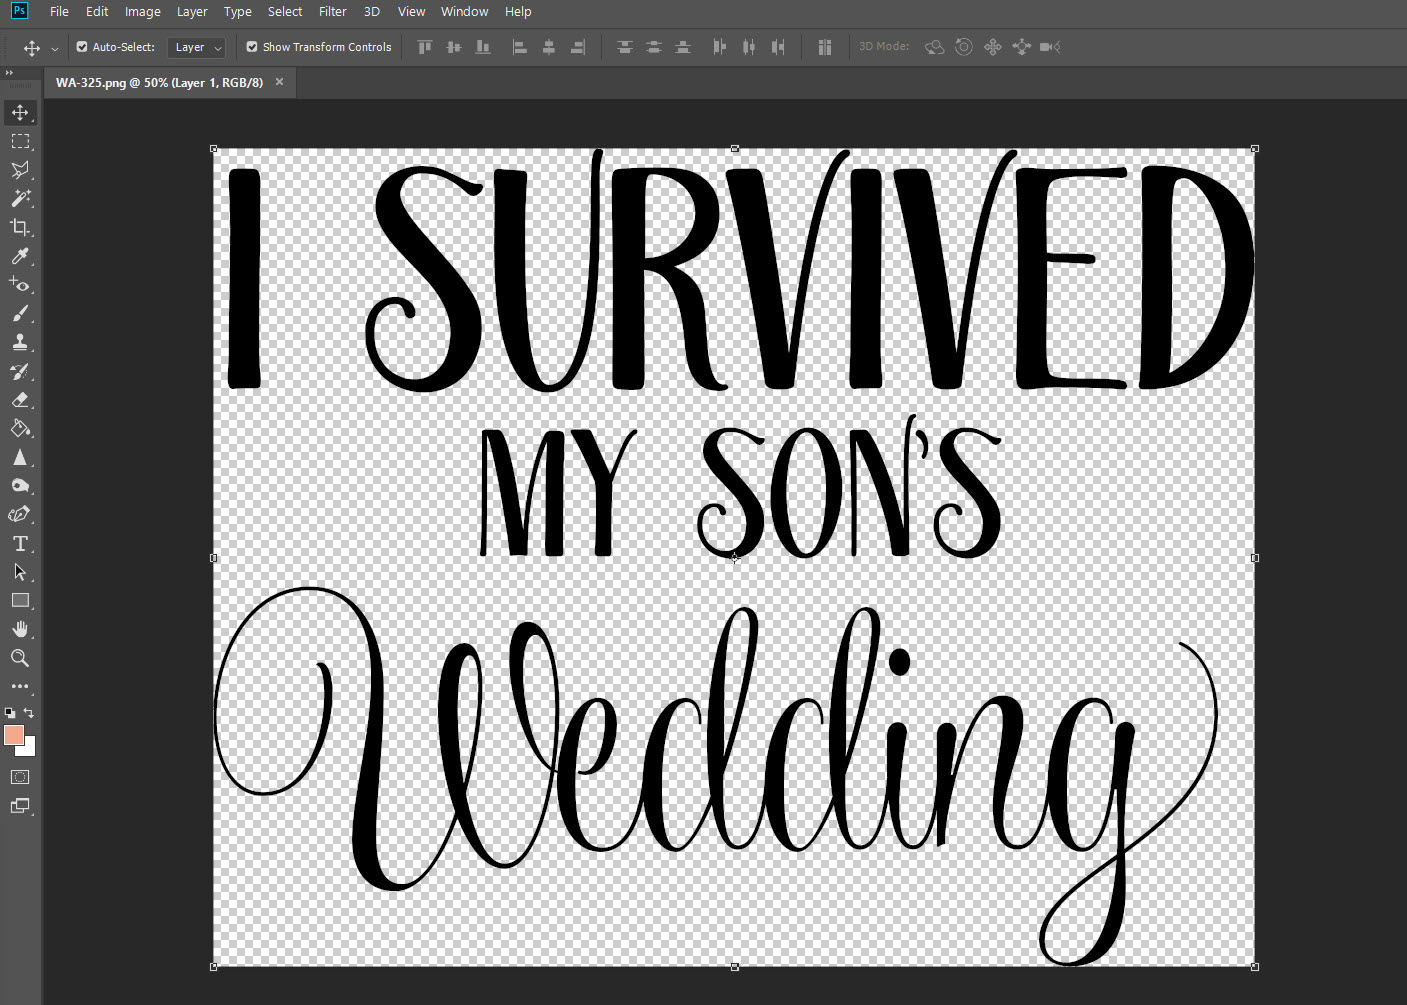
I opened her perfect-for-me cutting file in Adobe Photoshop
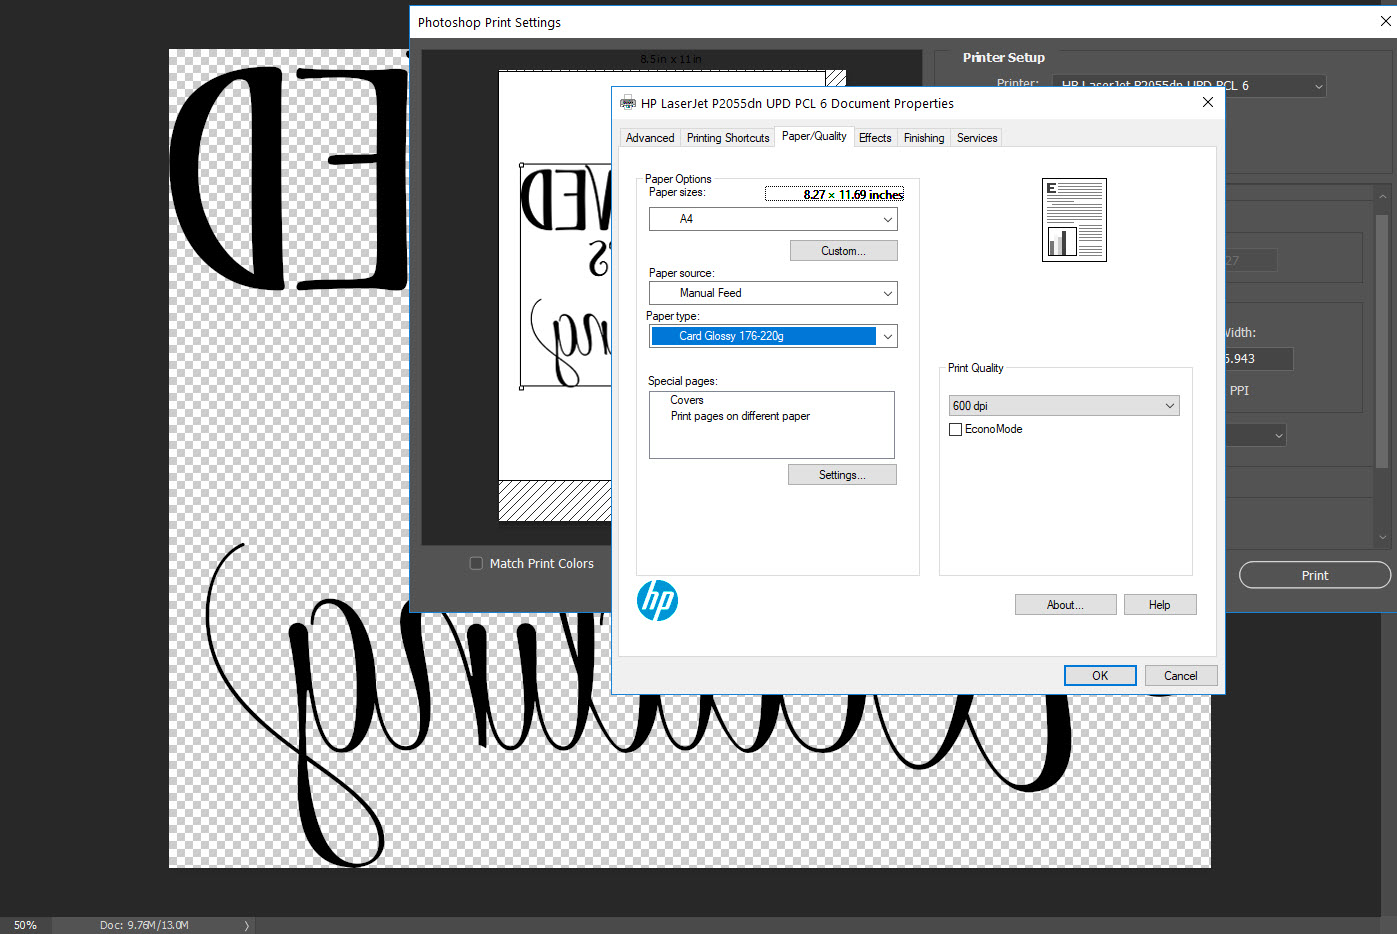
I flipped the wordart so it would transfer properly to my shirt!
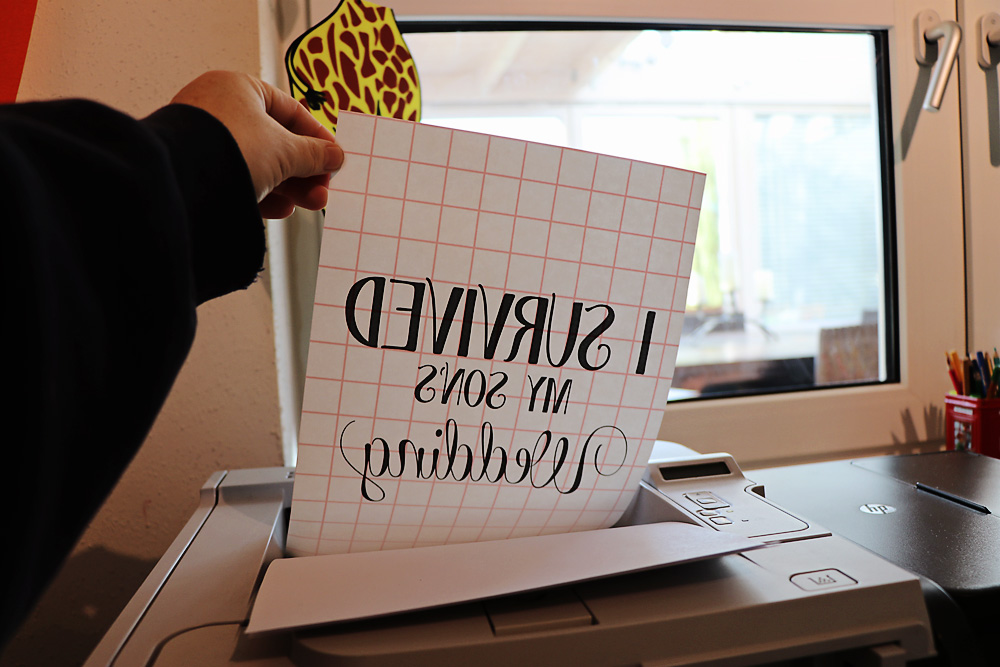
See? Printed all flippedy-flop!
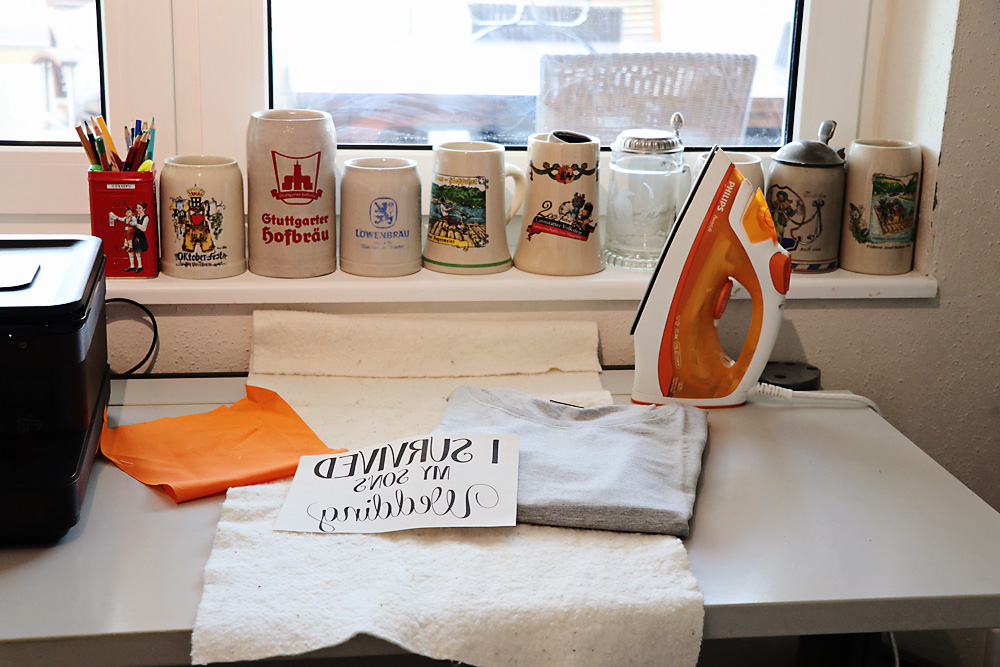
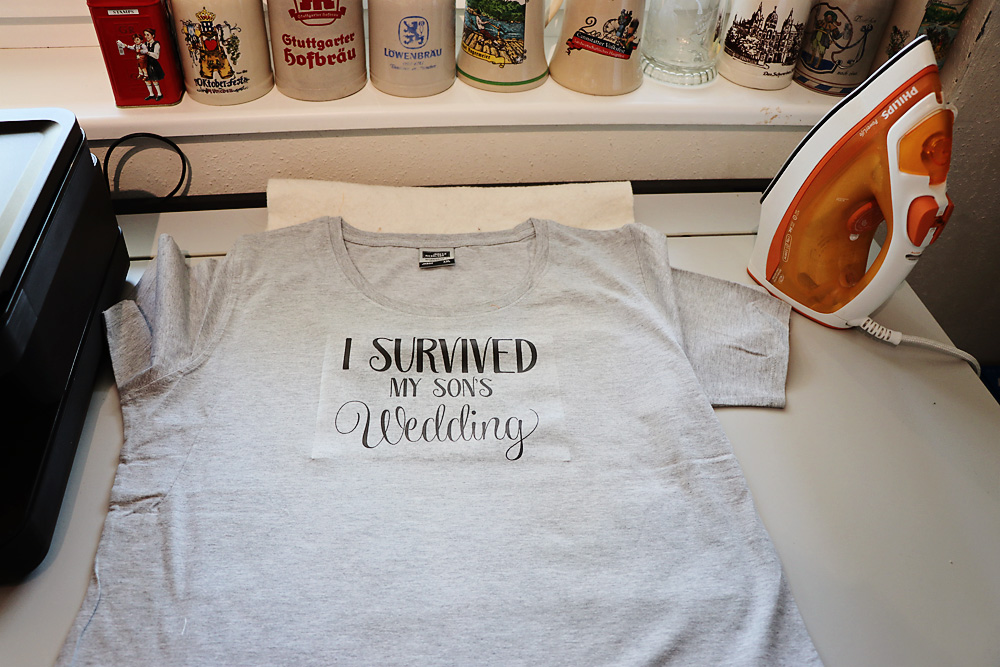
Ready to iron. You need a sturdy surface, and I use a little quilt batting to protect that sturdy surface.
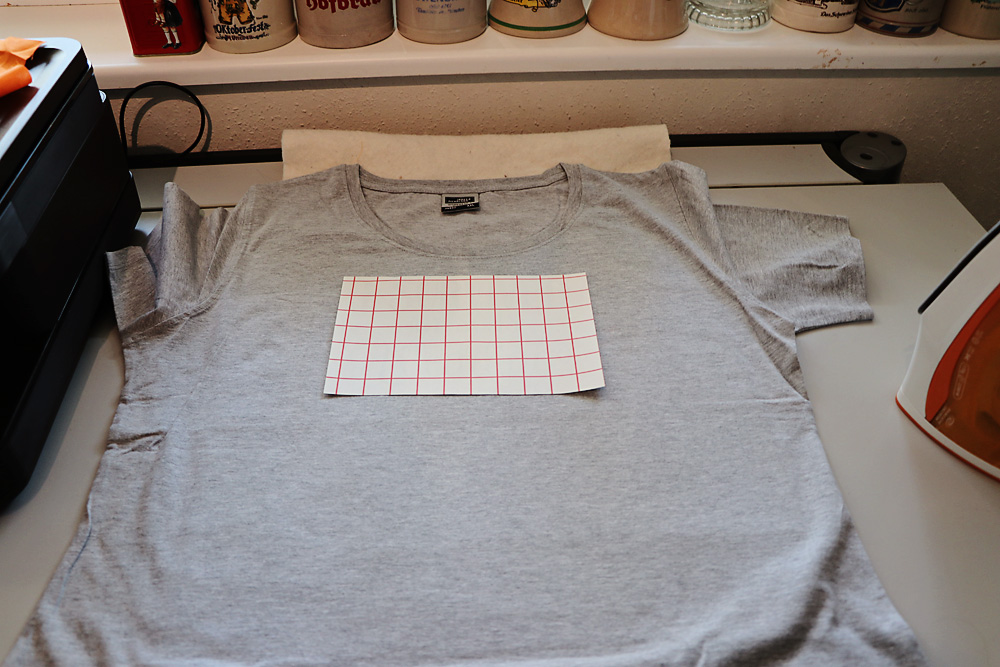
Layer the batting (or a towel) on your sturdy surface, then shirt, then transfer.
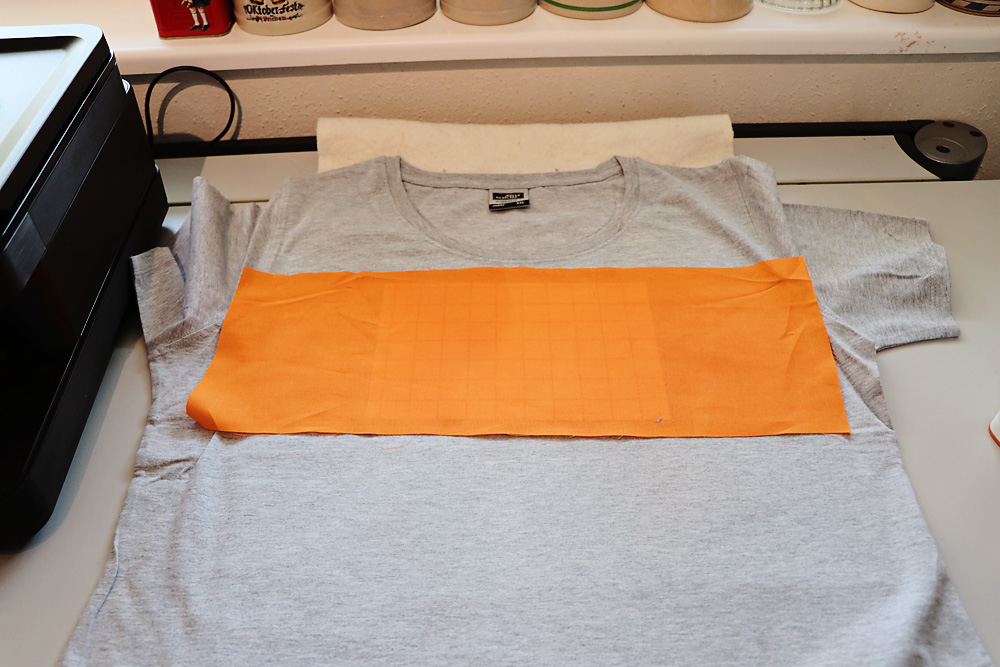
Place your protective cloth over the transfer. Mine’s orange. I love orange!

Iron for the full time recommended! Press hard & get all the bits ironed thoroughly.
Finished! In my experience the shiny residue goes away with washing. Fingers crossed!
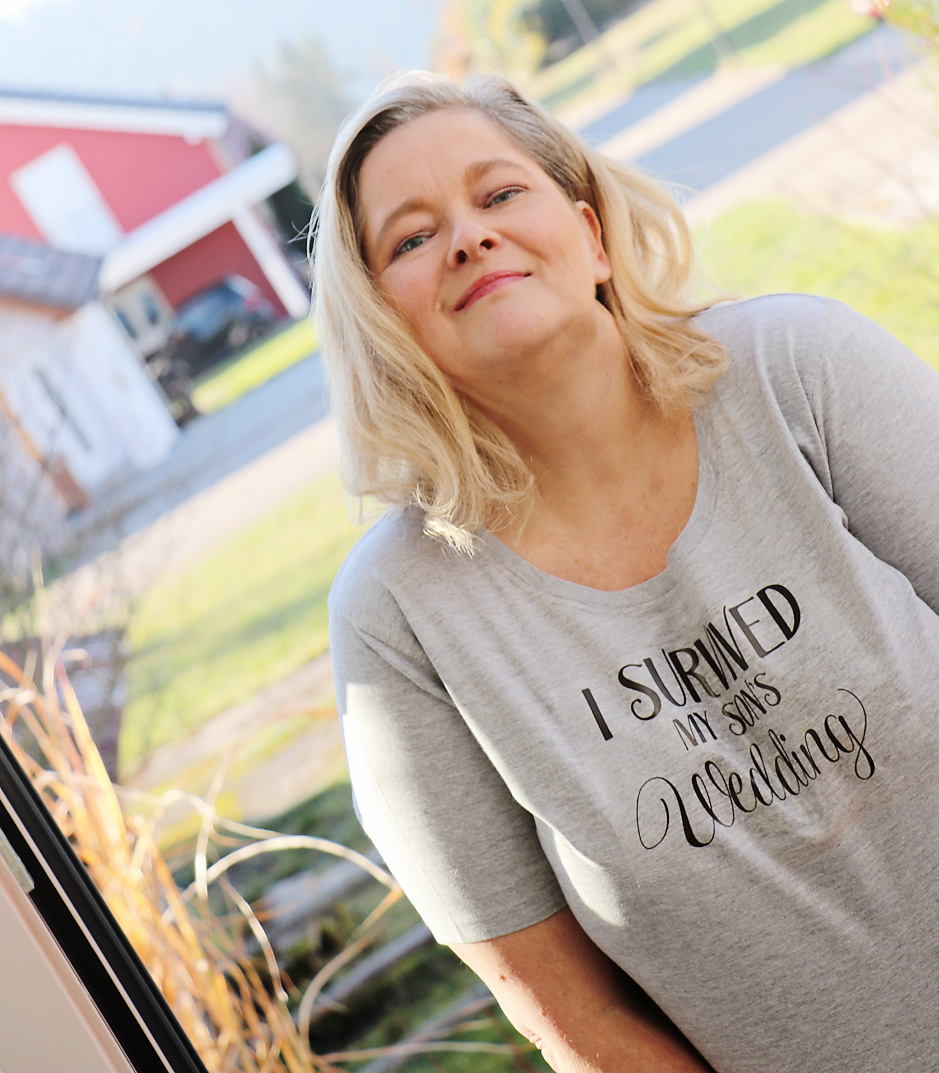
Me + shirt. Photo by Dane! It’s artistic – says Dane.
Pebbles’ cutting files are on sale for 25% off and you can pick up a freebie in her store this week only. Only at The Studio!

Awesome, I have a cricut so could do this with vinyl. Going to gave some fun!!!
AWWW! That turned out so cute!!
Really LOVE this!