Most of you won’t need this, it’s a Quick Tip on how to make snowman arms look a little more realistic. A little more like they were stuck into the snowman, versus placed on top. This is a handy dandy Quick Tip for everyone that joined in our LAD: Snowed IN 2020. Because. Tomorrow you will be showing off those snowmen!
Jess, Antebellum Press, made sure we had some extra pieces so we could customize those snowmen to suit us. For this Quick Tip I’m revisiting my snowman I started at the beginning of our Layout-a-Day (LAD). So far all I’ve done is drag my favorite arms:
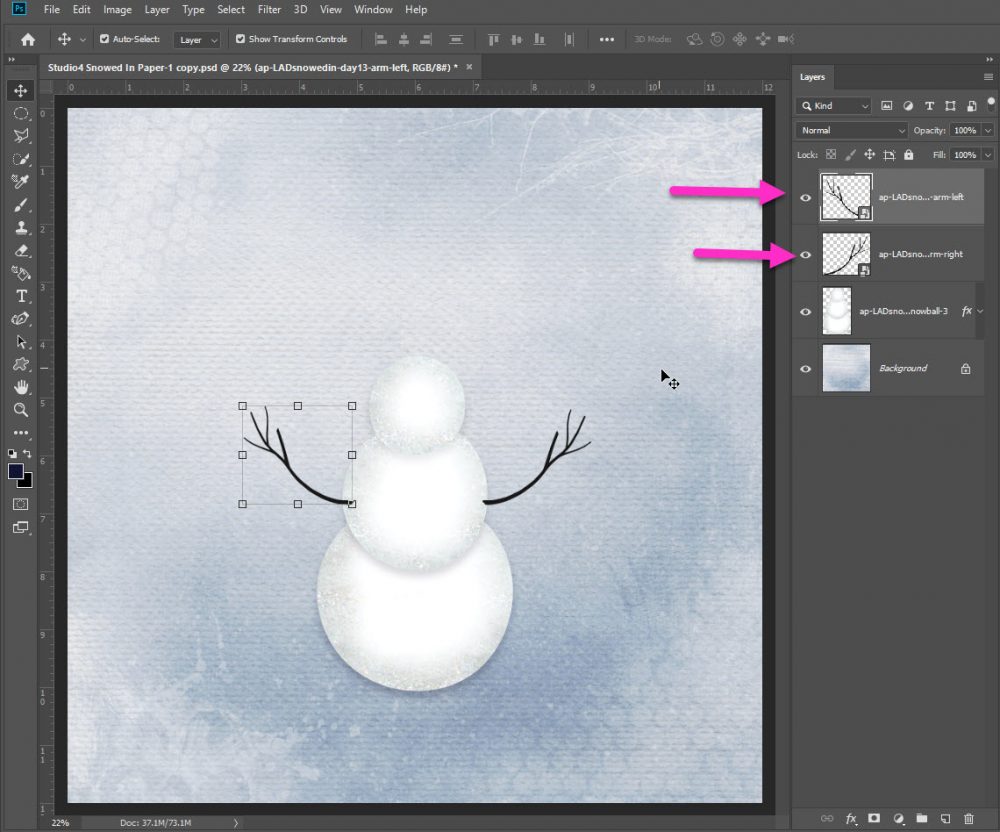
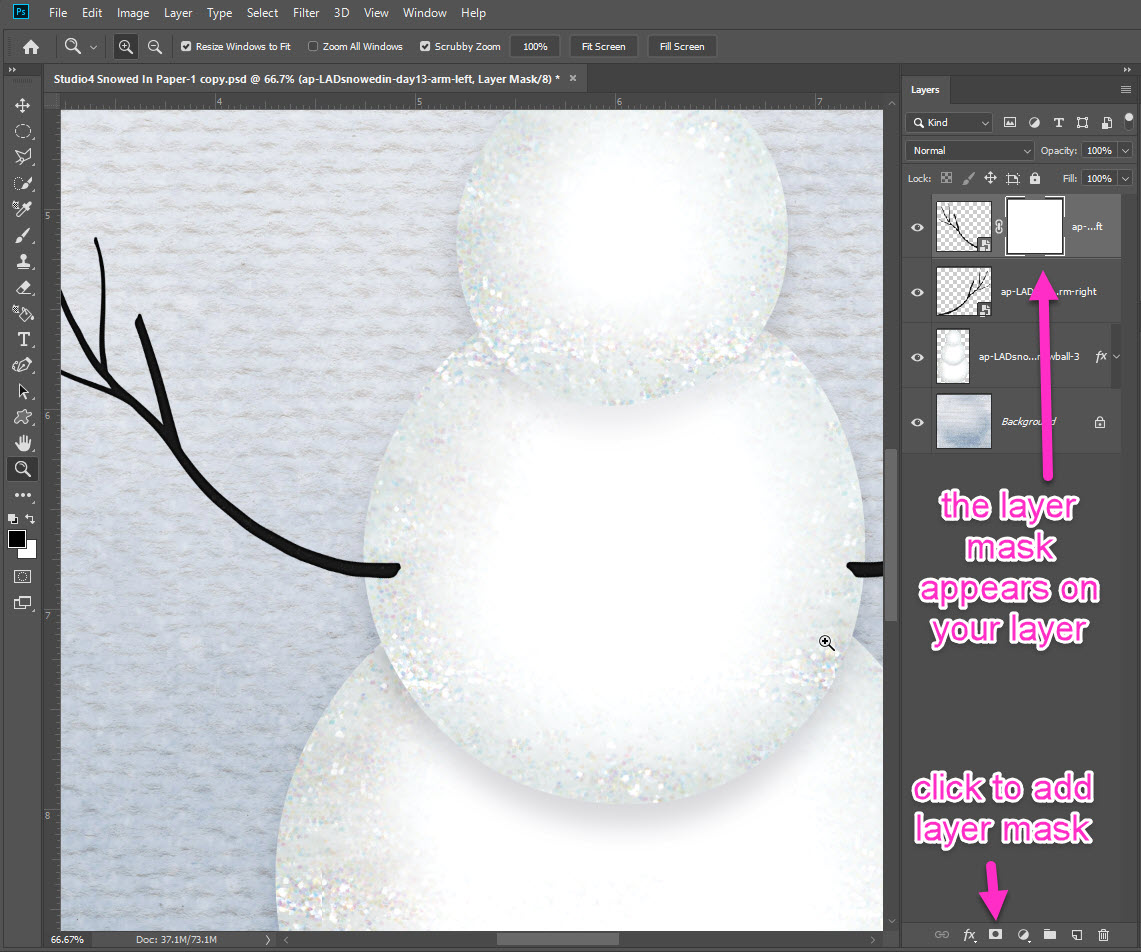
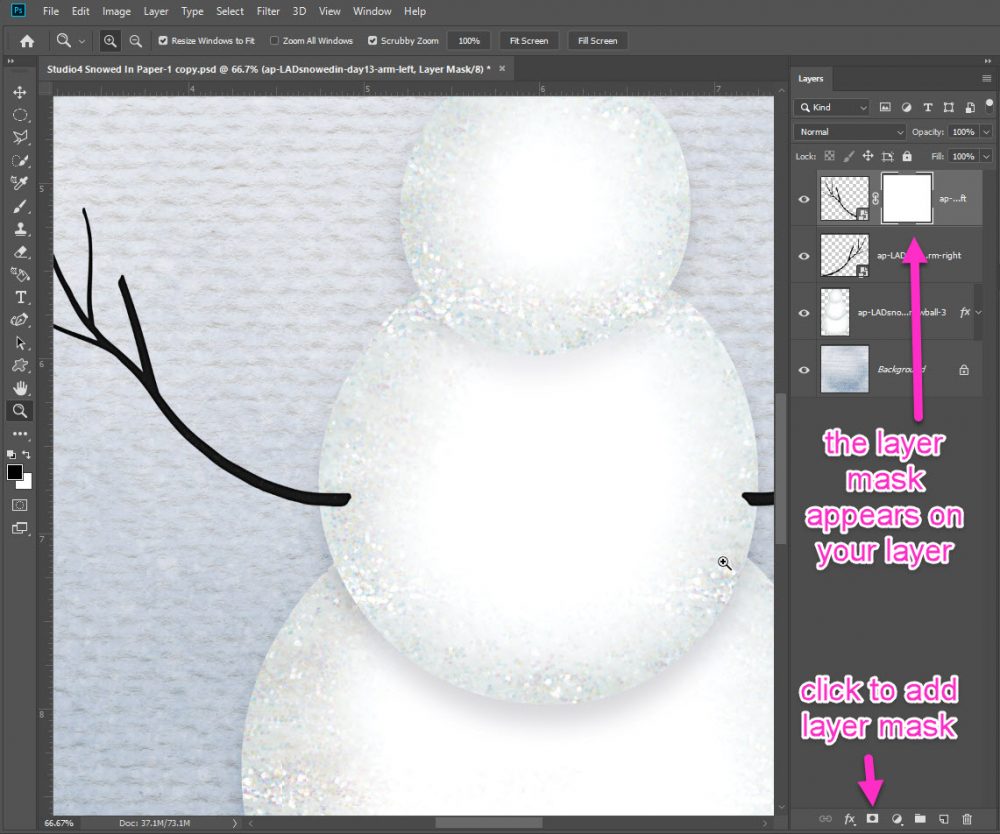
I’m going to zoom in so you can see what I’m doing. As you can see, the arms aren’t really integrated into the snowman. They’re just kind of there. I’m going to “fix” the arms by doing a little erasing & shadowing. First, I’m going to add a layer mask to each arm. You can do this by:
- Click on the “left arm” layer in your Layers Palette to select that layer
- Click on the Layer Mask icon at the bottom of the Layers Palette
- A blank layer mask attaches to your layer:
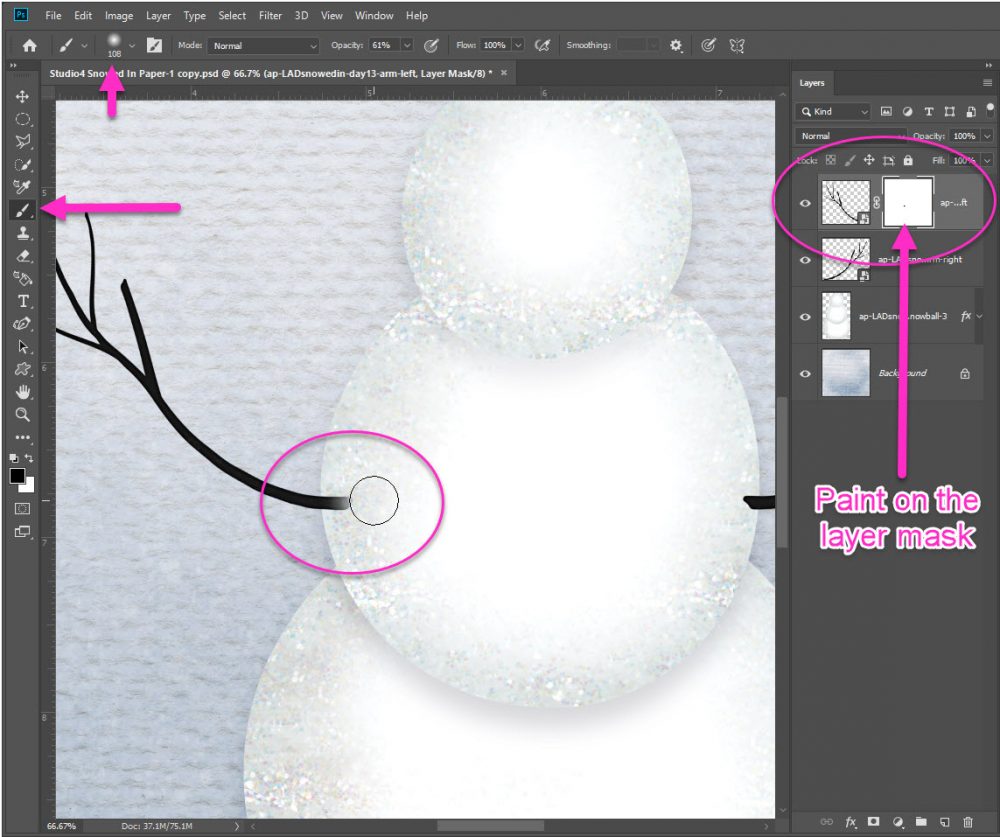
Instead of erasing pieces of the arm, I can now “Paint” away little bits of the arm. This helps give the illusion the arms are pushed into the snowman.
- Select a soft round brush, mine is set at 108 pixels
- I also set the opacity a little lower to give me more control, mine is at 61%
- To erase paint ON the Layer Mask in black
Note: Simply click the blank square to select the Layer Mask
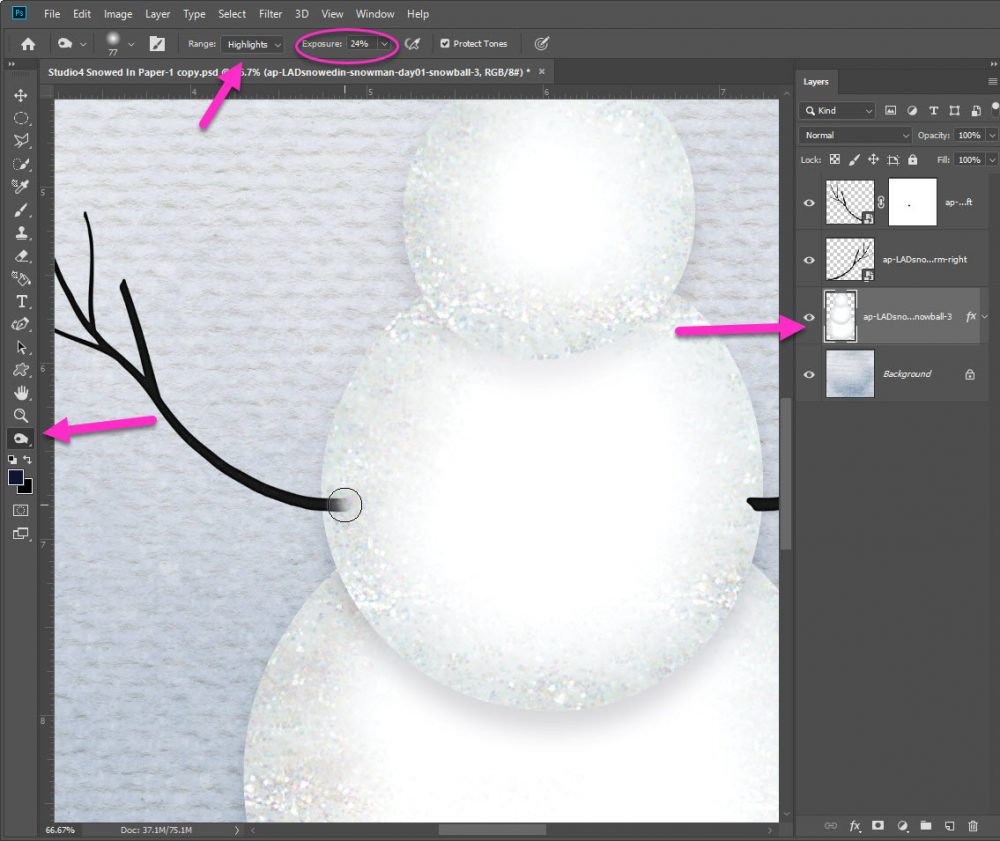
Once your arm looks like it’s fading into the snowman, it’s time to double down and make it look like it’s really stuck in there. I find the best way to do this is using the Burn Tool.
- Click on the snowman layer
- Select the Burn Tool
- Pick the Highlights Range
- Set Exposure to 24%
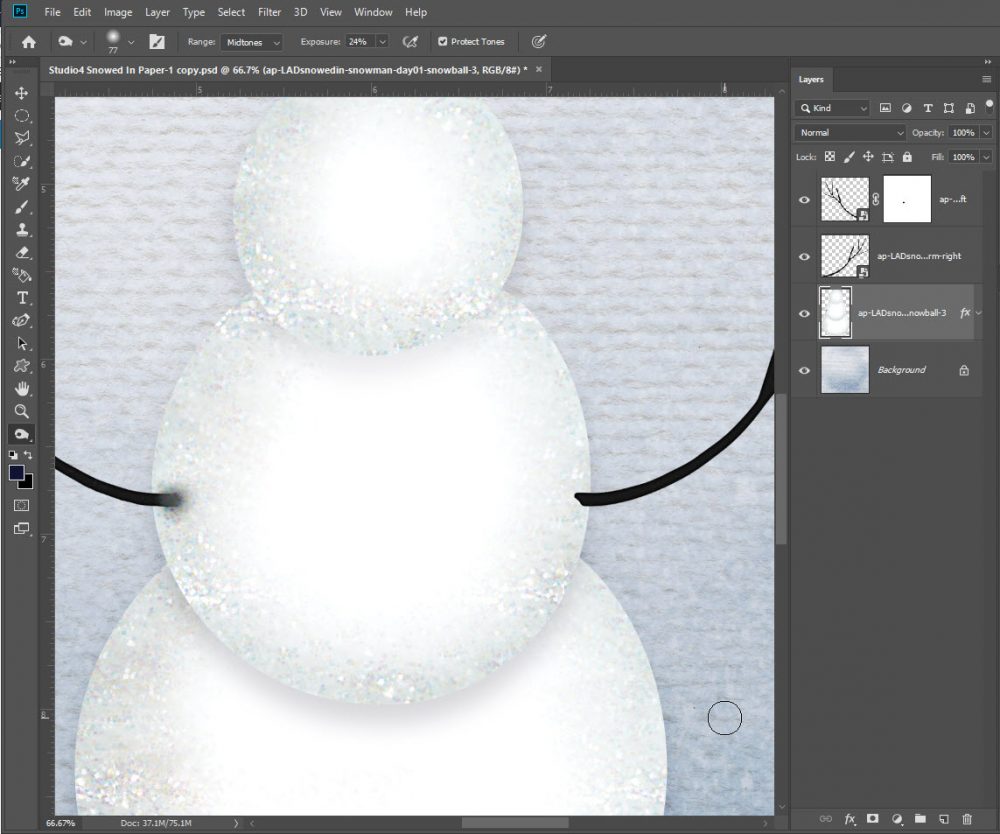
- “Burn” the area right at the end of the snowman arm till it looks right
See for yourself, which arm looks more realistic? The left or the right?
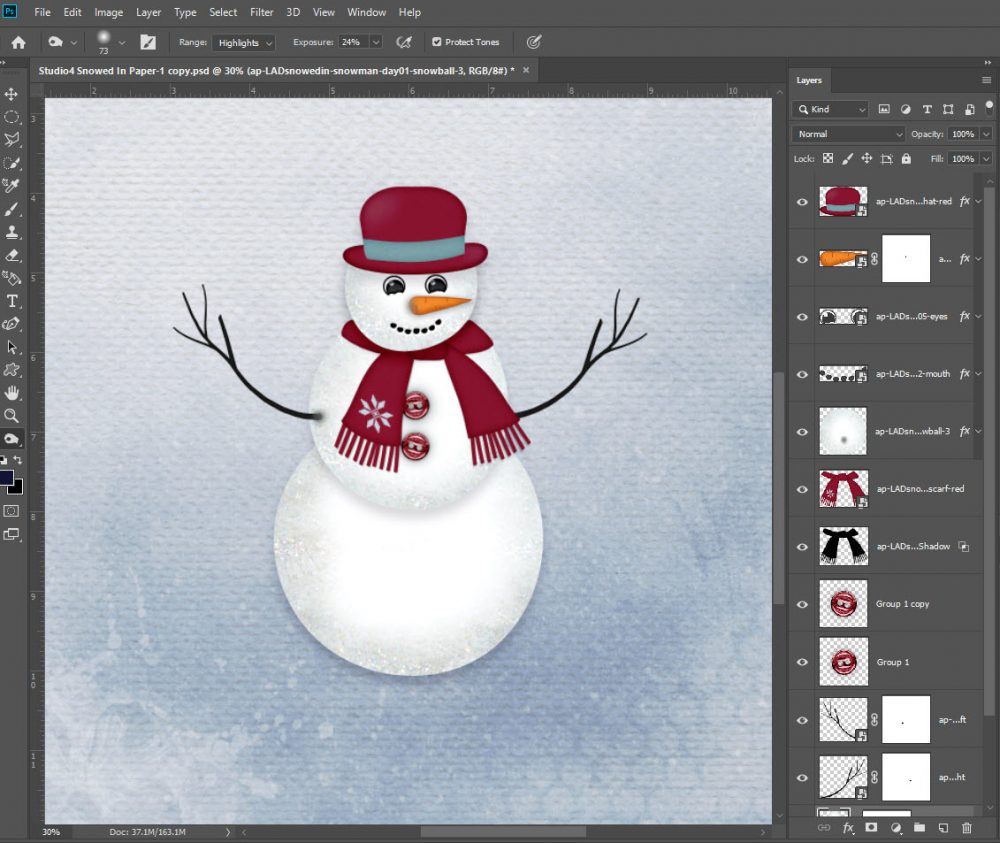
Now, finish “dressing” your snowman till you love him! Tomorrow he’ll make an appearance on your layouts. Are you ready?


Thank you for this Toiny!!! xo
Thank you very much <3
Get tips, thank you. Please keep the tips coming – I love them!
That was a cool lesson. I would not have done it that way… thanks so much. Be safe on your trip.
So as not to destructively alter your original snowman, you can also add a 50% gray layer above your snowman set to overlay or soft light and then use the burn and dodge tools non-destructively. You can also play with opacity and blur for more subtle or gradual transitions.
Great tip! Thank you.
How super cool! thank you so much! Be safe and enjoy your trip