Every scrapbooker or art journaler needs lots of fonts, right? Until recently, that wasn’t an option on iPad. With Apple’s release of iOS 13, users could install custom fonts on iOS — a terrific development for creatives who want to work on iPad! Not all apps support custom fonts yet, but it’s definitely worth researching to see if it’s available in the app you’re using.
Installing fonts is not exactly a straightforward process, but there are font manager apps to load fonts onto iPad. One app I’ve used is iFont, available on both iPad and iPhone. (freemium)
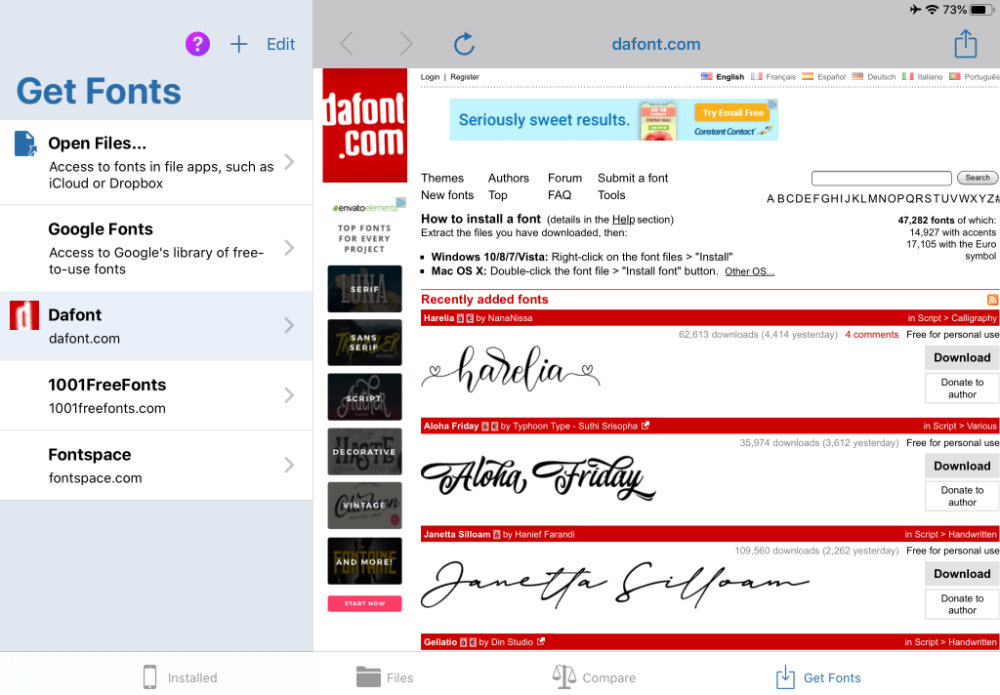
In the iFont app, the tab “Get Fonts” (bottom right) is where you head to browse iFont’s built-in links to font sites. You can add another site by tapping the +. For my layout’s title font, I chose Harelia by NanaNissa on dafont.com. My secondary text uses Farmhouse Country Sans by Beck McCormick, which I installed via Open Files. With either method, you have a series of alerts and back-and-forths to wade through.
Once you import the font file, tap on the Files tab (you’ll see a notification), find your font in the left pane, then tap install. You have to allow a configuration profile to be downloaded to the iPad.
Head over to the Settings app, and notice your you have a downloaded profile below your user name in the left pane. Tap through, agree to install, and swallow a little hard and hope this isn’t unleashing a beast onto your device. Haha. Just kidding. Sort of.
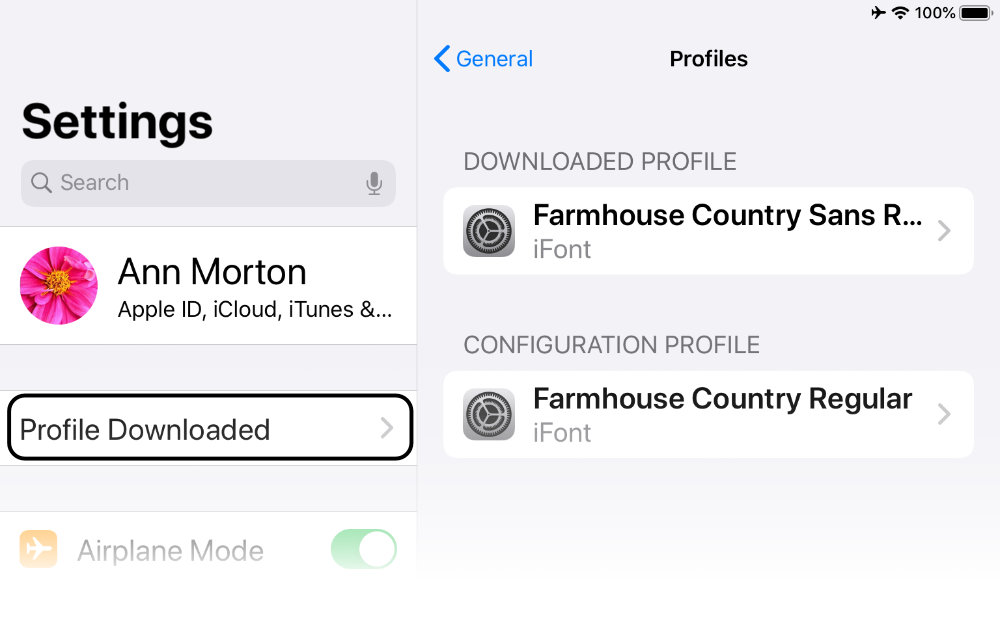
Finally, iOS tells you the font is installed. Now you can go over to Settings >> General >> Fonts to check out what you have installed. You can preview here or in iFont’s Installed tab.
TIP: Don’t forget to back up your downloaded font if the license allows it. In the Files tab of iFont, there is a handy Export button to back it up to the cloud.
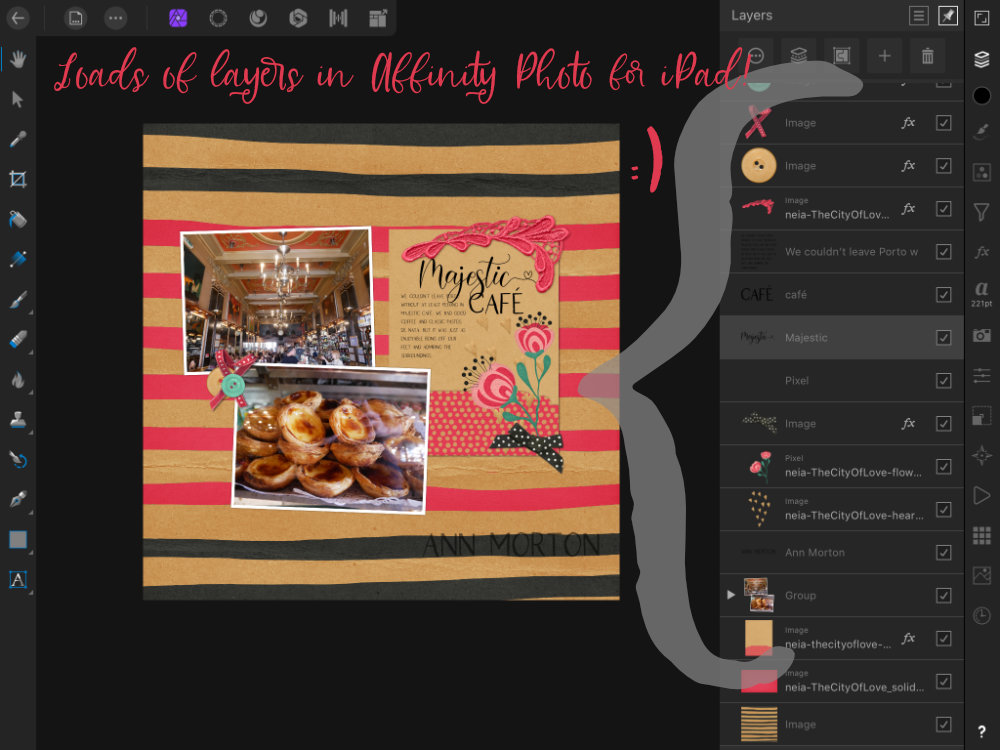
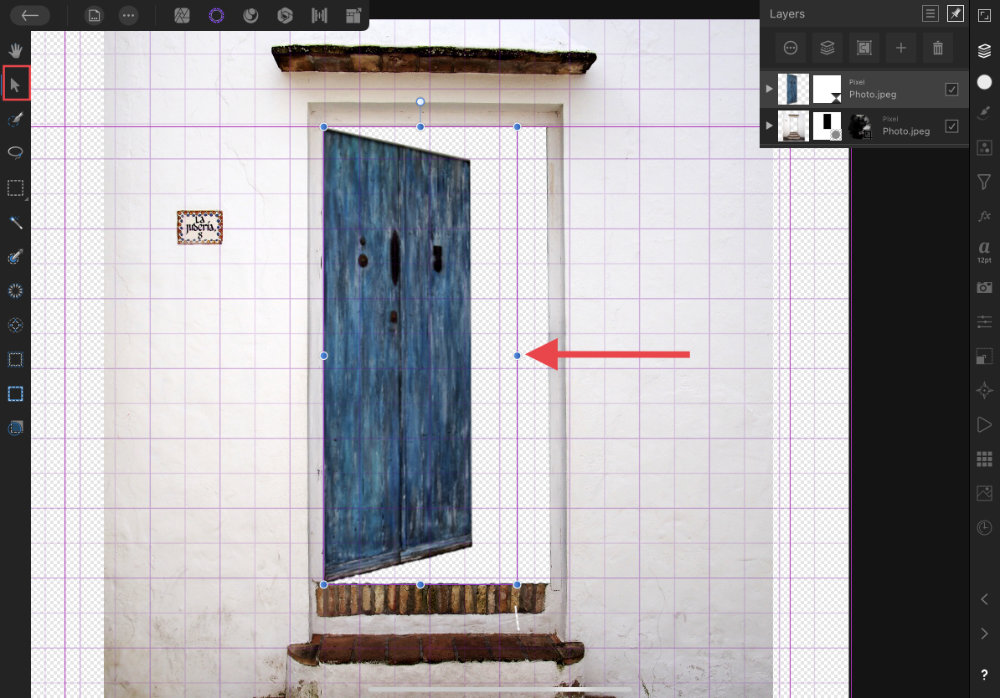
Now, let’s shift to creating. I used the app Affinity Photo by Serif Labs for today’s layout. This is my go-to app for more in-depth scrapbooking, art journaling, and photo editing, and a preferred app when I want to include typography.
I created my layout with Neia Scraps’ On Location: City of Love bundle.

If you are new to Affinity Photo, take time to explore the Tools and Studio bars (left and right, respectively). Affinity’s text tool toggles between Artistic Text (great for titles) and Frame Text (great for journaling). The Text Studio, on the right, is where you customize your text.
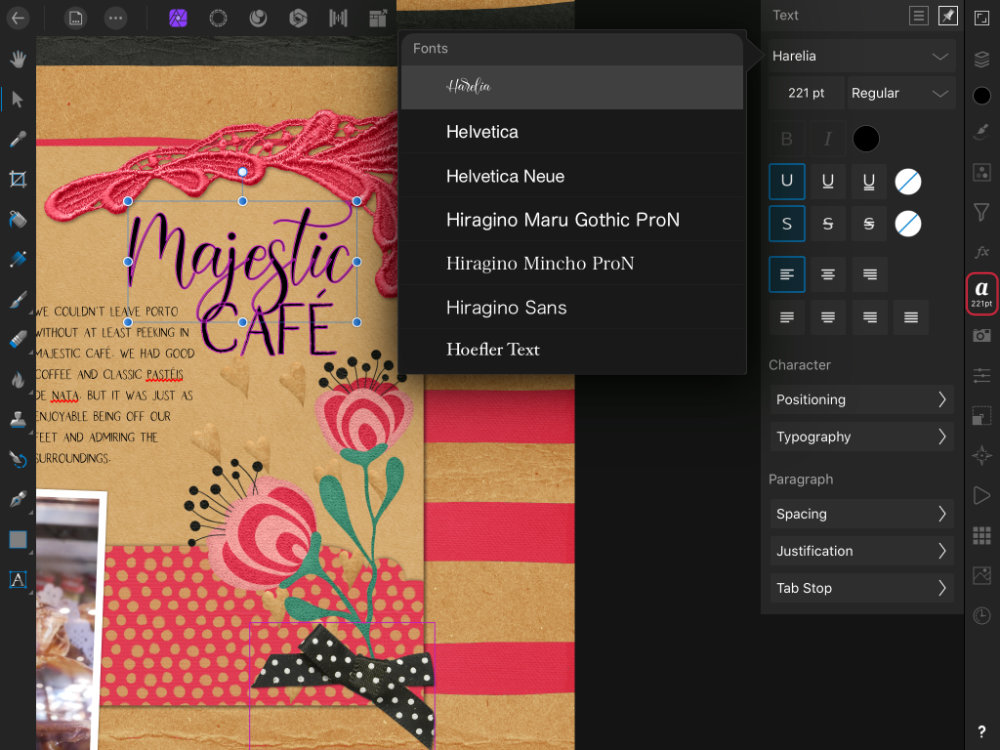
To create the title, tap the Text Studio (right menu) and choose a font, adjust size, etc.
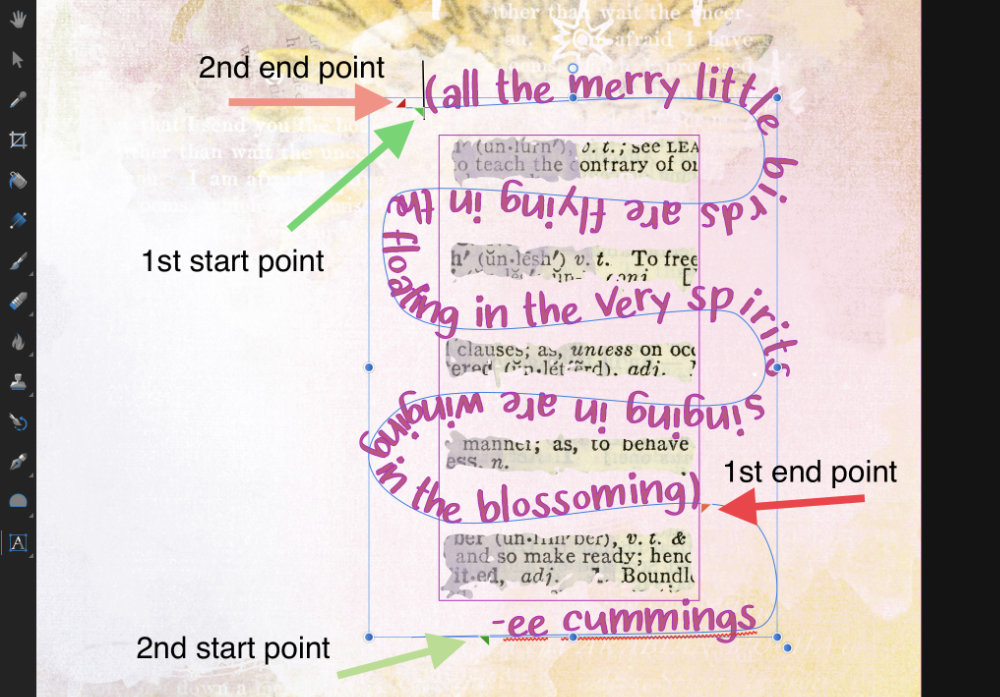
Next, tap the Artistic text tool (left menu). Tap and drag your finger across the layout to add the first letter of your text, then type your title.
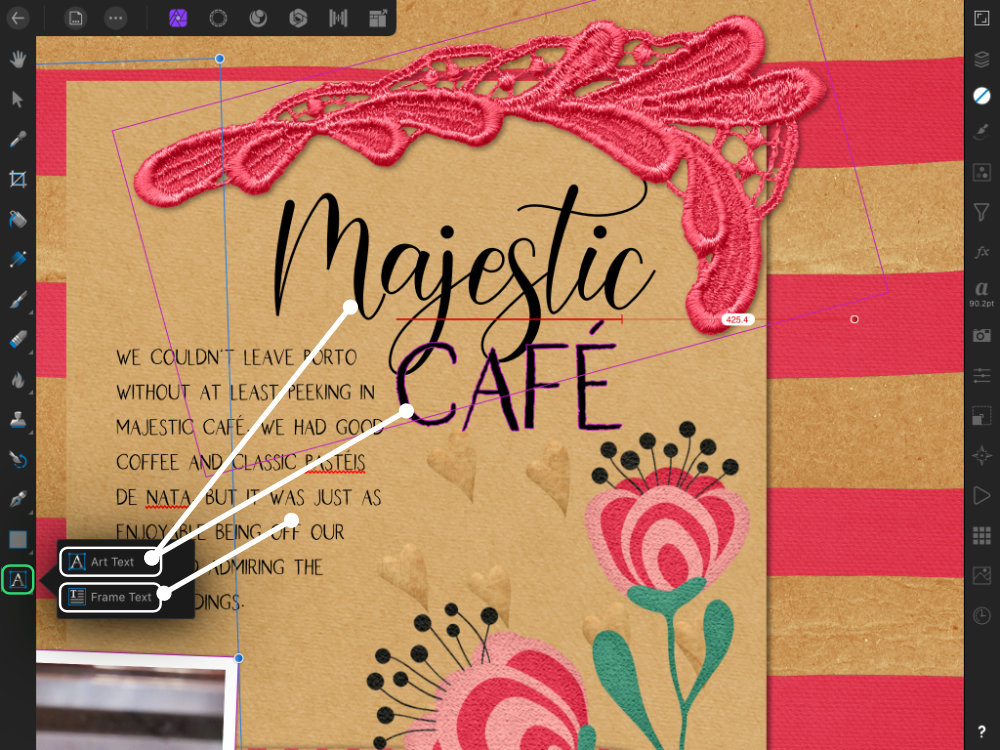
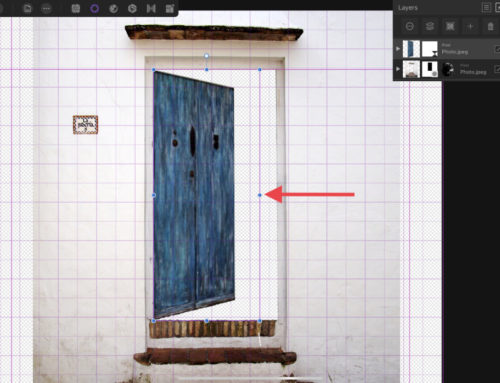
For the frame text, tap and drag to create a text box. To change your font, tap the Move tool (arrow icon) so the whole layer is selected, and font changes will apply to the entire layer. Next, open the Text studio to adjust font settings.
In most apps, you double-tap to select text, then tap + drag to highlight or place cursor. This version of Affinity Photo doesn’t handle text selection quite that way. Using the Move tool to select a text layer makes for a smoother workflow.
I hope this has been a helpful, albeit brief overview of installing and using custom fonts in your layouts. I’ll be back soon exploring more about scrapbooking on iPad.
[…] more on font installation. Last post, I wrote a little about how to load fonts to iPad using the freemium iFont app. Affinity Photo for […]
[…] You can adjust the size and color, or choose a different alignment, like centered. Or, try out different fonts you’ve installed. […]