Hello! It’s Ann back with another tutorial. In today’s post, I’ll show you a couple of ways to use text on a path to make text lines, curves, and shapes in Affinity Photo for iPad.
This technique is pretty straightforward. There are only 2 components: text (obviously), and a path. What’s a path? Paths are vector (i.e., scalable, infinitely-up-size-able) lines or shapes. You can create paths two ways in Photo: with the Shape tool, or the Pen tool.
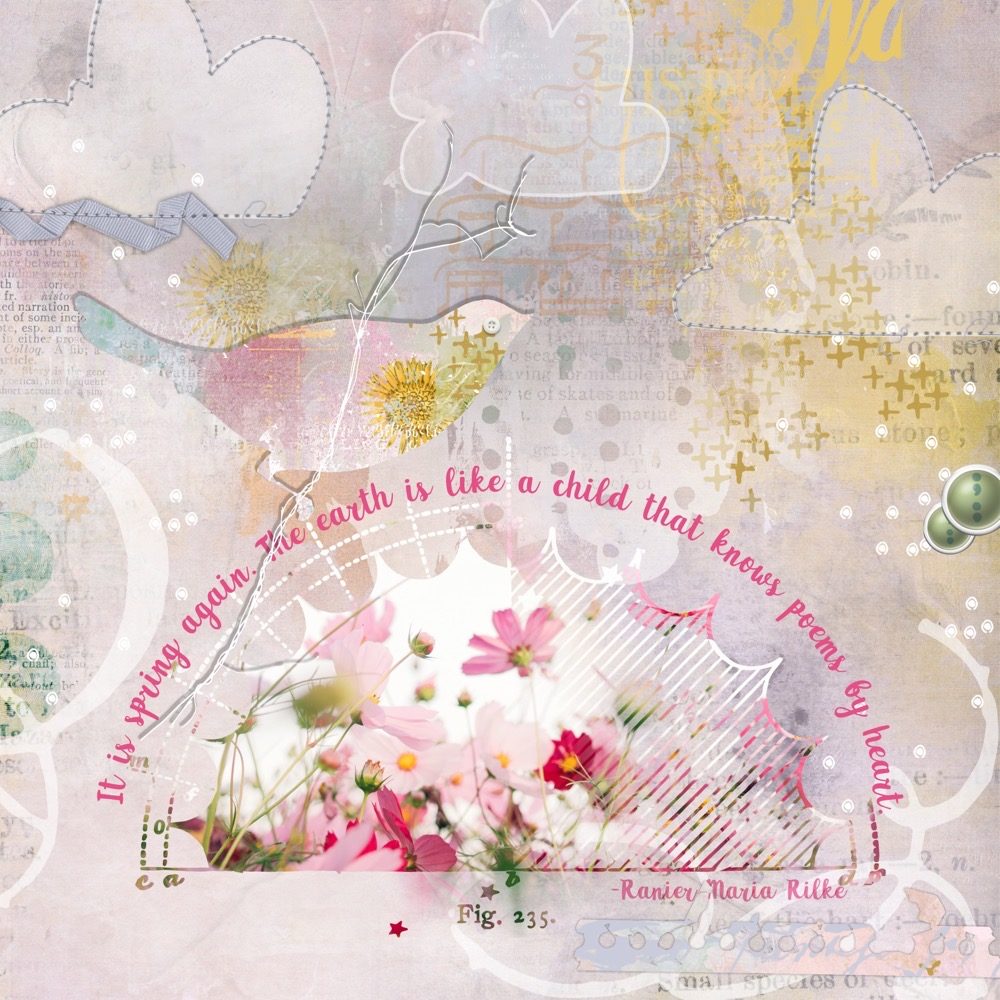
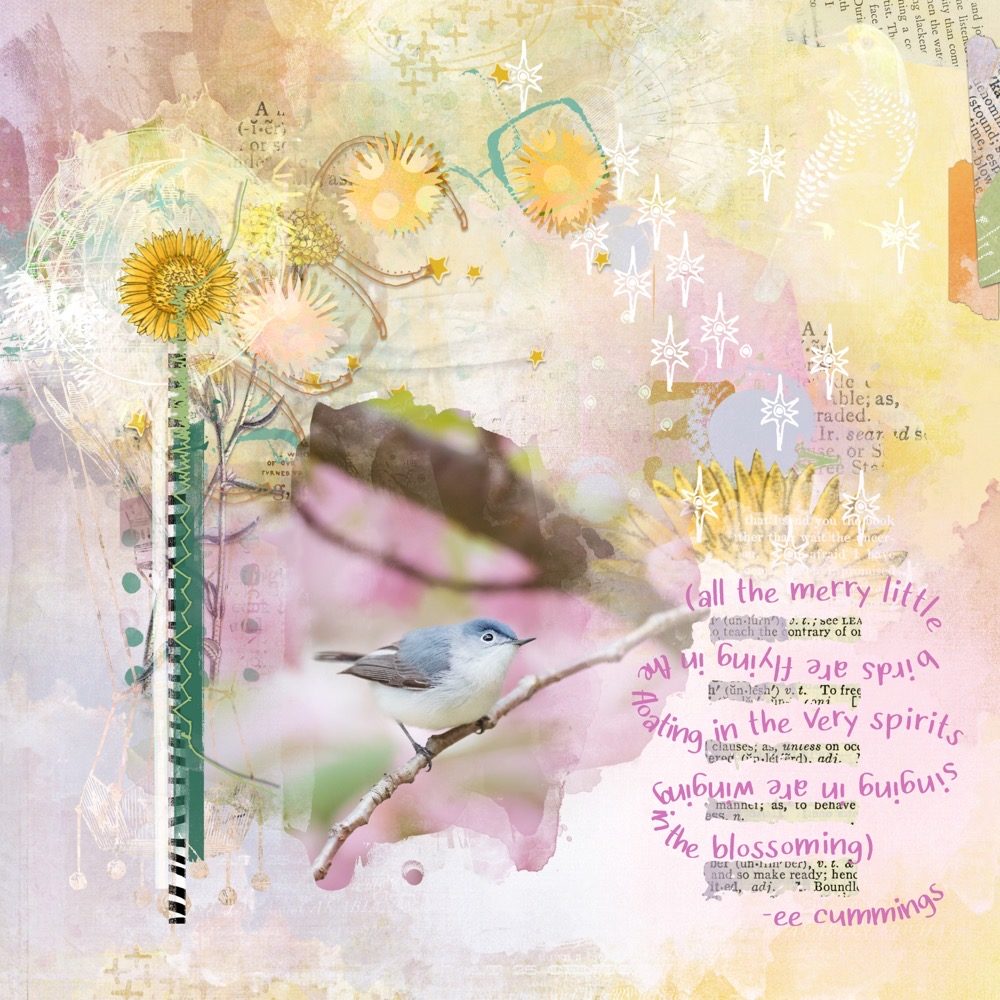
The image above was created with the shape tool. Below, I made a more free-form path with the Pen tool.
First, I’ll show you how to create text on a path with a shape. Select a shape from the fly-out menu (tap on the rectangle). Photo has lots of great shapes already built-in. Drag across your canvas to create your shape. Adjust using the red nodes as needed.
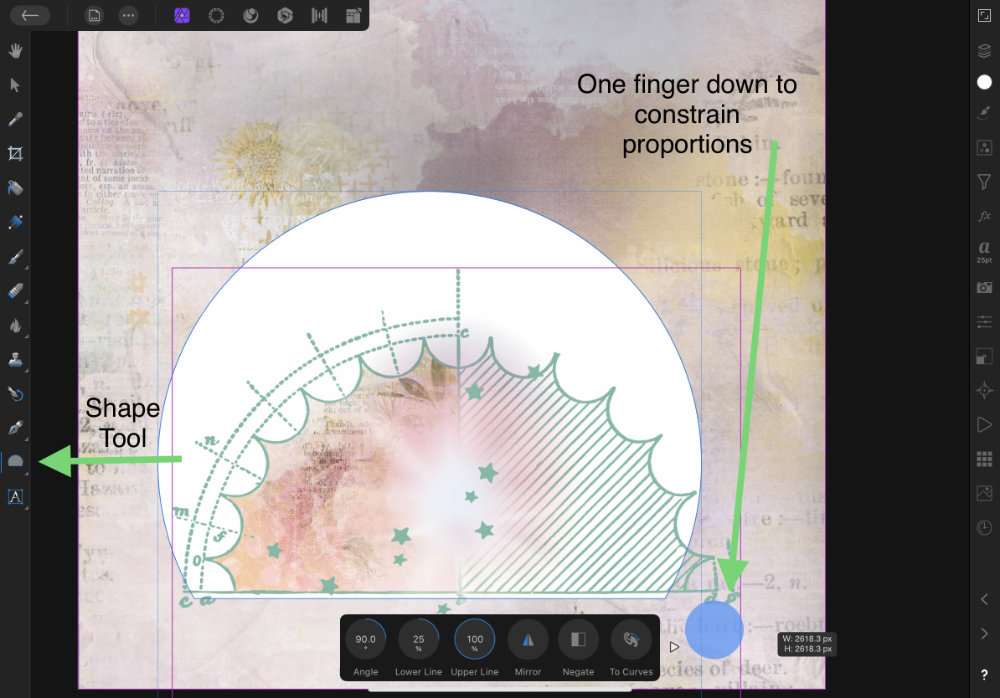
Tip: Hold one finger down as you draw to constrain proportions and draw a perfect shape.

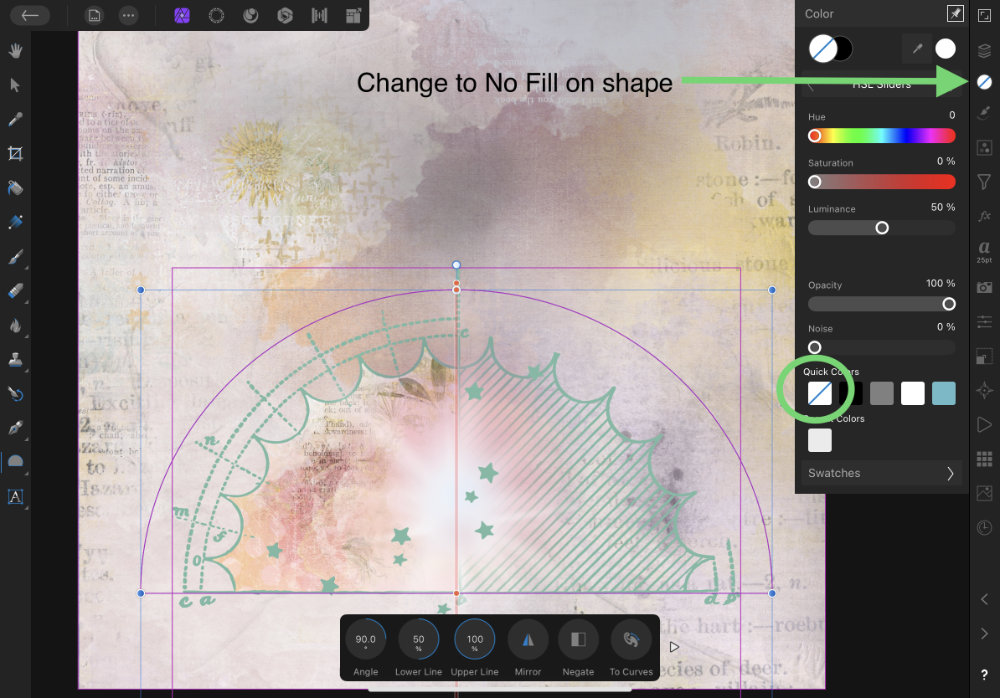
Your shape may default to having a fill color. To make the shape fill empty, open the Colors Studio, and tap to set No Fill.
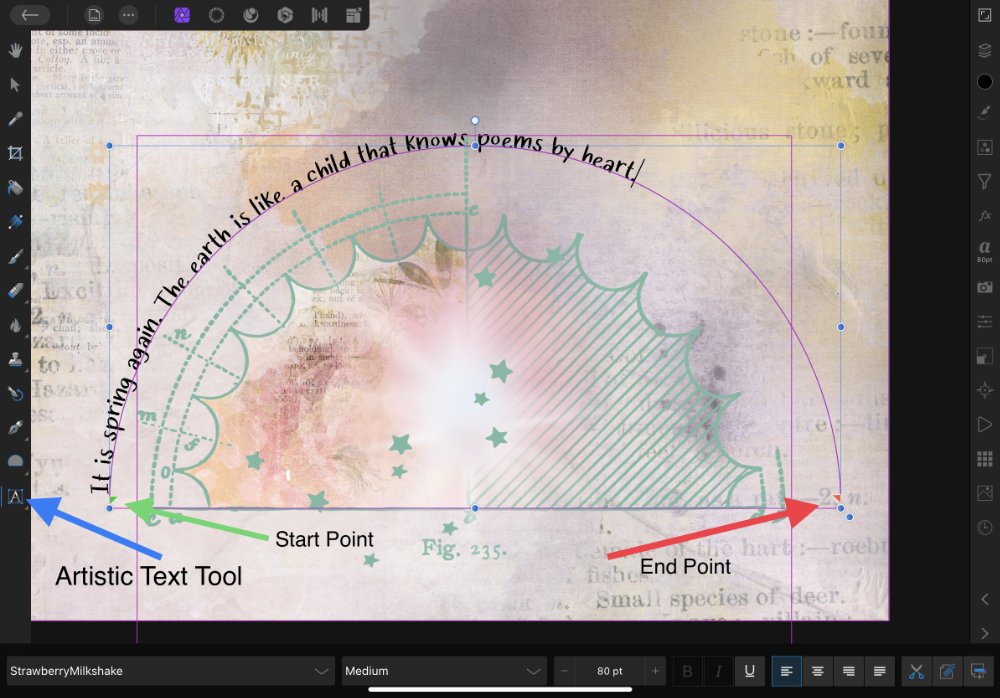
Now, select the Artistic Text Tool (the text button with the A). Select a font and size from the toolbar at the bottom. You can adjust this later. Hover just over the outline of your shape, then tap, and type or paste your text from the clipboard.
Now, open the Text Studio, and adjust your font. Be sure the Move Tool is selected, so changes apply to the text.
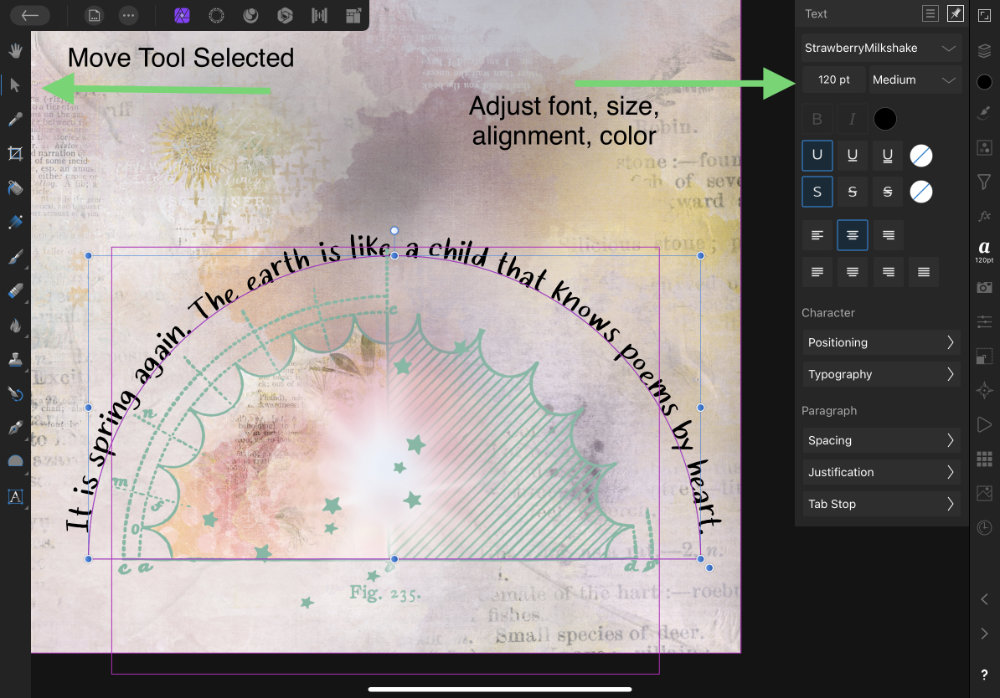
You can adjust the size and color, or choose a different alignment, like centered. Or, try out different fonts you’ve installed.
Tip: To install a font within Affinity Photo, you can exit to the Gallery. Go to Settings -> Fonts and tap the cloud button to grab a new font. But note – using this method installs the font only for Photo.
You’ll likely need to do some more fine tuning for your text on a path. Notice the little green and red arrows beneath the line? Those indicate your start and end points. You can slide both to adjust the position of your text on the path.

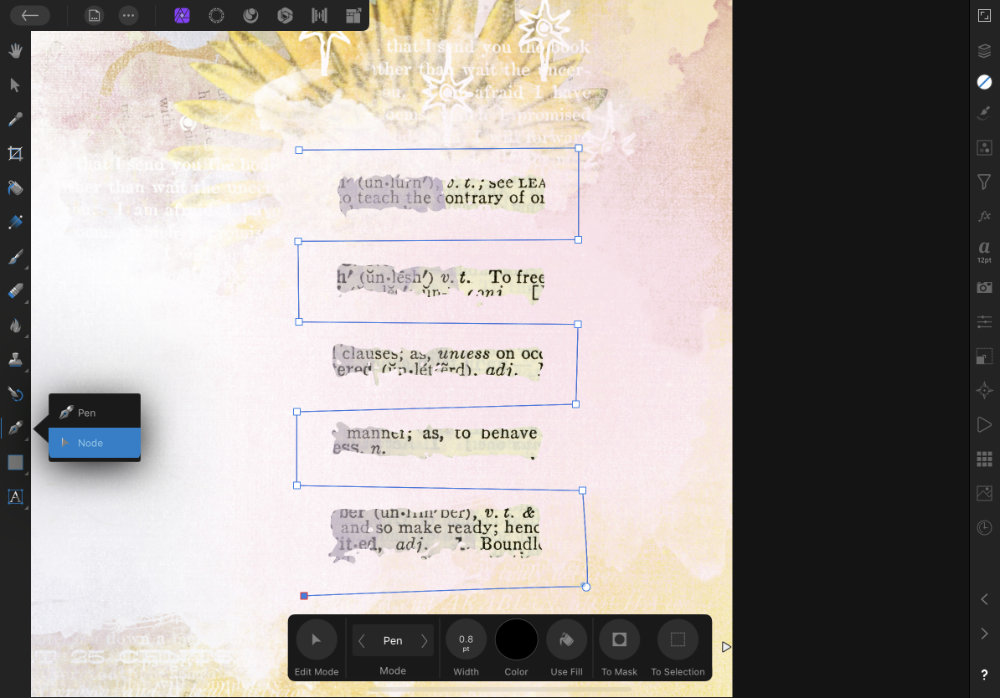
The second way to create text on a path is using the Pen Tool, drawing a line or curved line. Tap on the line to type/paste your text.
Here’s a quick trick to make wavy lines. With the Pen tool selected, I tapped to add multiple nodes to make a line with sharp corners that weaves in between the text strip element.
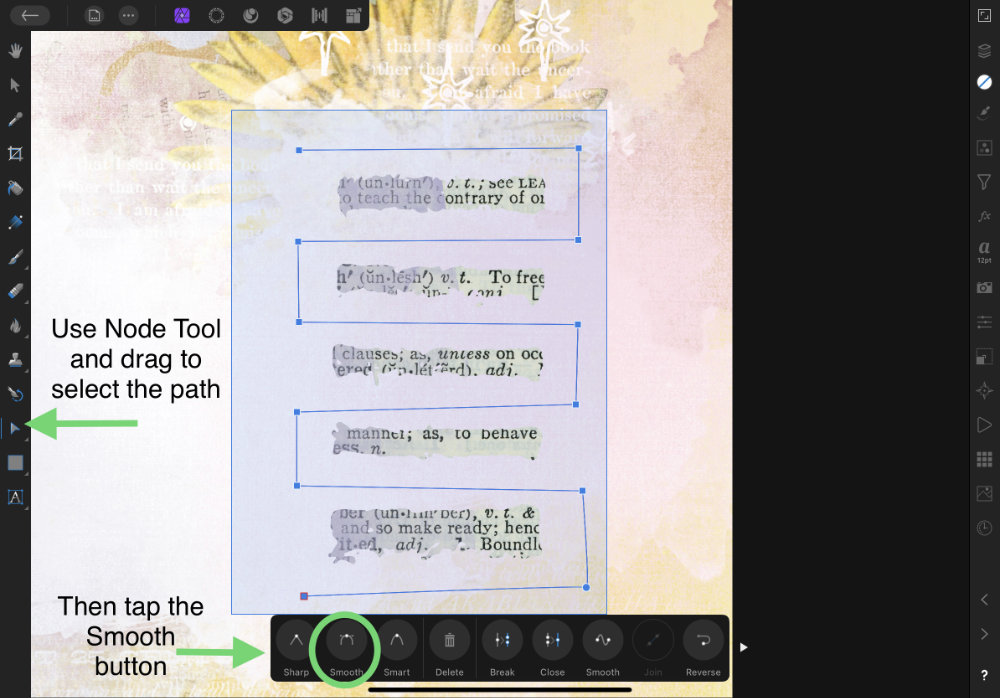
Switch to the Node tool, and drag across the path you just created. This selects all the nodes at once. Now, tap the Smooth button at the bottom – insta-curves!
Select the Artistic Text tool, choose a font, and type or paste your text on the line.
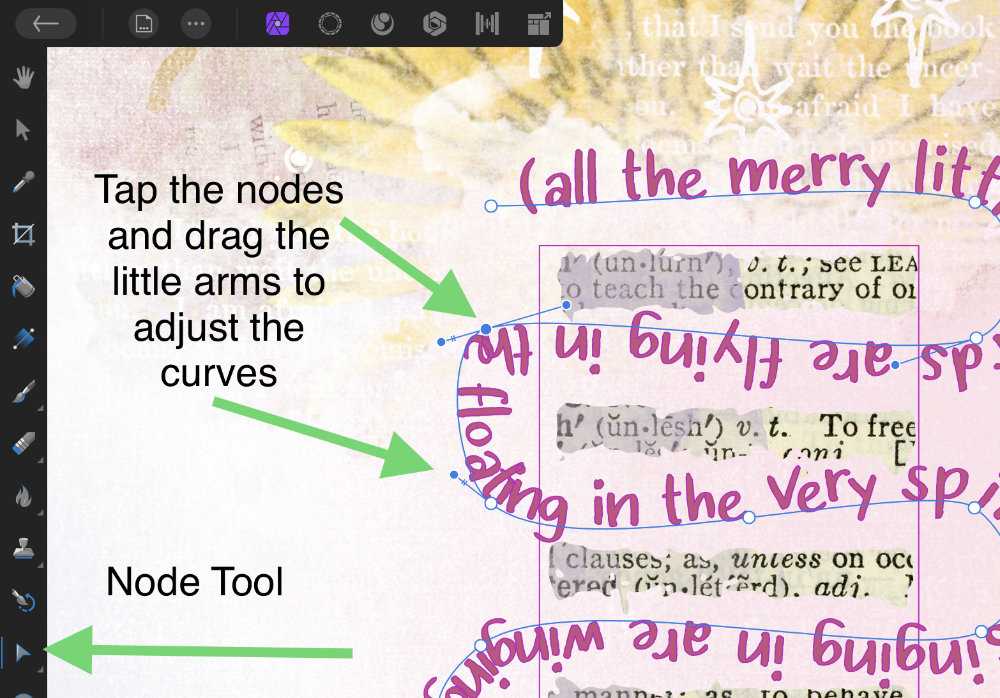
Adjust the curves of the path using the Node tool, dragging the handles on the nodes in / out / up / down to make the text flow like you want it to.
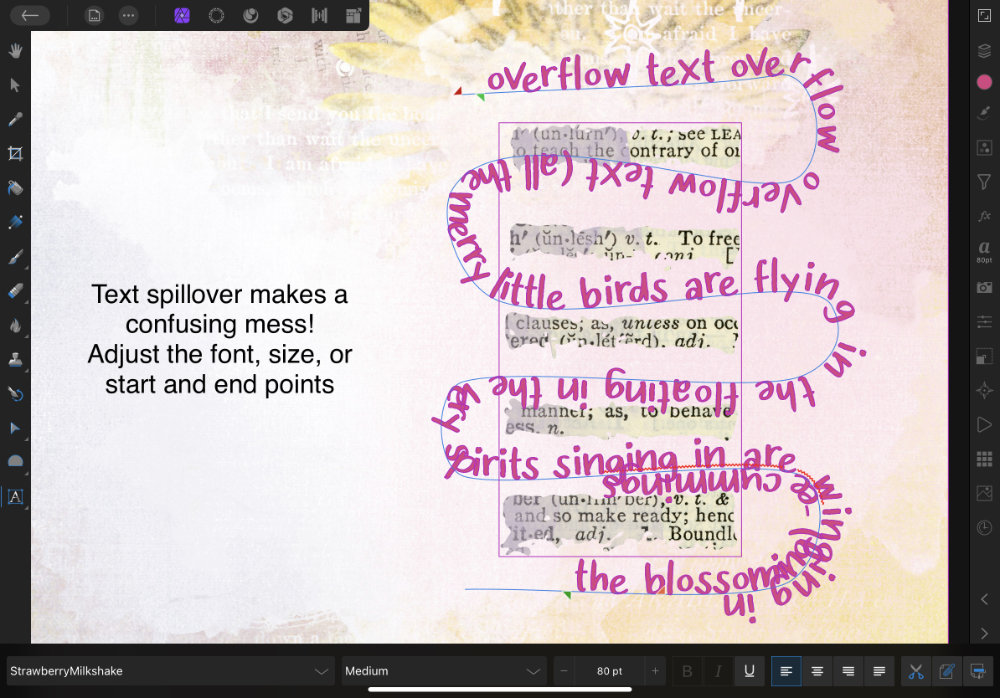
If your text continues beyond the red end-point, it flows to the opposite side of the path. When this happens, another set of start and end points appears for text on the flip side of the line. You can fix this by adjusting the font size, or the font itself. I added some extra text, below, to demonstrate how it looks.
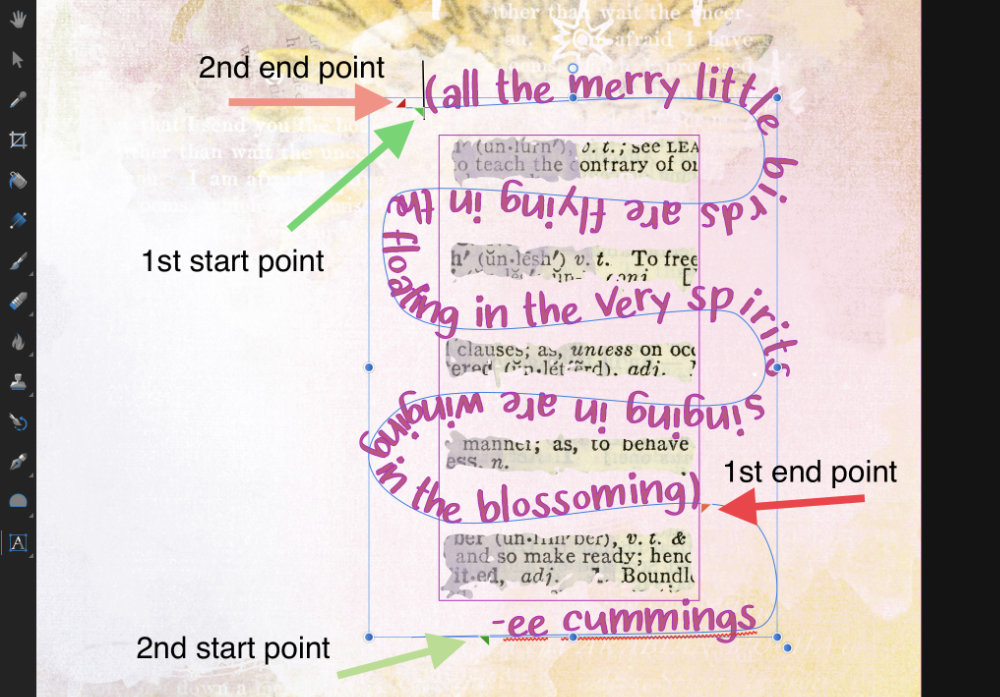
But – you can also use this feature to separate one extra piece of text, like I did here with the author’s name. I positioned my end point just after the quotation. Then, I slid my 2nd start point to position the author’s name.
The sky’s the limit with ways to use text on a path. Have you tried this technique? What cool lines and shapes have you made?
For these layouts, I used Jen Maddocks’ lovely Bricolage Monthly March 2021 kit.


Leave A Comment