Do you ever find yourself leaning toward your computer screen or squinting your eyes to get a better view of the project you are working on? Even with new glasses, I still find myself doing that at times. Today I would like to explore with you one of my favorite Adobe Photoshop tools, the Navigator Panel, which helps me when I really need to see something in a different view.
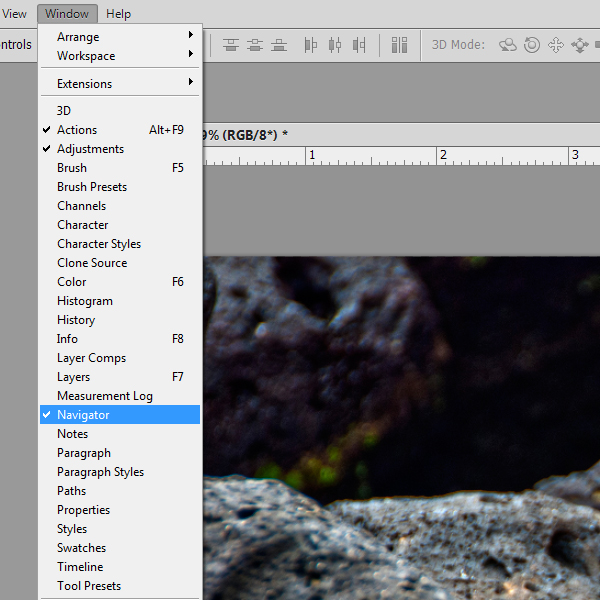
If you don’t see your Navigator Panel, go to the top menu bar in Photoshop and select Window, then in the dropbox menu check Navigator.
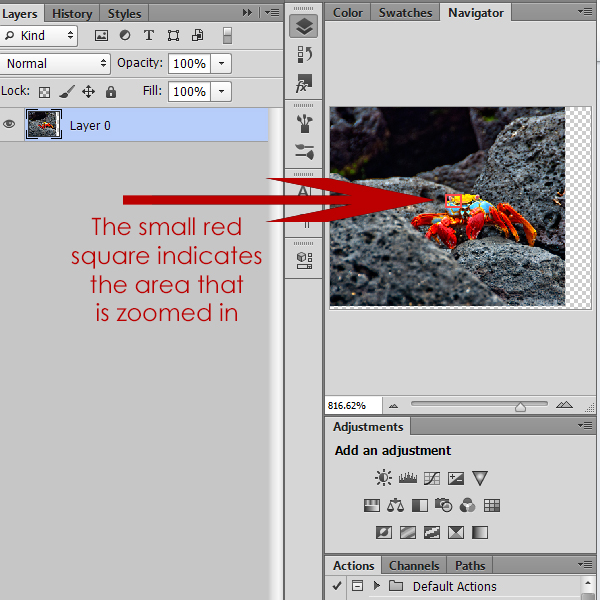
The purpose of the Navigator Panel is to give you an overall view of your image, as well as give the the ability to navigate through the document and/or change the size of your image easily. Viewing your image at Print View gives you an overall feel for your image, but zooming into your image will allow you to more easily focus on small details that you would like to work with.
There are several ways to change the view size in the Navigator panel:
1. Drag the slider to the right to increase the zoom or to the left to decrease the zoom.
2. Click on either the small or large mountain icons, located to the left and right of the slider, to decrease or increase the zoom.
3. Enter the percentage that you would like to increase your image by in the Zoom Box on the left.

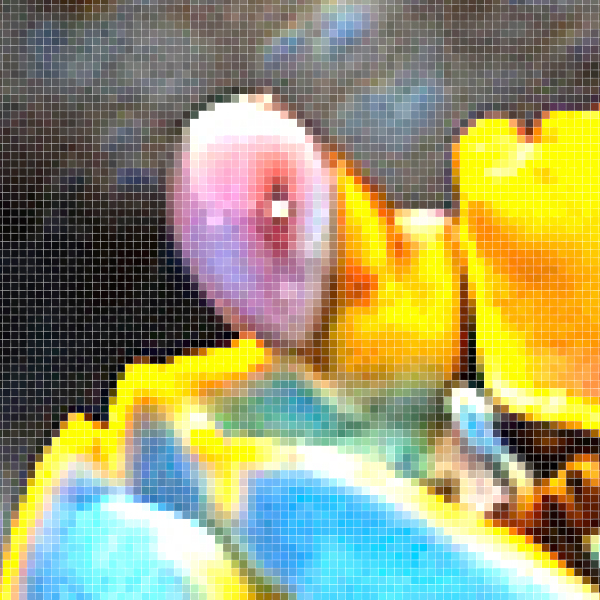
And, as with most Photoshop Tools, there is also a great shortcut! Hold down the Control Key, then drag in the View box around the area that you would like to zoom in on.
I wanted to see ALL of the color variations in this crab’s eye, so held down the Control Key, and dragged about his eye.
This is the zoomed in image of the crab’s eye. I was amazed at the color variations there!
Here’s another tip! You can also hold down the Shift Key and then drag in the view box, either horizontally or vertically, to constrain the view options in those directions.
I LOVE using the Navigator Panel and find it extremely helpful, not only to see an image up close, but to switch back and forth quickly and easily from a Zoomed In View to a Print View.
The Navigator Panel is also available in Photoshop Elements (I am looking at Version 11, and I assume it is in previous versions as well). In Elements a Zoom Slider is available, and the Control + Drag Shortcut works. Elements users will not have the “mountain icons” or the “percentage zoom box” available.
If you find larger views in Photoshop are helpful for you, you might enjoy reading the following tutorials:
Bigger previews for your fonts
Can you Read this?
Adjusting Thumb Nail Images
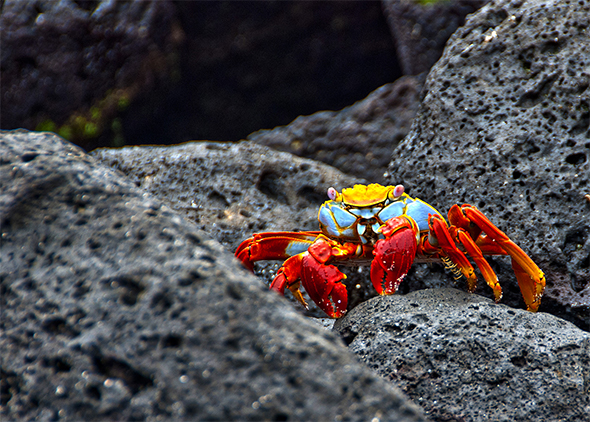
And just as a matter of interest, the photo I was working with in this tutorial is one I took in the Galapagos Islands of the Sally Lightfoot Crab. It is indigenous to the Islands and was simply amazing to see! This image was NOT Photoshop enhanced. The brilliant colors are unique to this amazing animal!


[…] Change your View Size with the Navigator Panel – 1 freebie(s)? […]
This was great. I tried it and love knowing about this. Certainly will be great using when my eyes start giving out. Thanks so much.
WOW what a fabulous creature and the photo is amazing, thanks for the tip, really good one too.
Another nice tut. Will this Beautiful Crab be Starring in one of your kits?
🙂 Thanks, Carol, Faith, and Amberpony. I’m glad this was helpful for you!
And putting the crab in a kit… a very good idea! Will have to think on that. It’s it just amazingly beautiful???