Did you know that you can apply a shadow to a Group in Photoshop? I didn’t for the longest time! Here’s how!
Below is an image showing 2 groups. Each group contains letters which spell one word.
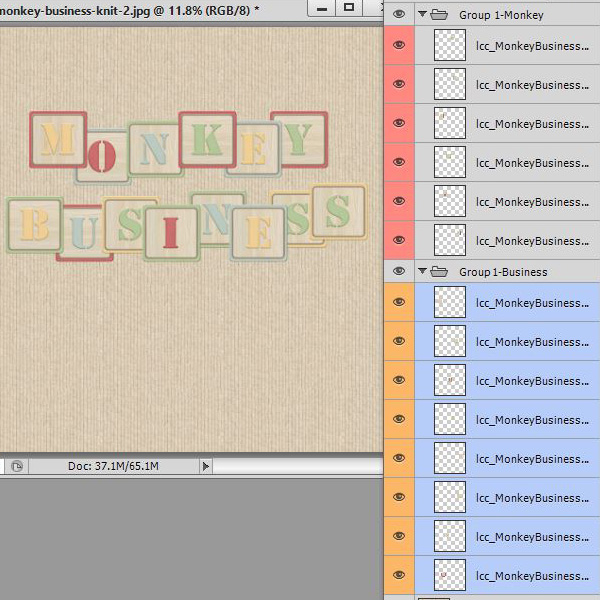
(If you are wondering how/why some of the layers have a colored label, read Giving Photoshop Layers a Color Label on our blog.)
I would like to add the same shadow to every layer. Typically I would select the first layer I would like to shadow, hold down the Shift key, then select the last layer I would like to shadow. Doing so would select the first, the last, and all of the layers in-between. When I next clicked on a drop shadow style, it would be applied to all selected layers.
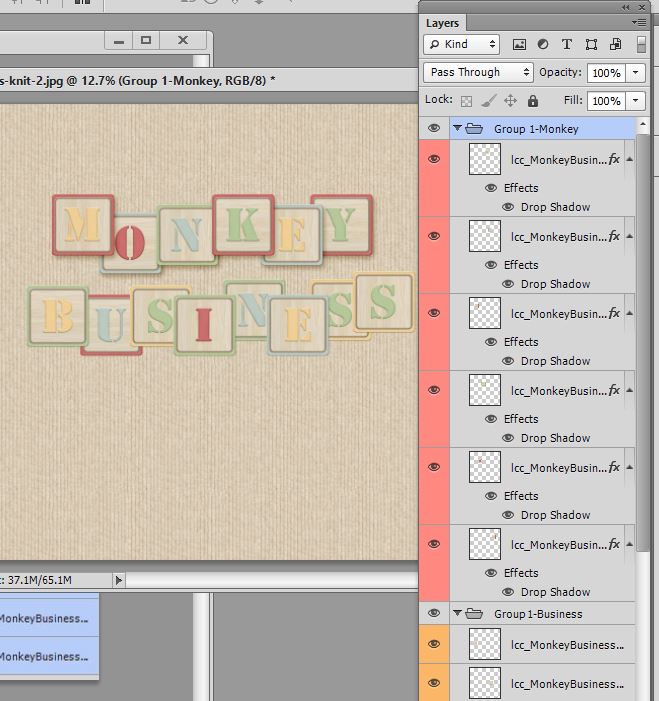
An alternative way, when you have items in groups, is to just click on the Group Name and click on the style you would like to apply. All of the layers will be shadowed, just as in the above noted manner, but in a simpler, faster way.
In the image below I have selected the Group 1 – Monkey layer, clicked on my shadow style, and the task is complete… without any selecting of layers.
This is just a very quick tip to make applying shadows to multiple items save you a few seconds. And in the course of the day or a week, saving seconds can definitely add up!
Note: Groups are not available in Photoshop Elements. Photoshop CS6 was used in the screen shots for this tutorial.
Credits: The alpha in the images above was created by Lou Cee Creations, and will be included in a new collaboration with SnickerdoodleDesigns. Think feisty, think mischievous, think fun!


[…] Shadowing Elements in Groups in Photoshop – 1 freebie(s)? […]