Have you ever finished creating a layout and then decided you wanted to make a change on just one element? What process do you go through to do that? I used to open the element from my kit file once again, make the change I wanted to make, move the newly-altered element into my layout, and then delete the element in my layout I didn’t want to use. This could take time, and didn’t seem particularly efficient.
I found an easier way, and it has to do with Smart Objects.
If you are unfamiliar with Smart Objects, you might like to read one of my previous tutorials, How smart ARE Smart Filters, before proceeding.
Here is a layout, created by Renee (a member of my Creative Team). using Rocky Mountain Dreams.

I love all the choices Renee has made; but let’s change the color of the text, just to see how easy it can be to do that.
In the image below, Renee’s text, “Canadian Rockies,” is selected. It is a Smart Object; and we can tell that it is because of the presence of the little square icon in the lower right corner of the layer.
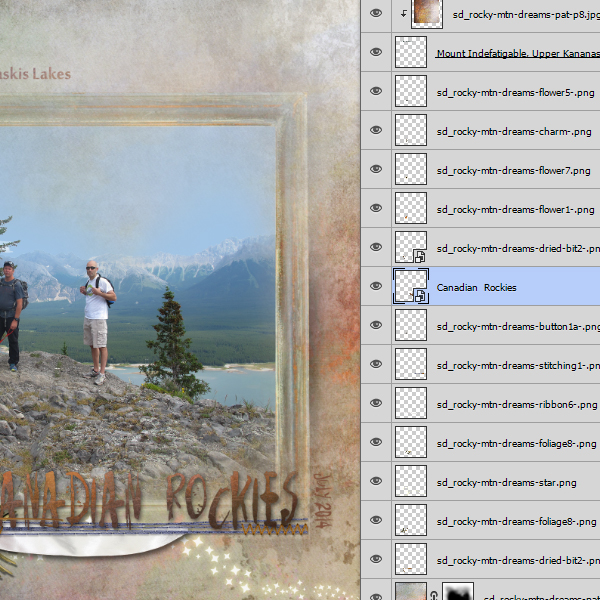
(If your text and/or element was put on your document by using the Place command, it will be a Smart Object. If not, and you will need to make it a Smart Object by right clicking on its layer and choosing: Convert to Smart Object.)
If we double click the icon on the “Canadian Rockie’s layer, we will receive this message:
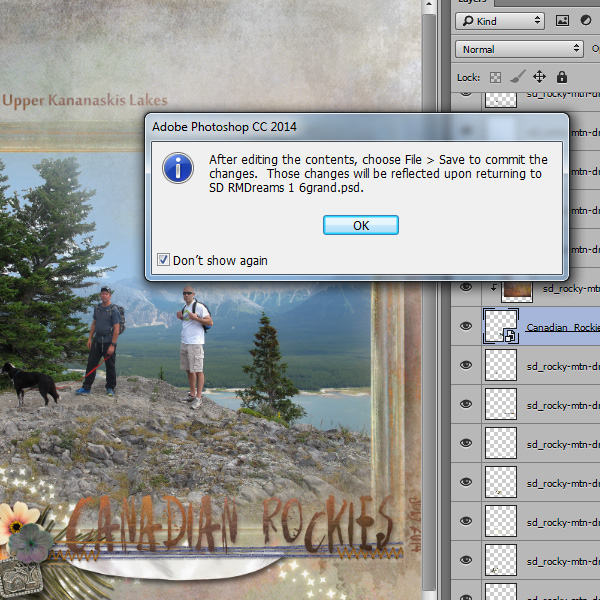
When we click “ok,” we will see the text, “Canadian Rockies,” pop up on its own layer, ready for us to edit:

I gave the text a green Color Overlay, then clicked on “Save,” as advised.
Not only do I now see the green color in the pop-out text layer, but it is also reflected in the layout.
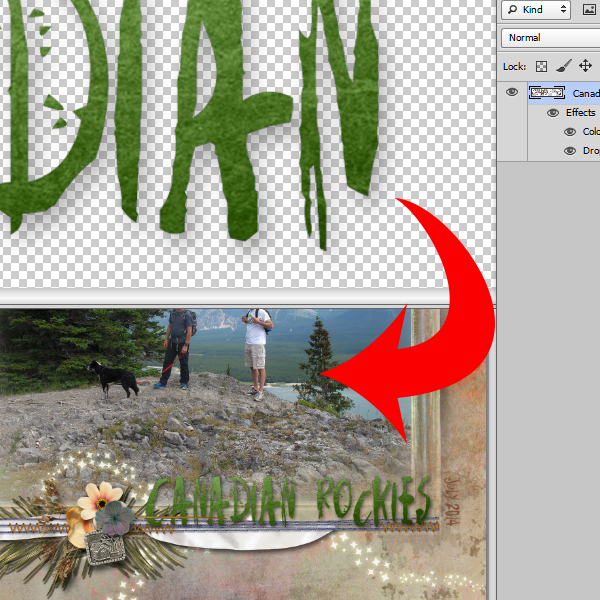
I can safely close the text layer and enjoy the new green text in the layout!
That’s all there is to it! I love it when Photoshop makes things simple for us!
(For the purposes of this tutorial, I used Photoshop CS6. This technique is not available in Photoshop Elements.)


Thanks Karen. This is something new to me.
Smart Objects are terrific! You can change anything on a layer if it is a SO. Not only that, but, having the filters (which become Smart Filters when you are working on a SO layer) apply as an ‘adjustment’, you can tweek a filter, even remove it, months later! Try THAT without a SO! LOL
I’m so happy to see you write on this topic! Thank you!
Thanks for letting me know, Robyn!
Yes, you’re right, Su. For anyone who may have missed it, you can read my previous tutorial on Smart Filters here: http://bit.ly/SmartFilters
(How Smart ARE Smart Filters)
So fun that you used my LO 🙂 and I love seeing the text in green as it makes the trees and background hills pop.