Good morning dear friends! Today is my birthday (yeah, uhhh uhh, wow!), I’m turning 31 and I can’t believe it yet! But I have to say that, contrary to the past, I feel pretty serene and calm. I’m living a happy moment of my life, and the passing of the time is not so distressing! I can confirm once again: the true age is the one you bring inside your heart. I’m lucky enough to be surrounded of people who love me and that I love! I have many special friends who fill up my entire life! What should I ask more? I’m very blessed. This night I will have a romantic dinner with husband: this is my day! Run to purchase your favorite goodies, today and tomorrow my shop is 40% off on PU and CU (excluded items on sale, Bundles and Grab Bags);
And thanks to this positive energy, I am here to share with you a wonderful hybrid tutorial: how to make a special birthday card!
What you will need:
- Cutting Files from the Studio shop here;
- Silhouette Software (Basic Edition or Designer Edition).
- Silhouette Cameo Cutting Machine (or any other cutting plotter);
- 5 Cardstocks A4;
- Glue;
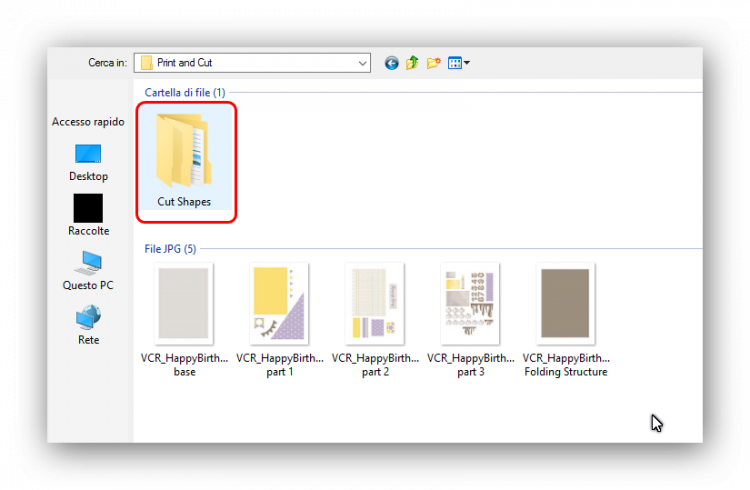
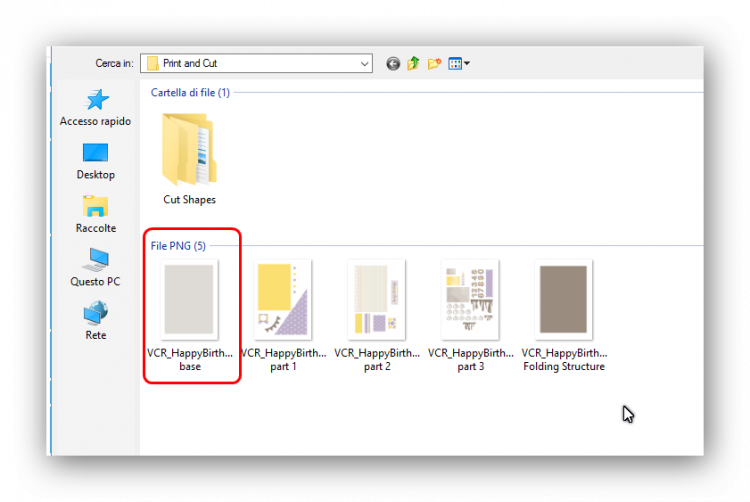
First thing to do: purchase the “Print and Cut” Project: “Happy Birthday Cardmaking Kit“;
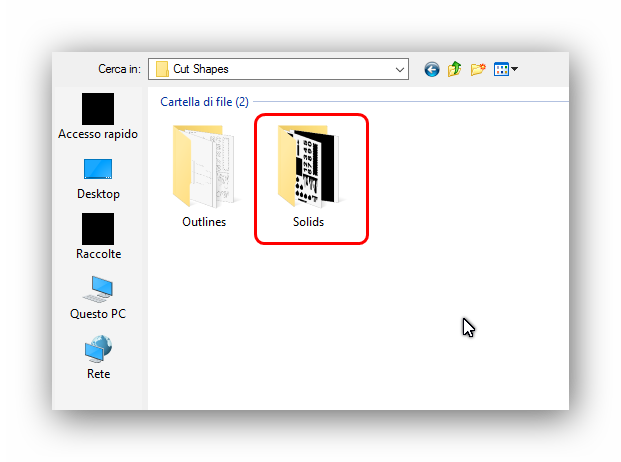
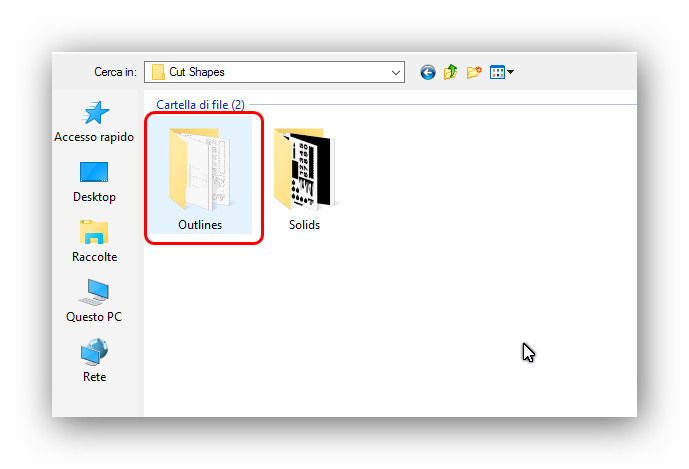
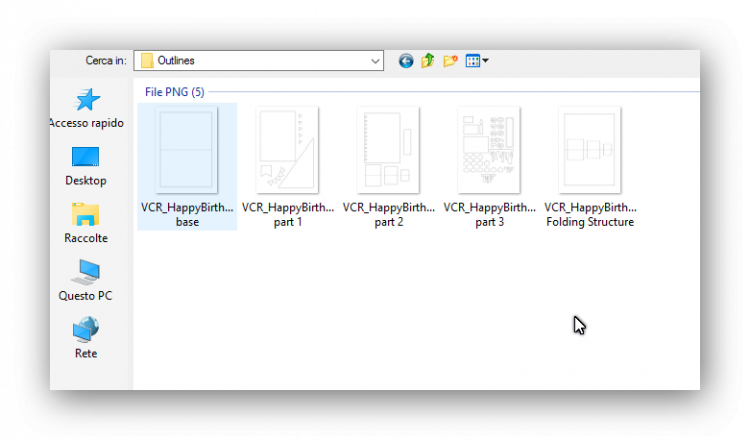
By opening the main folder you’ll see:
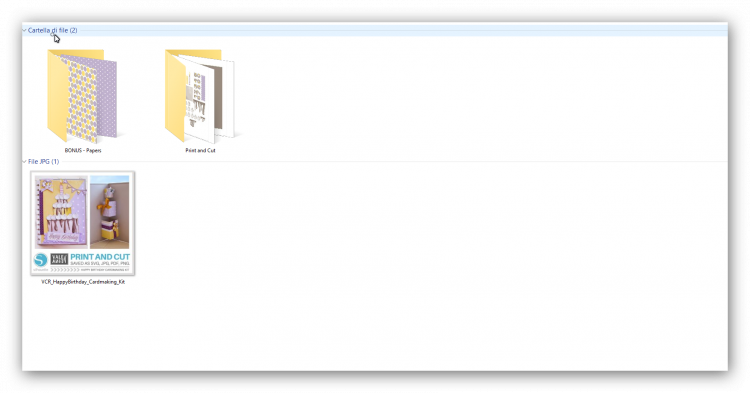
We will use the files inside “Print and Cut” folder.
INSTRUCTIONS for Basic Edition
-
OPEN THE SOFTWARE.
-
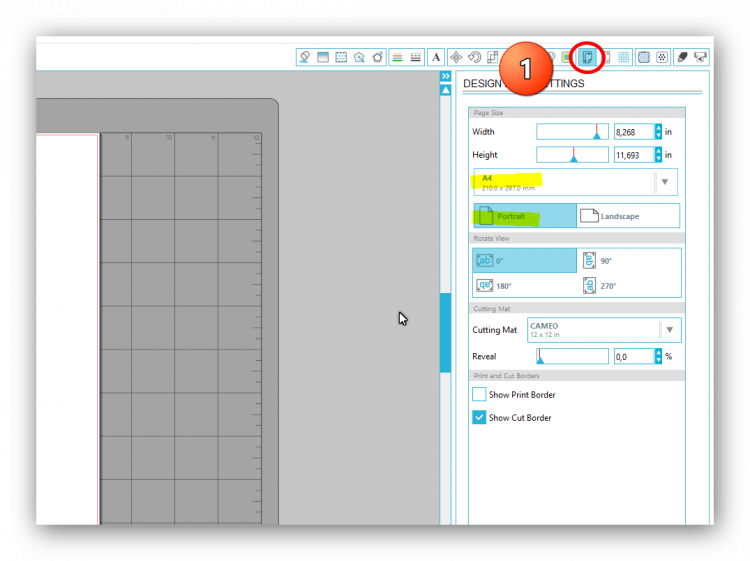
ADJUST THE DESIGN PAGE SETTINGS:
Click on the icon “Design Page settings” of the top menu and set up the proper design area as following: A4 SHEET PORTRAIT.
-
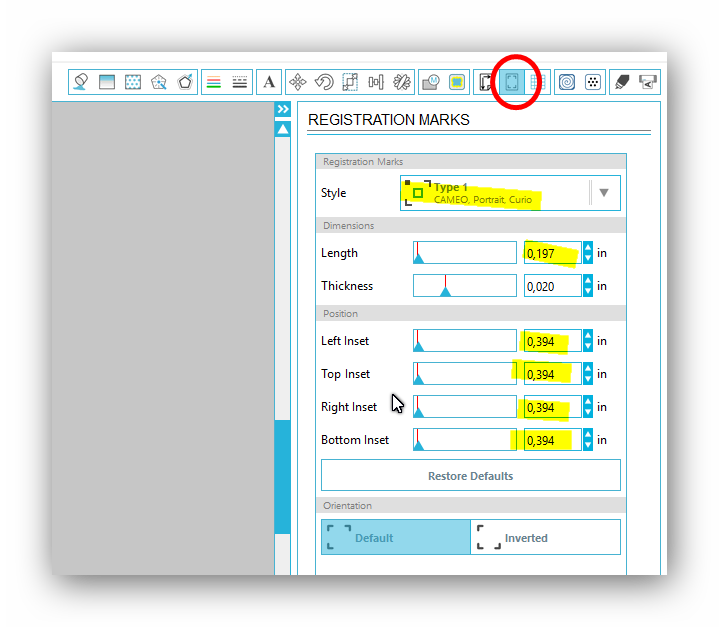
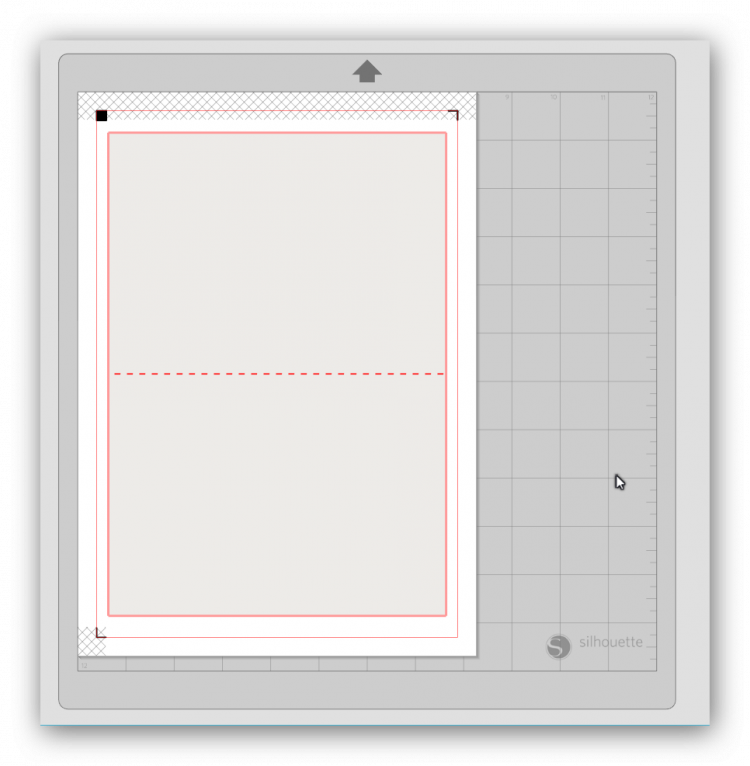
OPEN THE REGISTRATION MARKS:
Now we have to enable the registration marks; Click on the icon of the top menu and Select the proper registration mark settings according to your machine type; In my case I select TYPE 1 “Cameo, Portrait, Curio”; Then I enlarge the print/cut area by reducing the value of LENGTH and INSET POSITIONS as shown in the picture below.
-
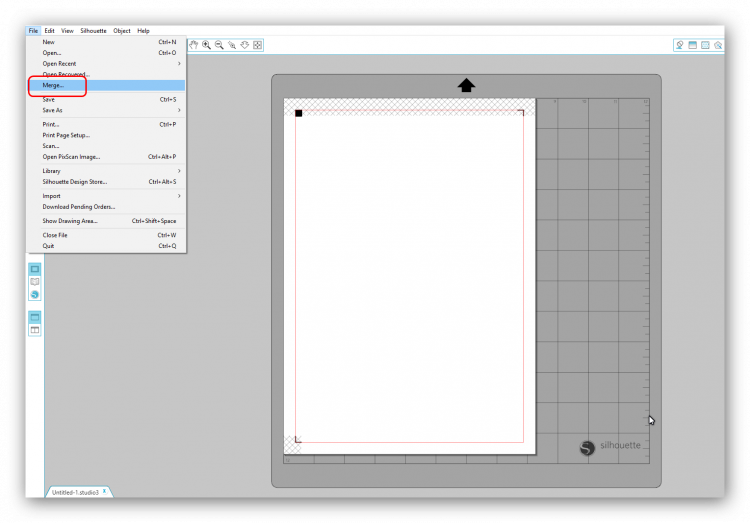
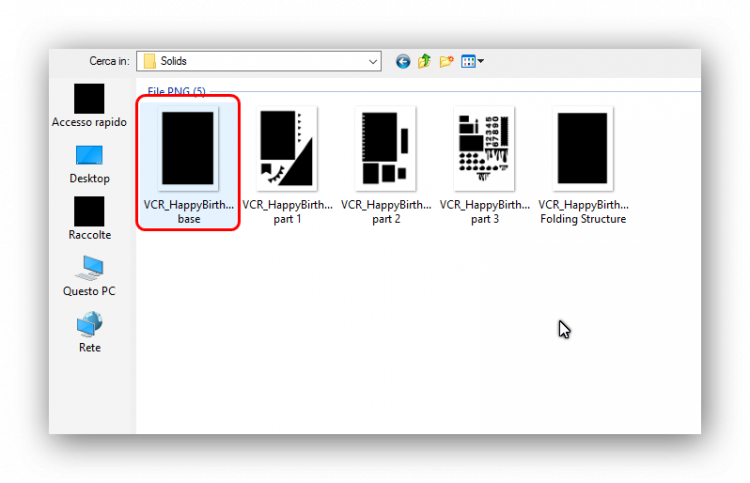
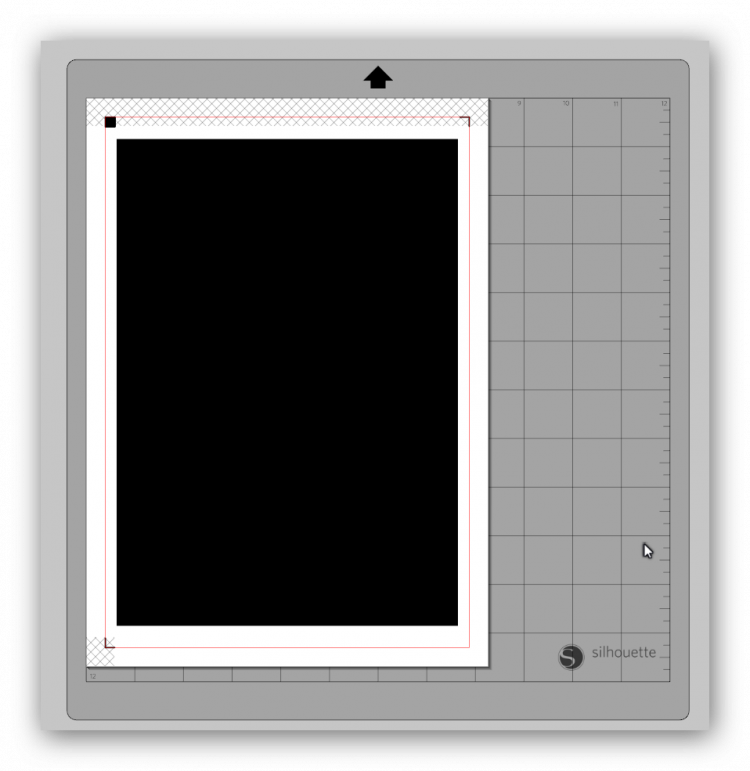
MERGE THE CUT SHAPE:
Click on “Merge/File” and place the cut shape of the first file;
-
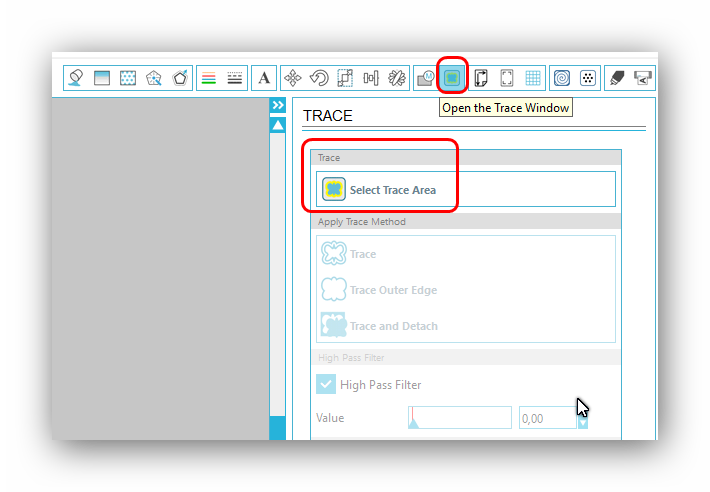
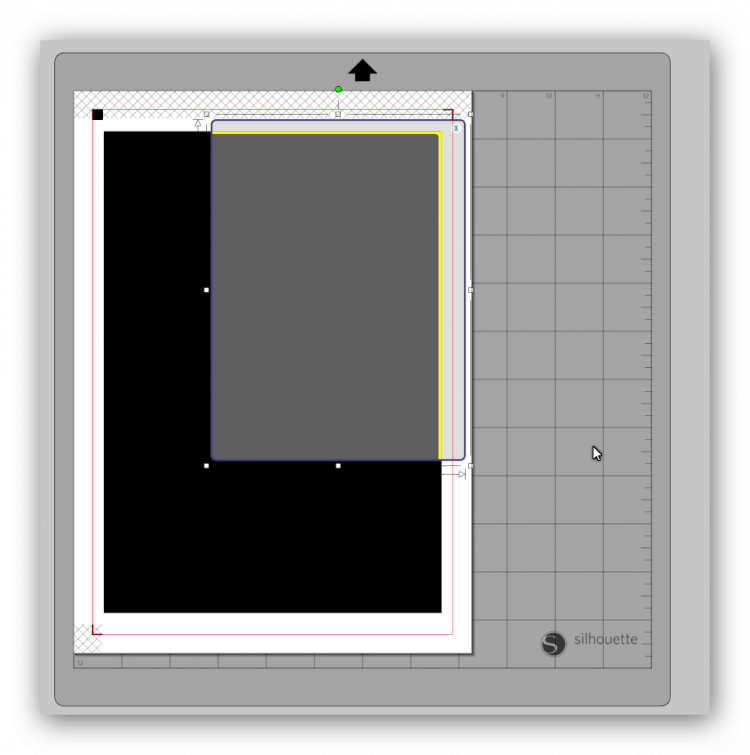
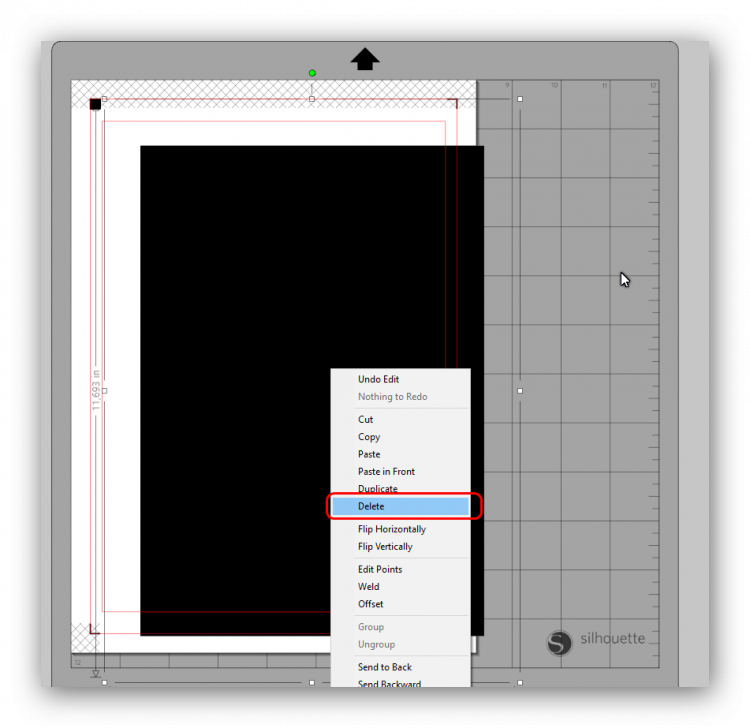
OPEN THE TRACE WINDOW:
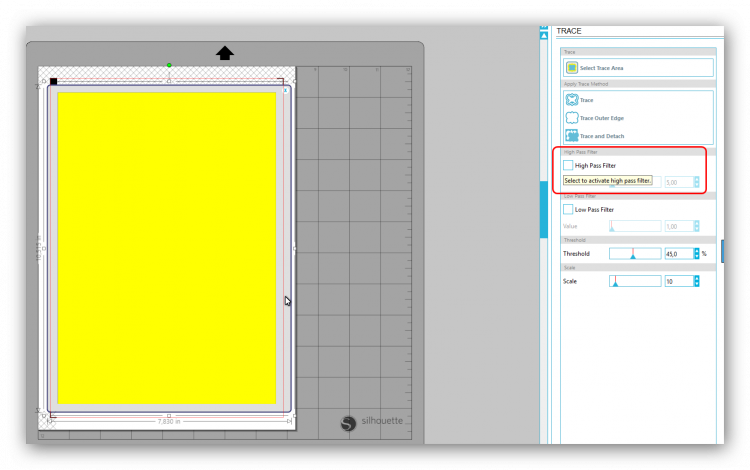
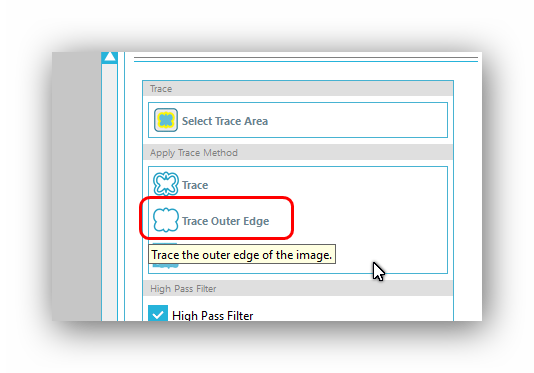
Now click on the icon of the top menu “Open the trace Window” and “Select area to trace”; Drag and drop the area in order to select the entire design; Now deactivate the “High Pass” filter and click on “Trace on Outer Edges”; Delete the black png shape.
-
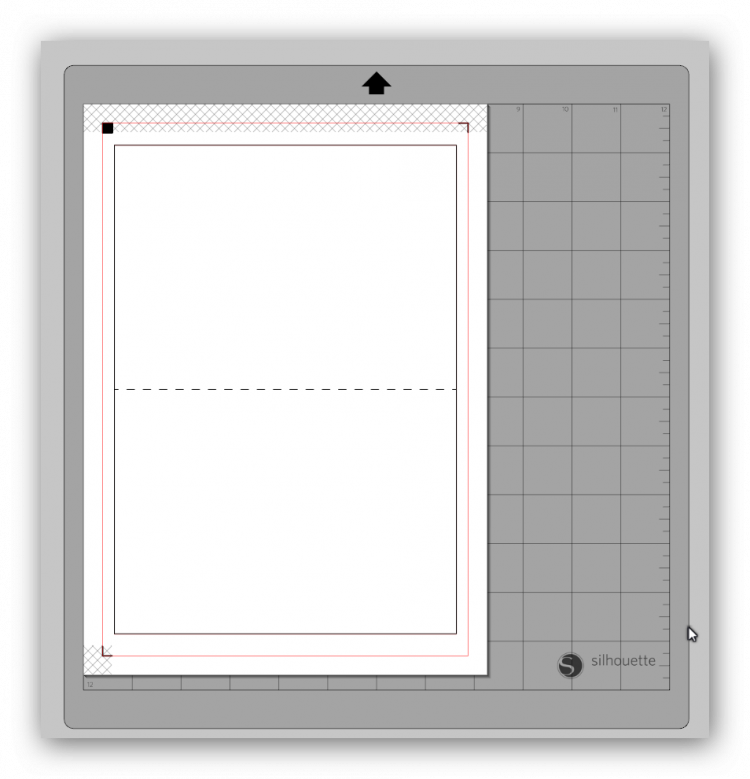
MERGE THE OUTLINE FOR FOLDING TRAITS:
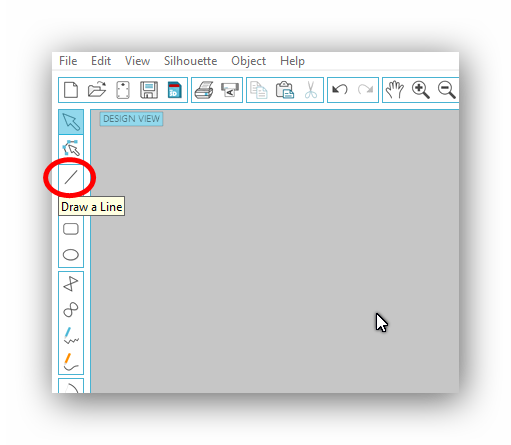
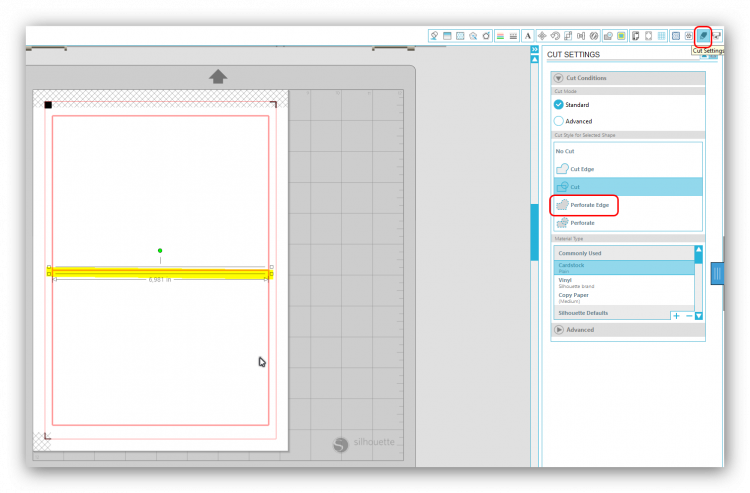
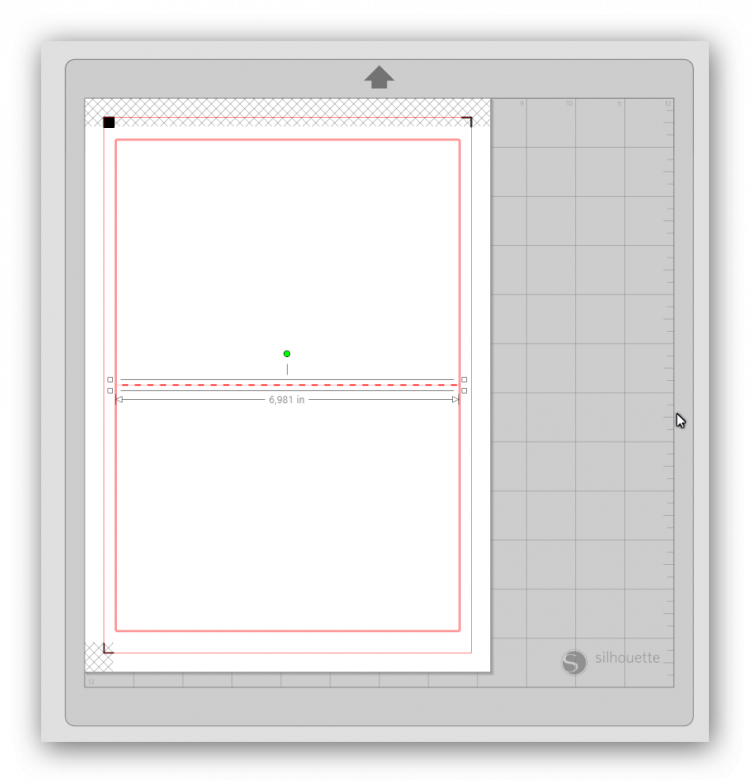
As you can see, the black shape doesn’t have “folding lines”; We can draw them manually by importing the “outlined guide”; To do that, click on File/Merge and place the file; Now, click on the tool “DRAW A LINE” and make a line exactly above the design. Now delete the outlines. Convert the cut mode of the line into “Perforate Edge”;

-
MERGE THE DESIGN:
Click on “Merge/File” and select the corresponding PNG Design File; Attention: you can also use a colored cardstock; In this case, you can precede to the cut.
-
PRINT:
If you used the colored cardstock, jump to step 9.
Now, send the design to the printer. The printer will trace the registration marks too.
-
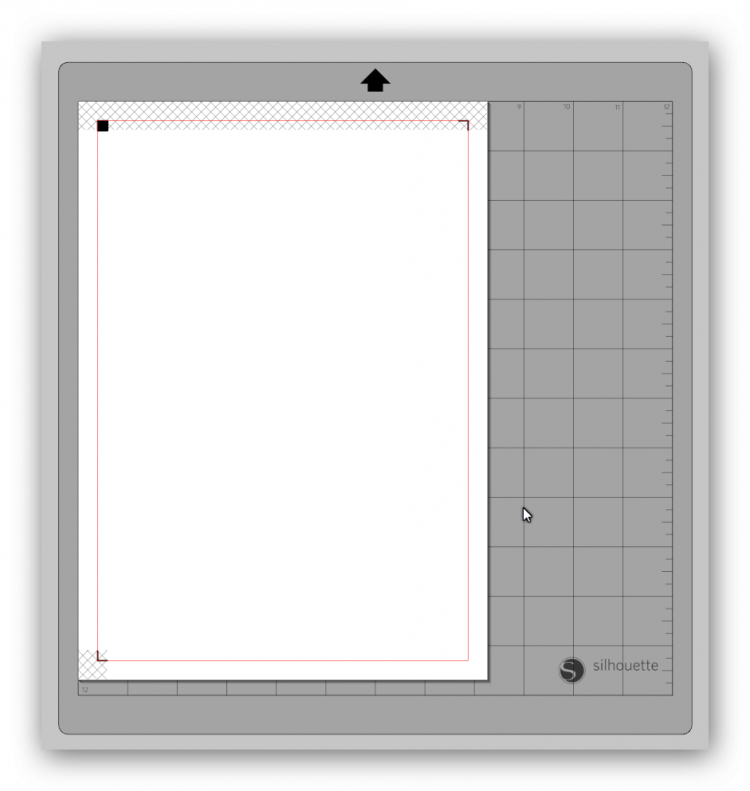
CUT:
Place the printed A4 sheet on the cutting mat of the Silhouette Machine, exactly as displayed on the monitor. The, send to cut. Be sure to set up properly the cutting settings according to your cardstock type.
INSTRUCTIONS for Designer Edition
For those who have the Designer Editon life is simpler. Basically, they don’t have to trace the “png cut shape”, because they are able to open the SVG files, whire are vectors and include the tracing information. Open the software the adjust the page settings as shown on STEP 1. Then click on file/merge and place the SVG cut file. Now click again on file/merge and place the PNG design file. You’re done!! You are ready to print and cut.
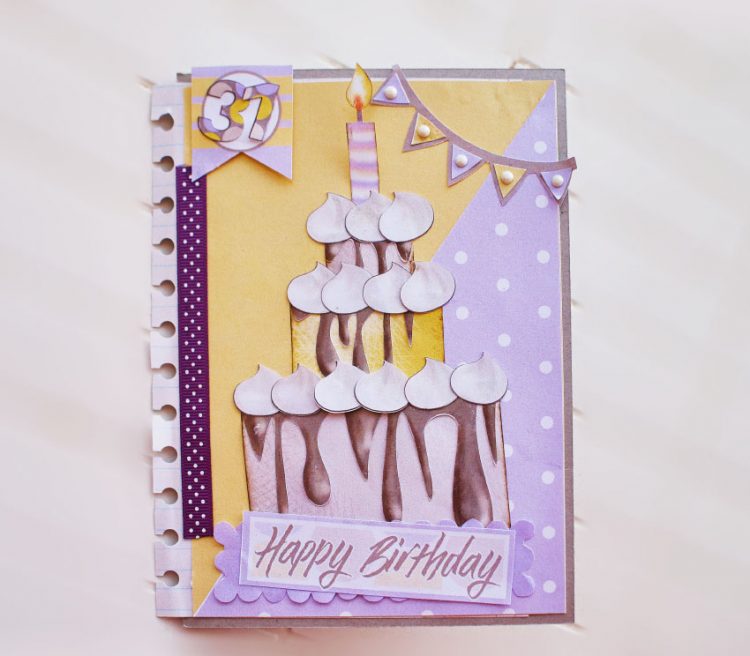
ASSEMBLE THE CARD
Procede for each file as shown on steps 1-9; Once you have all the pieces, you’re ready to assemble the card.
- First thing to do is paste the “Stationary Paper” (the one with the holes for Binder) exaclty on the center of the face cover of the base cardstock of the card.
- Then past the yellow cardstock above, and then the “triangle-shaped” paper on the bottom-right side of the cover.
- Now it’s the time to compose the cake. Start from the bottom, with the bigger rectanguar shape. Build up a sort of pyramidal structure, from the bigger shape to smaller, and paste on each of them the chocolate pieces. If you like the idea, you can also paste on the cake the drops of cream. I put 6 on the bottom, 4 on the centre and 3 on the top.
- Paste the candle at the very top of the cake;
- Decorate with banner and tag. Compose the banner by pasting the small triangle-shaped pieces and put on the tag the number corresponding to the age.
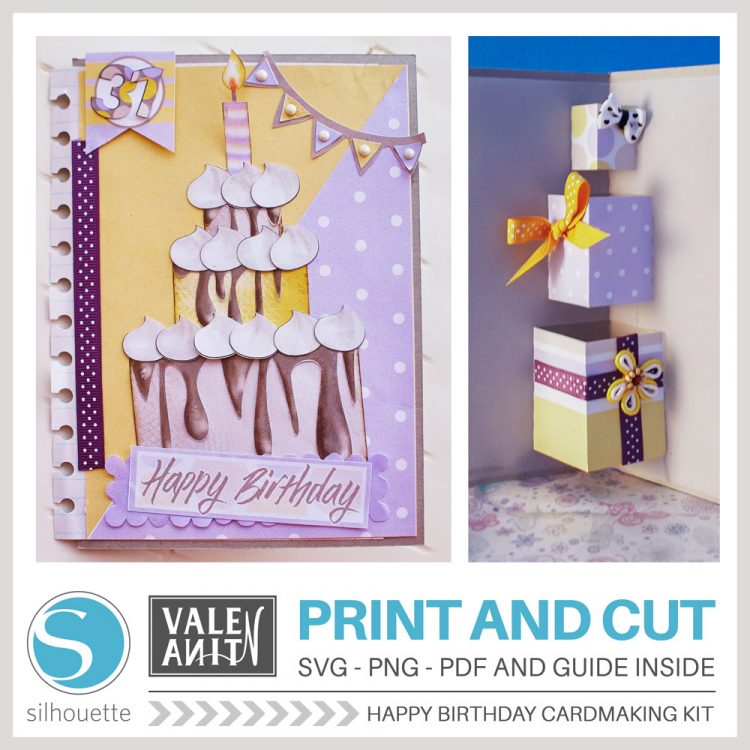
- Open the card and past inside the “folding structure”; You have 3 rectangular shapes, which are the gift boxes. Past on each folding space the corresponding gift box design. You can decorate with ribbons and bows, pearls and whatever you like.
I made a small quick video to easily show you how to assemble the card:
I hope you enjoyed the video and the tutorial! Happy cardmaking!
With love,
Val.


Leave A Comment