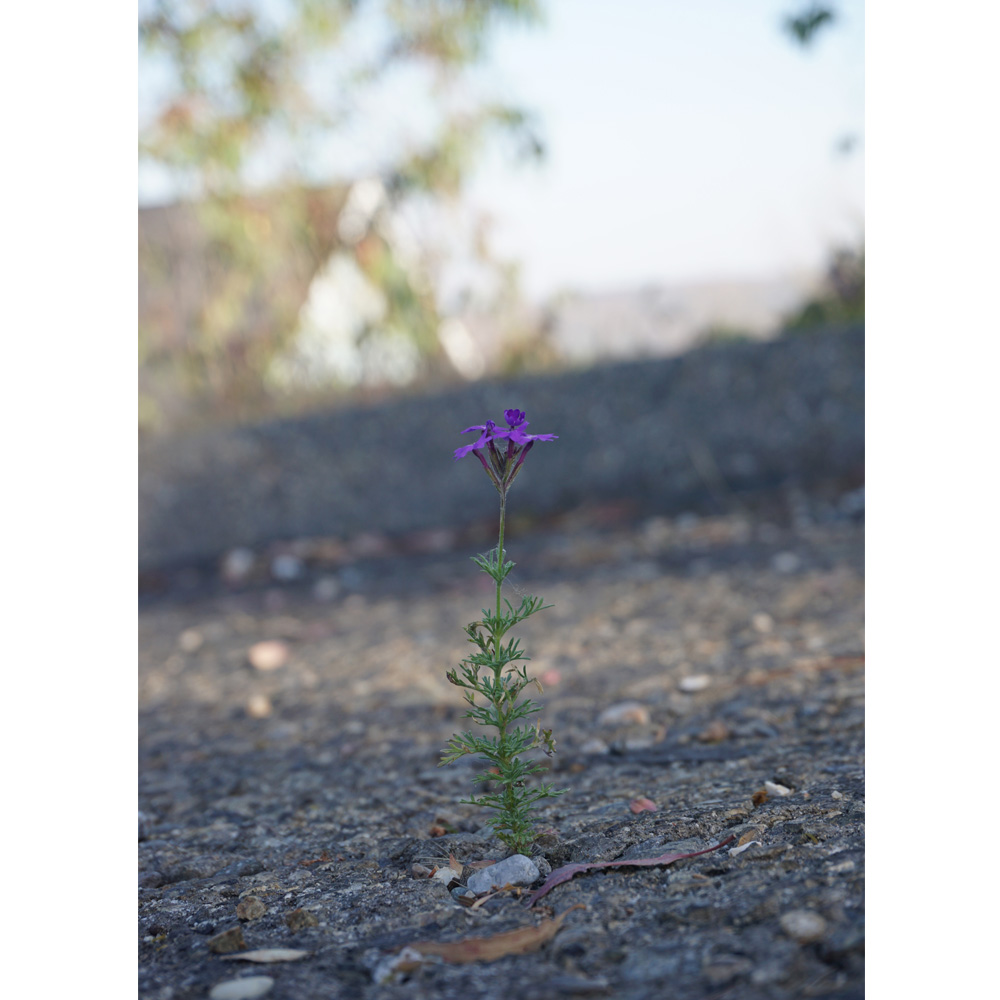
 Adding a vignette to a photograph is an easy way to increase the drama of the photo. Because our eyes tend to focus on the bright areas of a photo, it’s also a great way to easily direct a viewers eye to the main focal point. There are multiple ways to create a vignette. Today let’s take a look at just one easy way, using Photoshop, using this photo I took in my driveway.
In Photoshop: Go to the top Menu Bar and choose Filters > Lens Correction. Click on the Custom Tab.
In Photoshop Elements (Check your particular version; I am looking at PSE14.): Go to the top Menu Bar > Filter > Correct Camera Distortion

Screen shot from Photoshop CC2015
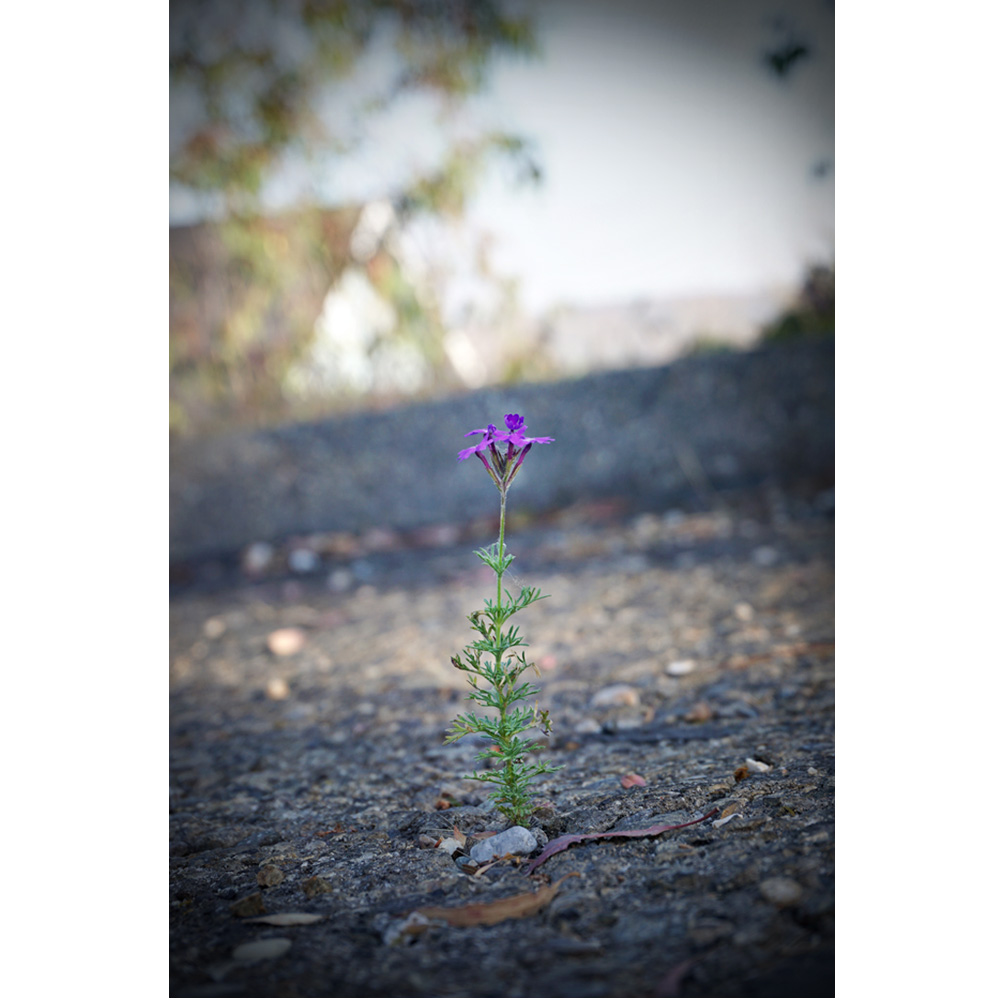
In the Vignette box, move the Slider to the right to add a light vignette, and to the left to add a dark vignette. Use the Midpoint slider to lighten the center of your image. This is the result I received after pushing the Vignette slider all the way to the left.

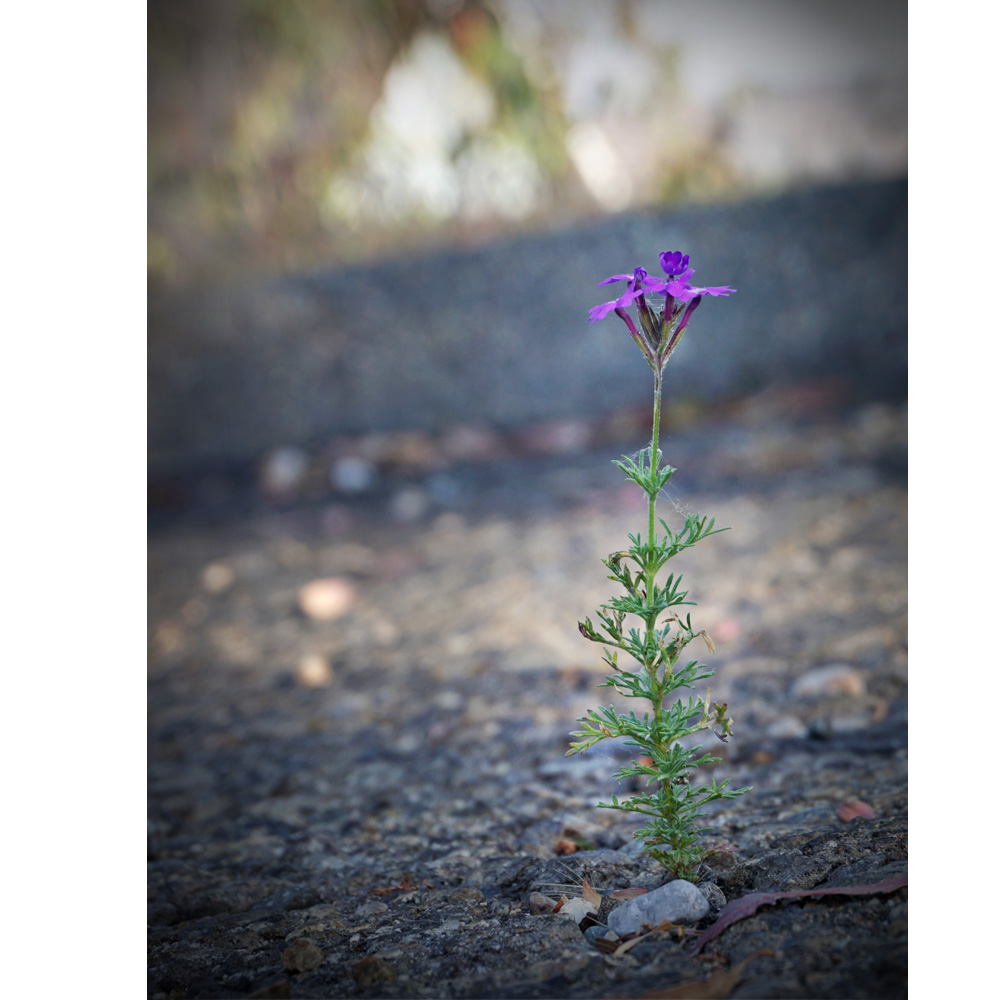
I liked the result, but since my flower isn’t exactly in the middle of the photo, the lower portion of the flower was affected by the vignette. If I made the vignette smaller, I didn’t like the result as much. I decided to use the Dodge Tool to lighten the entire flower just a bit. (How to Use Dodge and Burn Non-Destructively). It is a slight difference, but one I preferred.
If you want to crop your photo in any way, just be sure to do that before you begin the vignette process, or you could potentially crop off some of the effect. (Image below cropped before vignette added.)
I hope you find this way of creating a vignette easy and helpful!
You may download a PDF of this tutorial here: Adding A Vignette
If you would like to watch a video of this tutorial, you may do so on the SnickerdoodleDesigns You Tube or Digital Scrapbooking Studio You Tube Channels. Be sure to “follow” both channels, so you don’t miss a thing!


Wow, somehow I had missed this whole group of helps in PSE14! I was wondering where some of the effects I used to have went! This is nice for vignettes, but I was even more thrilled to see the perspective alterations that were possible here for architectural photos. Thank you!
Thank you so very, very much. This tutorial was so great. I have used vignettes for some of my photos but never knew this way was available. Really do appreciate the PDF file too and go back to them often — thanks so much for them.
Well I never!!!!! I didn’t know it was this easy I thought I had to use a template or mask. Thank you so much.
Faith