This week I have been painting a bathroom at our house, so color has been on my mind. (A blue ceiling. Really.) Many times, as I painted, I wished adjusting saturation, in “real life” was as easy as doing so in Photoshop. With this in mind, it seems appropriate, today, to share an easy method of adjusting saturation.
As with all things Photoshop, there are multiple ways to achieve the same result. This is just one method which works especially well with images containing multiple colors.
Below is a paper from Strawberry Lemonade, my newest Collection. The colors are bright and cheerful.
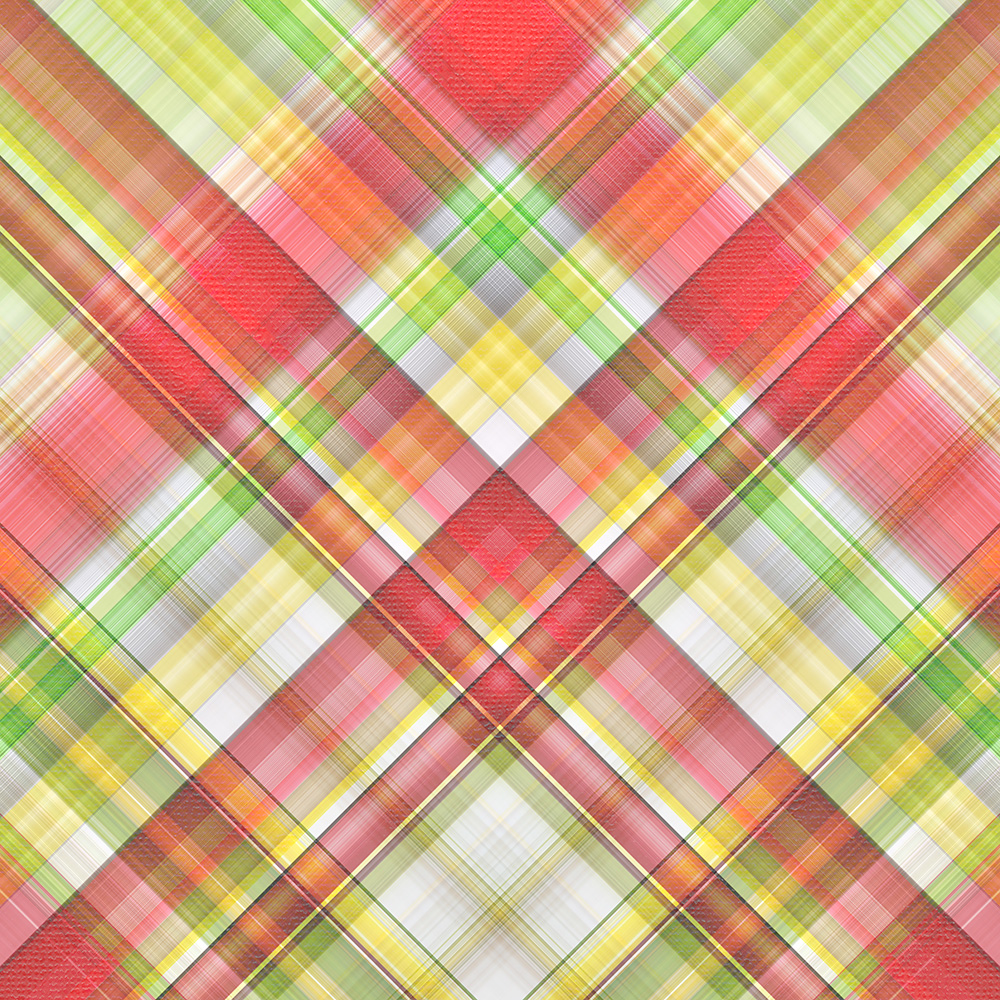
Original Colors
I especially love the cheerful yellow in this paper, but what if I wanted to desaturate JUST the yellow so that the paper complemented a photo more perfectly?
If I apply a Hue/Saturation Layer Adjustment to the paper and drag the Saturation slider to the left, the entire paper is desaturated. We don’t want that.
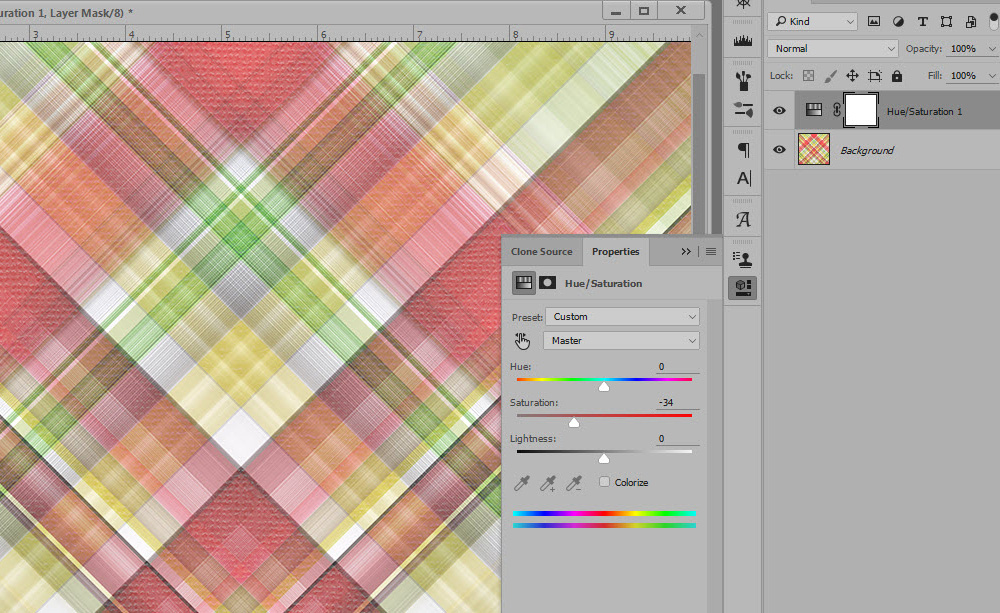
Entire paper is desaturated to -34.
We can apply a Hue/Saturation Adjustment Layer to the original paper,and in the drop-down box change “Master” to “Yellow,” then adjust the Saturation Slider. This works.
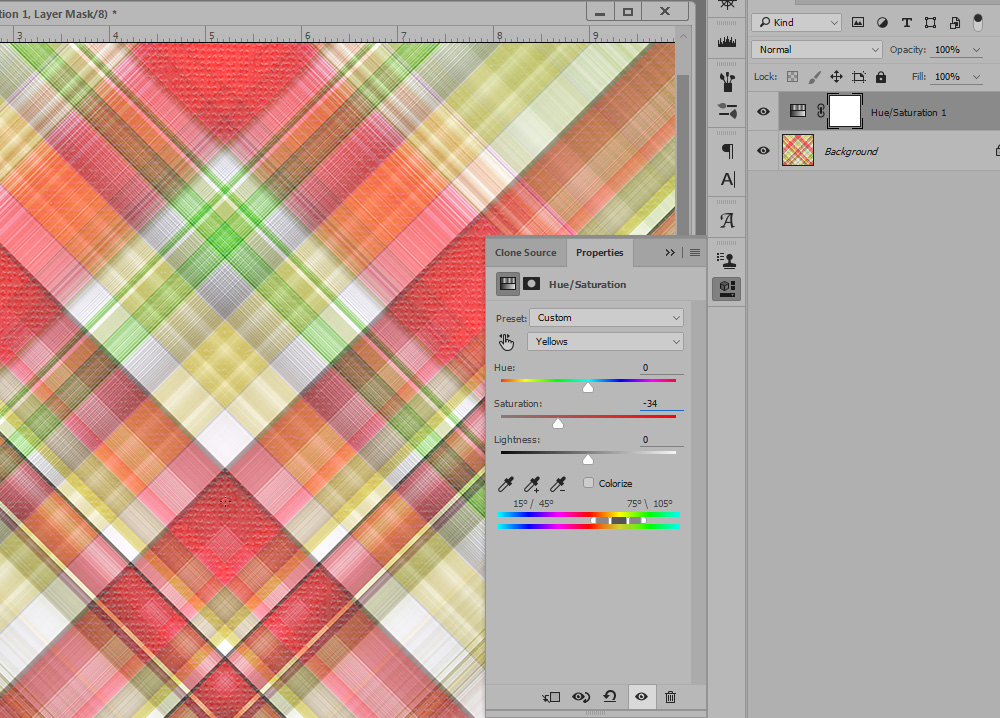
Choose Yellow in the drop-down box and adjust the saturation slider.
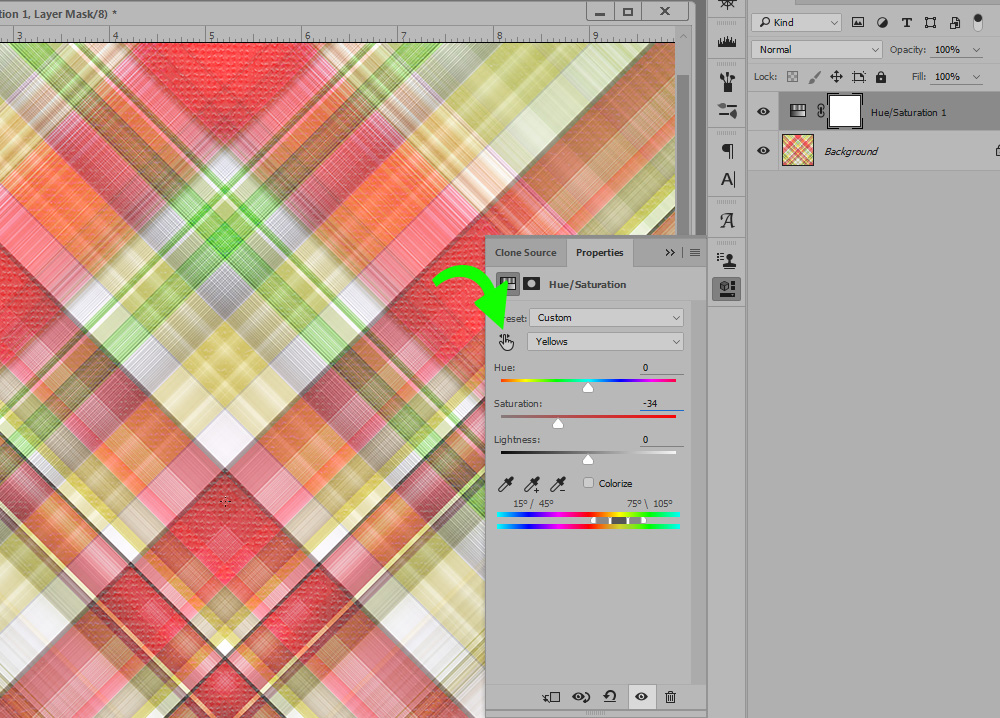
But for an even quicker method, let’s use the “In Image” adjustment feature.
- Add a Hue/Saturation Adjustment Layer.
- Click on the index finger-pointer in the Properties Box. (Make sure you have “Properties” checked in the Window menu in the top Menu Bar.).
- Move your cursor into your image and click on the color you would like saturate or desaturate. (I clicked on yellow).
- Drag your cursor to the right or left, depending upon the effect you would like to achieve. ( I dragged to the left to desaturate the yellow.)
The results are exactly the same as if you had used the first method mentioned, but this is faster.
Using the “In Image” tool.
If we went back to our Properties box, and changed Master to Yellow now, we would see that the Saturation of the yellow has been adjusted, just like in Method 1.
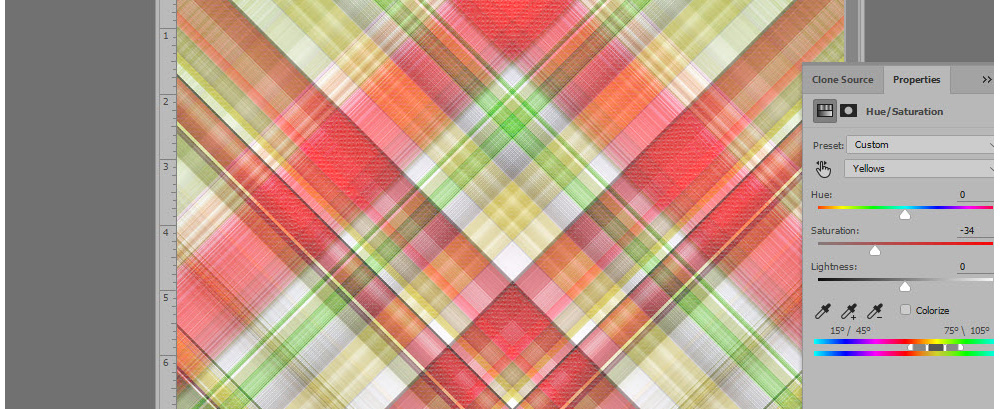
Showing the yellow adjustment, after using the “In Image” option.
It might seem like a little thing, but when we can cut down time utilizing our tools, that just means we can get our scrapbook pages done more quickly… and get more pages completed!
Next week we’ll take a look at an easy way to adjust hue, using this same method!
NOTE: Photoshop Elements does not have the “In Image” feature, but PSE users can adjust saturation by using Method 1 as described.
If you would like to download a PDF of this tutorial, you may do so here: Easy Saturation Adjustment.
Thanks for visiting our blog today. I hope you have found this tutorial helpful!


Oh! I LOVE this, thank you so very much.
Faith
x
You’re welcome, Faith! Thanks for letting me know!
That is awesome! New to me! I did not know that. Far out!
There is a way to adjust the overall lightness and/or the overall darkness of an image that you can click on the image itself and get the lightest and/or the darkest tones. You would use it to darken only the lights and visa versus. Do you know what I mean? It might be with the Levels. I don’t recall that part. LOL If you know, or find out, would you do a post on that, please? I would like to get it down and use it.
Thank you, my dear! I love your tuts!
Su
[…] feature on a Hue / Saturation Adjustment layer to easily affect the saturation of an image. (Easy Saturation Adjustment). Today, let’s look at how to adjust the hue, using this same […]