Welcome back to The Studio blog – and welcome back to Shadowing Transparent Objects, part 2! Back in July 2023, we discussed some fundamentals. Today we’re going to just go a step further – or farther away, as it were – in our shadowing, and talk about some adjustments we can make to our transparent waves look further away from the page. We’ll talk a little bit about how to adjust for lighter and darker papers, and for the size of the element, as well. Let’s dive in.
I have my page built up here using the Stormy Skies Collections by Blue Heart Scraps and the Stormy Skies Collection by Aimee Harrison, along with a template from the Center Stage Volume 1 set by me.
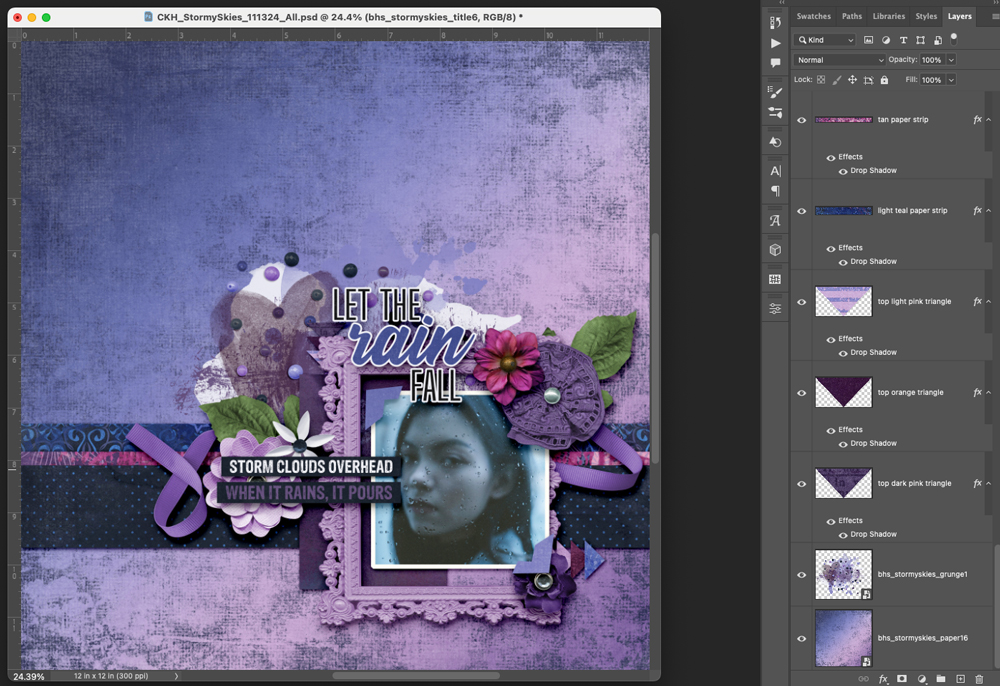
I have it pretty much how I’d like it, but I’d like to add some splashes and waves of water to symbolize the rain, so I used the free Stormy Skies Waves & Splashes that were given away as part of the Layout-A-Day on March 13.
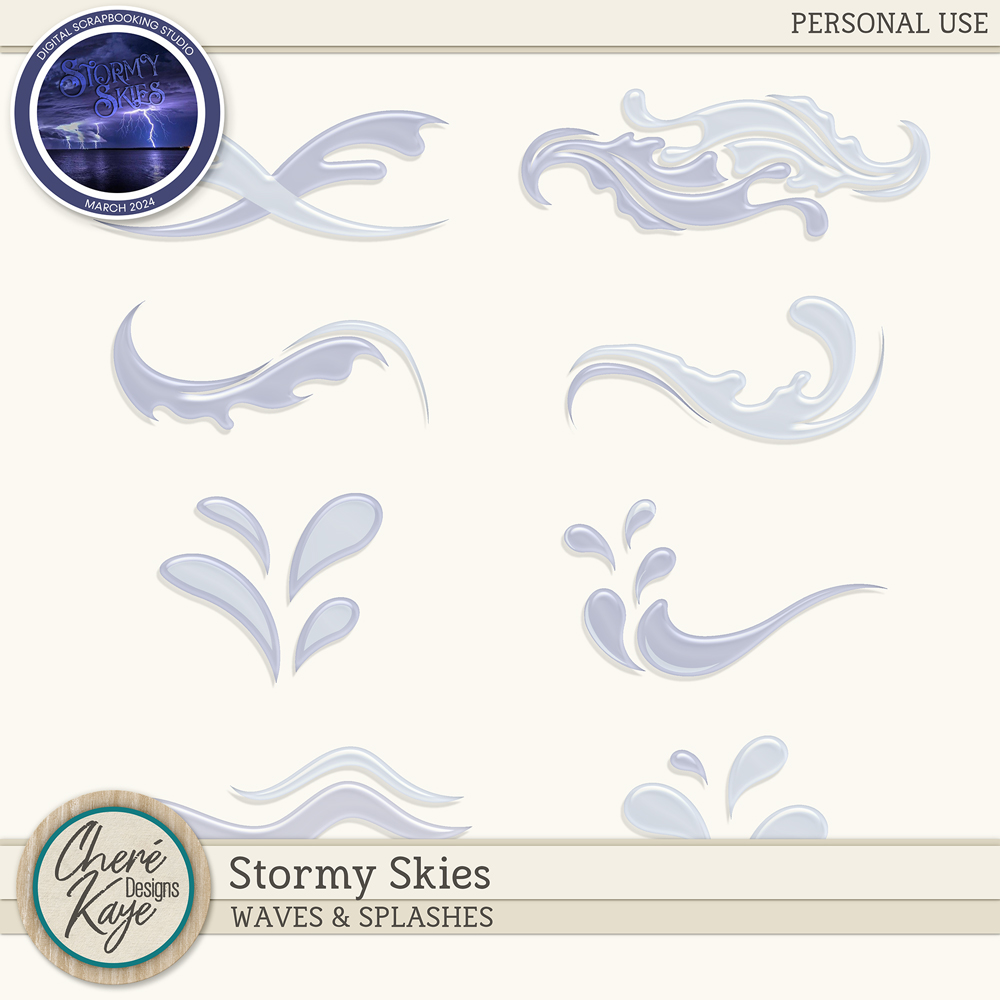
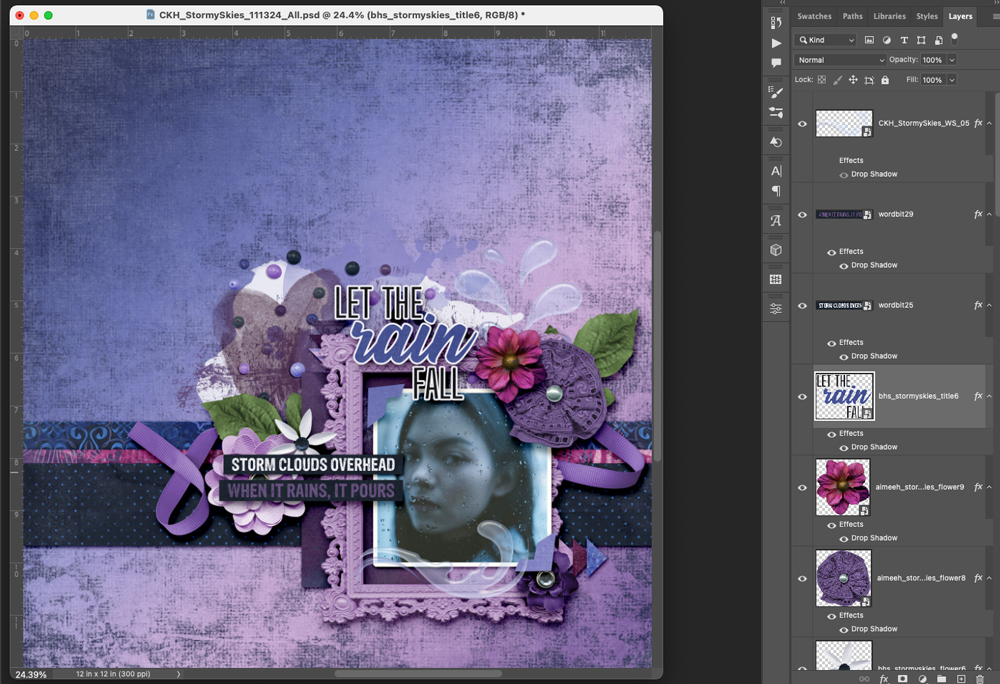
I used the wave under the photo, and the splashes above the photo. Now I just need to add some shadowing so they look like they’re kind of coming off the page.
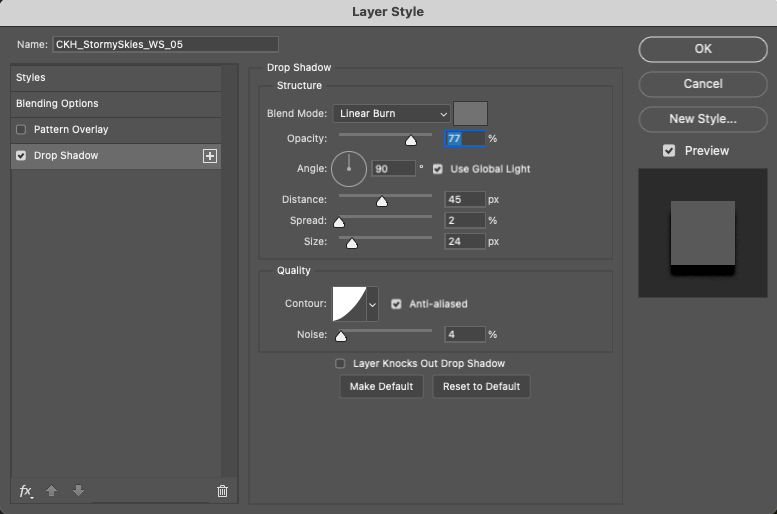
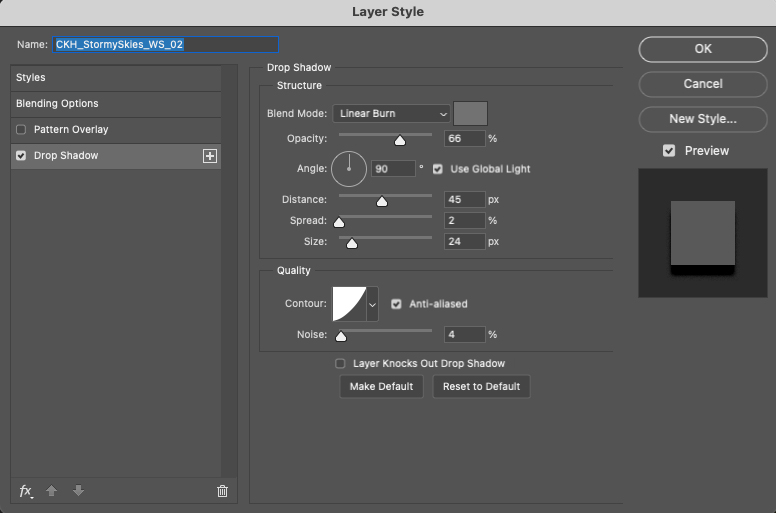
Just like we spoke last time about shadowing a transparent object, using Linear Burn as your Blend Mode might be a good way to start (it’s my preference). Also, using a medium grey or lighter grey is also a good choice, because stark black tends to leave a really unpleasant ring around your object and it doesn’t look floaty, it looks fake!
Here are my settings for my wave on the bottom of the frame; the reason that my opacity is higher here is because of the darker papers and because I want it to look further away from the page because of the thick frame behind it.
Opacity – 77
Distance – 45
Size – 2
Spread – 24
For my splash on top of the photo, it’s a little closer to the page, and on lighter paper, so I dropped the opacity and left the other settings pretty much the same.
Opacity – 66
Distance – 43
Size – 2
Spread – 24
Saving that ‘basic’ transparent shadow in your styles is a great way to give yourself a shortcut. Then you can tweak the opacity, distance and spread a little bit depending on how far away you want it to look and the color behind the object. It will give you great results every time!

Don’t forget to check out the beautiful pages in the LAD: Stormy Skies area of the forum, and to get the fun waves and splashes set that will be given away on March 13. Also, Members of the LAD: Supersized Club receive extra gifts and tutorials throughout the month that you won’t want to miss. Join us for an extra tool that will make shadowing your transparent objects even easier and more beautiful!
See you around the forum!
Warmly,
Cheré


Thank you so much Chere Hile.