This month we are exploring Photoshop Layer Styles. Last week we took a look at how to load them. (How to Load Styles in Photoshop & Photoshop Elements).
We love it when you leave comments or ask questions, and this week we had a great question from JulesW:
Karen, great tips – thank you! Is there a way to rename styles once they are loaded? I use the descriptions and often they are so long that it’s difficult to determine what it is. I have SO many styles (and I use them often) that it would help to streamline my process. Thanks!
JulesW uses Photoshop Elements, and this is what she sees when she loads some Photoshop Styles:
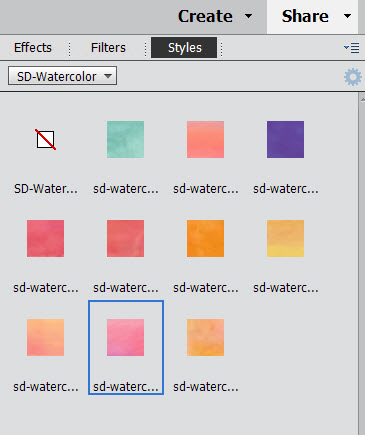
Complete style name is not visible.
Even with the panel expanded as far as it will go, the complete style name, although short, is not visible. (sd-watercolor01, etc.)
Unfortunately, in Photoshop Elements there is not a way to rename Styles. You can rename Brushes, Swatches, Gradients, and Patterns in Photoshop Elements, if you like. Go to Edit > Preset Manager, right-click on what you wish to rename, type in the new name, and click OK.
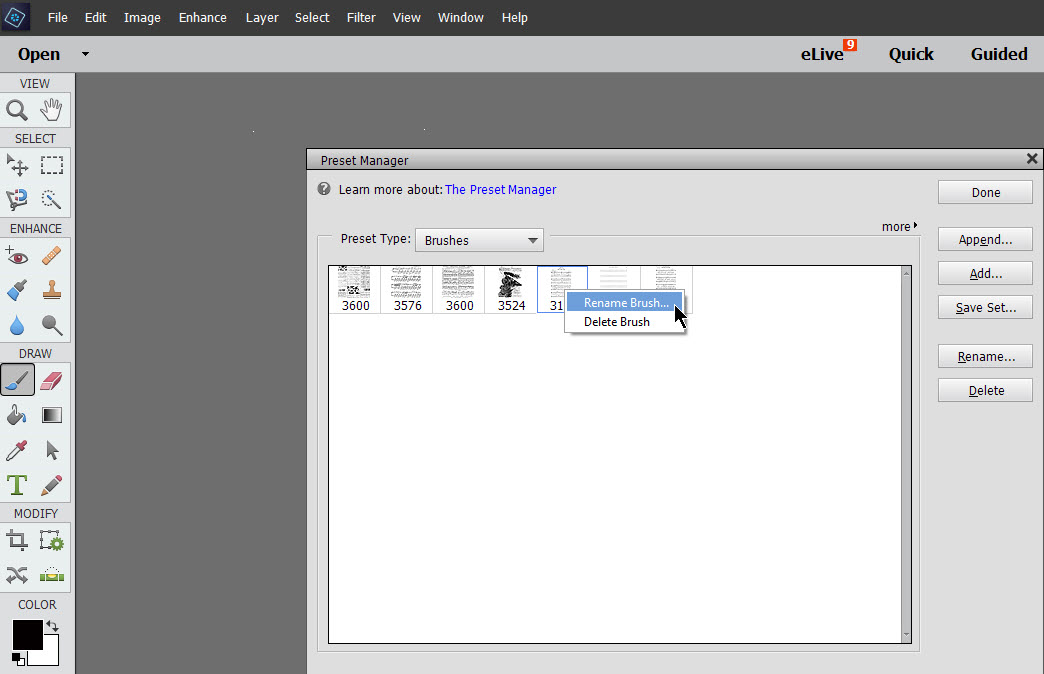
Right click on what you wish to rename, and type in the new name.
In Photoshop, you can rename Styles, as well as Brushes, Swatches, Gradients, and Patterns. Once your Styles are loaded, right-click on the one you would like to rename, type in a new name, and click OK.
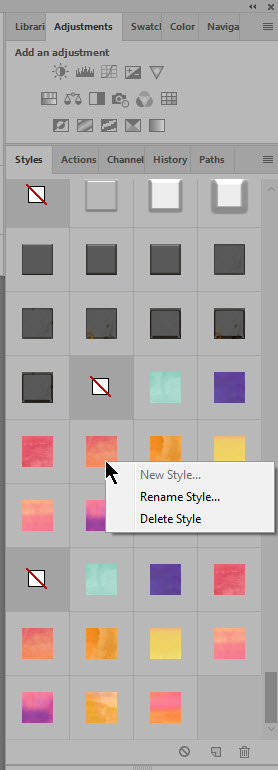
Right click to rename the style.
Thanks for your question JulesW!
Today let’s take a look at how to adjust a Stroke in Photoshop and Photoshop Elements.
For this tutorial, I am using my new Painted Autumn Photoshop Styles.
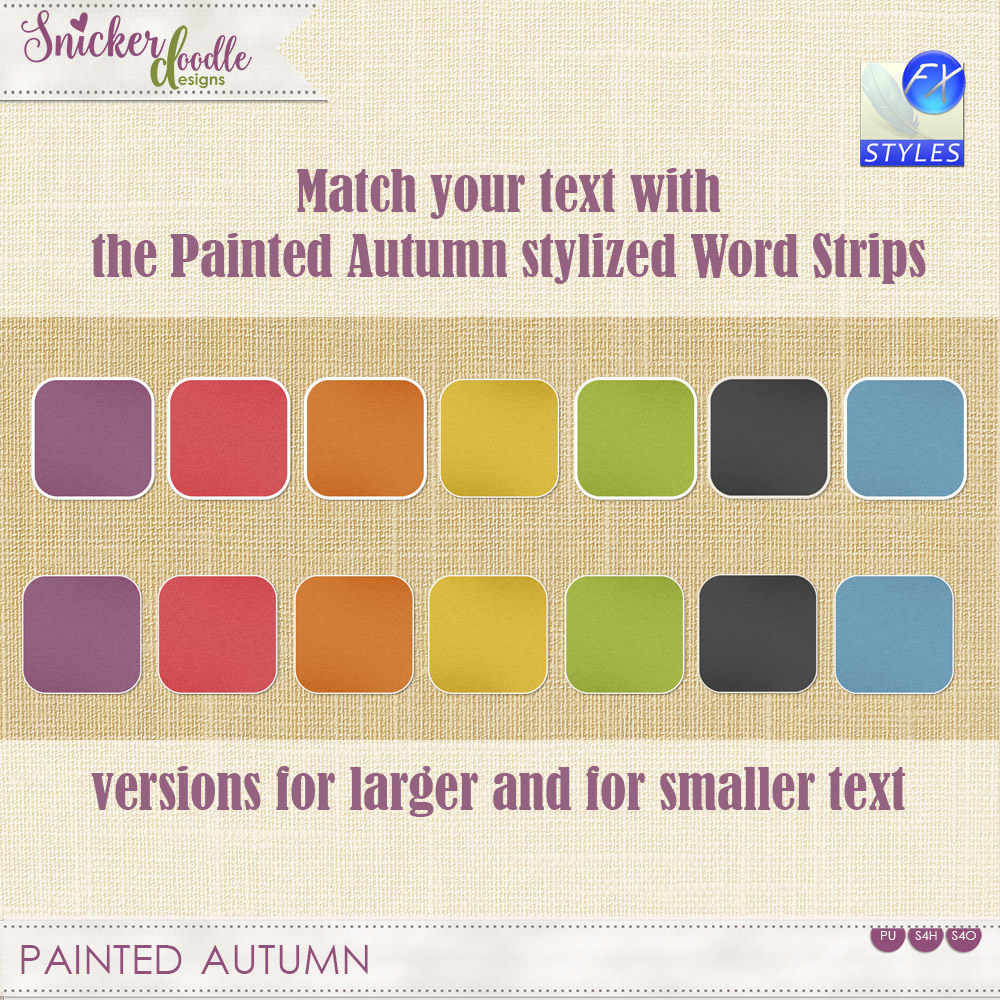
I created these Styles specifically for my use when designing the Painted Autumn Word Strips. The Word Strips pack includes stylized words on a background paper, such as the one pictured below, as well as simple text of the same words/phrases, so you can apply your Style of choice, and adjust as you like.

Let’s change the white stroke to another color.
- Open up a blank document and place on it one of the Painted Autumn text PNG’s. Alternatively, you can type your own words/phrase of choice.
- Apply a Painted Autumn Style to your text.
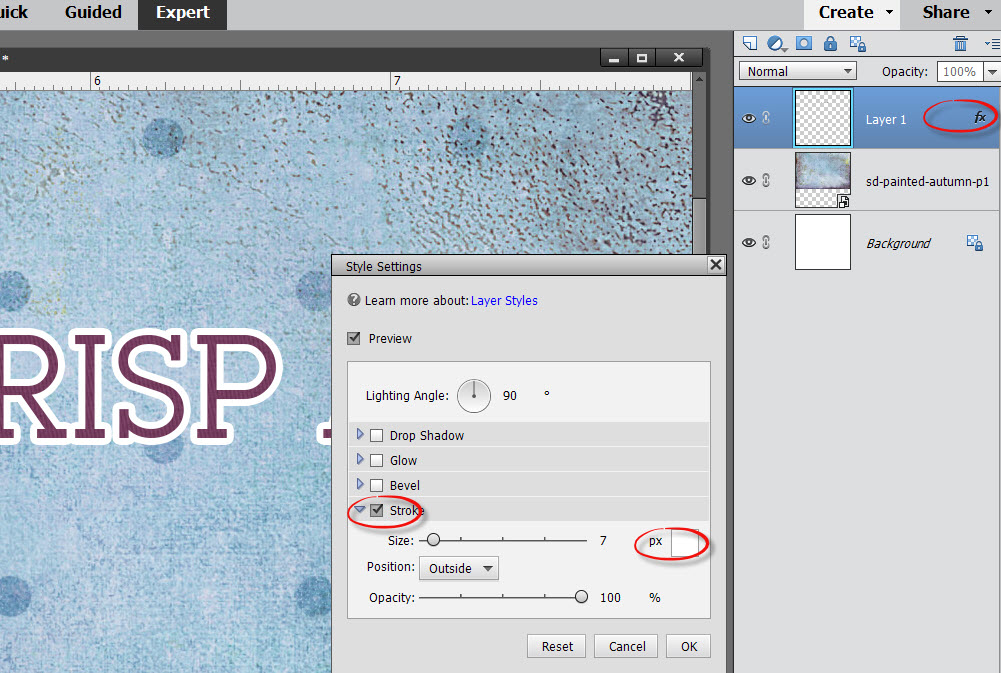
The Painted Autumn Styles come with 2 different Stroke sizes: Large and Small. I have applied the Large Stroke Style to “Crisp Air.” The “fx” icon on the layer indicates that a Style has been applied to this layer. Under the “Effects” label, we can see that the Style contains the following effects: Stroke, Inner Shadow, Satin, Color Overlay, Pattern Overlay.
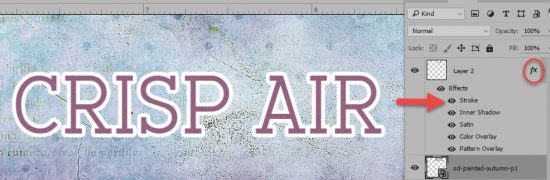
To access the options available for the Stroke Effect, double-click to the right of “Stroke.”
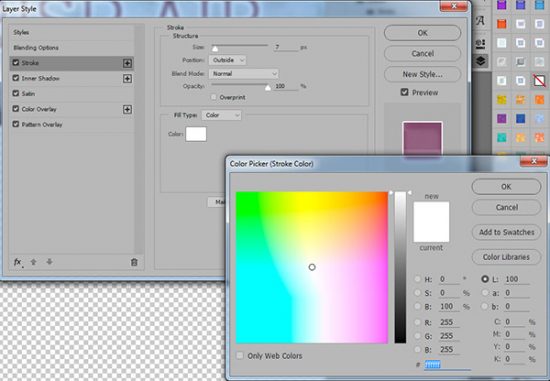
The Layer Style box will open. You will see that the “Stroke” option is highlighted in dark gray. The options that can be adjusted for the Stroke are visible on the right.

The Stroke options are:
Size: I set the Stroke size to 7 px. If you want the size of your stroke to be larger or smaller, you may scale it here by adjusting the slider.
Position: I have it set the position to Outside, which allows more of the letter itself to be visible. It can be adjusted to Outside, Inside, or Center.
Blend Mode: I have it set to Normal. You can experiment with this in the future; but for now, let’s leave it alone.
Opacity: I have it set to 100%. As with the Blend Mode, experiment as you like, but I have it set at 100% in this Style.
The Fill Type and Color are what we want to focus on today.
The Fill Types available are: Color, Gradient, and Pattern. Make sure your Fill Type is set to Color. (You can access the Gradient and Pattern options by clicking on the down-pointing arrow.)
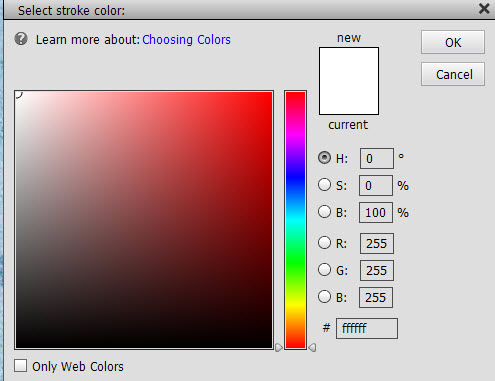
In the Color box, you will see the color White, since that is the color that the Style was created with. This is where you will change your color if you like. Double click inside the white color box, and the Color Picker will open.
Select the color you would like your Stroke to be, then click OK. That’s all there is to it.
I chose a green color for my stroke.

Don’t forget with Photoshop CC you can add multiple Strokes if you like. Just click on the “+” sign in the Layer Style Panel, and a new Stroke will be added. Navigate to the new Stroke to make your changes.
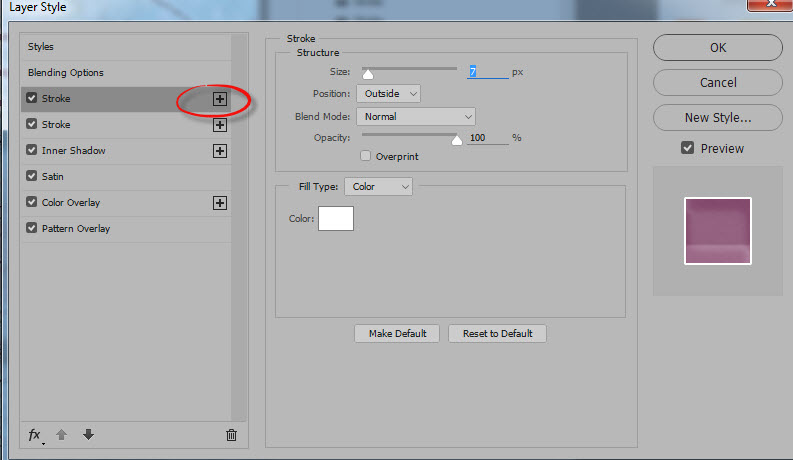
Here I have added a green Outside Stroke at 4 px and a white Inside Stroke at 1 px.

Photoshop Elements Users:
You can adjust the Stroke by following this path:
After you have applied a Style to your element/text, double-click on the “fx” its layer in the Layers Panel to open the Style Settings Box. If the box in front of “Stroke” is not ticked, go ahead and do that now to open up the Stroke options available to you, which will present on the right. You have 4 options you can adjust: Size, Color, Position, Opacity.
To change the color, click on the color box, which in the image above, is currently filled with white. This will open the Color Picker. Select the color you like, and click OK.
I used the Eye Dropper Tool to select the dark blue from the paper.

As with Photoshop, experiment with the Size, Position, and Opacity of your Stroke. Experimentation is half the fun!
If you would like to download a PDF of this tutorial, you may do so here: Photoshop Styles 101: the Stroke
I hope you’ve found this helpful! See you next week!


I love using strokes .. in elements they are the way to create many different effects but I normally use the stroke selection under edit instead .. I can choose where I want that stroke rather than just the outside of a letter/object, the size, the opacity, the colour etc etc … lots more wiggle room to create
Thanks, Su, for your input. I am definitely not a PSE expert, so wanted to check out what you mentioned. I went to Edit > Stroke (Outline) Selection, and see the same options as in my image above: Stroke Width, Color, Location, Blending, Opacity. Am I misunderstanding your directions? Please let me know. I do like to learn all I can about PSE. Thanks for your help and expertise.
I didn’t know I could rename styles, how very useful, thank you.
Faith
x
Karen and JulesW – I was wondering what Style name Jules was referring to? If you would like to change the Style group name that displays at the top of the Styles box in PSE – such as in your example at the top of this page – SD-Watercolor – you can change that by renaming the .asl file (in whatever folder you have saved it) prior to loading it into PSE. I have purchased some styles that have a name like Style #101 which doesn’t tell me in general what the styles do. I can rename the file to e.g. Puffy Styles so it will display that name in the list of styles.
You’re welcome, Faith!
Stephanie, JulesW is referring to the Styles, as they show in the Style Palette. You can rename the .asl file, yes, but they will still show in the Styles Palette with the original name given by the designer to each individual effect. See the first image in this tutorial. Hope that helps. If not, let me know!
[…] month we are exploring Photoshop Layer Styles. (Photoshop Styles 101: The Stroke; How to Load Layer Styles; Photoshop Styles 101: Color […]
[…] to Load Layer Styles; Photoshop Styles 101: The Stroke; Photoshop Styles 101: Color Overlay); Photoshop Styles 101: Color Overlay, Part […]
[…] In the past weeks, we have learned how to access the options for an Effect. (For review, if needed: Photoshop Styles 101: The Stroke) […]
[…] In the past weeks, we have learned how to access the options for an Effect. (For review, if needed: Photoshop Styles 101: The Stroke) […]